1.创建一个web工程
2.在springmvc的核心配置文件中指定注解驱动,配置扫描器
 1 <?xml version="1.0" encoding="UTF-8"?>
 2 <beans xmlns="http://www.springframework.org/schema/beans"
 3     xmlns:xsi="http://www.w3.org/2001/XMLSchema-instance" xmlns:mvc="http://www.springframework.org/schema/mvc"
 4     xmlns:context="http://www.springframework.org/schema/context"
 5     xmlns:aop="http://www.springframework.org/schema/aop" xmlns:tx="http://www.springframework.org/schema/tx"
 6     xsi:schemaLocation="http://www.springframework.org/schema/beans
 7 http://www.springframework.org/schema/beans/spring-beans-4.3.xsd
 8 http://www.springframework.org/schema/mvc
 9 http://www.springframework.org/schema/mvc/spring-mvc-4.3.xsd
10 http://www.springframework.org/schema/context
11 http://www.springframework.org/schema/context/spring-context-4.3.xsd
12 http://www.springframework.org/schema/aop
13 http://www.springframework.org/schema/aop/spring-aop-4.3.xsd
14 http://www.springframework.org/schema/tx
15 http://www.springframework.org/schema/tx/spring-tx-4.3.xsd ">
16
17
18
19     <!-- springmvc开启注解驱动 -->
20     <mvc:annotation-driven></mvc:annotation-driven>
21     <!-- 使用扫描机制扫描控制器类,控制器类都在controller包及其子包下 -->
22     <context:component-scan base-package="com.springmvc.tranfercontroller"></context:component-scan>
23
24     <!-- 配置视图解析器 -->
25     <bean
26         class="org.springframework.web.servlet.view.InternalResourceViewResolver">
27         <!-- 配置前缀 -->
28         <property name="prefix" value="/WEB-INF/jsp/"></property>
29         <!-- 配置后缀 -->
30         <property name="suffix" value=".jsp"></property>
31     </bean>
32
33
34 </beans>
3.在我们的控制类当中使用注解@Controller:标识我们的控制类的具体实现
使用@requestMapping:放在方法上面用来指定某个方法的路径,当它放在类上的时候相当于命名空间需要组合方法上的requestmapping来访问。
 1 package com.springmvc.tranfercontroller;
 2
 3 import org.springframework.stereotype.Controller;
 4 import org.springframework.web.bind.annotation.RequestMapping;
 5 /**
 6  * 基于注解开发的一个案例
 7  * @author Administrator
 8  *
 9  */
10 @Controller
11 public class TranferController {
12
13     @RequestMapping(value="/login")
14     public String login(){
15         System.out.println("println login of controller");
16         return "login";
17     }
18 }
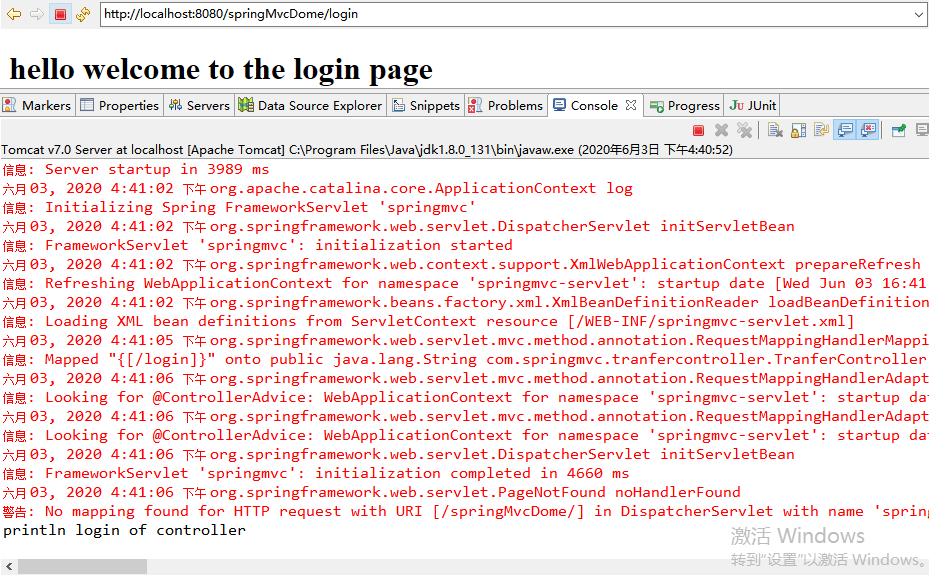
4.测试结果
