5.Logging In
Once the robot is turned on and the robot is on the network, ssh into the computer of the robot using the default fetch user account:
$ ssh fetch@<robot_name_or_ip>
robot_name_or_ip will be either an IPv4 network address, or a network name, depending on the configuration of your local network. If your computer and network is setup for multicast DNS (mDNS) then you may be able to use fetchXYZ.local as the network name where XYZ will be the serial number of your robot (remove any leading zeros from the serial number).
Default User Account
Each robot ships with a default user account, with username fetch and password robotics. It is recommended to change the password when setting up the robot.
Creating User Accounts
It is recommended that each user create their own account on the robot, especially when developing from source. To create an account on the robot, ssh into the robot as the fetch user, and run the following commands
$ sudo adduser USERNAME
$ sudo usermod -G adm,cdrom,sudo,dip,plugdev,lpadmin,sambashare USERNAME
6. Moving the Base with your Keyboard
Note
You will need a computer with ROS installed to properly communicate with the robot. Please consult the ROS Wiki for more information. We strongly suggest an Ubuntu machine with ROS Indigo installed.
To teleoperate the robot base in simulation, we recommend using the teleop_twist_keyboard.py script from teleop_twist_keyboard package.
$ export ROS_MASTER_URI=http://<robot_name_or_ip>:11311
$ rosrun teleop_twist_keyboard teleop_twist_keyboard.py
Using Software Runstop
To activate the software runstop, publish True to the /enable_software_runstop topic.
Alternately, with the teleop runstop enabled, pressing both of the right trigger buttons (buttons 9 and 11) will activate the software runstop. The software_runstop.py script in fetch_bringup can be modified to change the button(s) for the software runstop.
Once activated, the software runstop can be deactivated by (1) toggling the hardware runstop, or (2) disabling the software runstop by passing False to the /enable_software_runstop topic.
Enable Teleop Software Runstop
Note
In order to edit the robot.launch file, you will need to use a terminal editor (such as nano or vim), or use the -X flag with SSH to use a graphical editor (such as gedit). Additionally, the editor must be launched with sudo. Instructions below use nano.
To enable the software runstop, first SSH into the robot, and then modify the robot drivers launch file to use it.
We need to modify the robot.launch file to pass the correct arg to the software runstop script:
$ sudo nano /etc/ros/indigo/robot.launch
In this file there should be a Software Runstop entry near the end. By default this entry contains an args line, with a value of “-a -b -g”. To add teleop control, add the “-t” flag as well. This section will then look like the below. If your robot is an older one and does not have a Software Runstop entry, you will want to simply copy the block the below.
<!-- Software Runstop -->
<include file="$(find fetch_bringup)/launch/include/runstop.launch.xml">
  <arg name="flags" value="-a -b -g -t" />
</include>
Note that the -a, -b, -g flags correspond to letting the software runstop control the arm, base and gripper breakers, respectively.
Additionally, if completely disabling the software runstop functionality is desired, the above section in robot.launch can be commented out or removed.
Finally, restart the drivers so that our changes take effect:
$ sudo service robot stop && sudo service robot start
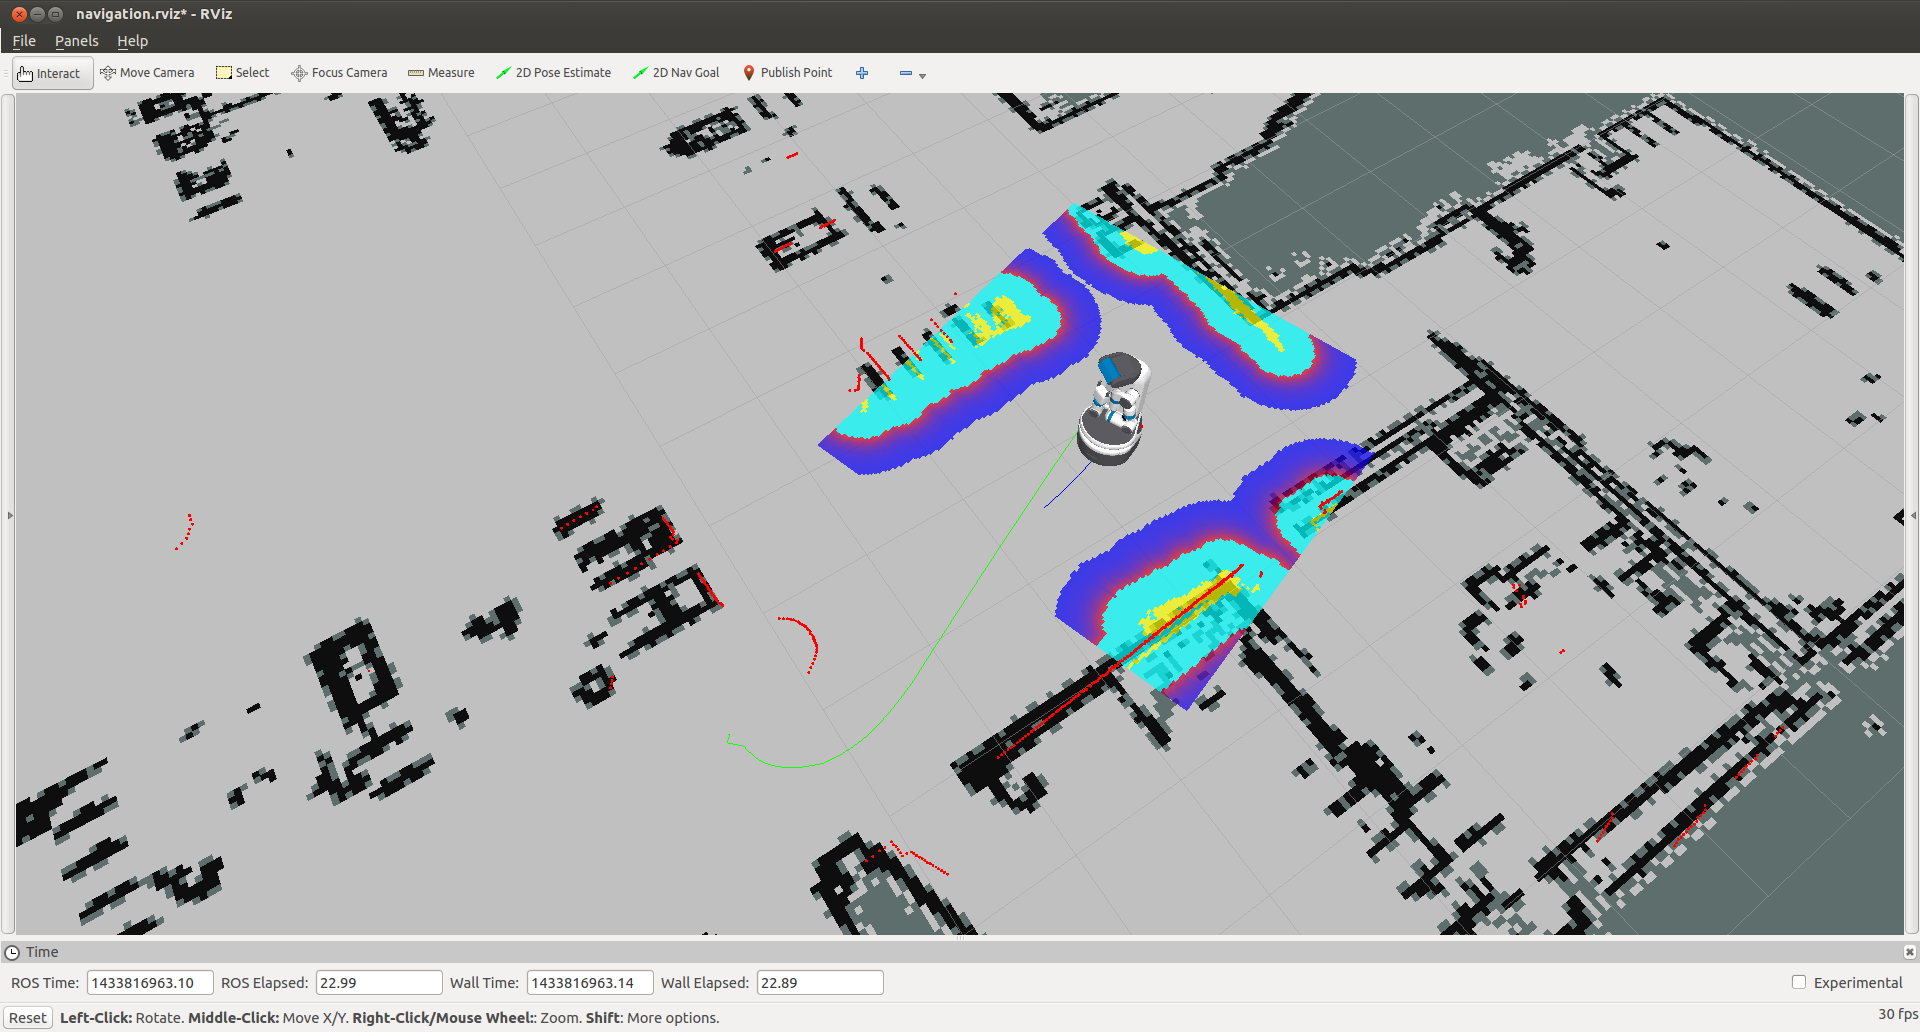
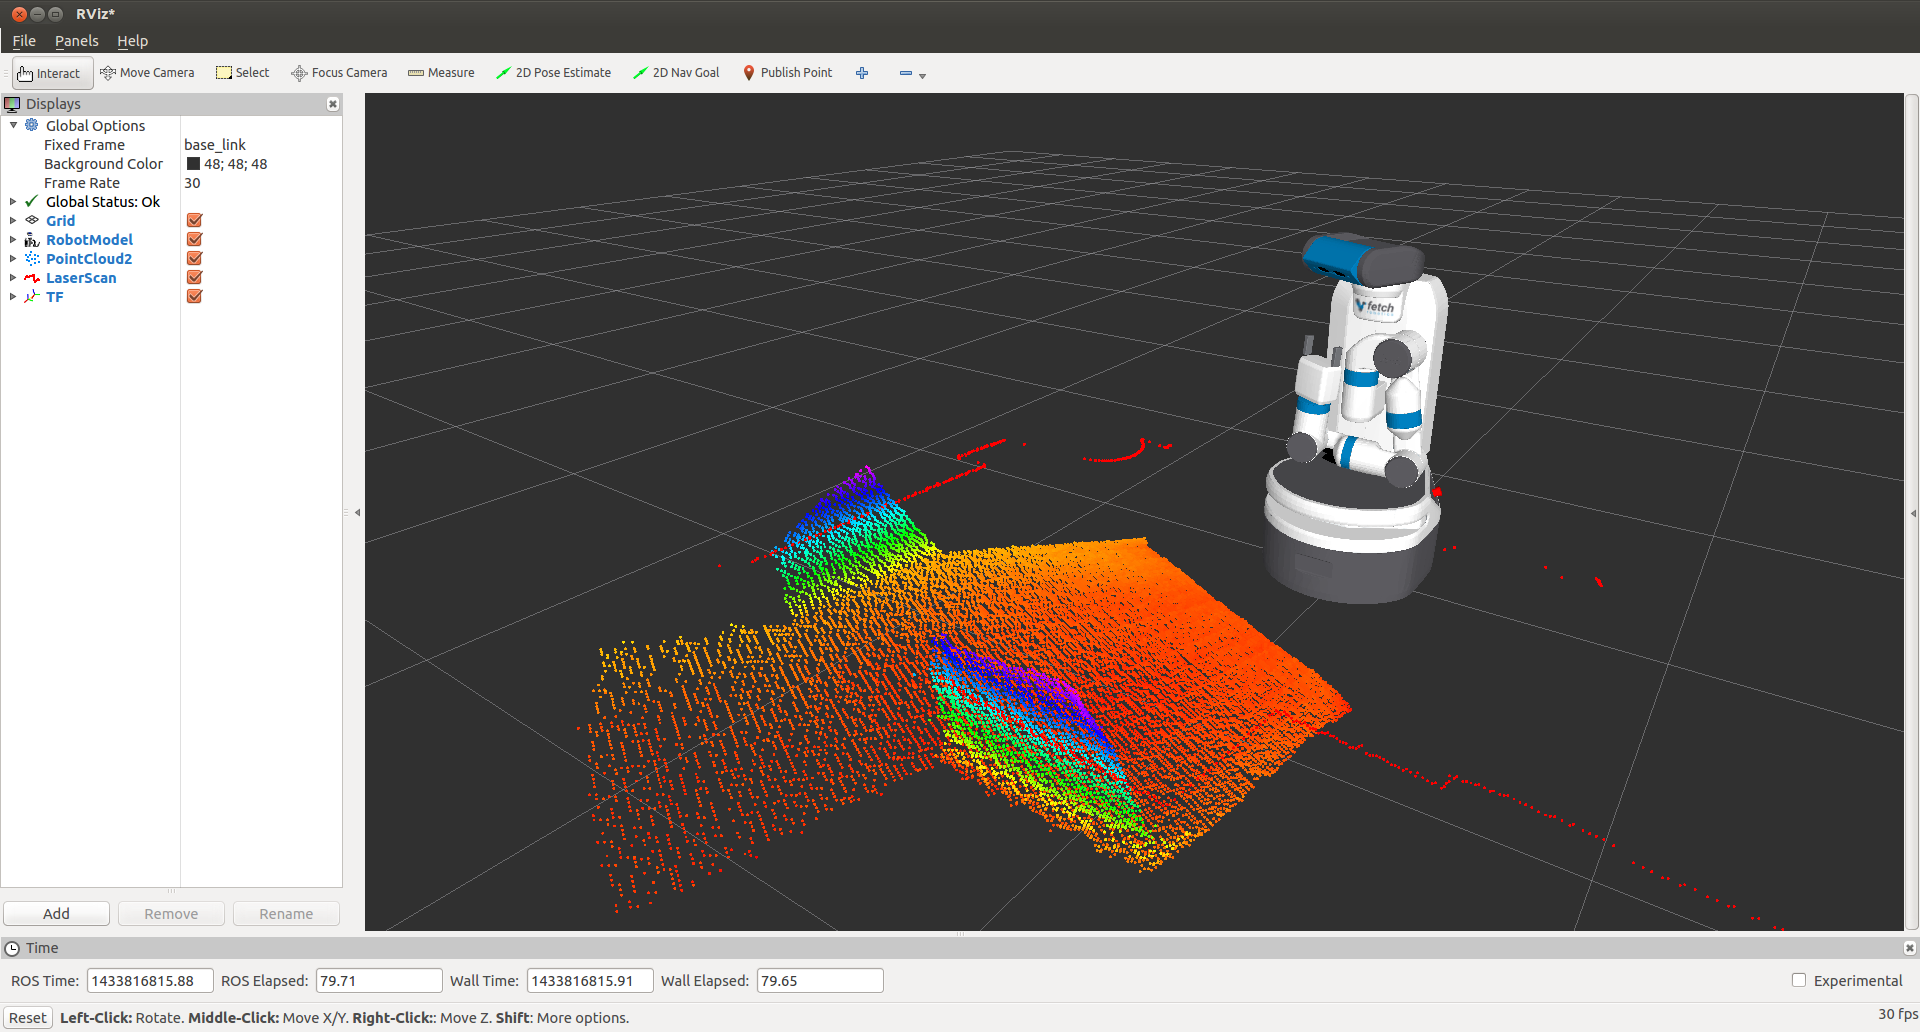
7. Visualizing Data
$ export ROS_MASTER_URI=http://<robot_name_or_ip>:11311
$ rosrun rviz rviz
Note
You will need a computer with ROS installed to properly communicate with the robot. Please consult the ROS Wiki for more information. We strongly suggest an Ubuntu machine with ROS Indigo installed.
You can now manually set up your RVIZ visualization or re-run RVIZ with a configuration file using the command line. The default .rviz configuration file for Fetch can be loaded using:
$ roscd fetch_navigation/config
$ export ROS_MASTER_URI=http://<robot_name_or_ip>:11311
$ rviz -d navigation.rviz