Target             #定义playbook的远程主机组
Variable           #定义piaybook使用的变量
Task               #定义远程主机上执行的任务列表
Handler            #定义task执行完成以后需要调用的任务,例如配置文件被改动,则启动handler任务重启相关联的服务。
Target常见参数如下:
hosts               #定义远程主机组
user                #执行该任务的用户
sudo                #设置为yes的时候,执行任务的时候用root权限
sudo user           #指定普通用户
connection          #默认基于SSH连接客户端
gather_facts        #获取远程主机facts基础信息
Variable常用参数如下:
vars               #定义格式
vars files         #指定变量文件
vars prompt        #用户交互模式自定义变量
setup              #模块去远程主机的值
Task常用参数如下:
name               #任务显示名称也即屏幕显示信息
action             #定义执行的动作
copy               #复制本地文件到远程主机
template           #复制本地文件到远程主机,乐意引用表里
service            #定义服务的状态
ansible-playbook应用案例:
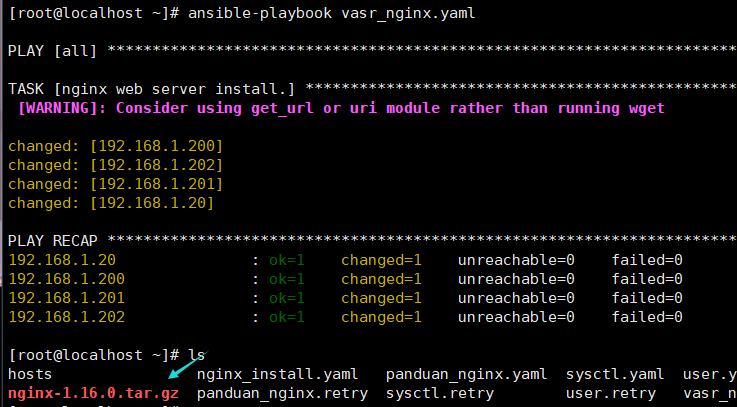
1)远程主机安装nginx web服务,playbook代码如下(注意空格/格式):
固定格式:- hosts:all表示去所有机器执行, remote_user表示使用远程主机那个用户来执行,connection表示客户端连接方式(默认就是SSH 22端口,可以不写).
tasks:任务集, -name:任务名称, yum:调用YUM模块, shell:调用shell模块。
- hosts all
  remote_user: root
  connection: ssh
  gather_facts: no
  tasks:
      - name: precious pcre-devel openssl-devel make gcc-c++ install.
        yum: name=prce-devel,openssl-devel,make,gcc-c++ state=installed
      - name: precious nginx WEB server install process.
        shell: cd /usr/src/;wget -c http://nginx.org/download/nginx-1.16.0.tar.gz;tar xf nginx-1.16.0.tar.gz;cd nginx-1.16.0;make;make install
- hosts nginx
  remote_user: root
  tasks:
      - name:nginx server install 2020-04-03
        file: path=/usr/local/nginx/ state=directory
        notify:
            - nginx install
            - nginx start
  handlers:
      - name: nginx install
        shell: cd /data/sh/;/bin/bash auto_install_nginx.sh
      - name: nginx start
        shell: /usr/local/nginx/sbin/nginx
3)检测远程主机内核配置文件是否更新,如果更新则执行命令sysctl -p使内核参数生效,playbook代码如下:
-hosts: 192.168.1.100,192.168.1.101
 remote_user: root
 tasks:
     - name: Linux Kernet config 2020
       copy: src=/data/sh/sysctl.conf dest=/etc/
       notify:
           - source sysctl
  handlers:
      - name: source sysctl
       shell: sysctl -p
4)检测远程主机nginx服务配置文件被修改,则重启nginx服务:
- hosts: all
  remote_user: root
  tasks:
      - name: nginx web server .conf
        shell: sed -i 's/80/8888/g' /usr/local/nginx/conf/nginx.conf;grep "8888" /usr/local/nginx/conf/nginx.conf
        notify:
            - nginx reload
  handlers:
      - name: nginx reload
       shell: /usr/local/nginx/sbin/nginx -s reload
5) 基于列表items多个值创建用户,通过{{}}双大括号 来定义列表变量, with_items选项传入变量的值:
使用user模块的方法:
状态state=present创建的意思:
- hosts: all
  remote_user: root
  tasks:
      - name: Linux ststem Add User list.
        user: name={{item}} state=present
        with_itmes:
            - docker1
            - docekr2
            - docker3
            - docker4
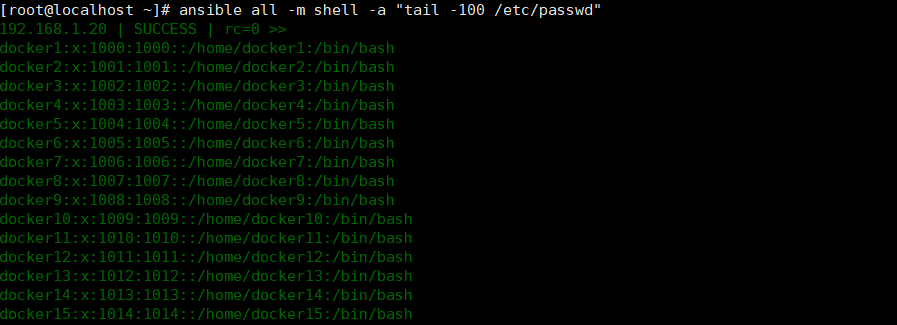
使用shell模块的方法:创建100个用户
- hosts: all
  remote_user: root
  tasks:
      - name: Linux system Add User list.
        shell: for i in `seq 1 100`;do useradd docker$i;echo 123|passwd --stdin docker$i;done

6) ansible playbook可以自定义template模板文件,模板文件主要用于服务器需求不一致的情况,需要独立定义的,例如两台服务器安装了nginx,安装完毕之后讲服务器A的HTTP的端口改成81,服务器B的HTTP端口改成82,基于tempalte模块轻松实现,方法步骤如下:
1,ansbile hosts文件指定不同服务器不同的httpd port端口,代码如下:
vim /etc/ansible/hosts
[web]
192.168.1.200 httpd_port=81
192.168.1.201 httpd_port=82
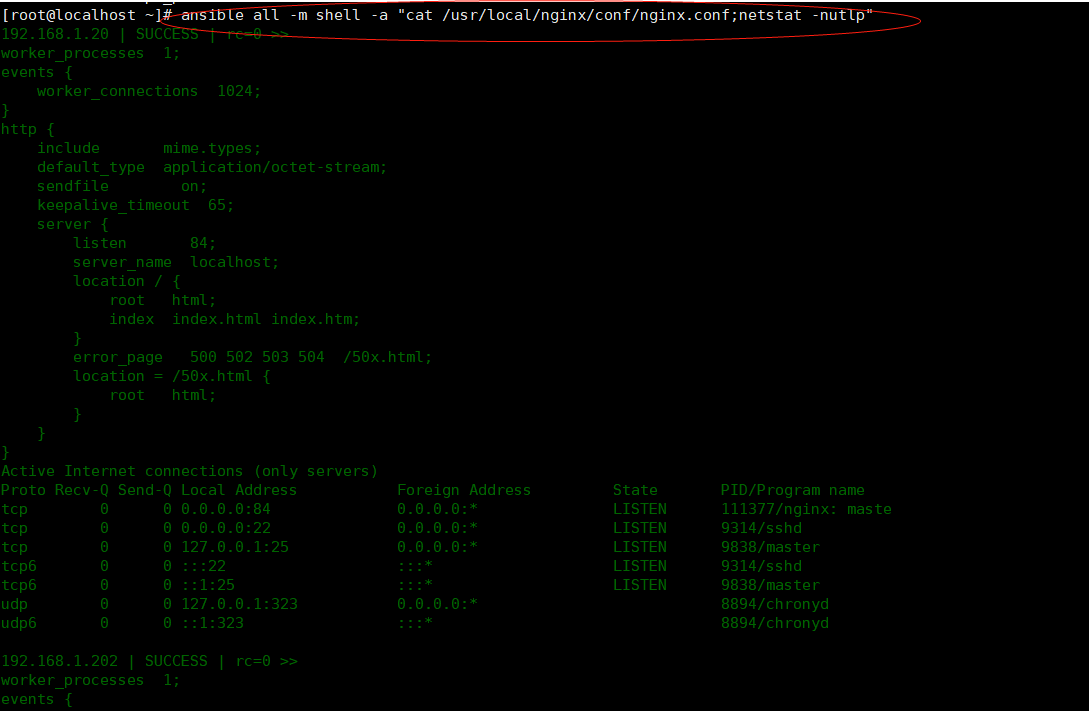
2, ansible端创建nginx.conf.j1(自定义命名)模板文件, cp nginx.conf.j1 nginx.conf.j2,并修改listen 80为listen {{httpd_port}},nginx其它配置想不变, 代码如下:
worker_processes  1;
events {
    worker_connections  1024;
}
http {
    include       mime.types;
    default_type  application/octet-stream;
    sendfile        on;
    keepalive_timeout  65;
    server {
        listen       {{httpd_port}};
        server_name  localhost;
        location / {
            root   html;
            index  index.html index.htm;
        }
        error_page   500 502 503 504  /50x.html;
        location = /50x.html {
            root   html;
        }
    }
}
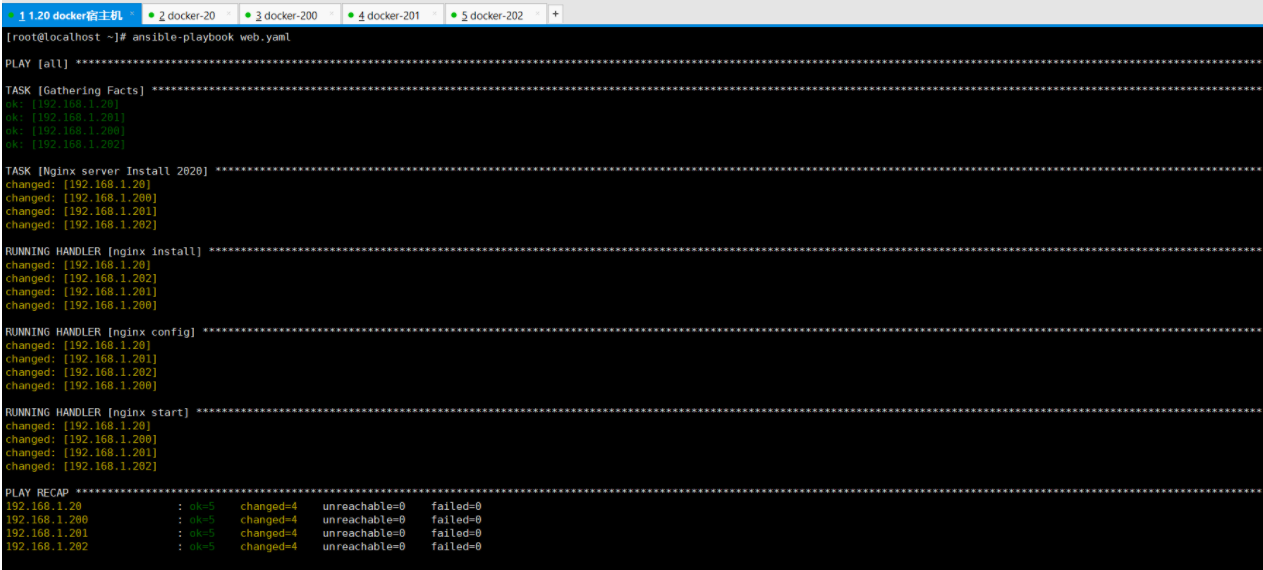
3, ansible playbook剧本yaml文件创建,(template调用hosts文件中得变量)代码如下:
- hosts: all
  remote_user: root
  tasks:
      - name: nginx server install 2020
        file: path=/usr/local/nginx/ state=directory
        notify:
            - nginx install
            - nginx config
   handlers:
       - name: nginx install
         shell: cd /usr/src/;wget -c http:/nginx.org/download/nginx-1.16.0.tar.gz;tar xf nginx-1.16.0.tar.gz;cd nginx-1.16.0;make;make install
       - name: nginx config
         template: src=/data/sh/nginx.j1 dest=/usr/local/nginx/conf/nginx.conf
- hosts: all
  remote_user: root
  tasks:
      - name: Nginx server Install 2020
        shell: if [ -d /usr/local/nginx/ ];then exit 127;fi
        notify:
            - nginx install
            - nginx config
            - nginx start
  handlers:
      - name: nginx install
        shell: cd /usr/src;wget -c http://nginx.org/download/nginx-1.16.0.tar.gz;tar xf nginx-1.16.0.tar.gz;cd nginx-1.16.0;./configure --prefix=/usr/local/nginx;make;make install
      - name: nginx config
        template: src=/data/sh/nginx.conf.j1 dest=/usr/local/nginx/conf/nginx.conf
      - name: nginx start
        shell: /usr/local/nginx/sbin/nginx
执行:
ansible-playbook web.yaml
ansible all -m shell -a "cat /usr/local/nginx/conf/nginx.conf;netstat -nutlp"


6) ansible playbook剧本中调用shell脚本,有两种方法如下:
使用copy模块:
使用copy 模块拷贝到对方远程机器:(src源地址 dest目标地址 mode授予权限)
- hosts: all
  remote_user: root
  ganther_facts: no
  tasks:
      - name: nginx server install 2020
        copy: src=/data/sh/auto_install_nginx.sh dest=/tmp/ mode=645
      - name: Exec auto install nginx SHELL.
        shell: cd /tmp/;/bin/bash auto_install_nginx.sh
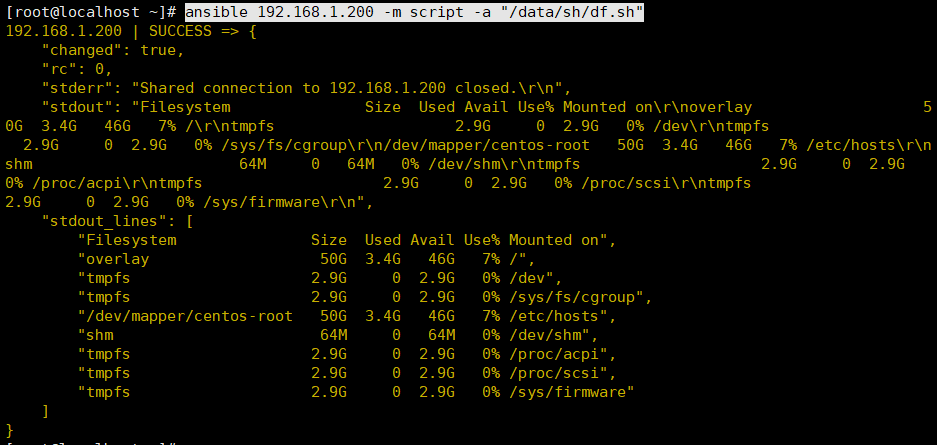
使用script模块: ansible-doc script查看帮助:(需先再ansible本机创建脚本:/data/sh/df.sh)
ansible 192.168.1.200 -m script -a "/data/sh/df.sh"
7) 在剧本中定义变量:
vars:
- nginx_ver:1.16.0
- nginx_url:http://nginx.org/download
调用变量时 使用{{}}双大括号:
- hosts: all
  remote_user: root
  gather_facts: no
  vars:
      - nginx_ver: 1.16.0
      - nginx_url: http://nginx.org/download
  tasks:
      - name: nginx web server install.
        shell: wget -c {{nginx_url}}/nginx-{{nginx_ver}}.tar.gz
