一:圆角
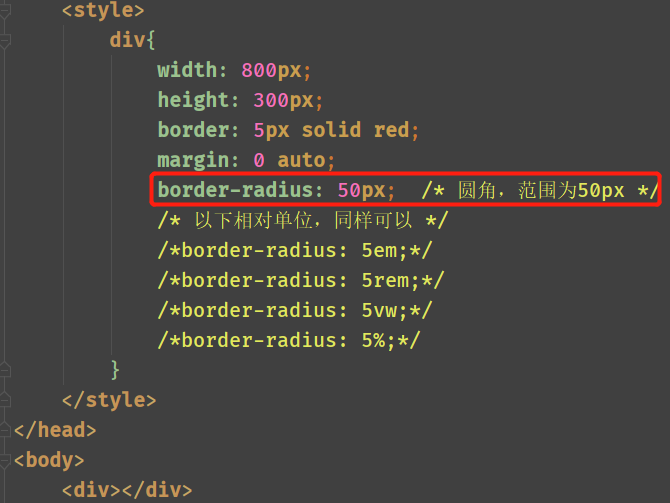
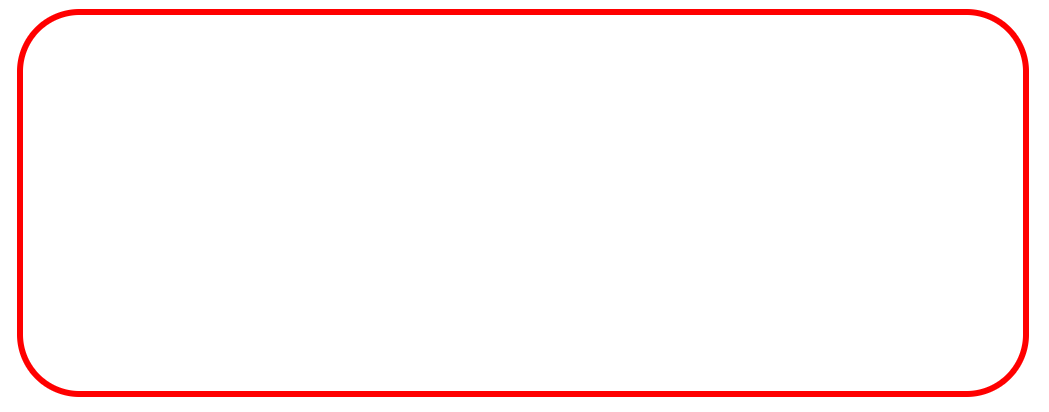
border-radius属性:一个最多可指定四个border-*-radius属性的复合属性,这个属性允许为元素添加圆角边框,多个值的 时候,从左上角开始,顺时针
单个属性指定:
border-top-left-radius:左上角的弧度
boder-top-right-radius:右上角的弧度
border-bottom-right-radius:右下角的弧度
border-bottom-left-radius:左下角的弧度
复合属性使用:
四个值:第一个值为左上角,第二个值为右上角,第三个值为右下角,第四个值为左下角
三个值:第一个值为左上角,第二个值为右上角和左下角,第三个值为右下角
两个值:第一个值为左上角和右下角,第二个值为右上角和左下角
一个值:四个圆角相等
使用案例:
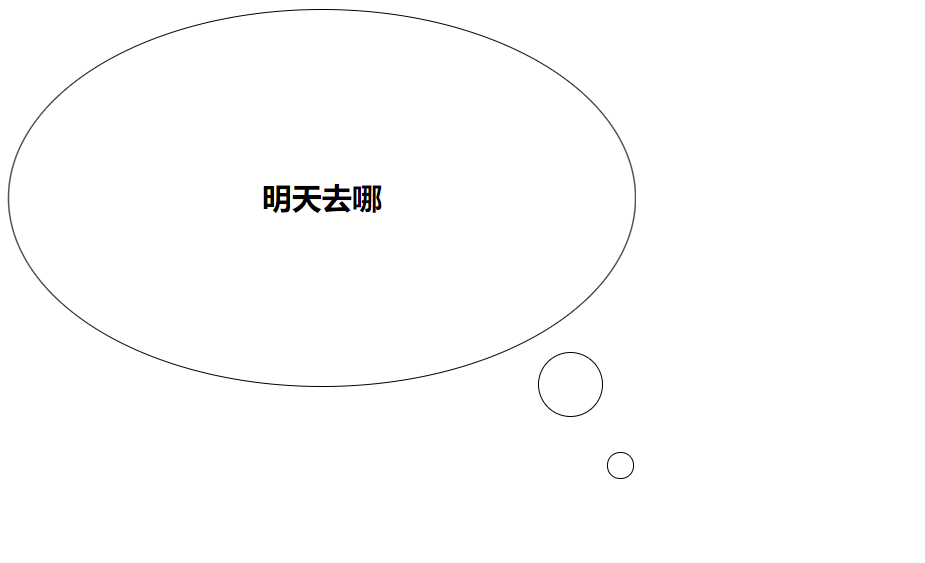
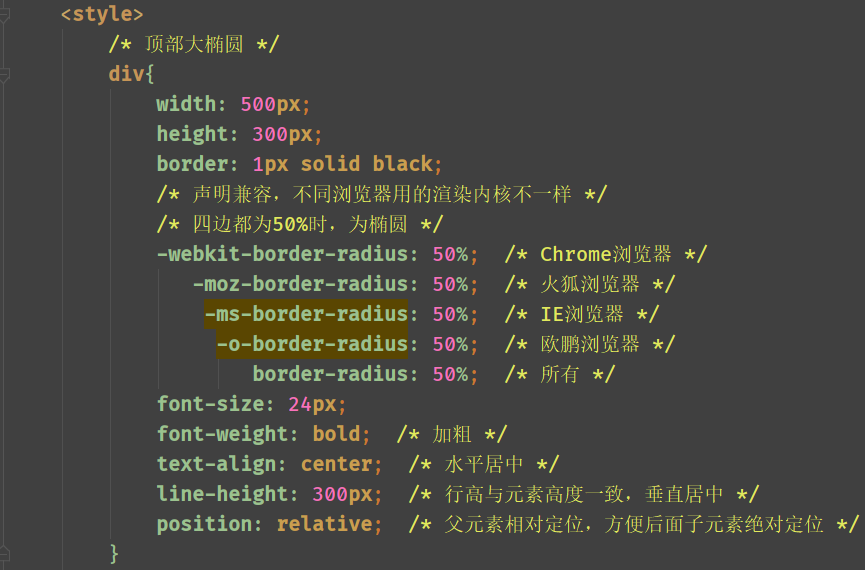

<!DOCTYPE html>
<html lang="en">
<head>
    <meta charset="UTF-8">
    <title>Title</title>
    <style>
        /* 顶部大椭圆 */
        div{
             500px;
            height: 300px;
            border: 1px solid black;
            /* 声明兼容,不同浏览器用的渲染内核不一样 */
            /* 四边都为50%时,为椭圆 */
            -webkit-border-radius: 50%;  /* Chrome浏览器 */
               -moz-border-radius: 50%;  /* 火狐浏览器 */
                -ms-border-radius: 50%;  /* IE浏览器 */
                 -o-border-radius: 50%;  /* 欧鹏浏览器 */
                    border-radius: 50%;  /* 所有 */
            font-size: 24px;
            font-weight: bold;  /* 加粗 */
            text-align: center;  /* 水平居中 */
            line-height: 300px;  /* 行高与元素高度一致,垂直居中 */
            position: relative;  /* 父元素相对定位,方便后面子元素绝对定位 */
        }
        /* 伪类 */
        div:before,
        div:after{
            position: absolute;  /* 相对于父元素绝对定位 */
            content: "";
            display: block; /* 块级元素 */
            border: 1px solid black;
            /* 声明兼容,不同浏览器用的渲染内核不一样 */
            /* 四边都为50%时,为椭圆 */
            -webkit-border-radius: 50%;  /* Chrome浏览器 */
               -moz-border-radius: 50%;  /* 火狐浏览器 */
                -ms-border-radius: 50%;  /* IE浏览器 */
                 -o-border-radius: 50%;  /* 欧鹏浏览器 */
                    border-radius: 50%;  /* 所有 */
        }
        div:before{ 50px;height: 50px;bottom: -25px;right: 25px;}
        div:after{ 20px;height: 20px;bottom: -75px;right: 0px;}
    </style>
</head>
<body>
    <div>明天去哪</div>
</body>
</html>
二:盒阴影
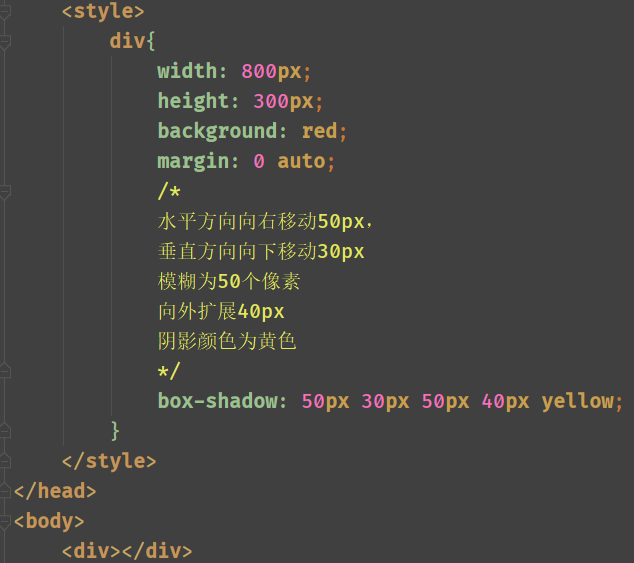
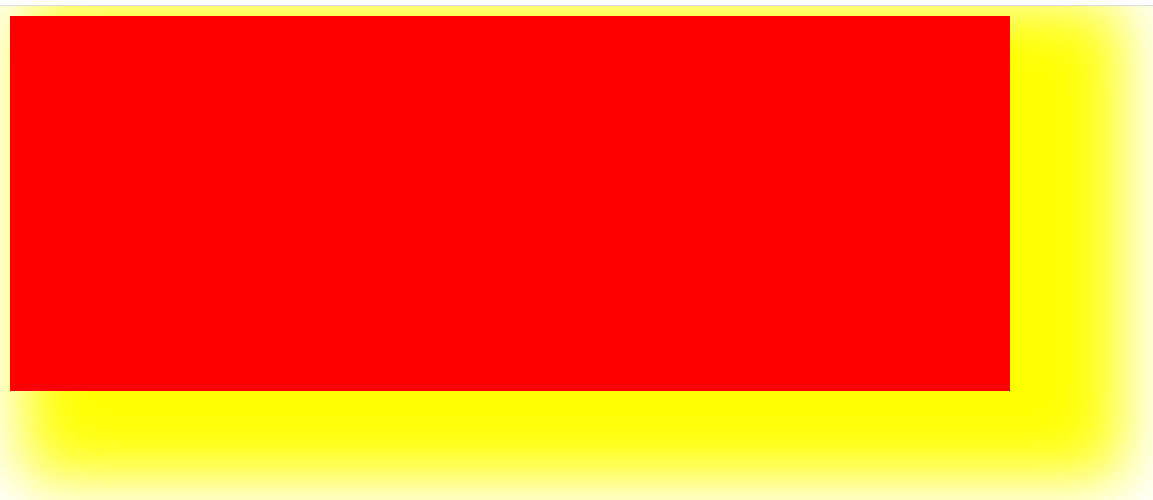
box-shadow:可以设置一个或多个下拉框阴影的框
h-shadow:必要参数,水平方向的偏移量,允许负值
v-shadow:必要参数,垂直方向的偏移量,允许负值
blur:可选参数,模糊程度
spread:可选参数,阴影大小
color:可选参数,阴影的颜色
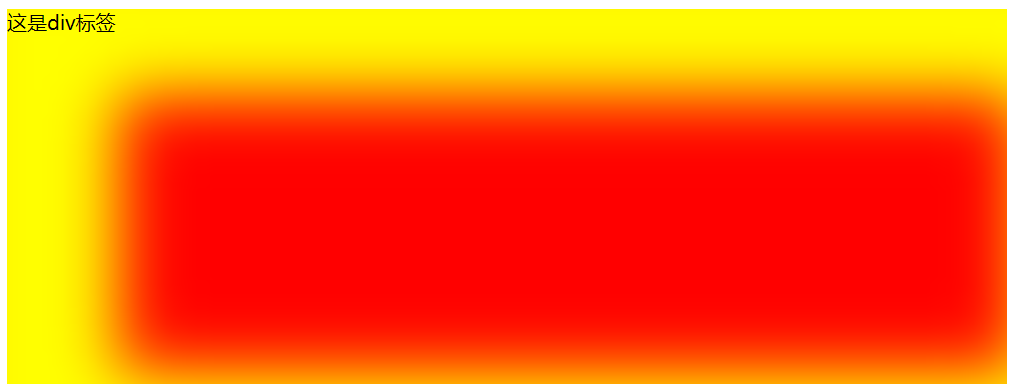
inset:可选参数,外阴影还是内阴影

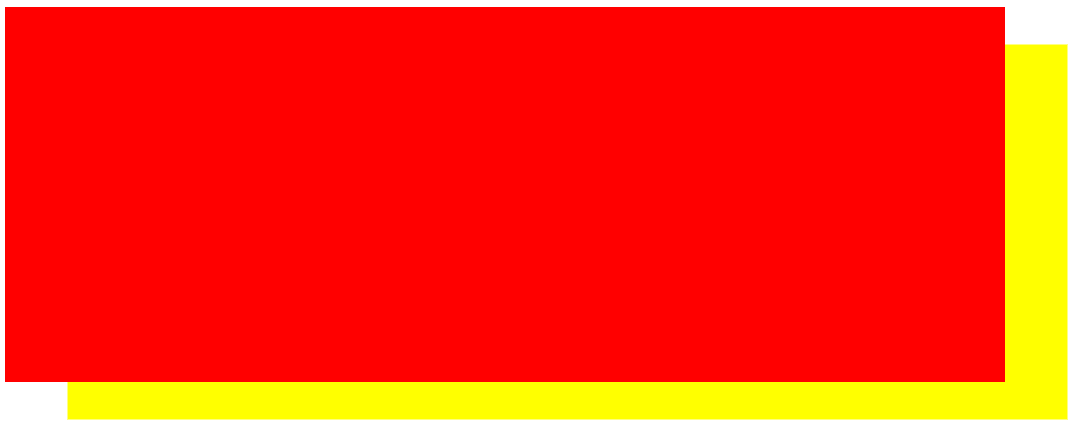
负值移动

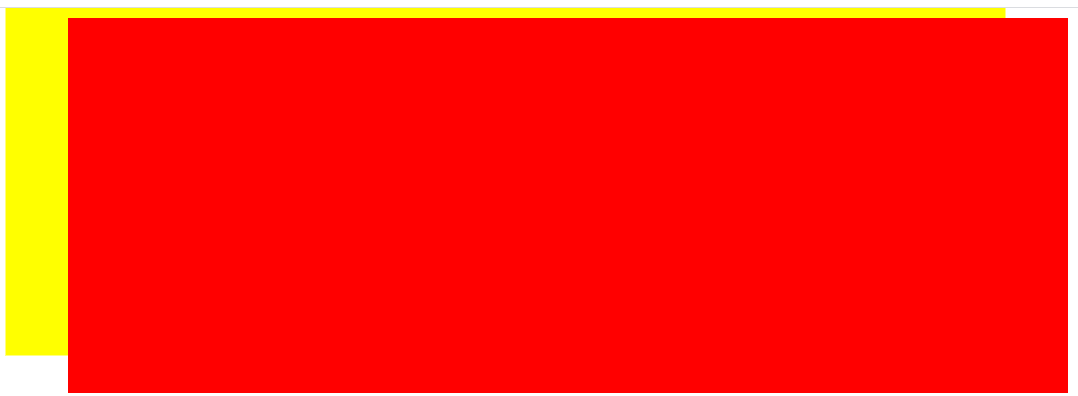
完整示例
inset:内阴影

三:边界图片
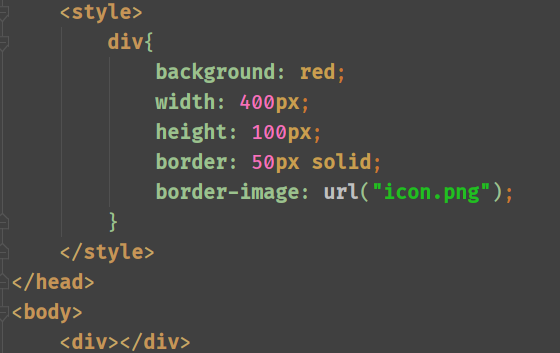
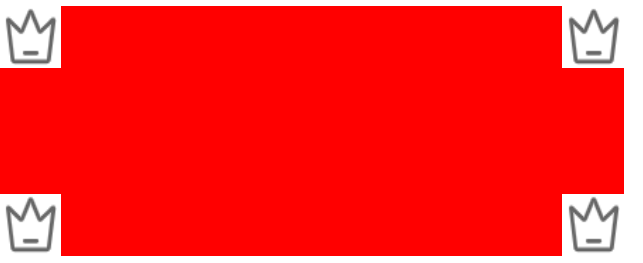
border-image:使用border-image-*属性来构建美丽的可扩展按钮
border-image-source:指定要使用的图像,而不是由border-style属性设置的边框样式,可用值:none、图片地址
border-image-slice:指定图像的边界向内偏移,用于控制图片的缩放,可用值:number、%、fill
border-image-width:指定图像边界的宽度,可用值:number、%、fill
border-image-outset:用于指定在边框外部绘制border-image-area的量,可用值:length、number
border-image-repeat:图像边界是否应重复(repeated)、拉伸(stretched)、或铺满(rounded)
