新建仓库
登录github,新建一个npm-repo仓库
克隆私有仓库到本地
git clone https://github.com/***/npm-repo.git

创建Personal access tokens
点击右上角头像,点击Setting -》 Developer settings -》Personal access tokens,写上备注,勾上权限。点击生成后一定要先复制Token,下次就不显示Token了。

初始化npm包
Setting中查看github用户名
npm init --scope=github用户名
输入一些author和description,其他默认的可以直接回车,初始化完成后项目下会多一个package.json文件.

配置
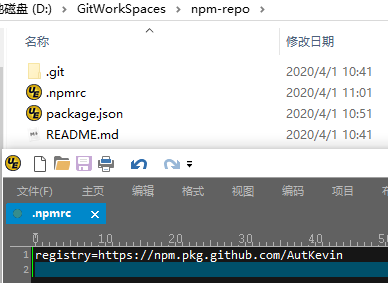
在package.json所在目录创建一个.npmrc文件,并添加以下内容
registry=https://npm.pkg.github.com/GitHub用户名

.npmrc添加token
//npm.pkg.github.com/:_authToken=刚才生成的Token

另一种方式
package.json中添加
"publishConfig": {
    "registry":"https://npm.pkg.github.com/"
}
然后登陆
npm login --registry=https://npm.pkg.github.com
> Username: USERNAME
> Password: TOKEN
> Email: PUBLIC-EMAIL-ADDRESS
这样比较麻烦,每次忘记TOKEN都要重新生成一次。
发布
npm publish

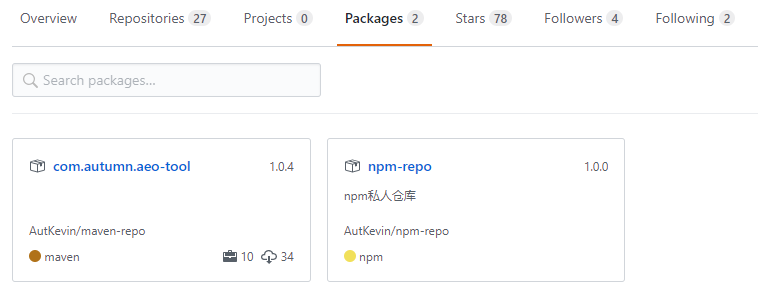
@autkevin/npm-repo@1.0.0包发布成功.

使用npm包
创建.npmrc
在项目里面创建.npmrc和上面的.npmrc完全一样,可以直接复制到项目中。
另一种方法
npm login --registry=https://npm.pkg.github.com
> Username: USERNAME
> Password: TOKEN
> Email: PUBLIC-EMAIL-ADDRESS
安装npm包
npm install @autkevin/npm-repo@1.0.0

出现问题
安装提示rollbackFailedOptional: verb npm-session
需要给软件设置代理
查看代理本地端口,端口因为代理的模式不同端口也不同。可以通过浏览器查看代理的端口。

设置npm代理
npm config set proxy http://127.0.0.1:10809
npm config set https-proxy http://127.0.0.1:10809
如果代理需要认证的话可以这样来设置
npm config set proxy http://username:password@server:port
npm config set https-proxy http://username:pawword@server:port
设置git代理
github没有被屏蔽可以不设
git config --global http.proxy http://127.0.0.1:10809
git config --global https.proxy https://127.0.0.1:10809
删除代理
如果所用网络不需要代理,则要把npm代理和git代理去掉
去掉npm代理
npm config delete proxy
npm config delete https-proxy
去掉git代理
git config --global --unset http.proxy
git config --global --unset https.proxy
参考: