@AspectJ 作为通过 Java 5 注释注释的普通的 Java 类,它指的是声明 aspects 的一种风格。通过在你的基于架构的 XML 配置文件中包含以下元素,@AspectJ 支持是可用的。
1.第一步:倒入jar包,跟上个例子包是一样的
-
aspectjrt.jar
-
aspectjweaver.jar
-
aspectj.jar
- aopalliance.jar
2.第二步:创建三个类
2.1这里是 Logging.java 文件的内容。这实际上是 aspect 模块的一个示例,它定义了在各个点调用的方法。
 1 package com.spring.aop2;
 2
 3 import org.aspectj.lang.annotation.AfterReturning;
 4 import org.aspectj.lang.annotation.AfterThrowing;
 5 import org.aspectj.lang.annotation.Aspect;
 6 import org.aspectj.lang.annotation.Before;
 7 import org.aspectj.lang.annotation.Pointcut;
 8
 9 @Aspect // 定义切面
10 public class Logging {
11     @Pointcut("execution(* com.spring.aop2.Student.*(..))") // 定义切点
12     private void selectAll() {
13
14     }
15     /**
16      * 定义通知方法
17      */
18
19     @Before("selectAll()")
20     public void beforeAdvice() {
21         System.out.println("----------beforeAdvice-----------");
22
23     }
24
25     @AfterReturning(pointcut = "selectAll()", returning = "retVal")
26     public void afterReturningAdvice(Object retVal) {
27         System.out.println("Returning:" + retVal.toString());
28     }
29
30     @AfterThrowing(pointcut = "selectAll()", throwing = "ex")
31     public void AfterThrowingAdvice(IllegalArgumentException ex) {
32         System.out.println("There has been an exception: " + ex.toString());
33     }
34
35 }
2.2下面是 Student.java 文件的内容:
 1 package com.spring.aop2;
 2
 3 public class Student {
 4     /**
 5      * 定义学生类
 6      */
 7     private String name;
 8     private Integer age;
 9
10     public String getName() {
11         return name;
12     }
13
14     public void setName(String name) {
15         this.name = name;
16     }
17
18     public Integer getAge() {
19         return age;
20     }
21
22     public void setAge(Integer age) {
23         this.age = age;
24     }
25
26     public void printAdvice() {
27         System.out.println("name:" + name + ",age:" + age);
28
29     }
30
31 }
2.3下面是 MainApp.java 文件的内容:
 1 package com.spring.aop2;
 2
 3
 4
 5 import org.springframework.context.ApplicationContext;
 6 import org.springframework.context.annotation.AnnotationConfigApplicationContext;
 7 import org.springframework.context.support.AbstractApplicationContext;
 8 import org.springframework.context.support.ClassPathXmlApplicationContext;
 9
10 public class Main {
11     /**
12      * Spring aop基于注解    配置文件springAop.xml
13      * author:
14      * mail:2536201485@qq.com
15      * 时间:
16      */
17     public static void main(String[] args) {
18         ApplicationContext applicationContext=new ClassPathXmlApplicationContext("spring_xml/springAop.xml");
19         Student student=(Student)applicationContext.getBean("Student");
20         student.printAdvice();
21     }
22
23 }
3.第三步:创建bean文件(上面的头文件在上个例子当中有,这里就省略了)
下面是配置文件 Beans.xml:
 1
 2     <!-- 开启注解      通过aop命名空间的<aop:aspectj-autoproxy
 3 />声明自动为spring容器中那些配置@aspectJ切面的bean创建代理,织入切面-->
 4     <aop:aspectj-autoproxy/>
 5     <!-- 定义切面bean -->
 6     <bean id="Logging" class="com.spring.aop2.Logging"></bean>
 7
 8     <!-- 配置bean -->
 9     <bean id="Student" class="com.spring.aop2.Student">
10         <property name="name" value="张三"></property>
11         <property name="age" value="23"></property>
12     </bean>
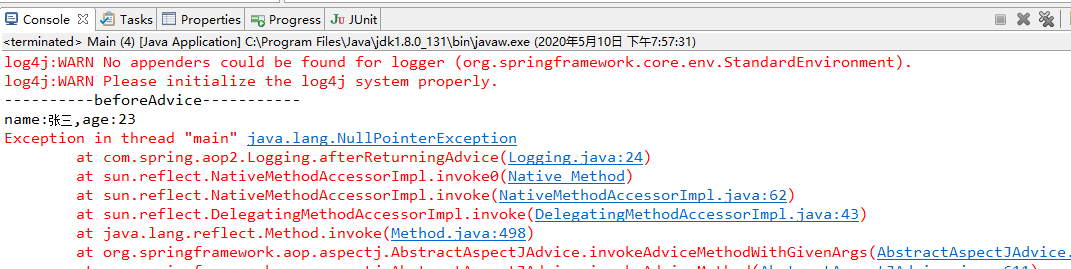
让我们运行一下应用程序。如果你的应用程序一切都正常的话,这将会输出以下消息(其中包含了异常通知):