1.modelAndView
设置modelAndViewd对象,根据View名称,和视图解析器,跳转到指定的页面.
第一步:导包
第二步:配置web.xml
<?xml version="1.0" encoding="UTF-8"?>
<web-app xmlns:xsi="http://www.w3.org/2001/XMLSchema-instance"
         xmlns="http://java.sun.com/xml/ns/javaee"
         xsi:schemaLocation="http://java.sun.com/xml/ns/javaee
         http://java.sun.com/xml/ns/javaee/web-app_3_0.xsd"
         id="WebApp_ID" version="3.0">

  <servlet>
    <servlet-name>springmvc</servlet-name>
    <servlet-class>org.springframework.web.servlet.DispatcherServlet</servlet-class>
    <init-param>
      <param-name>contextConfigLocation</param-name>
      <param-value>classpath:springmvc-servlet.xml</param-value>
    </init-param>
    <load-on-startup>1</load-on-startup>
  </servlet>

  <servlet-mapping>
    <servlet-name>springmvc</servlet-name>
    <url-pattern>/</url-pattern>
  </servlet-mapping>


</web-app>
这些都是固定的写法再以后我们的开发中哪来即用就可以了
第三步:配置Springmvc-servlet.xml
<?xml version="1.0" encoding="UTF-8"?>
<beans xmlns="http://www.springframework.org/schema/beans"
       xmlns:xsi="http://www.w3.org/2001/XMLSchema-instance"
       xmlns:context="http://www.springframework.org/schema/context"
       xmlns:mvc="http://www.springframework.org/schema/mvc"
       xsi:schemaLocation="http://www.springframework.org/schema/beans
        http://www.springframework.org/schema/beans/spring-beans.xsd
        http://www.springframework.org/schema/context
        http://www.springframework.org/schema/context/spring-context.xsd
        http://www.springframework.org/schema/mvc
        http://www.springframework.org/schema/mvc/spring-mvc.xsd">


    <context:component-scan base-package="org.west.controller"/>
    <mvc:default-servlet-handler/>
    <mvc:annotation-driven/>

    <bean class="org.springframework.web.servlet.view.InternalResourceViewResolver" id="InternalResourceViewResolver">
        <property name="prefix" value="/WEB-INF/jsp/"/>
        <property name="suffix" value=".jsp"/>
    </bean>


</beans>
这个也是固定的写法拿来即用
第四步:编写controller
@Controller
public class UserController {
 @RequestMapping("/h1")
  public String user(String name,Model model){
      System.out.println(name);
//model主要作用就是为了前端传递给我们封装好的参数
      model.addAttribute("aaa",name);

      return "user";
  }
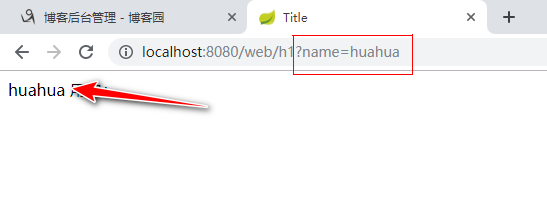
结果展示:

2.名字不规范的数据
前端传递过来的数据和我们定义的不匹配那我们怎么可以接受到呢?
只需要加一个注解就可以了---->[@requestparam]
  @RequestMapping("/h2")
  public String user2(@RequestParam(value ="username",required = false) String name, Model model){
      System.out.println(name);
     model.addAttribute("aaa",name);


     return "user";
  }
结果

虽然可以通过加注解也可以接受到名字不规范的数据,但是建议还是名字规范的传值,有利于我们以后的程序维护.
3.如何传一个对象?
首先我们创建一个实体类
public class User {
    private int id;
    private String name;
    private int age;
}
提供get,set方法和有参,无参构造
@RequestMapping("/h3")
  public String user3(User user,Model model){
      System.out.println(user);
  model.addAttribute("user",user);
     return "user";
  }
user.jsp编写
<%@ page contentType="text/html;charset=UTF-8" language="java" %>
<html>
<head>
    <title>Title</title>
</head>
<body>
${user.getId()}
${user.getName()}
${user.getAge()}
</body>
</html>
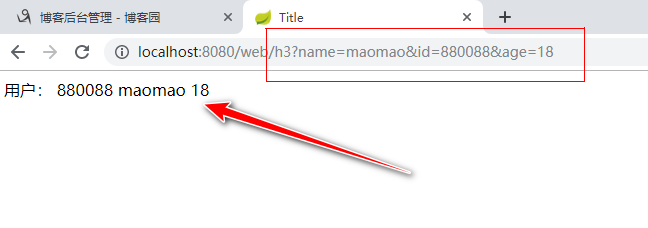
结果

我们需要注意我们定义实体类的属性和我们所传的值得属性名必须相同,否则传不过来.