1、CourseDetail 课程详细信息

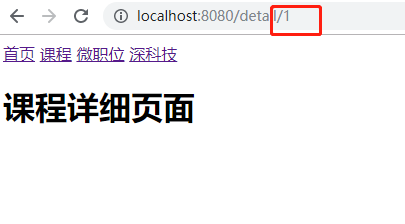
1.如何传入参数id
(1)router中导入

(2) router-link 关联子组件

(3)detail.vue接受id
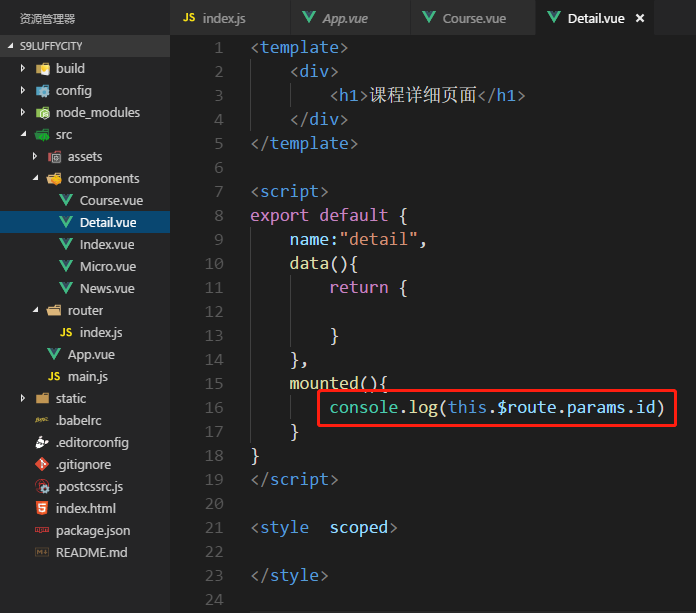
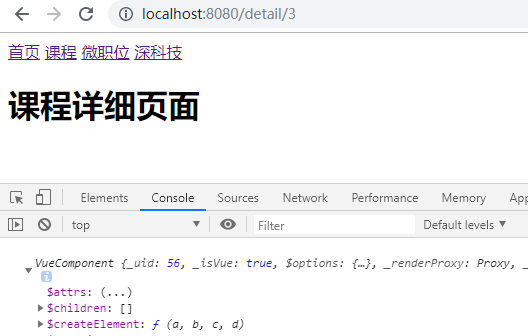
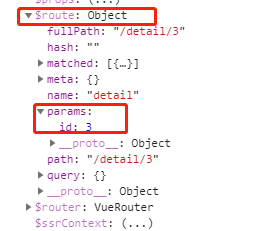

(4)通过id查询详细
2.图片显示
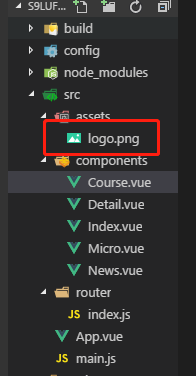
(1)图片路径与效果
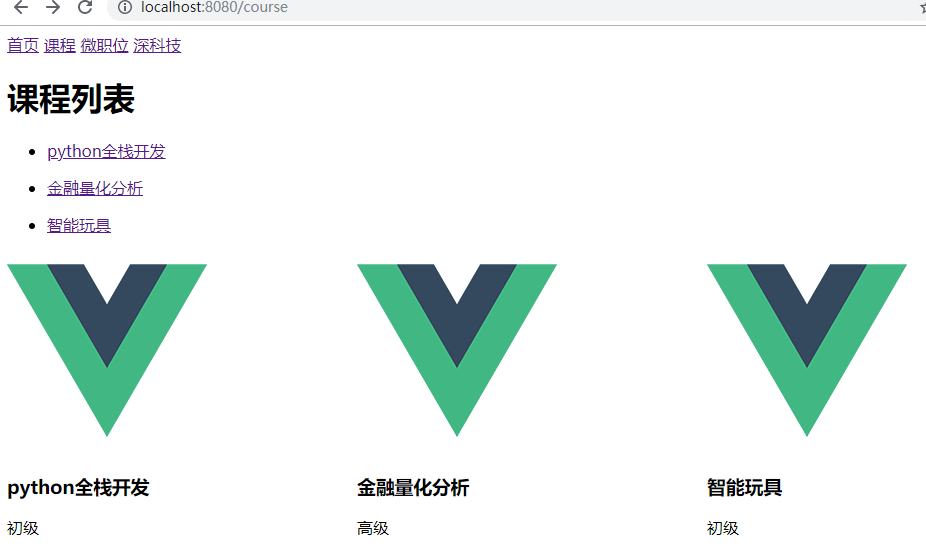
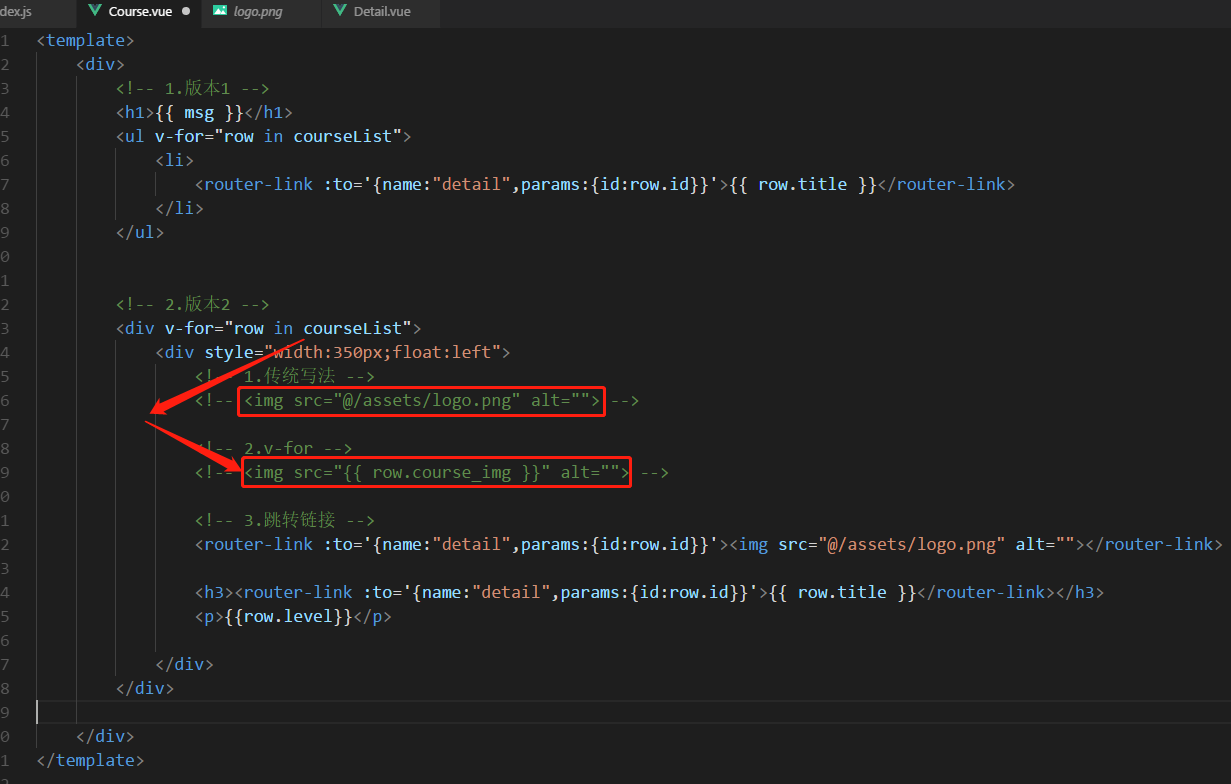
(2)v-for循环图片路径
3.ajax请求:点击跳转
(1)后端json数据
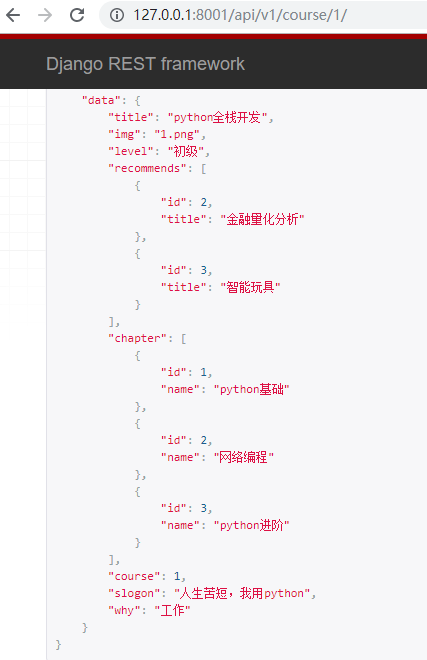
(2)ajax请求

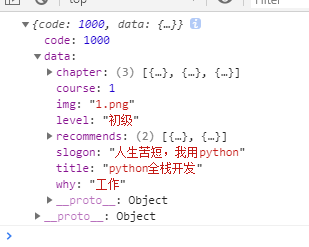
(3)效果图
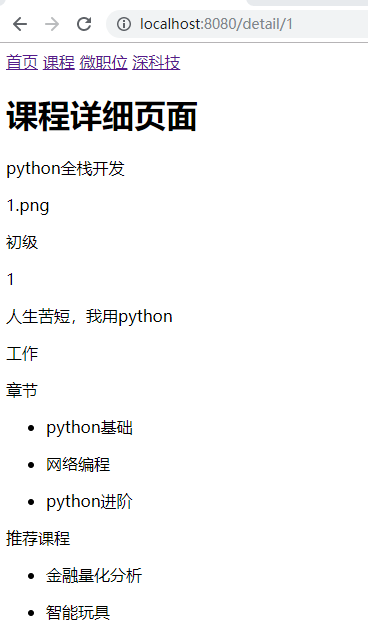
2、推荐课程切换
1. url 跳转了,id没有跳转
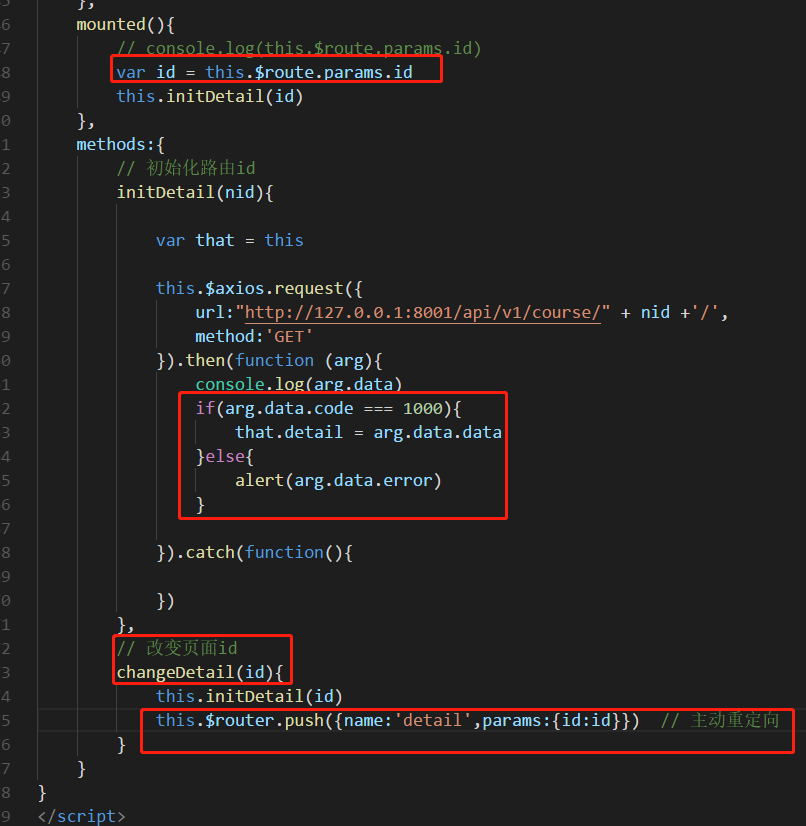
detail组件不会重写加载,init不会执行
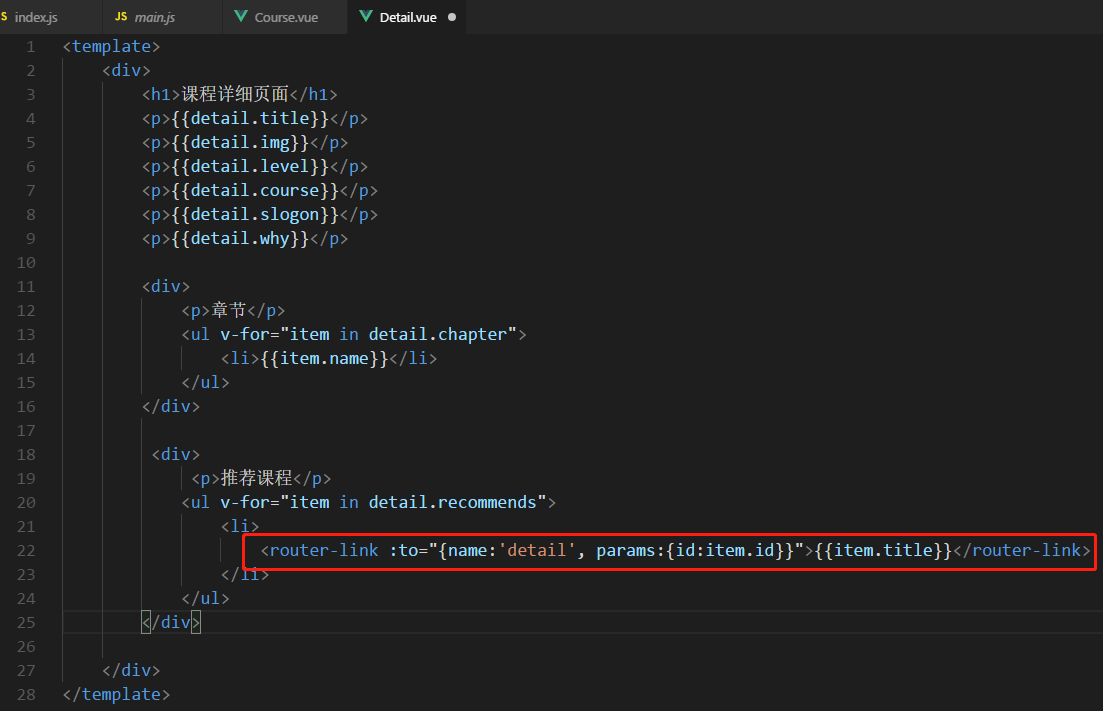
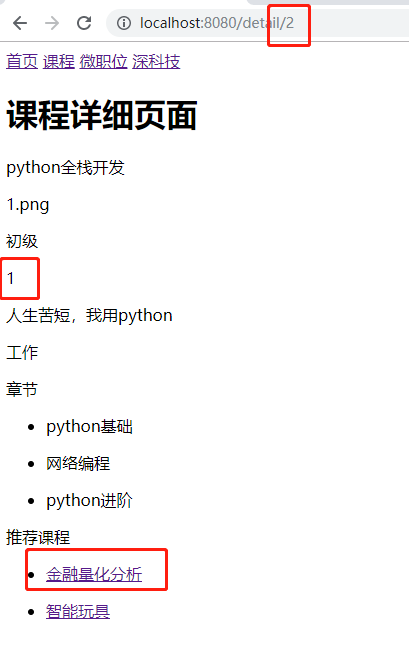
2.主动重定向:改变url和页面id


3、代码与总结
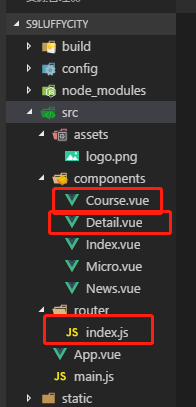
1.Detail组件代码
<template>
    <div>
        <h1>课程详细页面</h1>
        <p>{{detail.title}}</p>
        <p>{{detail.img}}</p>
        <p>{{detail.level}}</p>
        <p>{{detail.course}}</p>
        <p>{{detail.slogon}}</p>
        <p>{{detail.why}}</p>

        <div>
            <p>章节</p>
            <ul v-for="item in detail.chapter">
                <li>{{item.name}}</li>
            </ul>
        </div>

         <div>
             <p>推荐课程</p>
            <ul v-for="item in detail.recommends">
                <!--<li><router-link :to="{name:'detail',params:{id:item.id}}">{{item.title}}</router-link></li>-->
                <li @click="changeDetail(item.id)">{{item.title}}</li>
            </ul>
        </div>

    </div>
</template>

<script>
export default {
    name:"detail",
    data(){
        return {
            detail:{
                title:null,
                img:null,
                level:null,
                recommends:[],
                chapter:[],
                course:null,
                slogon:null,
                why:null,
            }
        }
    },
    mounted(){
        // console.log(this.$route.params.id)
        var id = this.$route.params.id
        this.initDetail(id)
    },
    methods:{
        // 初始化路由id
        initDetail(nid){

            var that = this

            this.$axios.request({
                url:"http://127.0.0.1:8001/api/v1/course/" + nid +'/',
                method:'GET'
            }).then(function (arg){
                console.log(arg.data)
                if(arg.data.code === 1000){
                    that.detail = arg.data.data
                }else{
                    alert(arg.data.error)
                }

            }).catch(function(){

            })
        },
        // 改变页面id
        changeDetail(id){
            this.initDetail(id)
            this.$router.push({name:'detail',params:{id:id}})  // 主动重定向
        }
    }
}
</script>

<style  scoped>

</style>
2.Course组件代码
<template>
    <div>
        <!-- 1.版本1 -->
        <h1>{{ msg }}</h1>
        <ul v-for="row in courseList">
            <li>
                <router-link :to='{name:"detail",params:{id:row.id}}'>{{ row.title }}</router-link>
            </li>
        </ul>


        <!-- 2.版本2 -->
        <div v-for="row in courseList">
            <div style="350px;float:left">
                <!-- 1.传统写法 -->
                <!-- <img src="@/assets/logo.png" alt=""> -->

                <!-- 2.v-for -->
                <!-- <img src="{{ row.course_img }}" alt=""> -->

                <!-- 3.跳转链接 -->
                <router-link :to='{name:"detail",params:{id:row.id}}'><img src="@/assets/logo.png" alt=""></router-link>

                <h3><router-link :to='{name:"detail",params:{id:row.id}}'>{{ row.title }}</router-link></h3>
                <p>{{row.level}}</p>

            </div>
        </div>

    </div>
</template>


<script>
export default {
    name:"course",
    data(){
        return {
            msg:"课程列表",
            courseList:[]
        }
    },
    mounted:function(){
        // vue页面刚加载时自动执行
        this.initCourse()
    },
    methods:{
        initCourse:function(){
            // 通过ajax向接口发送请求,并获取课程列表
            // jquery/axios

            // npm install axios --save
            //第一步:在main.js中配置
            //第二步:使用axios发送请求

            var that = this

            this.$axios.request({
                //参数
                url:"http://127.0.0.1:8001/api/v1/course",
                method:"GET"

            }).then(function(ret){
                //ajax请求发送成功后,获取响应的内容
                console.log(ret)
                if(ret.data.code === 1000){
                    that.courseList = ret.data.data
                }else{
                    alert("获取数据失败")
                }

            }).catch(function(){
                //ajax请求失败后,获取响应的内容
            })
        }
    }
}
</script>

<style  scoped>

</style>
3.router/index.js
import Vue from 'vue'
import Router from 'vue-router'
// import HelloWorld from '@/components/HelloWorld'

import Index from "@/components/Index"
import Course from "@/components/Course"
import Micro from "@/components/Micro"
import News from "@/components/News"
import Detail from "@/components/Detail"

Vue.use(Router)

export default new Router({
  routes: [
    {
      path: '/index',
      name: 'index',
      component: Index
    },
    {
      path: '/course',
      name: 'course',
      component: Course
    },
    {
      path: '/micro',
      name: 'micro',
      component: Micro
    },
    {
      path: '/news',
      name: 'news',
      component: News
    },
    {
      path: '/detail/:id',
      name: 'detail',
      component: Detail
    },
  ],
  'mode':'history'
})
4.作业
