Start the Server
If you didn’t start Solr after installing it, you can start it by running bin/solr from the Solr directory.
bin/solr startIf you are running Windows, you can start Solr by running binsolr.cmd instead.
binsolr.cmd startThis will start Solr in the background, listening on port 8983.
When you start Solr in the background, the script will wait to make sure Solr starts correctly before returning to the command line prompt.
The bin/solr and binsolr.cmd scripts allow you to customize how you start Solr. Let’s work through a few examples of using the bin/solr script (if you’re running Solr on Windows, the binsolr.cmd works the same as what is shown in the examples below):
Solr Script Options
The bin/solr script has several options.
Script Help
To see how to use the bin/solr script, execute:
bin/solr -helpFor specific usage instructions for the start command, do:
bin/solr start -helpStart Solr in the Foreground
Since Solr is a server, it is more common to run it in the background, especially on Unix/Linux. However, to start Solr in the foreground, simply do:
bin/solr start -fIf you are running Windows, you can run:
binsolr.cmd start -fStart Solr with a Different Port
To change the port Solr listens on, you can use the -p parameter when starting, such as:
bin/solr start -p 8984Stop Solr
When running Solr in the foreground (using -f), then you can stop it using Ctrl-c. However, when running in the background, you should use the stop command, such as:
bin/solr stop -p 8983The stop command requires you to specify the port Solr is listening on or you can use the -all parameter to stop all running Solr instances.
Start Solr with a Specific Bundled Example
Solr also provides a number of useful examples to help you learn about key features. You can launch the examples using the -e flag. For instance, to launch the "techproducts" example, you would do:
bin/solr -e techproductsCurrently, the available examples you can run are: techproducts, dih, schemaless, and cloud. See the sectionRunning with Example Configurations for details on each example.
|
Getting Started with SolrCloud
Running the |
Check if Solr is Running
If you’re not sure if Solr is running locally, you can use the status command:
bin/solr statusThis will search for running Solr instances on your computer and then gather basic information about them, such as the version and memory usage.
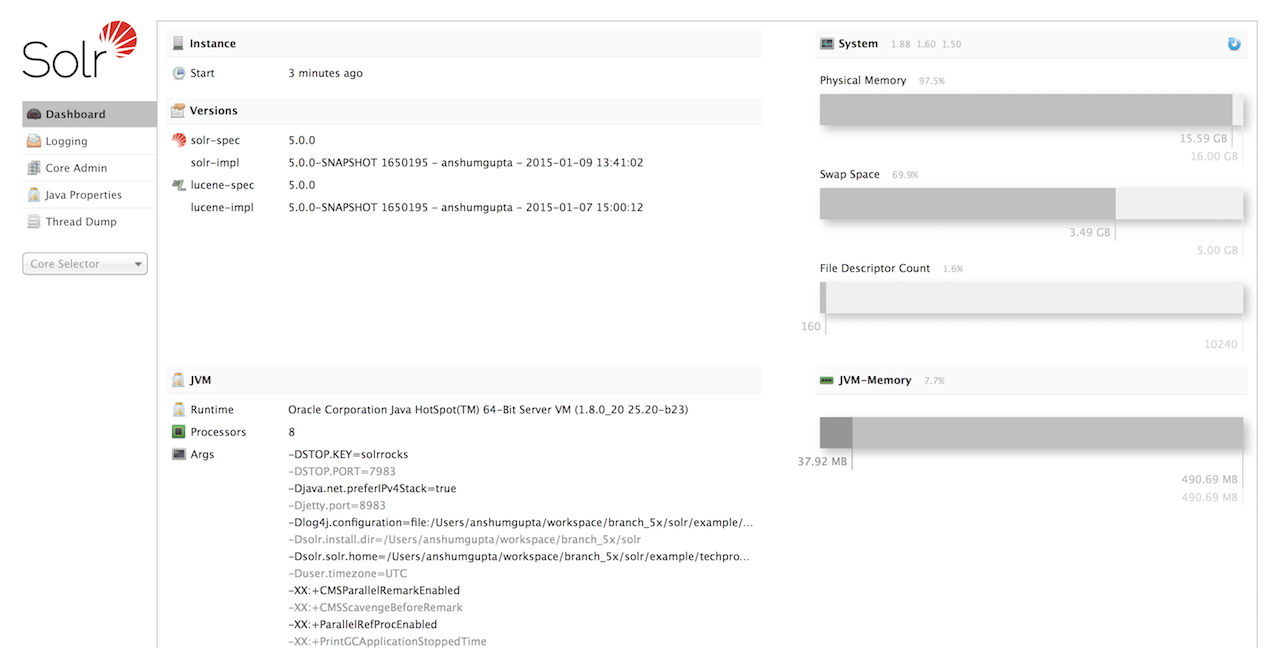
That’s it! Solr is running. If you need convincing, use a Web browser to see the Admin Console.
http://localhost:8983/solr/
If Solr is not running, your browser will complain that it cannot connect to the server. Check your port number and try again.
Create a Core
If you did not start Solr with an example configuration, you would need to create a core in order to be able to index and search. You can do so by running:
bin/solr create -c <name>This will create a core that uses a data-driven schema which tries to guess the correct field type when you add documents to the index.
To see all available options for creating a new core, execute:
bin/solr create -helpAdd Documents
Solr is built to find documents that match queries. Solr’s schema provides an idea of how content is structured (more on the schema later), but without documents there is nothing to find. Solr needs input before it can do much.
You may want to add a few sample documents before trying to index your own content. The Solr installation comes with different types of example documents located under the sub-directories of the example/directory of your installation.
In the bin/ directory is the post script, a command line tool which can be used to index different types of documents. Do not worry too much about the details for now. The Indexing and Basic Data Operationssection has all the details on indexing.
To see some information about the usage of bin/post, use the -help option. Windows users, see the section for Post Tool on Windows.
bin/post can post various types of content to Solr, including files in Solr’s native XML and JSON formats, CSV files, a directory tree of rich documents, or even a simple short web crawl. See the examples at the end ofbin/post -help for various commands to easily get started posting your content into Solr.
Go ahead and add all the documents in some example XML files:
$ bin/post -c gettingstarted example/exampledocs/*.xml
SimplePostTool version 5.0.0
Posting files to [base] url http://localhost:8983/solr/gettingstarted/update...
Entering auto mode. File endings considered are xml,json,csv,pdf,doc,docx,ppt,pptx,xls,xlsx,odt,odp,ods,ott,otp,ots,rtf,htm,html,txt,log
POSTing file gb18030-example.xml (application/xml) to [base]
POSTing file hd.xml (application/xml) to [base]
POSTing file ipod_other.xml (application/xml) to [base]
POSTing file ipod_video.xml (application/xml) to [base]
POSTing file manufacturers.xml (application/xml) to [base]
POSTing file mem.xml (application/xml) to [base]
POSTing file money.xml (application/xml) to [base]
POSTing file monitor.xml (application/xml) to [base]
POSTing file monitor2.xml (application/xml) to [base]
POSTing file mp500.xml (application/xml) to [base]
POSTing file sd500.xml (application/xml) to [base]
POSTing file solr.xml (application/xml) to [base]
POSTing file utf8-example.xml (application/xml) to [base]
POSTing file vidcard.xml (application/xml) to [base]
14 files indexed.
COMMITting Solr index changes to http://localhost:8983/solr/gettingstarted/update...
Time spent: 0:00:00.153
That’s it! Solr has indexed the documents contained in those files.
Ask Questions
Now that you have indexed documents, you can perform queries. The simplest way is by building a URL that includes the query parameters. This is exactly the same as building any other HTTP URL.
For example, the following query searches all document fields for "video":
http://localhost:8983/solr/gettingstarted/select?q=video
Notice how the URL includes the host name (localhost), the port number where the server is listening (8983), the application name (solr), the request handler for queries (select), and finally, the query itself (q=video).
The results are contained in an XML document, which you can examine directly by clicking on the link above. The document contains two parts. The first part is the responseHeader, which contains information about the response itself. The main part of the reply is in the result tag, which contains one or more doc tags, each of which contains fields from documents that match the query. You can use standard XML transformation techniques to mold Solr’s results into a form that is suitable for displaying to users. Alternatively, Solr can output the results in JSON, PHP, Ruby and even user-defined formats.
Just in case you are not running Solr as you read, the following screen shot shows the result of a query (the next example, actually) as viewed in Mozilla Firefox. The top-level response contains a lst namedresponseHeader and a result named response. Inside result, you can see the three docs that represent the search results.

Once you have mastered the basic idea of a query, it is easy to add enhancements to explore the query syntax. This one is the same as before but the results only contain the ID, name, and price for each returned document. If you don’t specify which fields you want, all of them are returned.
http://localhost:8983/solr/gettingstarted/select?q=video&fl=id,name,price
Here is another example which searches for "black" in the name field only. If you do not tell Solr which field to search, it will search default fields, as specified in the schema.
http://localhost:8983/solr/gettingstarted/select?q=name:black
You can provide ranges for fields. The following query finds every document whose price is between $0 and $400.
http://localhost:8983/solr/gettingstarted/select?q=price:0%20TO%20400&fl=id,name,price
Faceted browsing is one of Solr’s key features. It allows users to narrow search results in ways that are meaningful to your application. For example, a shopping site could provide facets to narrow search results by manufacturer or price.
Faceting information is returned as a third part of Solr’s query response. To get a taste of this power, take a look at the following query. It adds facet=true and facet.field=cat.
http://localhost:8983/solr/gettingstarted/select?q=price:0%20TO%20400&fl=id,name,price&facet=true&facet.field=cat
In addition to the familiar responseHeader and response from Solr, a facet_counts element is also present. Here is a view with the responseHeader and response collapsed so you can see the faceting information clearly.
An XML Response with faceting
<response>
<lst name="responseHeader">
...
</lst>
<result name="response" numFound="9" start="0">
  <doc>
    <str name="id">SOLR1000</str>
    <str name="name">Solr, the Enterprise Search Server</str>
    <float name="price">0.0</float></doc>
...
</result>
<lst name="facet_counts">
  <lst name="facet_queries"/>
  <lst name="facet_fields">
    <lst name="cat">
      <int name="electronics">6</int>
      <int name="memory">3</int>
      <int name="search">2</int>
      <int name="software">2</int>
      <int name="camera">1</int>
      <int name="copier">1</int>
      <int name="multifunction printer">1</int>
      <int name="music">1</int>
      <int name="printer">1</int>
      <int name="scanner">1</int>
      <int name="connector">0</int>
      <int name="currency">0</int>
      <int name="graphics card">0</int>
      <int name="hard drive">0</int>
      <int name="monitor">0</int>
    </lst>
  </lst>
  <lst name="facet_dates"/>
  <lst name="facet_ranges"/>
</lst>
</response>
The facet information shows how many of the query results have each possible value of the cat field. You could easily use this information to provide users with a quick way to narrow their query results. You can filter results by adding one or more filter queries to the Solr request. This request constrains documents with a category of "software".
http://localhost:8983/solr/gettingstarted/select?q=price:0%20TO%20400&fl=id,name,price&facet=true&facet.field=cat&fq=cat:software