https://zhuanlan.zhihu.com/p/399725374
CUDA入门到精通(4)vs2019+cuda11.4创建缺省CUDA工程项目
致力于国产CFD开源软件
前面提到了:
这里继续进行关于cuda学习的探索和测试。这个工作开始的时候,作者对cuda所知不多,没怎么用过,结束之后应该基本可以运用到所需要的工程项目中,并逐步迭代完善。这个过程展现出的就是敏捷开发思想。
前面运用此方法的系列是:
言归正传。
安装了vs2019和cuda11.4后,可以创建cuda项目:
打开vs2019

选择创建新项目:
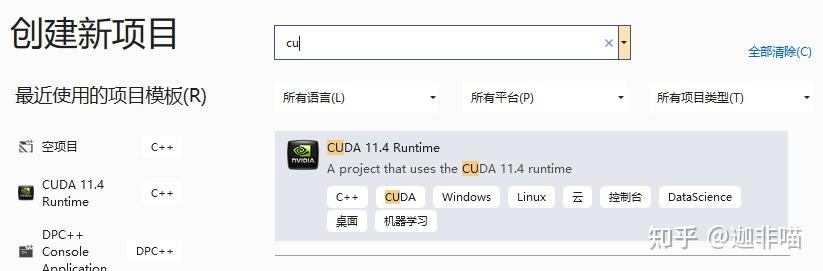
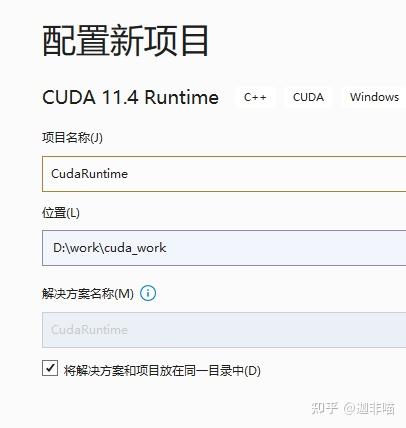
选择CUDA 11.4Runtime,配置
有:
可以看到vs2019自动创建了cuda项目:
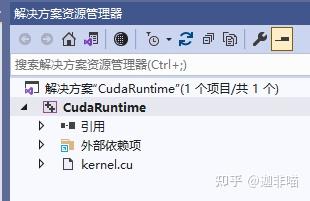
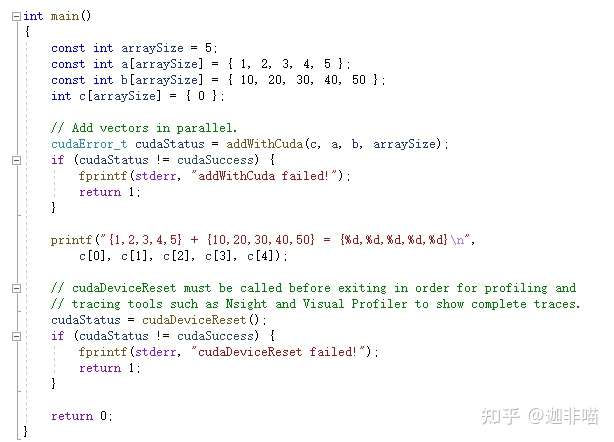
还缺省建立了kernel.cu:
#include "cuda_runtime.h"
#include "device_launch_parameters.h"

#include <stdio.h>

cudaError_t addWithCuda(int *c, const int *a, const int *b, unsigned int size);

__global__ void addKernel(int *c, const int *a, const int *b)
{
    int i = threadIdx.x;
    c[i] = a[i] + b[i];
}

int main()
{
    const int arraySize = 5;
    const int a[arraySize] = { 1, 2, 3, 4, 5 };
    const int b[arraySize] = { 10, 20, 30, 40, 50 };
    int c[arraySize] = { 0 };

    // Add vectors in parallel.
    cudaError_t cudaStatus = addWithCuda(c, a, b, arraySize);
    if (cudaStatus != cudaSuccess) {
        fprintf(stderr, "addWithCuda failed!");
        return 1;
    }

    printf("{1,2,3,4,5} + {10,20,30,40,50} = {%d,%d,%d,%d,%d}\n",
        c[0], c[1], c[2], c[3], c[4]);

    // cudaDeviceReset must be called before exiting in order for profiling and
    // tracing tools such as Nsight and Visual Profiler to show complete traces.
    cudaStatus = cudaDeviceReset();
    if (cudaStatus != cudaSuccess) {
        fprintf(stderr, "cudaDeviceReset failed!");
        return 1;
    }

    return 0;
}

// Helper function for using CUDA to add vectors in parallel.
cudaError_t addWithCuda(int *c, const int *a, const int *b, unsigned int size)
{
    int *