1.gitlab介绍
gitlab是一款代码仓库管理工具,可以用来搭建自己的代码管理服务器。
gitlab包自带了redis,nginx,postgresql,unicorn等众多服务组件。
2.硬件环境
gitlab非常的占用内存,至少需要4GB的可用内存
3.安装方式
1)源码安装
2)安装包安装
3)docker安装
因为源码安装下载非常缓慢,本文考虑了deb安装包安装和docker安装两种方式。
4.安装
安装依赖包
sudo apt-get install curl openssh-server ca-certificates postfix
下载deb安装包并安装
curl -O https://packages.gitlab.com/gitlab/gitlab-ce/packages/ubuntu/bionic/gitlab-ce_11.1.1-ce.0_amd64.deb
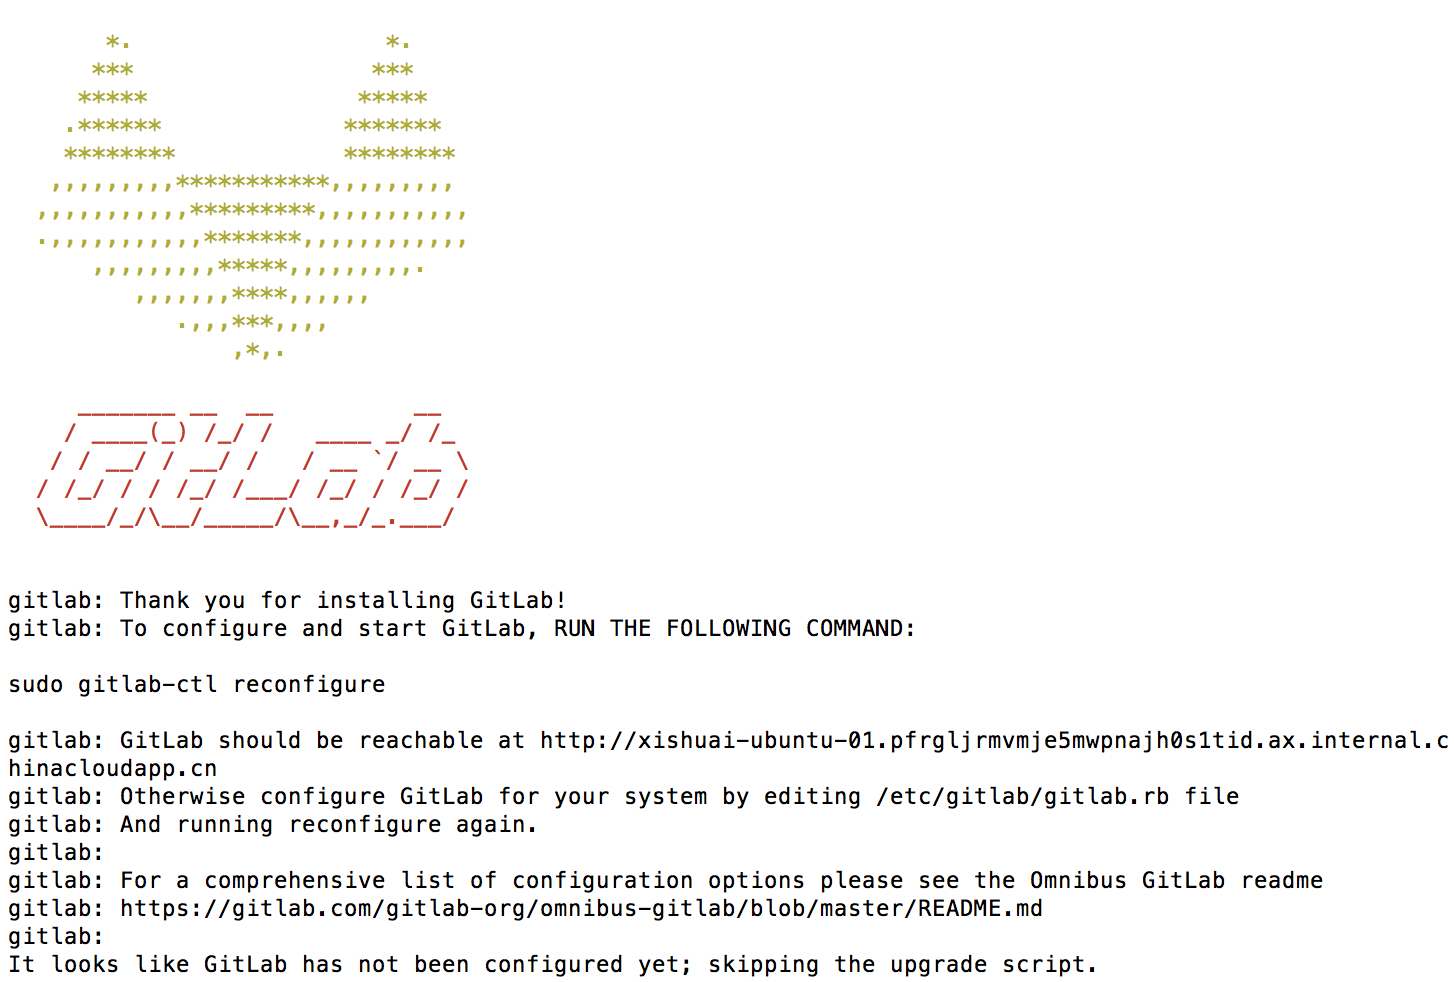
dpkg -i gitlab-ce_11.1.1-ce.0_amd64.deb
执行结果:
5.修改端口配置
gitlab自带nginx服务器,占用80端口,很容易和服务器上其他的web服务器冲突,因此有必要修改相应的端口。
1)修改/etc/gitlab/gitlab.rb
vim /etc/gitlab/gitlab.rb

#unicorn['port'] = 8080 修改 8070  默认是注释的去掉前面的#
unicorn['port'] = 8070
#nginx['listen_port'] = nil 修改 8090  默认是注释的去掉前面的#
nginx['listen_port'] = 8090
修改gitlab.rb配置文件后,必须执行重新加载配置文件命令
gitlab-ctl reconfigure
2)修改/var/opt/gitlab/gitlab-rails/etc/unicorn.rb
vim /var/opt/gitlab/gitlab-rails/etc/unicorn.rb

#listen "127.0.0.1:8080", :tcp_nopush => true
listen "127.0.0.1:8070", :tcp_nopush => true
3)修改默认的gitlab nginx的web服务80端 /var/opt/gitlab/nginx/conf/gitlab-http.conf
vim /var/opt/gitlab/nginx/conf/gitlab-http.conf

#listen *:80;
listen *:8090;
4)重启gitlab
gitlab-ctl restart
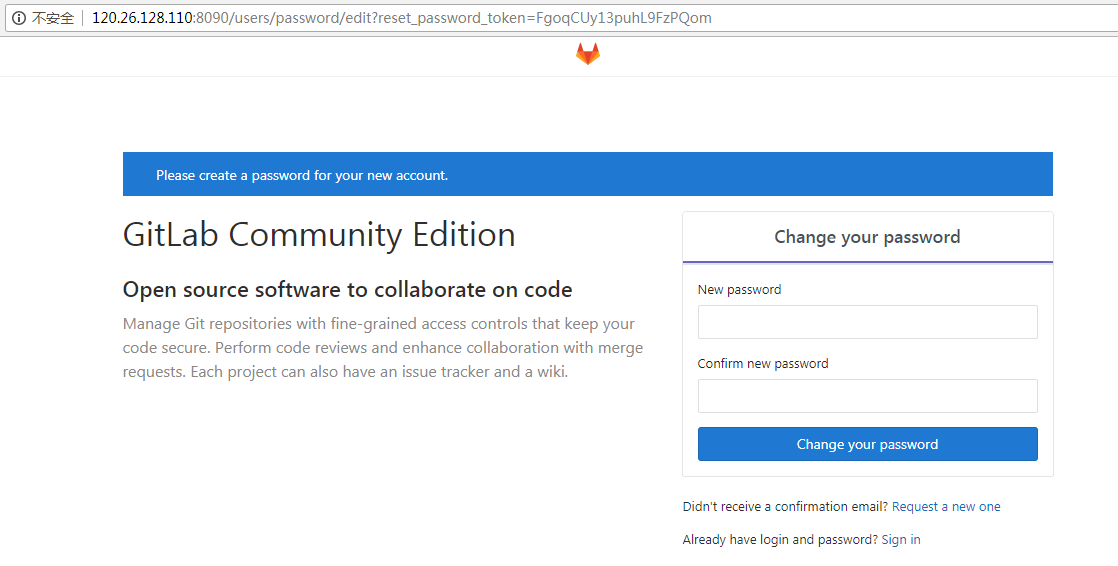
6.浏览器访问
7.gitlab常用命令
启动:gitlib-ctl start
关闭:gitlab-ctl stop
重启:gitlab-ctl restart
重载配置:gitlab-ctl reconfigure
查看状态:gitlab-ctl status
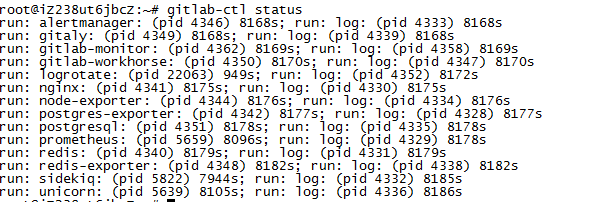
都处在run状态,gitlab才算安装成功
8.遇到的一些问题
1)安装postgresql失败
执行gitlab-ctl reconfigure
[execute] psql: could not connect to server: Connection refused
            Is the server running locally and accepting
            connections on Unix domain socket "/var/opt/gitlab/postgresql/.s.PGSQL.5432"?
解决方法:
sudo gitlab-ctl stop
sudo systemctl stop gitlab-runsvdir.service
ps aux | grep postgre (check if there are any postgres processes; shouldn't be)
sudo rm /var/opt/gitlab/postgresql/data/postmaster.pid
sudo systemctl start gitlab-runsvdir.service
sudo gitlab-ctl reconfigure
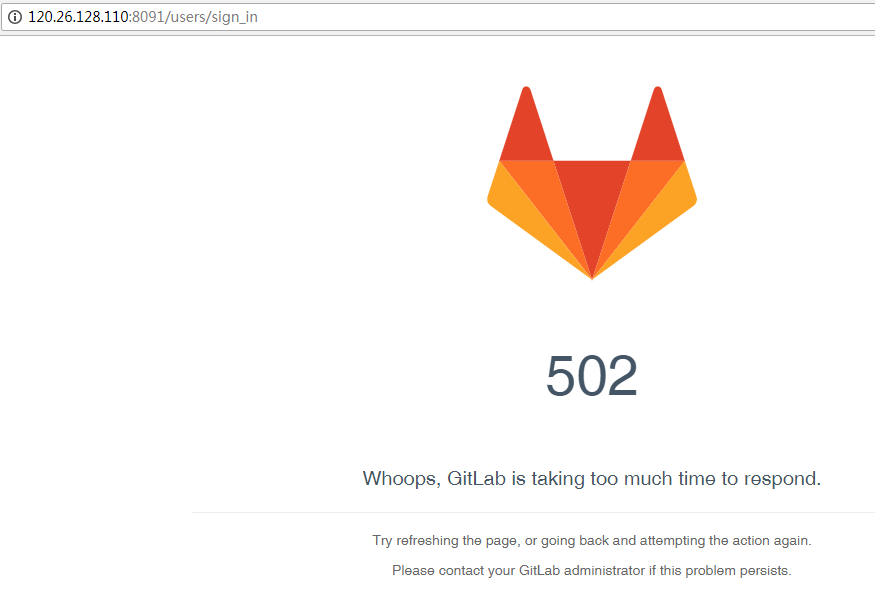
2)502 Whoops, GitLab is taking too much time to respond.
端口配置存在错误,修改详细如上所述
3)gitlab占用内存过大
本机内存为2G,至少需要4G可用内存,修改工作进程数
修改/etc/gitlab/gitlab.rb
unicorn['worker_processes'] = 2
9.docker安装gitlab
gitlab依赖组件比较多,使用docker安装非常简单和方便
1)拉取镜像
docker pull gitlab/gitlab-ce:latest
2)数据持久化
因为容器的数据是不能持久化的,所以我们需要将相关配置,数据,日志等映射到本地
3)运行gitlab容器
docker run -p 8091:80 --name gitlab --volume /home/shijingjing/gitlab/config:/etc/gitlab --volume /home/shijingjing/gitlab/logs:/var/log/gitlab --volume /home/shijingjing/gitlab/data:/var/opt/gitlab gitlab/gitlab-ce
4)浏览器访问