安装环境
jdk 1.8 、tomcat 8 、cas 5.1
之前使用的是 cas 5.1 和 tomcat 7,怎么都跑不通,一直以为是配置的问题,一查资料才知道是 cas5 以上至少要 tomcat8 以上版本。
cas5 源码下载
官网cas主页地址: https://www.apereo.org/projects/cas
github 源码主页 : https://github.com/apereo/cas
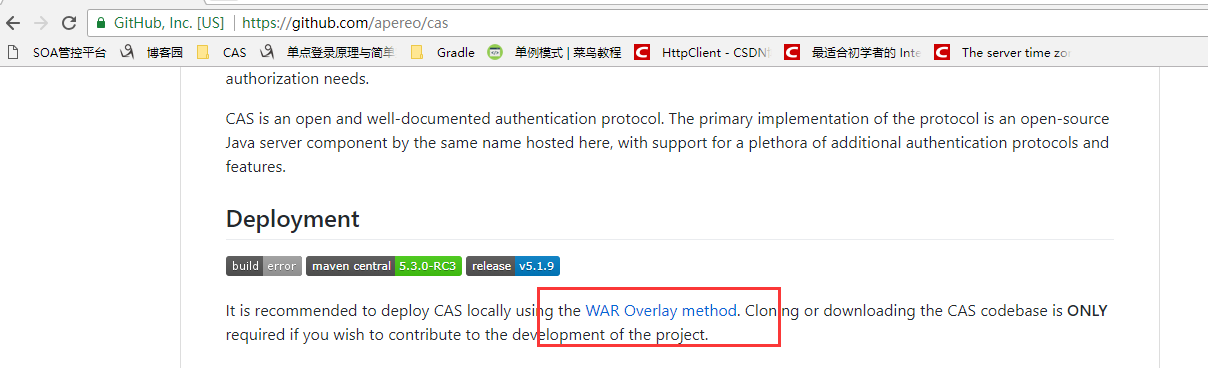
选择 Maven 构建工程

选择版本号下载
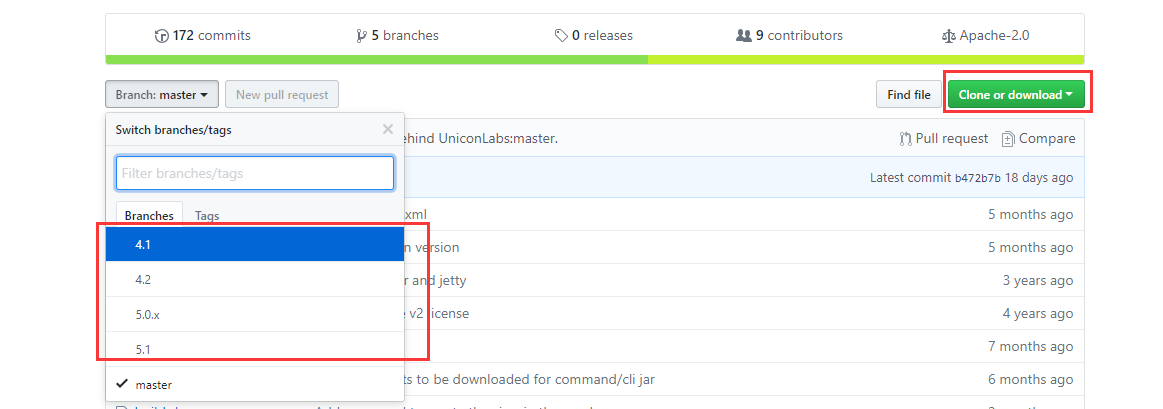
下载完成之后将项目解压导入 IDE 中(3.5版本可以直接从modle 目录下找到对应的war包直接部署运行即可)
tomcat 配置
因为cas要求是https 请求所以设置tomcat的请求方式为https
第一步使用 JDK 自带的工具生成证书文件,命令如下:
keytool -genkey -alias castest -keyalg RSA -keystore C:/key/casKey.keystore
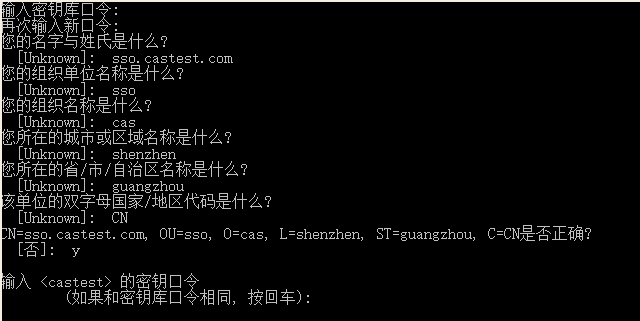
注意:名字与姓氏要为域名或localhost
第二步导出crt文件:
keytool -export -file C:/key/casKey.crt -alias castest -keystore C:/key/casKey.keystore
执行完这两步,你将生成两个文件:

第三步:将生成的证书导入你的运行jdk中:
keytool -import -keystore "E:/JDK/1.8/jre/lib/security/cacerts" -file C:/key/casKey.crt -alias castest
这里需要注意的是你的路径一定要为你的jdk->jre->lib->security,如果你的路径下存在此文件,则需要将其删除,再执行导入,密钥库口令默认为changeit
第四步:在 c://windows/System32/drivers/etc/hosts 文件中添加你的域名映
127.0.0.1 sso.castest.com
第五步: 修改 tomcat 的server.xml:
找到:

将其打开并修改为:
<Connector port="8086" protocol="org.apache.coyote.http11.Http11Protocol" SSLEnabled="true"
               maxThreads="150" scheme="https" secure="true"
               clientAuth="false" sslProtocol="TLS" keystoreFile="C:/key/casKey.keystore" keystorePass="111111" />
其中 keystorePass 为第一步设置的密码,并不是 changeit,并将之前的配置注释掉:

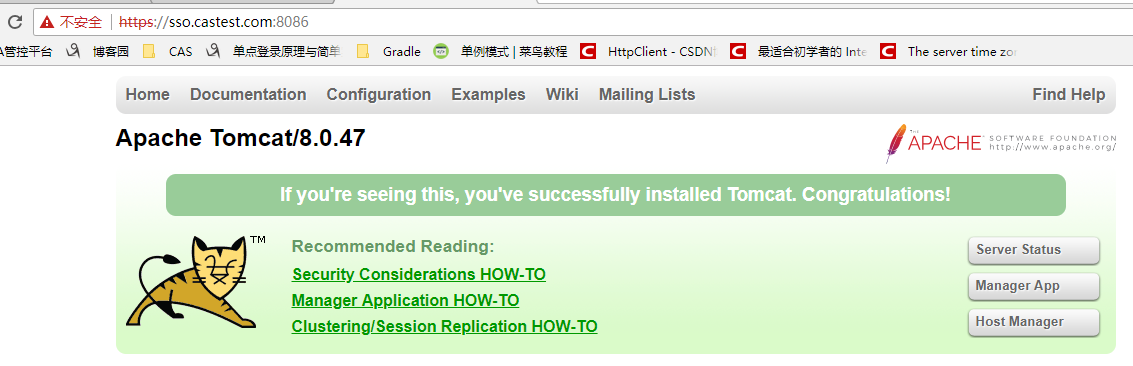
运行tomca测试https访问:https://sso.castest.com:8086/
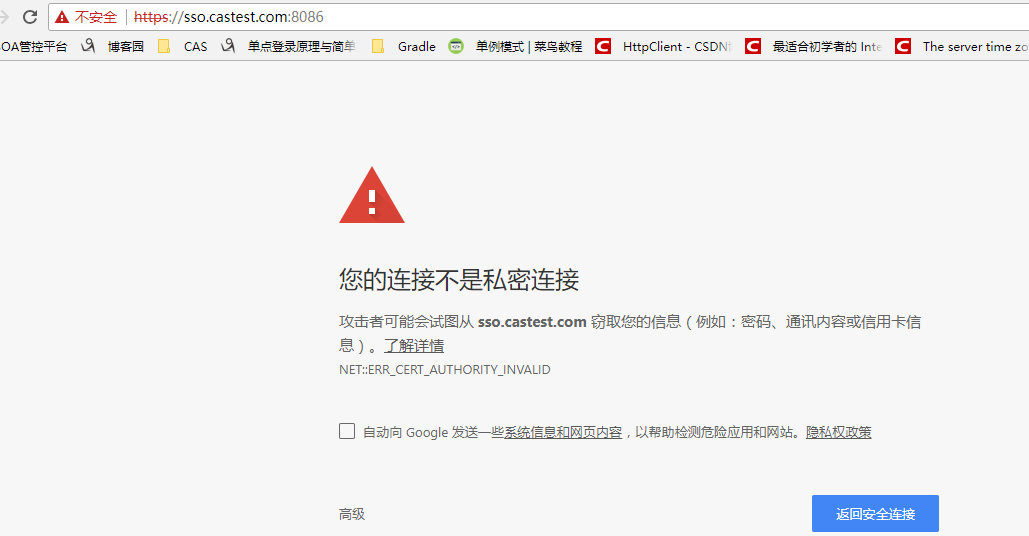
选择高级
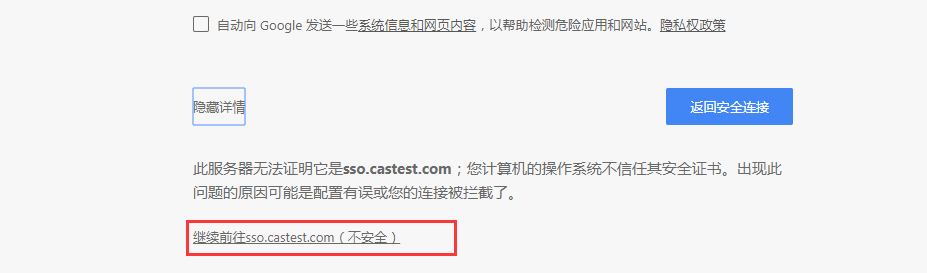
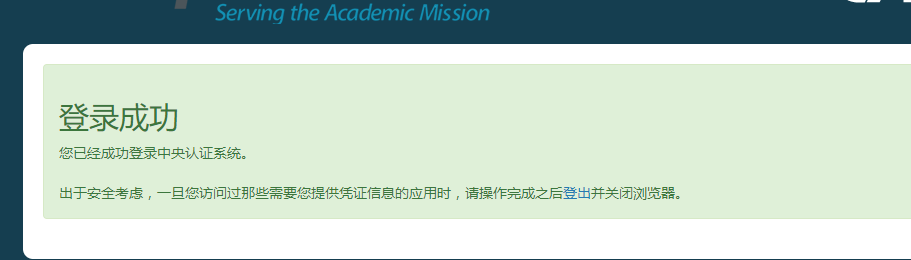
访问成功:
修改源码配置
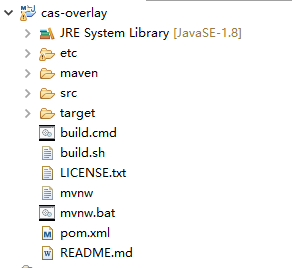
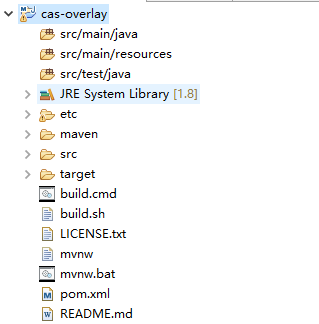
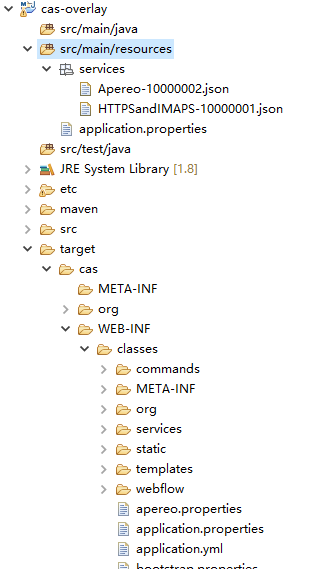
将源码载入Eclipse 中目录结构
执行 maven-clean -> maven-install 然后添加maven的资源文件夹
进入target 目录将class 目录下的application.properties 和 service文件夹 拷贝到 resources目录下
修改etc/cas/config目录下的 cas.properties
cas.server.name: https://sso.castest.com:8086
cas.server.prefix: https://sso.castest.com:8086/cas
cas.adminPagesSecurity.ip=127.0.0.1
logging.config: file:/etc/cas/config/log4j2.xml
# cas.serviceRegistry.config.location: classpath:/services
修改application.properties 文件
##
# CAS Server Context Configuration
#
server.context-path=/cas
server.port=8086

cas.serviceRegistry.initFromJson=true


server.ssl.key-store=file:/C:/key/caskey.Keystore
server.ssl.key-store-password=changeit
server.ssl.key-password=changeit
# server.ssl.ciphers=
# server.ssl.client-auth=
# server.ssl.enabled=
# server.ssl.key-alias=
# server.ssl.key-store-provider=
# server.ssl.key-store-type=
# server.ssl.protocol=
# server.ssl.trust-store=
# server.ssl.trust-store-password=
# server.ssl.trust-store-provider=
# server.ssl.trust-store-type=

server.compression.enabled=true
server.compression.mime-types=application/javascript,application/json,application/xml,text/html,text/xml,text/plain

server.max-http-header-size=2097152
server.use-forward-headers=true
server.connection-timeout=20000
server.error.include-stacktrace=NEVER

server.tomcat.max-http-post-size=2097152
server.tomcat.basedir=build/tomcat
server.tomcat.accesslog.enabled=true
server.tomcat.accesslog.pattern=%t %a "%r" %s (%D ms)
server.tomcat.accesslog.suffix=.log
server.tomcat.max-threads=10
server.tomcat.port-header=X-Forwarded-Port
server.tomcat.protocol-header=X-Forwarded-Proto
server.tomcat.protocol-header-https-value=https
server.tomcat.remote-ip-header=X-FORWARDED-FOR
server.tomcat.uri-encoding=UTF-8

spring.http.encoding.charset=UTF-8
spring.http.encoding.enabled=true
spring.http.encoding.force=true

##
# CAS Cloud Bus Configuration
#
spring.cloud.bus.enabled=false
# spring.cloud.bus.refresh.enabled=true
# spring.cloud.bus.env.enabled=true
# spring.cloud.bus.destination=CasCloudBus
# spring.cloud.bus.ack.enabled=true

endpoints.enabled=false
endpoints.sensitive=true

endpoints.restart.enabled=false
endpoints.shutdown.enabled=false

management.security.enabled=true
management.security.roles=ACTUATOR,ADMIN
management.security.sessions=if_required
management.context-path=/status
management.add-application-context-header=false

security.basic.authorize-mode=role
security.basic.enabled=false
security.basic.path=/cas/status/**

##
# CAS Web Application Session Configuration
#
server.session.timeout=300
server.session.cookie.http-only=true
server.session.tracking-modes=COOKIE

##
# CAS Thymeleaf View Configuration
#
spring.thymeleaf.encoding=UTF-8
spring.thymeleaf.cache=true
spring.thymeleaf.mode=HTML
##
# CAS Log4j Configuration
#
# logging.config=file:/etc/cas/log4j2.xml
server.context-parameters.isLog4jAutoInitializationDisabled=true

##
# CAS AspectJ Configuration
#
spring.aop.auto=true
spring.aop.proxy-target-class=true

##
# CAS Authentication Credentials
#
#cas.authn.accept.users=casuser::Mellon

##
# CAS Delegated Authentication
#
#cas.authn.pac4j.bitbucket.clientName=Bitbucket
#cas.authn.pac4j.dropbox.clientName=Dropbox
#cas.authn.pac4j.facebook.clientName=Facebook
#cas.authn.pac4j.foursquare.clientName=Foursquare
#cas.authn.pac4j.github.clientName=Github
#cas.authn.pac4j.google.clientName=Google
#cas.authn.pac4j.linkedIn.clientName=LinkedIn
#cas.authn.pac4j.paypal.clientName=PayPal
#cas.authn.pac4j.twitter.clientName=Twitter
#cas.authn.pac4j.yahoo.clientName=Yahoo
#cas.authn.pac4j.windowsLive.clientName=Windows Live
#cas.authn.pac4j.wordpress.clientName=WordPress

 cas.authn.jdbc.query[0].sql=SELECT * FROM t_user WHERE name=?
# cas.authn.jdbc.query[0].healthQuery=
# cas.authn.jdbc.query[0].isolateInternalQueries=false
 cas.authn.jdbc.query[0].url=jdbc:mysql://127.0.0.1:3306/test?useUnicode=true&characterEncoding=UTF-8&autoReconnect=true&useSSL=false&serverTimezone=GMT
# cas.authn.jdbc.query[0].failFastTimeout=1
 cas.authn.jdbc.query[0].isolationLevelName=ISOLATION_READ_COMMITTED
 cas.authn.jdbc.query[0].dialect=org.hibernate.dialect.MySQLDialect
 cas.authn.jdbc.query[0].leakThreshold=10
 cas.authn.jdbc.query[0].propagationBehaviorName=PROPAGATION_REQUIRED
# cas.authn.jdbc.query[0].batchSize=1
 cas.authn.jdbc.query[0].user=root
# cas.authn.jdbc.query[0].ddlAuto=create-drop
# cas.authn.jdbc.query[0].maxAgeDays=180
 cas.authn.jdbc.query[0].password=
 cas.authn.jdbc.query[0].autocommit=false
 cas.authn.jdbc.query[0].driverClass=com.mysql.jdbc.Driver
# cas.authn.jdbc.query[0].idleTimeout=5000
# cas.authn.jdbc.query[0].credentialCriteria=
# cas.authn.jdbc.query[0].name=
# cas.authn.jdbc.query[0].order=0
# cas.authn.jdbc.query[0].dataSourceName=
# cas.authn.jdbc.query[0].dataSourceProxy=false
# Hibernate-specific properties (i.e. `hibernate.globally_quoted_identifiers`)
# cas.authn.jdbc.query[0].properties.propertyName=propertyValue

 cas.authn.jdbc.query[0].fieldPassword=password
# cas.authn.jdbc.query[0].fieldExpired=
# cas.authn.jdbc.query[0].fieldDisabled=
# cas.authn.jdbc.query[0].principalAttributeList=sn,cn:commonName,givenName

# cas.authn.jdbc.query[0].passwordEncoder.type=NONE|DEFAULT|STANDARD|BCRYPT|SCRYPT|PBKDF2|com.example.CustomPasswordEncoder
# cas.authn.jdbc.query[0].passwordEncoder.characterEncoding=
# cas.authn.jdbc.query[0].passwordEncoder.encodingAlgorithm=
# cas.authn.jdbc.query[0].passwordEncoder.secret=
# cas.authn.jdbc.query[0].passwordEncoder.strength=16

# cas.authn.jdbc.query[0].principalTransformation.pattern=(.+)@example.org
# cas.authn.jdbc.query[0].principalTransformation.groovy.location=file:///etc/cas/config/principal.groovy
# cas.authn.jdbc.query[0].principalTransformation.suffix=
# cas.authn.jdbc.query[0].principalTransformation.caseConversion=NONE|UPPERCASE|LOWERCASE
# cas.authn.jdbc.query[0].principalTransformation.prefix=
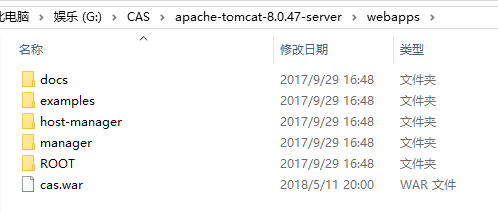
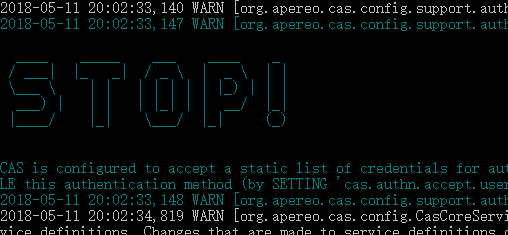
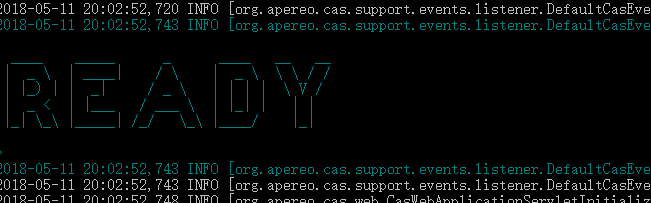
maven-install 打包并放入tomca目录中,测试运行 cmd -> startup
在这儿之前也想过在 Eclipse 中直接运行但是不知道为什么运行到最后 从浏览器中可以访问到,但是tomcat就是启动不起来一段时间之后就会超时自动关闭。

浏览器测试: https://sso.castest.com:8086/cas
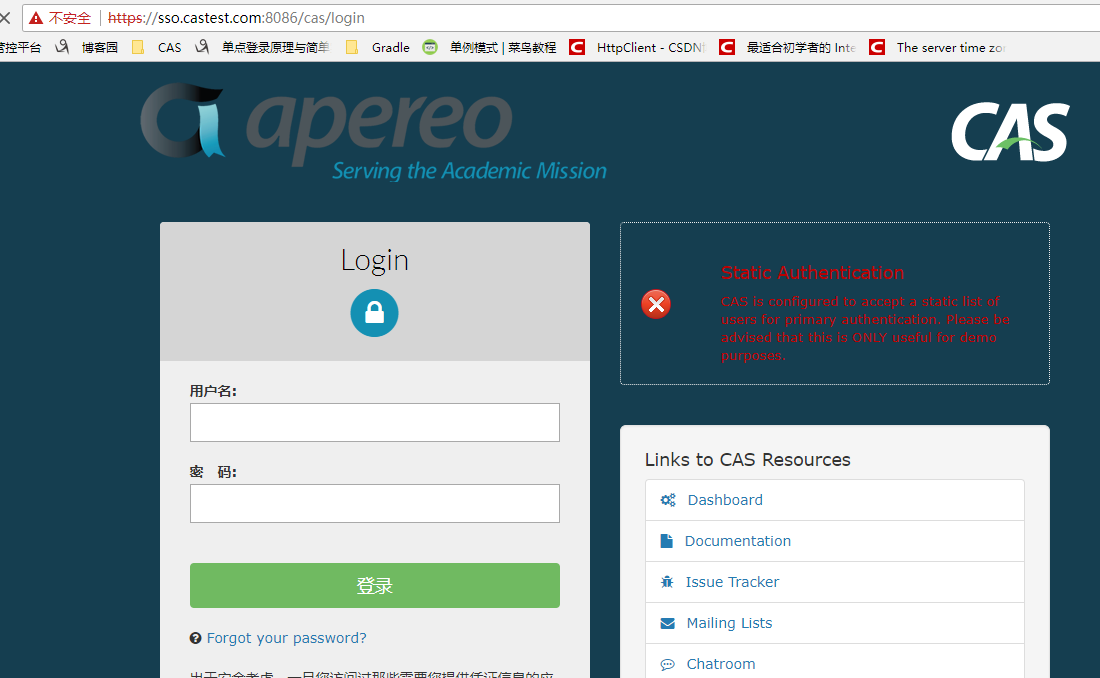
输入 casuser Mellon :(该用户名和密码是在application.properties 文件中写死的,稍后说绑定数据库)
到此,最基本的 CAS 服务器就算配置成功了。但是在实际项目中登录肯定不仅仅是这么简单,登录的过程肯定还要绑定数据库,数据库还要加密等等。
数据库绑定
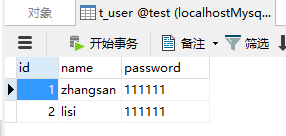
以MySQL为例:
数据库:
添加mysql驱动依赖
     <dependency>
            <groupId>org.apereo.cas</groupId>
            <artifactId>cas-server-support-jdbc</artifactId>
            <version>5.1.9</version>
        </dependency>
        <dependency>
           <groupId>org.apereo.cas</groupId>
           <artifactId>cas-server-support-jdbc-drivers</artifactId>
           <version>5.1.9</version>
        </dependency>
修改application.properties 文件中的配置:
##
# CAS Server Context Configuration
#
server.context-path=/cas
server.port=8086

cas.serviceRegistry.initFromJson=true


server.ssl.key-store=file:/C:/key/caskey.Keystore
server.ssl.key-store-password=changeit
server.ssl.key-password=changeit
# server.ssl.ciphers=
# server.ssl.client-auth=
# server.ssl.enabled=
# server.ssl.key-alias=
# server.ssl.key-store-provider=
# server.ssl.key-store-type=
# server.ssl.protocol=
# server.ssl.trust-store=
# server.ssl.trust-store-password=
# server.ssl.trust-store-provider=
# server.ssl.trust-store-type=

server.compression.enabled=true
server.compression.mime-types=application/javascript,application/json,application/xml,text/html,text/xml,text/plain

server.max-http-header-size=2097152
server.use-forward-headers=true
server.connection-timeout=20000
server.error.include-stacktrace=NEVER

server.tomcat.max-http-post-size=2097152
server.tomcat.basedir=build/tomcat
server.tomcat.accesslog.enabled=true
server.tomcat.accesslog.pattern=%t %a "%r" %s (%D ms)
server.tomcat.accesslog.suffix=.log
server.tomcat.max-threads=10
server.tomcat.port-header=X-Forwarded-Port
server.tomcat.protocol-header=X-Forwarded-Proto
server.tomcat.protocol-header-https-value=https
server.tomcat.remote-ip-header=X-FORWARDED-FOR
server.tomcat.uri-encoding=UTF-8

spring.http.encoding.charset=UTF-8
spring.http.encoding.enabled=true
spring.http.encoding.force=true

##
# CAS Cloud Bus Configuration
#
spring.cloud.bus.enabled=false
# spring.cloud.bus.refresh.enabled=true
# spring.cloud.bus.env.enabled=true
# spring.cloud.bus.destination=CasCloudBus
# spring.cloud.bus.ack.enabled=true

endpoints.enabled=false
endpoints.sensitive=true

endpoints.restart.enabled=false
endpoints.shutdown.enabled=false

management.security.enabled=true
management.security.roles=ACTUATOR,ADMIN
management.security.sessions=if_required
management.context-path=/status
management.add-application-context-header=false

security.basic.authorize-mode=role
security.basic.enabled=false
security.basic.path=/cas/status/**

##
# CAS Web Application Session Configuration
#
server.session.timeout=300
server.session.cookie.http-only=true
server.session.tracking-modes=COOKIE

##
# CAS Thymeleaf View Configuration
#
spring.thymeleaf.encoding=UTF-8
spring.thymeleaf.cache=true
spring.thymeleaf.mode=HTML
##
# CAS Log4j Configuration
#
# logging.config=file:/etc/cas/log4j2.xml
server.context-parameters.isLog4jAutoInitializationDisabled=true

##
# CAS AspectJ Configuration
#
spring.aop.auto=true
spring.aop.proxy-target-class=true

##
# CAS Authentication Credentials
#
#cas.authn.accept.users=casuser::Mellon

##
# CAS Delegated Authentication
#
#cas.authn.pac4j.bitbucket.clientName=Bitbucket
#cas.authn.pac4j.dropbox.clientName=Dropbox
#cas.authn.pac4j.facebook.clientName=Facebook
#cas.authn.pac4j.foursquare.clientName=Foursquare
#cas.authn.pac4j.github.clientName=Github
#cas.authn.pac4j.google.clientName=Google
#cas.authn.pac4j.linkedIn.clientName=LinkedIn
#cas.authn.pac4j.paypal.clientName=PayPal
#cas.authn.pac4j.twitter.clientName=Twitter
#cas.authn.pac4j.yahoo.clientName=Yahoo
#cas.authn.pac4j.windowsLive.clientName=Windows Live
#cas.authn.pac4j.wordpress.clientName=WordPress

 cas.authn.jdbc.query[0].sql=SELECT * FROM t_user WHERE name=?
# cas.authn.jdbc.query[0].healthQuery=
# cas.authn.jdbc.query[0].isolateInternalQueries=false
 cas.authn.jdbc.query[0].url=jdbc:mysql://127.0.0.1:3306/test?useUnicode=true&characterEncoding=UTF-8&autoReconnect=true&useSSL=false&serverTimezone=GMT
# cas.authn.jdbc.query[0].failFastTimeout=1
 cas.authn.jdbc.query[0].isolationLevelName=ISOLATION_READ_COMMITTED
 cas.authn.jdbc.query[0].dialect=org.hibernate.dialect.MySQLDialect
 cas.authn.jdbc.query[0].leakThreshold=10
 cas.authn.jdbc.query[0].propagationBehaviorName=PROPAGATION_REQUIRED
# cas.authn.jdbc.query[0].batchSize=1
 cas.authn.jdbc.query[0].user=root
# cas.authn.jdbc.query[0].ddlAuto=create-drop
# cas.authn.jdbc.query[0].maxAgeDays=180
 cas.authn.jdbc.query[0].password=
 cas.authn.jdbc.query[0].autocommit=false
 cas.authn.jdbc.query[0].driverClass=com.mysql.jdbc.Driver
# cas.authn.jdbc.query[0].idleTimeout=5000
# cas.authn.jdbc.query[0].credentialCriteria=
# cas.authn.jdbc.query[0].name=
# cas.authn.jdbc.query[0].order=0
# cas.authn.jdbc.query[0].dataSourceName=
# cas.authn.jdbc.query[0].dataSourceProxy=false
# Hibernate-specific properties (i.e. `hibernate.globally_quoted_identifiers`)
# cas.authn.jdbc.query[0].properties.propertyName=propertyValue

 cas.authn.jdbc.query[0].fieldPassword=password
# cas.authn.jdbc.query[0].fieldExpired=
# cas.authn.jdbc.query[0].fieldDisabled=
# cas.authn.jdbc.query[0].principalAttributeList=sn,cn:commonName,givenName

# cas.authn.jdbc.query[0].passwordEncoder.type=NONE|DEFAULT|STANDARD|BCRYPT|SCRYPT|PBKDF2|com.example.CustomPasswordEncoder
# cas.authn.jdbc.query[0].passwordEncoder.characterEncoding=
# cas.authn.jdbc.query[0].passwordEncoder.encodingAlgorithm=
# cas.authn.jdbc.query[0].passwordEncoder.secret=
# cas.authn.jdbc.query[0].passwordEncoder.strength=16

# cas.authn.jdbc.query[0].principalTransformation.pattern=(.+)@example.org
# cas.authn.jdbc.query[0].principalTransformation.groovy.location=file:///etc/cas/config/principal.groovy
# cas.authn.jdbc.query[0].principalTransformation.suffix=
# cas.authn.jdbc.query[0].principalTransformation.caseConversion=NONE|UPPERCASE|LOWERCASE
# cas.authn.jdbc.query[0].principalTransformation.prefix=
修改 背景色 着重标记的数据即可,打包运行测试
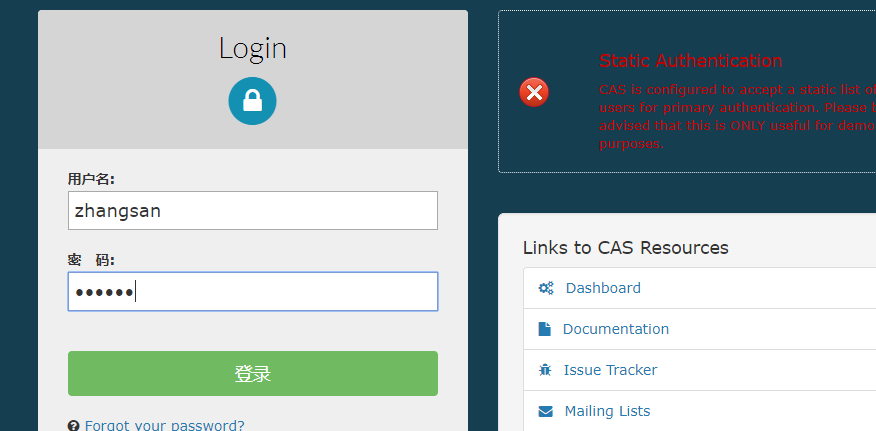
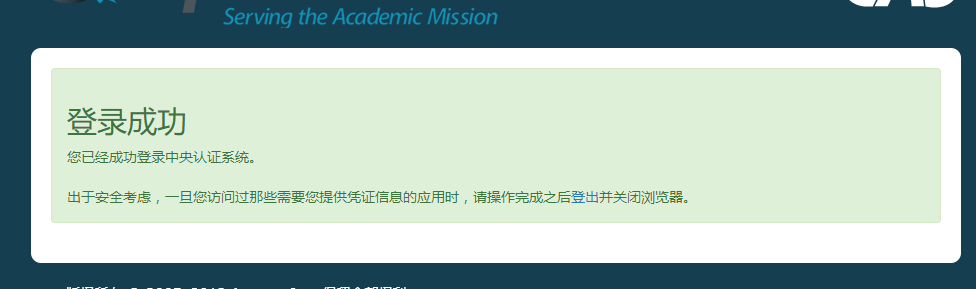
登录结果:
到此服务端就完成了,客户端添加依赖导入web.xml 就可以了。
客户端:
配置服务端接受客户端服务配置文件:
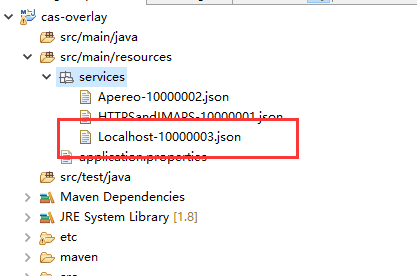
注意:服务文件的命名必须为 域名/localhost + 序号 .json 的格式,并且要开启服务点的配置:
cas.serviceRegistry.initFromJson=true
Localhost-10000003.json:
{
  "@class": "org.apereo.cas.services.RegexRegisteredService",
  "serviceId": "^(http)://localhost.*",
  "name": "本地服务",
  "id": 10000003,
  "description": "这是一个本地允许的服务,通过localhost访问都允许通过",
  "evaluationOrder": 1
}
导入 jar 包
<dependency>
        <groupId>org.jasig.cas.client</groupId>
        <artifactId>cas-client-core</artifactId>
        <version>3.2.1</version>
    </dependency>

    <!-- https://mvnrepository.com/artifact/commons-collections/commons-collections -->
    <dependency>
        <groupId>commons-collections</groupId>
        <artifactId>commons-collections</artifactId>
        <version>3.2.2</version>
    </dependency>

    <!-- https://mvnrepository.com/artifact/commons-logging/commons-logging -->
    <dependency>
        <groupId>commons-logging</groupId>
        <artifactId>commons-logging</artifactId>
        <version>1.2</version>
    </dependency>

    <!-- https://mvnrepository.com/artifact/javax.servlet/servlet-api -->
    <dependency>
        <groupId>javax.servlet</groupId>
        <artifactId>servlet-api</artifactId>
        <version>2.5</version>
        <scope>provided</scope>
    </dependency>
web.xml:
<?xml version="1.0" encoding="UTF-8"?>
<web-app version="2.4"
         xmlns="http://java.sun.com/xml/ns/j2ee"
         xmlns:xsi="http://www.w3.org/2001/XMLSchema-instance"
         xsi:schemaLocation="http://java.sun.com/xml/ns/j2ee http://java.sun.com/xml/ns/j2ee/web-app_2_4.xsd">

  <!-- ======================== 单点登录开始 ======================== -->
    <!-- 用于单点退出,该过滤器用于实现单点登出功能,可选配置-->
    <listener>
        <listener-class>org.jasig.cas.client.session.SingleSignOutHttpSessionListener</listener-class>
    </listener>

    <!-- 该过滤器用于实现单点登出功能,可选配置。 -->
    <filter>
        <filter-name>CAS Single Sign Out Filter</filter-name>
        <filter-class>org.jasig.cas.client.session.SingleSignOutFilter</filter-class>
    </filter>
    <filter-mapping>
        <filter-name>CAS Single Sign Out Filter</filter-name>
        <url-pattern>/*</url-pattern>
    </filter-mapping>

    <!-- 该过滤器负责用户的认证工作,必须启用它 -->
    <filter>
        <filter-name>CASFilter</filter-name>
        <filter-class>org.jasig.cas.client.authentication.AuthenticationFilter</filter-class>
        <init-param>
            <param-name>casServerLoginUrl</param-name>
            <param-value>https://sso.castest.com:8086/cas/login</param-value>
        </init-param>
        <!--
            指定客户端的域名和端口,是指客户端应用所在机器而不是 CAS Server 所在机器以下配置表示,
            系统部署在域名为shirui-55的机器上,端口为80
        -->
        <init-param>
            <param-name>serverName</param-name>
            <param-value>http://localhost:8111</param-value>
        </init-param>
    </filter>
    <filter-mapping>
        <filter-name>CASFilter</filter-name>
        <url-pattern>/*</url-pattern>
    </filter-mapping>

    <!-- 该过滤器负责对Ticket的校验工作,必须启用它 -->
    <filter>
        <filter-name>CAS Validation Filter</filter-name>
        <filter-class>
            org.jasig.cas.client.validation.Cas20ProxyReceivingTicketValidationFilter</filter-class>
        <init-param>
            <param-name>casServerUrlPrefix</param-name>
            <param-value>https://sso.castest.com:8086/cas</param-value>
        </init-param>
        <init-param>
            <param-name>serverName</param-name>
            <param-value>http://localhost:8111</param-value>
        </init-param>
    </filter>
    <filter-mapping>
        <filter-name>CAS Validation Filter</filter-name>
        <url-pattern>/*</url-pattern>
    </filter-mapping>

    <!--
        该过滤器负责实现HttpServletRequest请求的包裹,
        比如允许开发者通过HttpServletRequest的getRemoteUser()方法获得SSO登录用户的登录名,可选配置。
    -->
    <filter>
        <filter-name>CAS HttpServletRequest Wrapper Filter</filter-name>
        <filter-class>
            org.jasig.cas.client.util.HttpServletRequestWrapperFilter</filter-class>
    </filter>
    <filter-mapping>
        <filter-name>CAS HttpServletRequest Wrapper Filter</filter-name>
        <url-pattern>/*</url-pattern>
    </filter-mapping>

    <!--
        该过滤器使得开发者可以通过org.jasig.cas.client.util.AssertionHolder来获取用户的登录名。
        比如AssertionHolder.getAssertion().getPrincipal().getName()。
    -->
    <filter>
        <filter-name>CAS Assertion Thread Local Filter</filter-name>
        <filter-class>org.jasig.cas.client.util.AssertionThreadLocalFilter</filter-class>
    </filter>
    <filter-mapping>
        <filter-name>CAS Assertion Thread Local Filter</filter-name>
        <url-pattern>/*</url-pattern>
    </filter-mapping>


        <!-- ======================== 单点登录结束 ======================== -->

        <!-- session超时定义,单位为分钟 -->
        <session-config>
                <session-timeout>2</session-timeout>
        </session-config>

</web-app>
亲测有效,时间有限就不写了。。。,
官方配置: https://apereo.github.io/cas/5.2.x/installation/Configuration-Properties.html#jdbc
源码: https://files.cnblogs.com/files/guofz/cas-overlay-template-5.1.rar
参照: https://www.cnblogs.com/advanceBlog/p/8093908.html
http://www.cnblogs.com/flying607/p/7598248.html
https://segmentfault.com/a/1190000013844049
ps : 巨人的肩膀就是好使~
SSO原理:
https://www.cnblogs.com/ywlaker/p/6113927.html
https://blog.csdn.net/javaloveiphone/article/details/52439613