1 验证基础知识
1.1 Python生成随机验证码,需要使用PIL模块.
# 安装
pip3 install pillow
1.2 创建图片
from PIL import Image
img = Image.new(mode="RGB", size=(120, 30), color=(125, 255, 255))

# 保存图片到本地
with open("code.png",'wb') as f:
img.save(f,format="png")
1.3 创建画笔
from PIL import Image
from PIL import ImageDraw
img = Image.new(mode="RGB", size=(120, 30), color=(255,255,255))
draw = ImageDraw.Draw(img, mode="RGB")
1.4 画点
from PIL import Image
from PIL import ImageDraw
img = Image.new(mode="RGB", size=(120, 30), color=(255,255,255))
draw = ImageDraw.Draw(img, mode="RGB")
# 第一个参数:表示坐标
# 第二个参数:表示颜色
draw.point([100,20], fill="red")
draw.point([50,10], fill=(255, 135, 255))
with open("code.png",'wb') as f:
img.save(f,format="png")
1.5 画线
from PIL import Image
from PIL import ImageDraw
img = Image.new(mode="RGB", size=(120, 30), color=(255,255,255))
draw = ImageDraw.Draw(img, mode="RGB")
# 第一个参数:表示起始坐标和结束坐标
# 第二个参数:表示颜色
draw.line((10, 10, 10, 30), fill="red")
draw.line((10, 10, 30, 10), fill=(255, 135, 255))
with open("code.png",'wb') as f:
img.save(f,format="png")
1.6 画圆
from PIL import Image
from PIL import ImageDraw
img = Image.new(mode="RGB", size=(150, 150), color=(255,255,255))
draw = ImageDraw.Draw(img, mode="RGB")
# 第一个参数:表示起始坐标和结束坐标(圆要画在中间)
# 第二个参数:表示开始角度
# 第三个参数:表示结束角度
# 第四个参数:表示颜色
draw.arc((50, 50, 100, 100), 0, 360, fill="red")
with open("code.png",'wb') as f:
img.save(f,format="png")
1.7 写文本
from PIL import Image
from PIL import ImageDraw
img = Image.new(mode="RGB", size=(120, 30), color=(255,255,255))
draw = ImageDraw.Draw(img, mode="RGB")
# 第一个参数:表示起始坐标
# 第二个参数:表示写入内容
# 第三个参数:表示颜色
draw.text([20, 10], "python", fill="red")
with open("code.png",'wb') as f:
img.save(f,format="png")
1.8 设置特殊字体
from PIL import Image, ImageDraw, ImageFont
img = Image.new(mode="RGB", size=(120, 30), color=(255,255,255))
draw = ImageDraw.Draw(img, mode="RGB")
# 第一个参数:表示字体路径
# 第二个参数:表示字体大小
font = ImageFont.truetype("kumo.ttf", 25)
# 第一个参数:表示起始坐标
# 第二个参数:表示写入内容
# 第三个参数:表示颜色
# 第四个参数:表示字体
draw.text([30, 0], "python", fill="red", font=font)
with open("code.png",'wb') as f:
img.save(f,format="png")
2 应用
2.1 应用方法
import random
from io import BytesIO
from PIL import Image, ImageDraw, ImageFont

def check_code(width=120, height=30, char_length=5, font_file='kumo.ttf', font_size=28):
    f = BytesIO()
    img = Image.new(mode='RGB', size=(width, height),
                    color=(random.randint(50, 250), random.randint(50, 255), random.randint(50, 255)))
    draw = ImageDraw.Draw(img, mode='RGB')

    char_list = []
    # 画字
    for i in range(char_length):
        char = random.choice([chr(random.randint(65, 90)), str(random.randint(1, 9)), chr(random.randint(97, 122)), ])
        font = ImageFont.truetype("blog/static/fonts/"+font_file, font_size)
        draw.text([i * 24, 0], char, (random.randint(200, 255), random.randint(0, 50), random.randint(0, 50)),
                  font=font)
        char_list.append(char)

    def rndColor():
        """
        生成随机颜色
        :return:
        """
        return (random.randint(0, 255), random.randint(10, 255), random.randint(64, 255))

    # 写干扰点
    for i in range(40):
        draw.point([random.randint(0, width), random.randint(0, height)], fill=rndColor())

    # 写干扰圆圈
    for i in range(40):
        draw.point([random.randint(0, width), random.randint(0, height)], fill=rndColor())
        x = random.randint(0, width)
        y = random.randint(0, height)
        draw.arc((x, y, x + 4, y + 4), 0, 90, fill=rndColor())

    # 画干扰线
    for i in range(5):
        x1 = random.randint(0, width)
        y1 = random.randint(0, height)
        x2 = random.randint(0, width)
        y2 = random.randint(0, height)
        draw.line((x1, y1, x2, y2), fill=rndColor())

    img.save(f, "png")
    data = f.getvalue()
    s_code = ''.join(char_list)
    return data,s_code
2.2 调用方法
def get_valid_img(request):
    '''
    登录和注册的验证码
    :param request:
    :return:
    '''
    data,s_code = check_code()
    request.session["valid_code"] = s_code
    return HttpResponse(data)
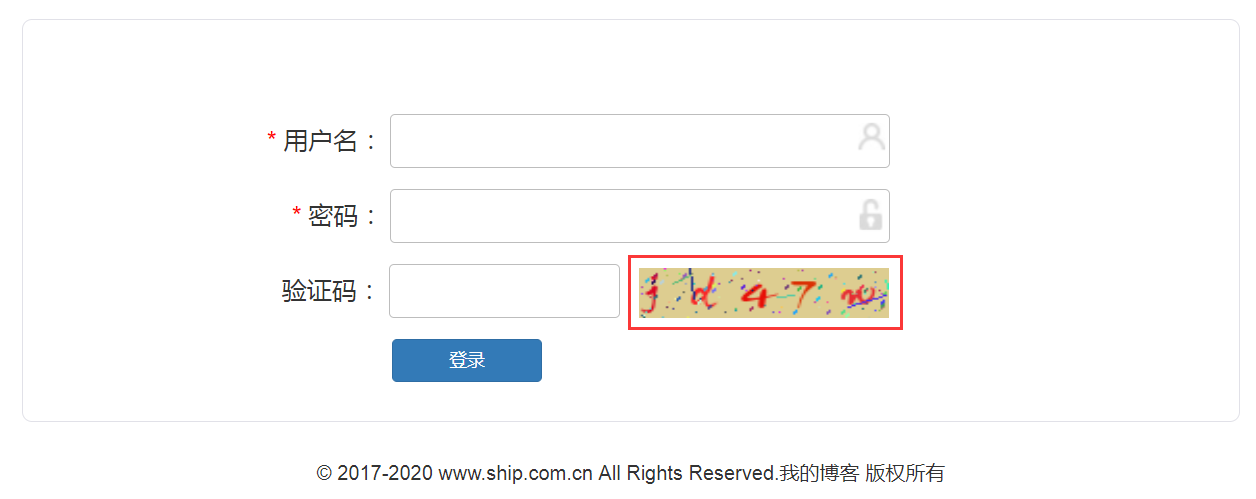
2.3 效果展示