LNMP基础环境准备完成,进行zabbix server部署参考官方文档:
【https://www.zabbix.com/documentation/3.4/zh/manual/installation/install_from_packages】
【https://www.zabbix.com/download】
Zabbix版本:3.4
一、安装zabbix server
1.安装zabbix server相关数据包
rpm -i http://repo.zabbix.com/zabbix/3.4/rhel/7/x86_64/zabbix-release-3.4-2.el7.noarch.rpm

yum install zabbix-server-mysql zabbix-web-mysql zabbix-agent
2.在数据库中创建zabbix库
# mysql -uroot -p'数据库密码'
mysql> create database zabbix character set utf8 collate utf8_bin;
mysql> grant all privileges on zabbix.* to zabbix@localhost identified by 'zabbix用户的密码';
mysql> quit;
3.导入zabbix初始数据
zcat /usr/share/doc/zabbix-server-mysql*/create.sql.gz | mysql -uzabbix -p'zabbix用户密码' zabbix
4.调整zabbix server配置
vim /etc/zabbix/zabbix_server.conf
更改以下参数
DBHost=localhost
DBName=zabbix
DBUser=zabbix
DBPassword=zabbix用户密码
5.启动zabbix server
systemctl enable zabbix-server  #开机自启
systemctl start zabbix-server   #启动
6.更改zabbix server的php代码目录的属主和属组
chown -R nobody.nobody /usr/share/zabbix #一般yum按照zabbix,网页代码目录是/usr/share/zabbix
7.添加nginx中zabbix的配置文件
cat <<EOF>/etc/nginx/conf.d/zabbix.conf
server {
    listen       80;
    server_name  monitor.dingkailinux.cn;
    root   /usr/share/zabbix;

    #charset koi8-r;
    access_log  /var/log/nginx/zabbix.access.log  main;

    location / {
        index  index.html index.htm index.php;
    }

    # pass the PHP scripts to FastCGI server
    location ~ .*php$ {
        fastcgi_pass  unix:/dev/shm/php-fcgi.sock;
        fastcgi_index index.php;
        fastcgi_param SCRIPT_FILENAME  $document_root$fastcgi_script_name;
        include        fastcgi_params;
    }
}
EOF

nginx -t  #检测nginx配置
systemctl reload nginx  #重新加载nginx
二、界面安装
可参考【https://www.zabbix.com/documentation/3.4/manual/installation/install#installing_frontend】
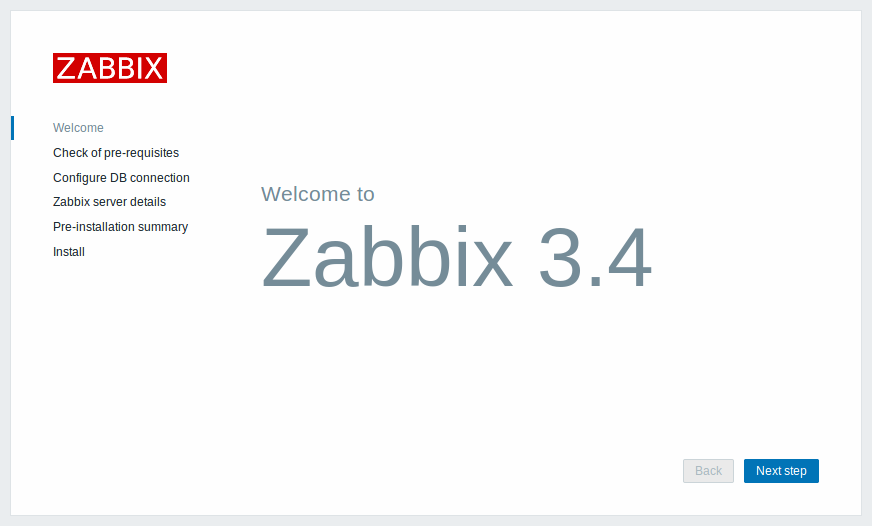
1.进入zabbix安装向导
访问 monitor.dingkailinux.cn 进入安装向导
2.点击“Next step”进入检测
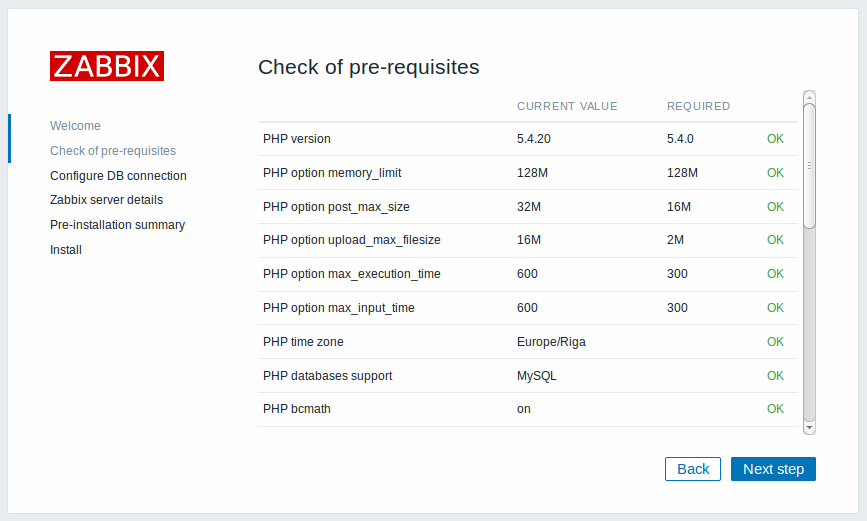
这里的部分参数就是php.ini中调整的参数
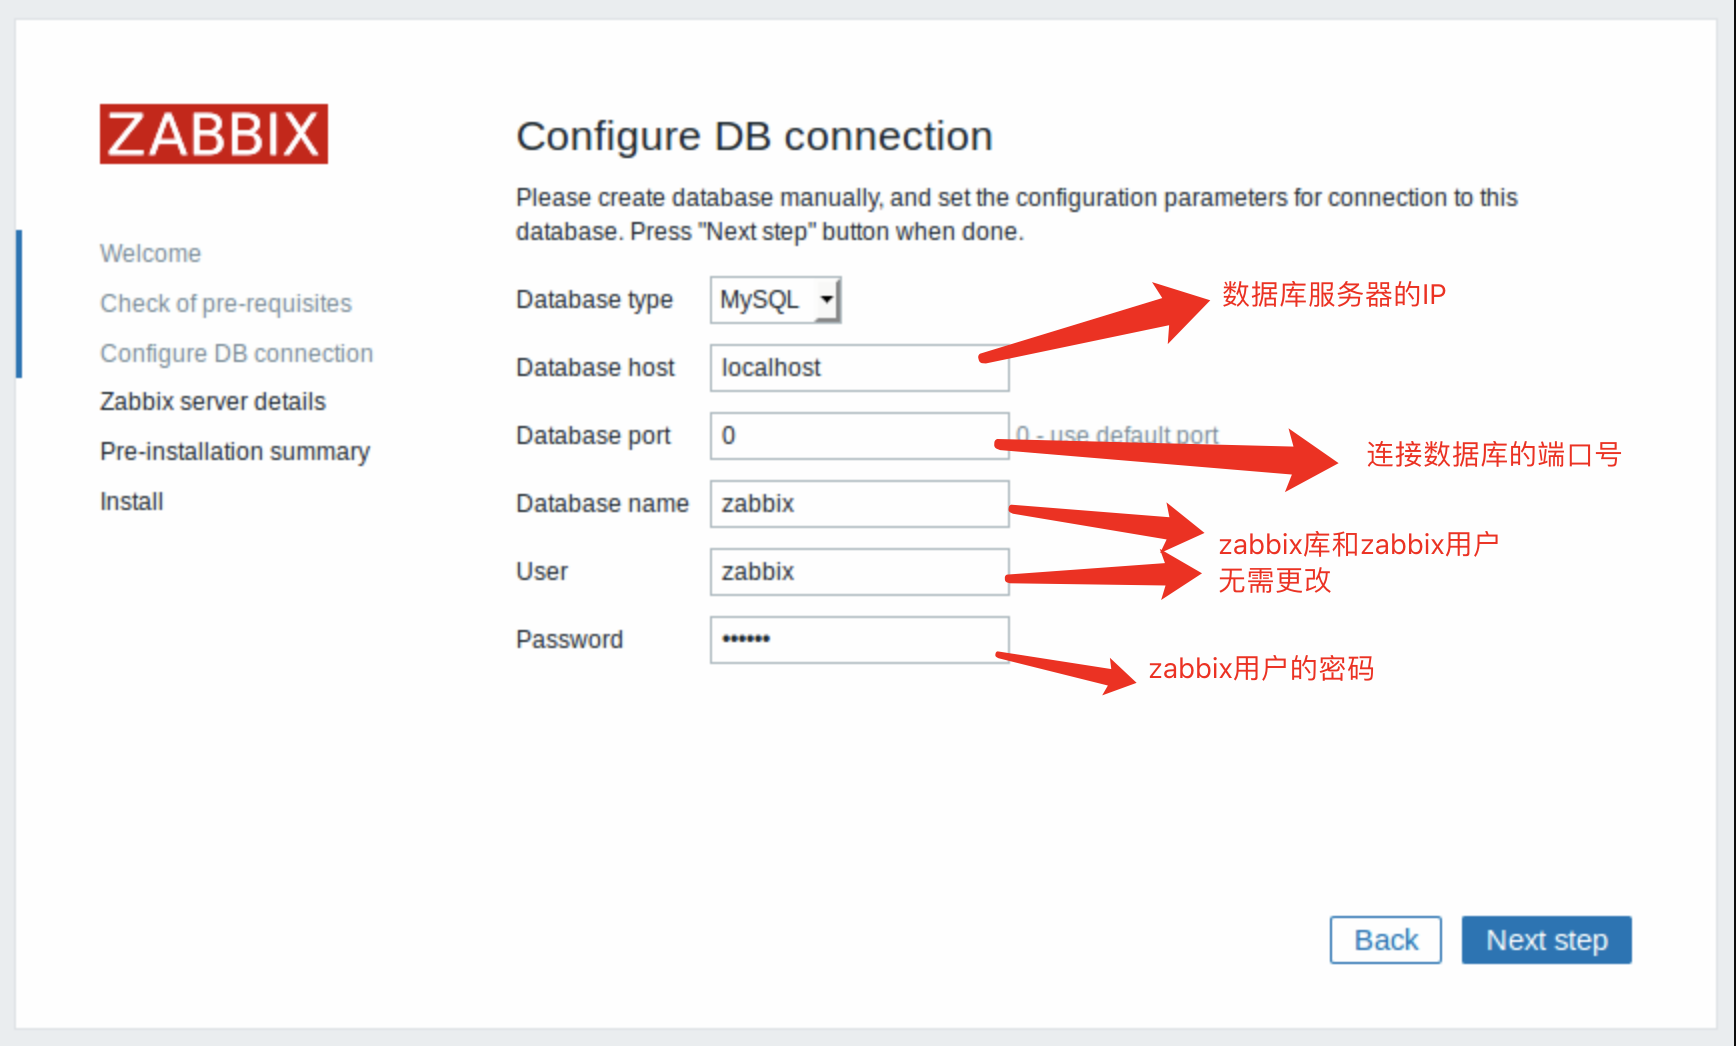
3.配置数据库
4.配置zabbix server相关信息
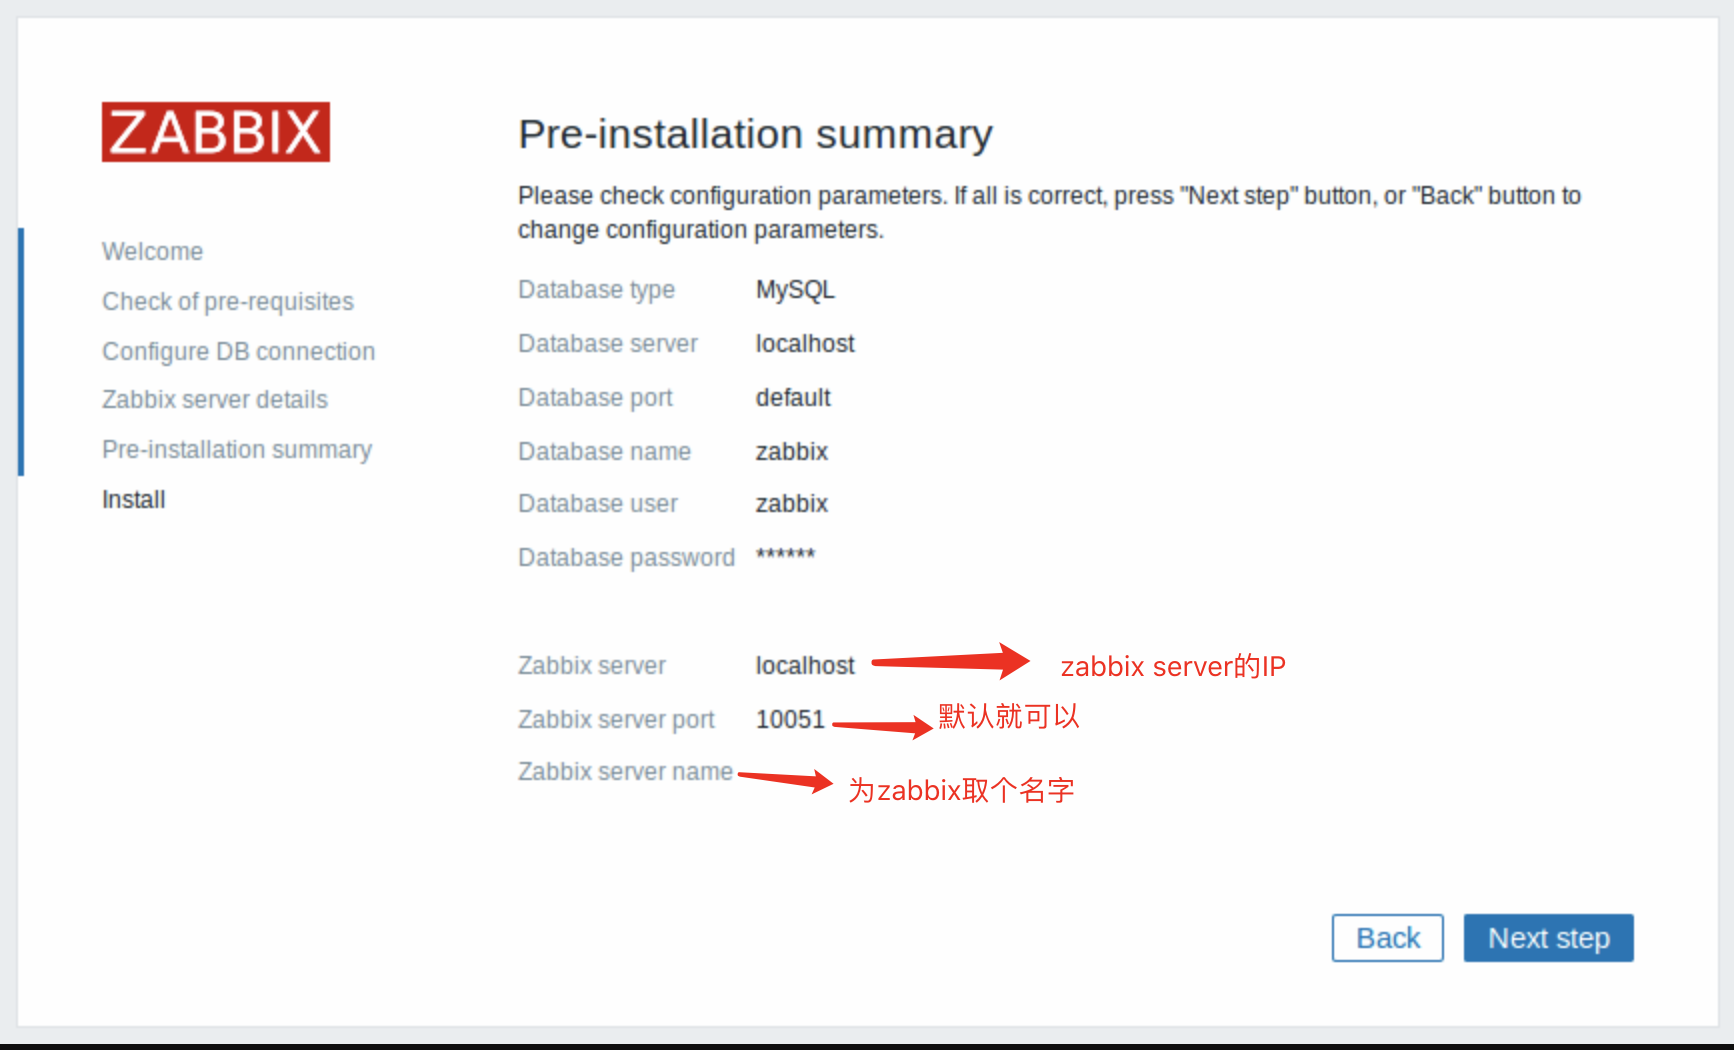
5.一直惦记“Next step”就可以了
6.登录zabbix
用户名:Admin
密码:zabbix
