minimalapi的 app 实例提供了 Map.Methods、Map.MapXXX 方法实现 HttpMethod 路由的映射。
默认天气接口写在Program 里面,但是把所有的接口代码写到Program.cs会变得很臃肿。
那就想办法把代码剥离开来。
一、利用注入中间件把map.xxx的所有代码搬到一个新类,在core类库下建立一个文件夹ServerProxy 存放所有的服务解析文件
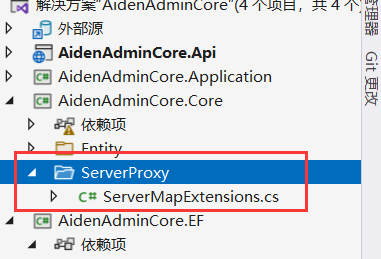
1、新建一个中间件ServerMapExtensions.cs
 public static class ServerMapExtensions
    {

        public static IServiceCollection AddService(this IServiceCollection services)
        {

            return services;
        }

        public static void MapService(this IEndpointRouteBuilder builder)
        {
            builder.MapGet("/api/helloworld", () => "Hello World!");

            builder.MapPost("/api/helloworld", () => "Hello World!");

            builder.MapPut("/api/helloworld", () => "Hello World!");

            builder.MapDelete("/api/helloworld", () => "Hello World!");
        }}
2、在program.cs中管道中注入
app.MapService();
3、运行程序并打开swaager,如下图,成功注入四个api。

4、上面已将api代码独立到一个新的文件进行统一注入。但是我们想想,还需要将api根据各个业务进行解耦,
我们新建一个接口作为服务的基类,也就是代表继承这个基类的服务类都是api类。在ServerProxy 上建一个类,叫IServerBase

 public interface IServerBase
    {
        /// <summary>
        /// 添加api路由进管道
        /// </summary>
        /// <param name="app"></param>
        void AddServiceRoute(IEndpointRouteBuilder app);
    }
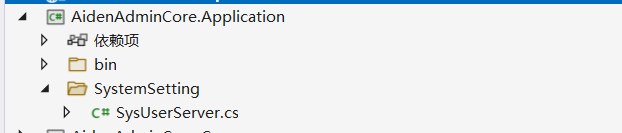
5、基类建完后我们来建一个继承于它的服务,在application类库中建一个文件夹SystemSetting,新建一个叫SysUserServer并继承上面接口
 public class SysUserServer:IServerBase
    {
        public void AddServiceRoute(IEndpointRouteBuilder app)
        {
            app.MapGet("/api/helloapp", () => "Hello app!");

            app.MapPost("/api/helloapp", () => "Hello app!");

            app.MapPut("/api/helloapp", () => "Hello app!");

            app.MapDelete("/api/helloapp", () => "Hello app!");
        }
    }
6、上面建好了服务类,那么我们来将这个服务注入到管道,修改ServerMapExtensions类。在AddService方法中将application.dll中的服务反射并依赖注入。
  public static IServiceCollection AddService(this IServiceCollection services)
        {
            var results = GetAssemblys();
            IEnumerable<Type> servers = results.SelectMany(x => x.GetTypes()
            .Where(t =>  !t.IsAbstract && typeof(IServerBase).IsAssignableFrom(t) &&
                         t != typeof(IServerBase) &&t.IsPublic
                         ));
            foreach (var server in servers)
            {
                services.AddSingleton(typeof(IServerBase), server);
            }
            return services;
        }

public static HashSet<Assembly> GetAssemblys()
        {
            var path = Directory.GetCurrentDirectory();
            string[] fileInfos = Directory.GetFiles(path).Where(f => f.IndexOf("Application.dll", StringComparison.OrdinalIgnoreCase) >= 0).ToArray();
            if(fileInfos==null||fileInfos.Length<=0)
            {
                fileInfos = Directory.GetFiles(path+ @"/bin/Debug/net6.0").Where(f => f.IndexOf("Application.dll",StringComparison.OrdinalIgnoreCase)>=0).ToArray();
            }
            var _AssemblyLoadContext = new AssemblyLoadContext(Guid.NewGuid().ToString("N"), true);
            var assemblys = new HashSet<Assembly>();
            foreach (var file in fileInfos)
            {
                using (var fs = new FileStream(file, FileMode.Open, FileAccess.Read))
                {
                    var assembly = _AssemblyLoadContext.LoadFromStream(fs);
                    assemblys.Add(assembly);
                }
            }
            return assemblys;
        }
7、再将注入的服务注入到管道
 public static void MapService(this IEndpointRouteBuilder builder)
        {
            foreach (var newCarterModule in builder.ServiceProvider.GetServices<IServerBase>())
            {
                newCarterModule.AddServiceRoute(builder);
            }
        }
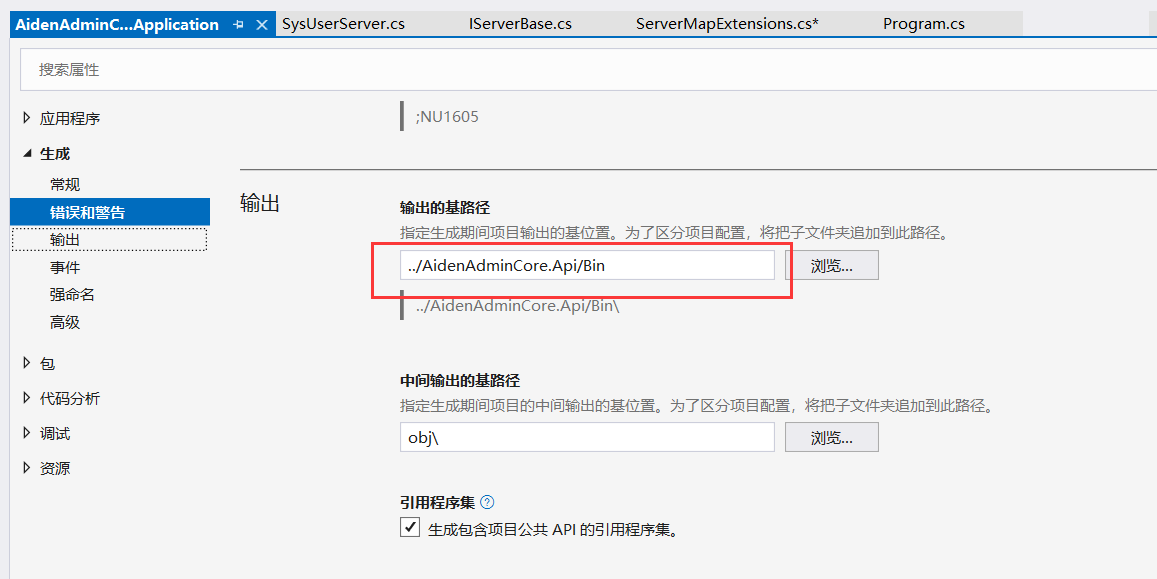
8、由于application是独立生成的,api项目并没有引用,所以api的bin文件里没有application.dll的文件,所以使用Directory.GetCurrentDirectory()进行遍历dll的时候找不到后缀为application.dll的文件,
修改一下applicatiion的生成路径,重新生成一下application项目,就把文件自动生成到api项目的bin里面去了。
9、运行一下项目,打开swagger,可以看到注入已经成功了。

10,后续如果想要加其他模块的服务,只要保证后缀是application.dll并且服务类继承iServerBase就可以了。这里取application好像不太妥,去Module的后缀会跟好一些,后面再改吧。