下面用到的包全在这里
链接:https://pan.baidu.com/s/1aYdKzZY3m3jEnC8bWK3OwA
提取码:d0am
https://www.cnblogs.com/chenlifan/p/13567092.html
https://www.cnblogs.com/chenlifan/p/13567197.html
操作下面的步骤前要保证上面已操作完成
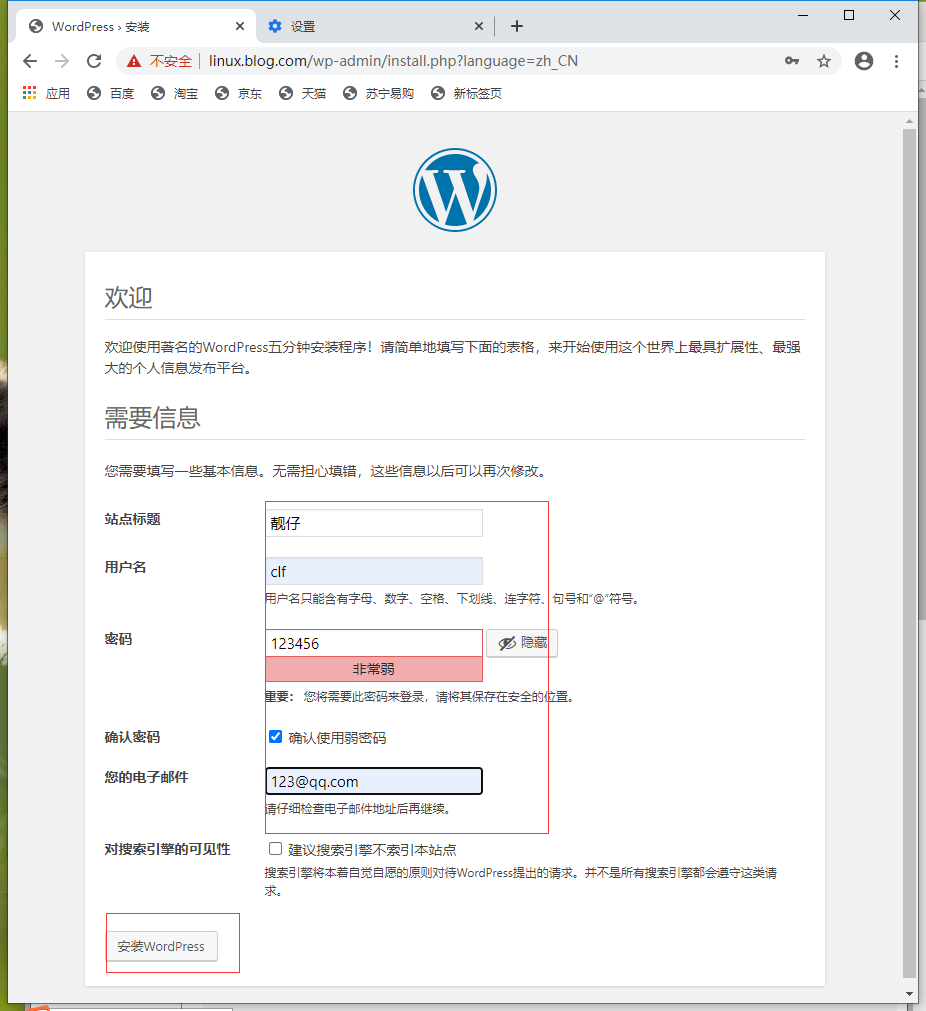
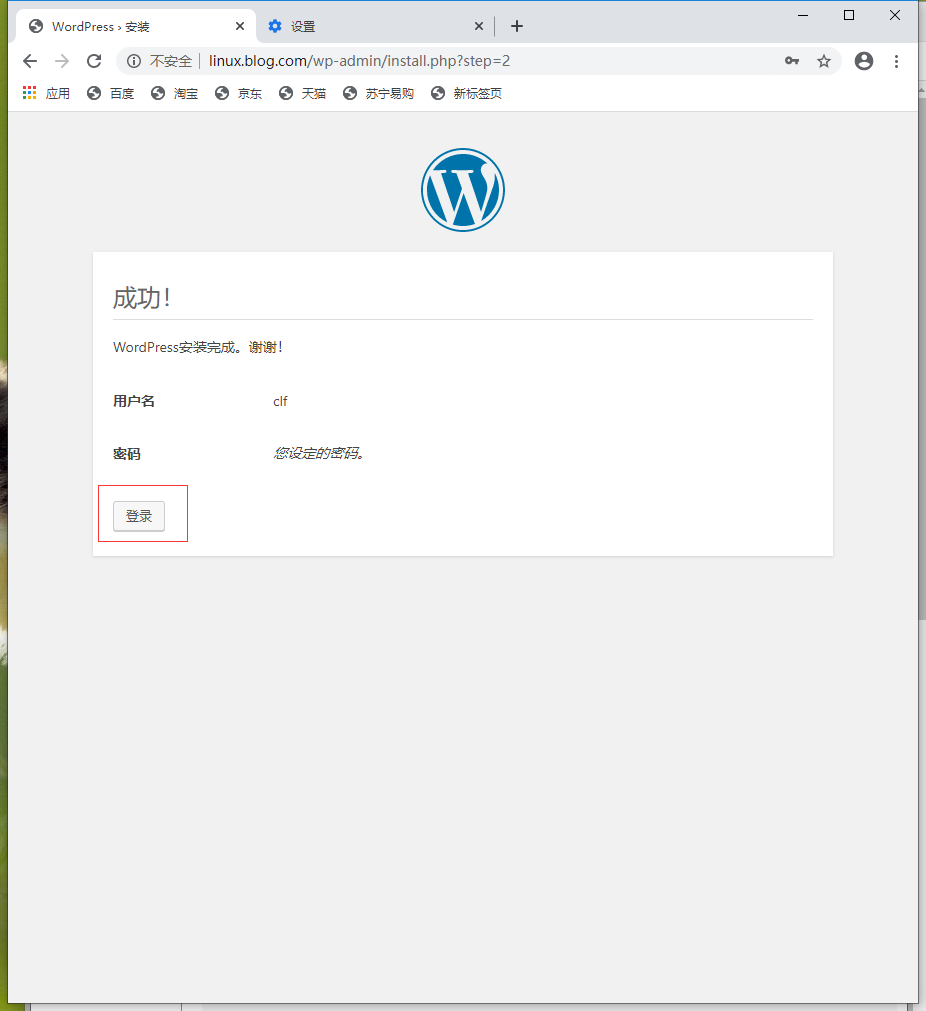
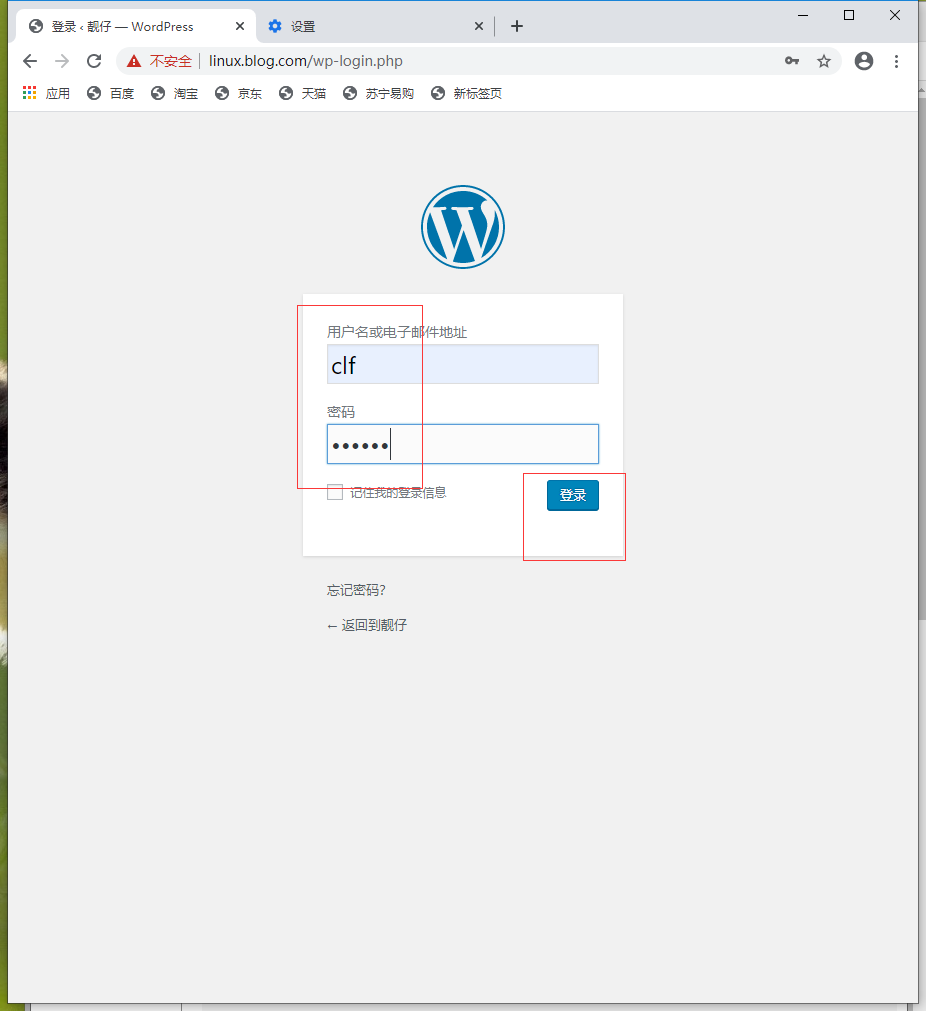
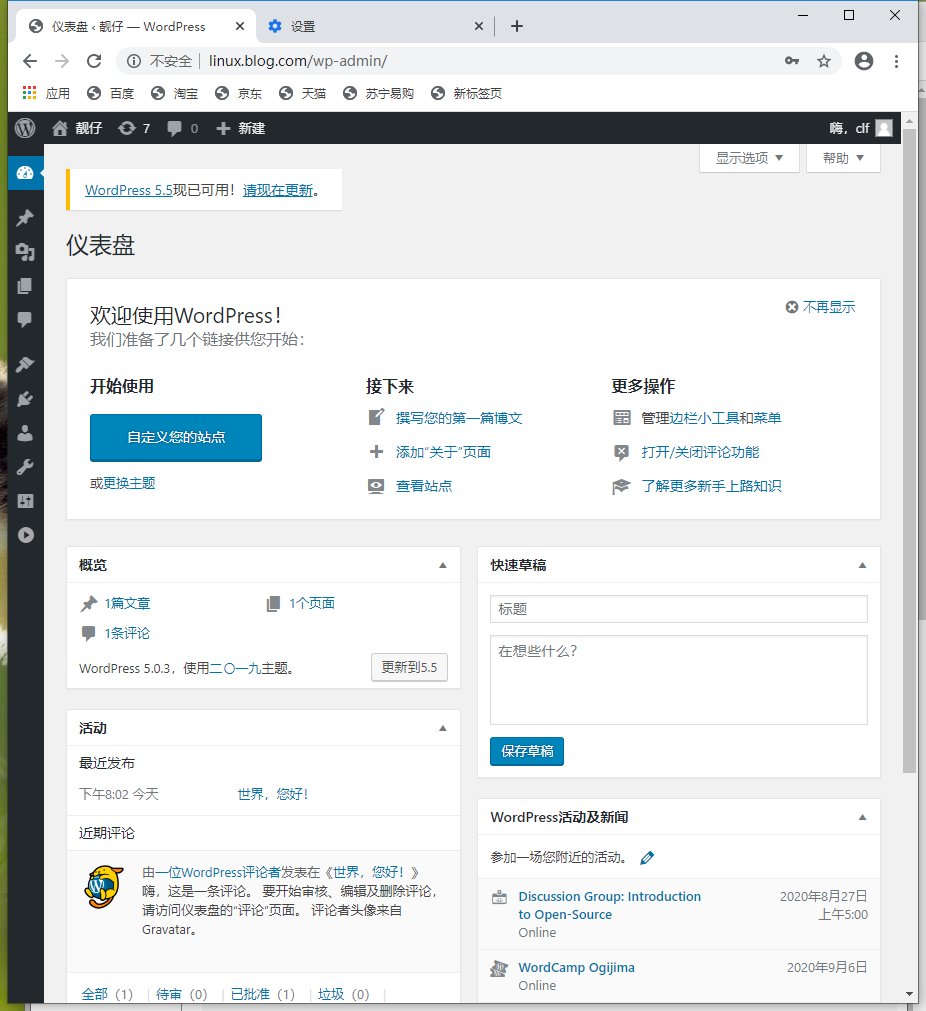
1.搭建博客
1)上传代码并解压
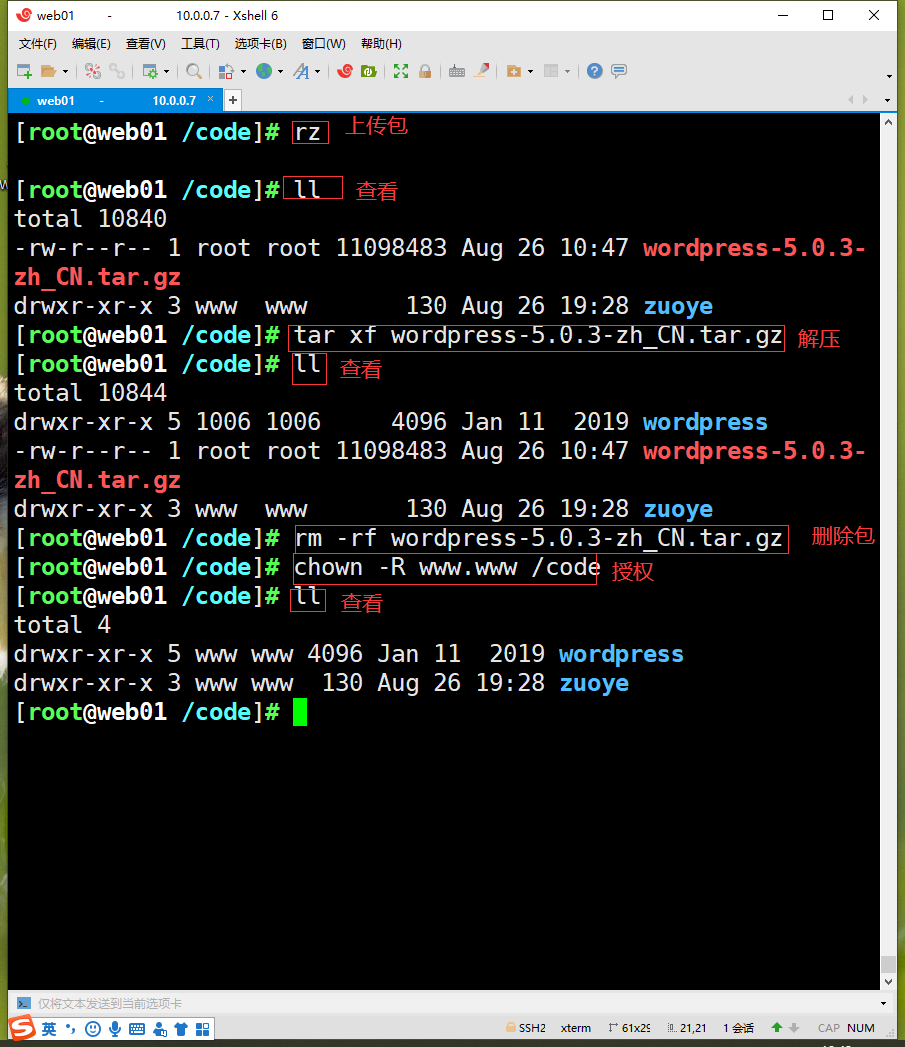
1 [root@web01 /code/zuoye]# cd /code/
2 [root@web01 /code]# rz wordpress-5.0.3-zh_CN.tar.gz
3 [root@web01 /code]# tar xf wordpress-5.0.3-zh_CN.tar.gz
4 [root@web01 /code]# chown -R www.www /code/
2)配置nginx并重启
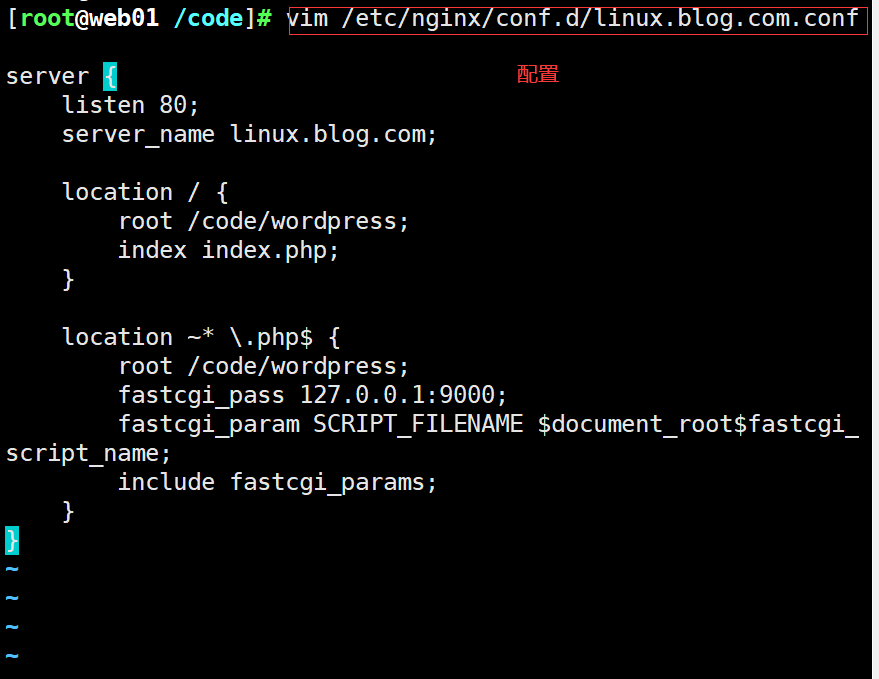
[root@web01 /code]# vim /etc/nginx/conf.d/linux.blog.com.conf
server {
    listen 80;
    server_name linux.blog.com;

    location / {
        root /code/wordpress;
        index index.php;
    }

    location ~* .php$ {
        root /code/wordpress;
        fastcgi_pass 127.0.0.1:9000;
        fastcgi_param SCRIPT_FILENAME $document_root$fastcgi_script_name;
        include fastcgi_params;
    }
}

[root@web01 /code]# systemctl restart nginx
3)创建数据库
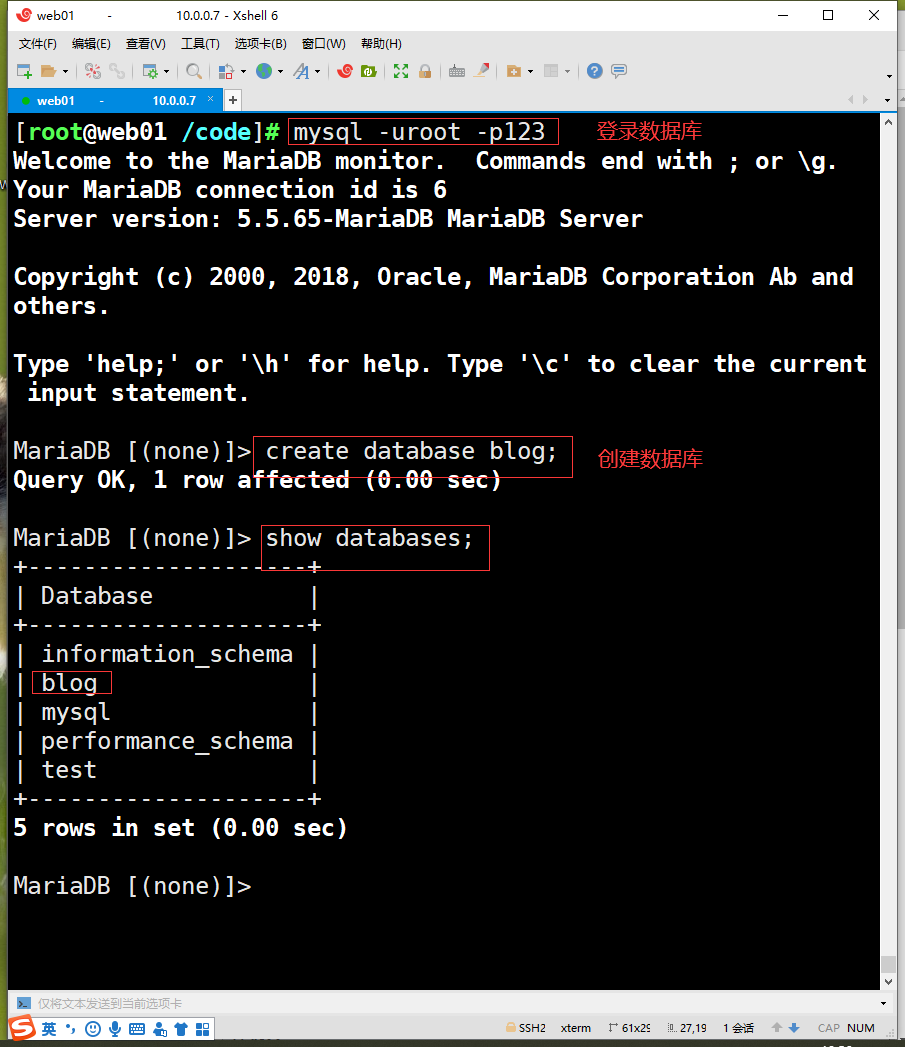
[root@web01 /code]# mysql -uroot -p123
MariaDB [(none)]> create database blog;
MariaDB [(none)]> show databases;
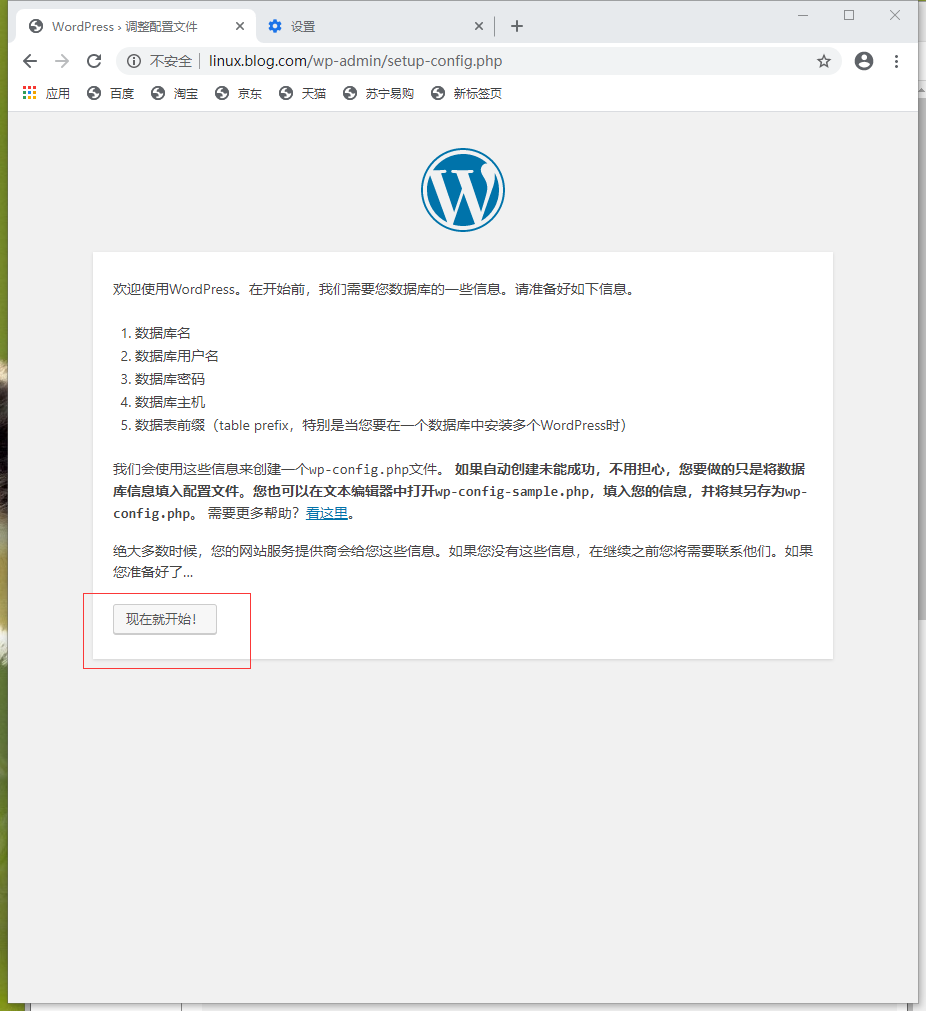
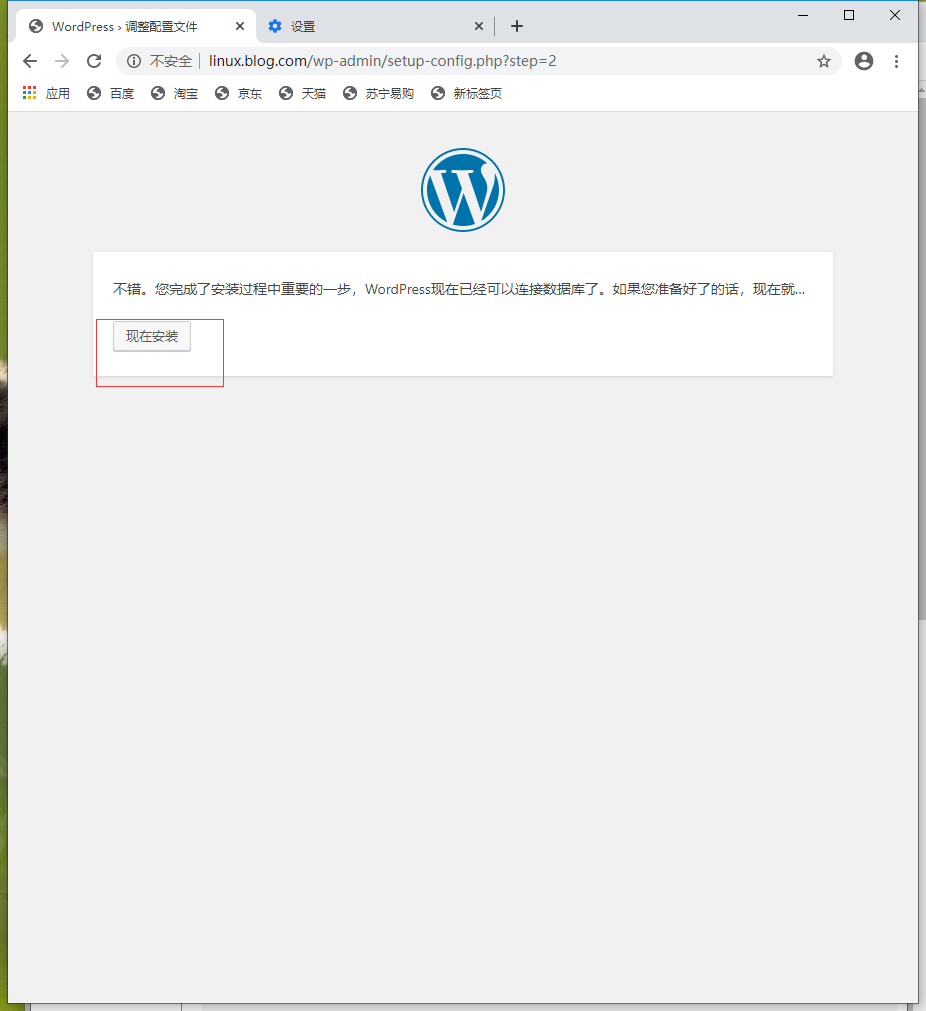
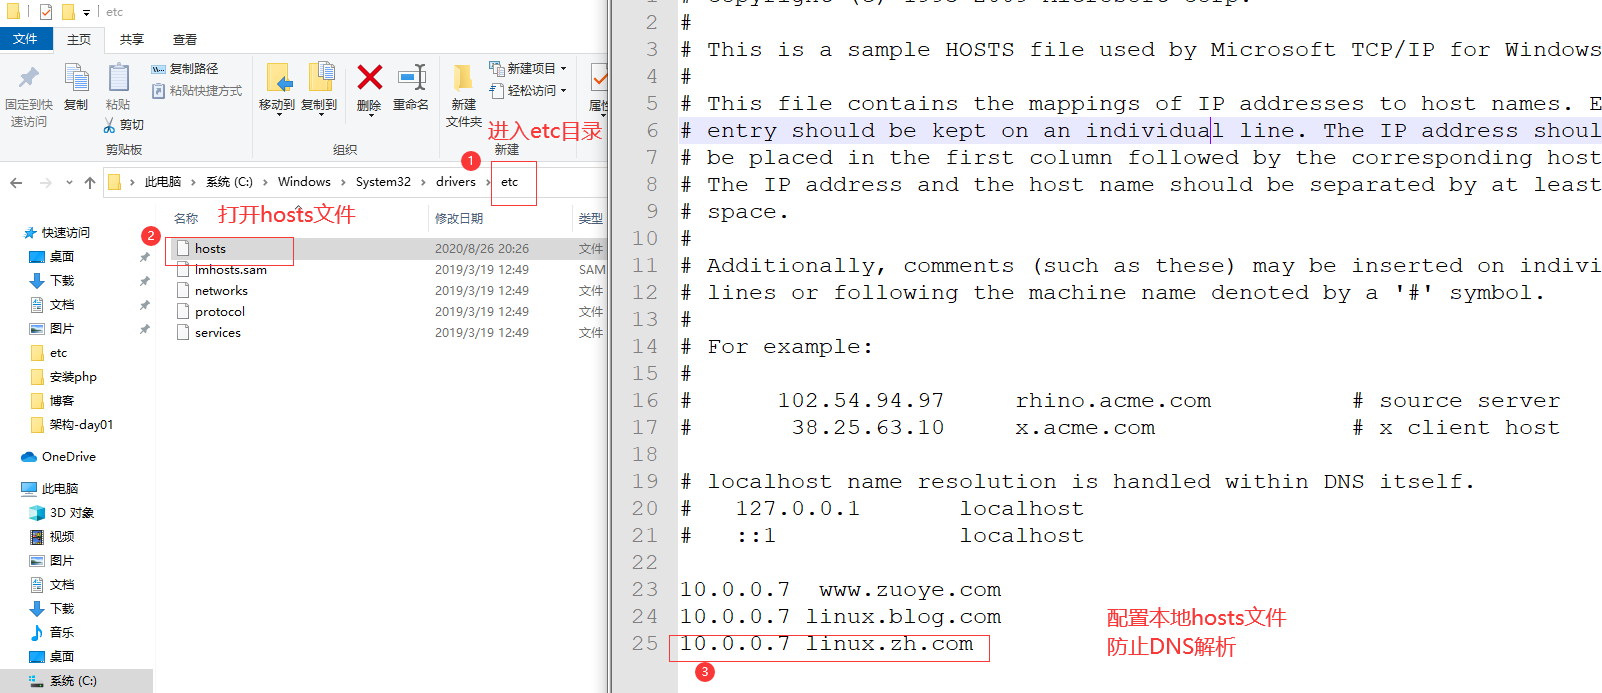
4)访问
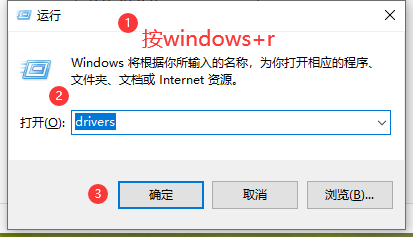
drivers

10.0.0.7 linux.blog.com

http://linux.blog.com

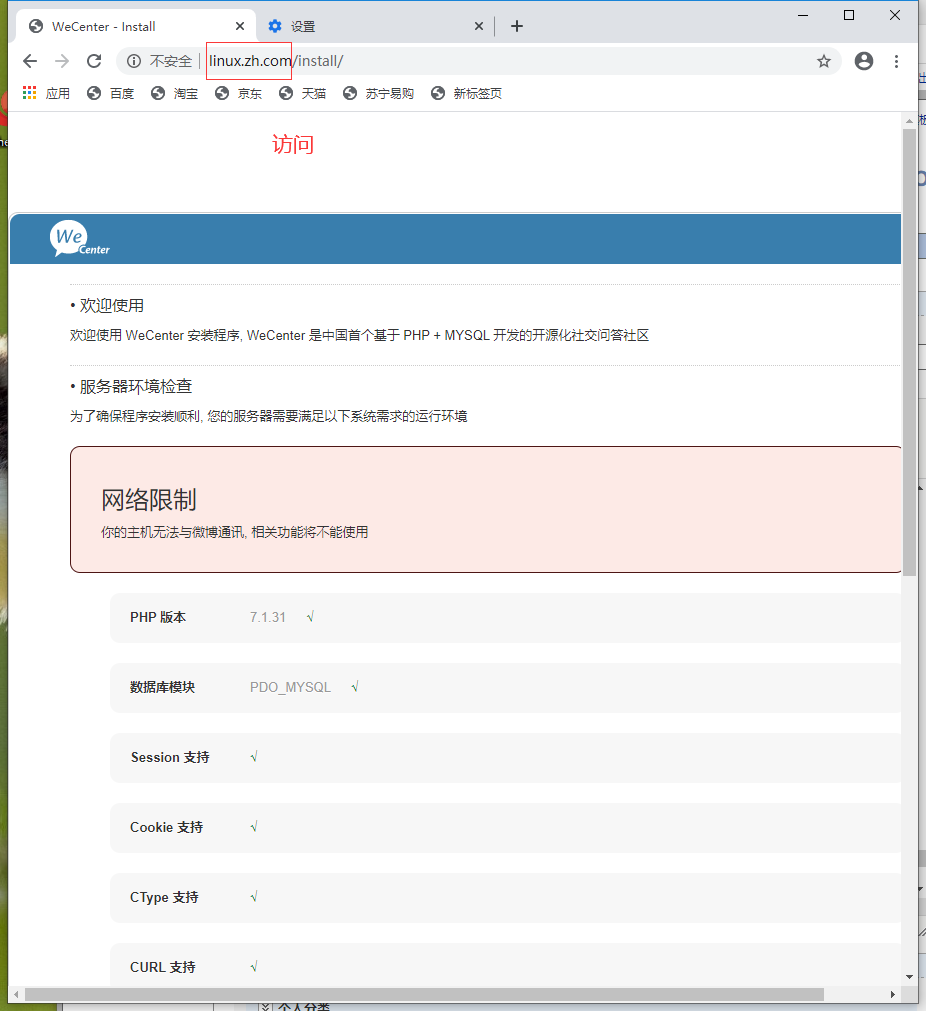
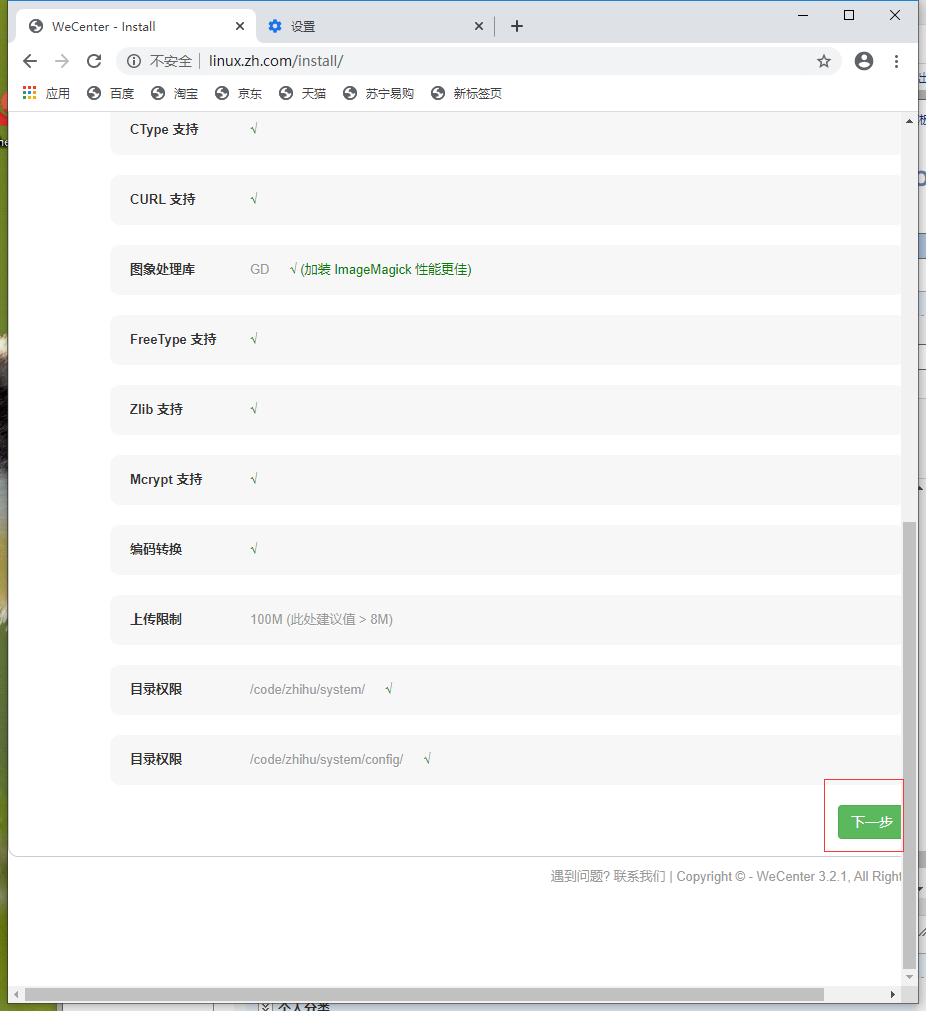
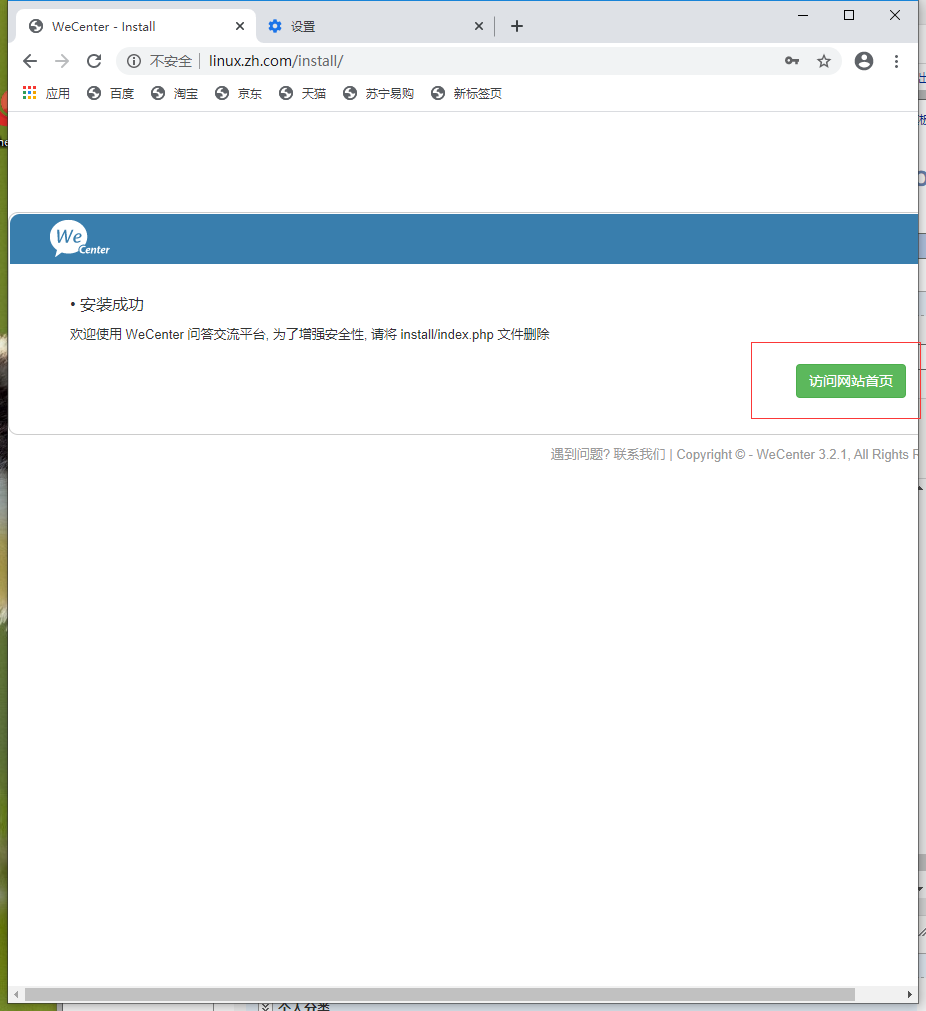
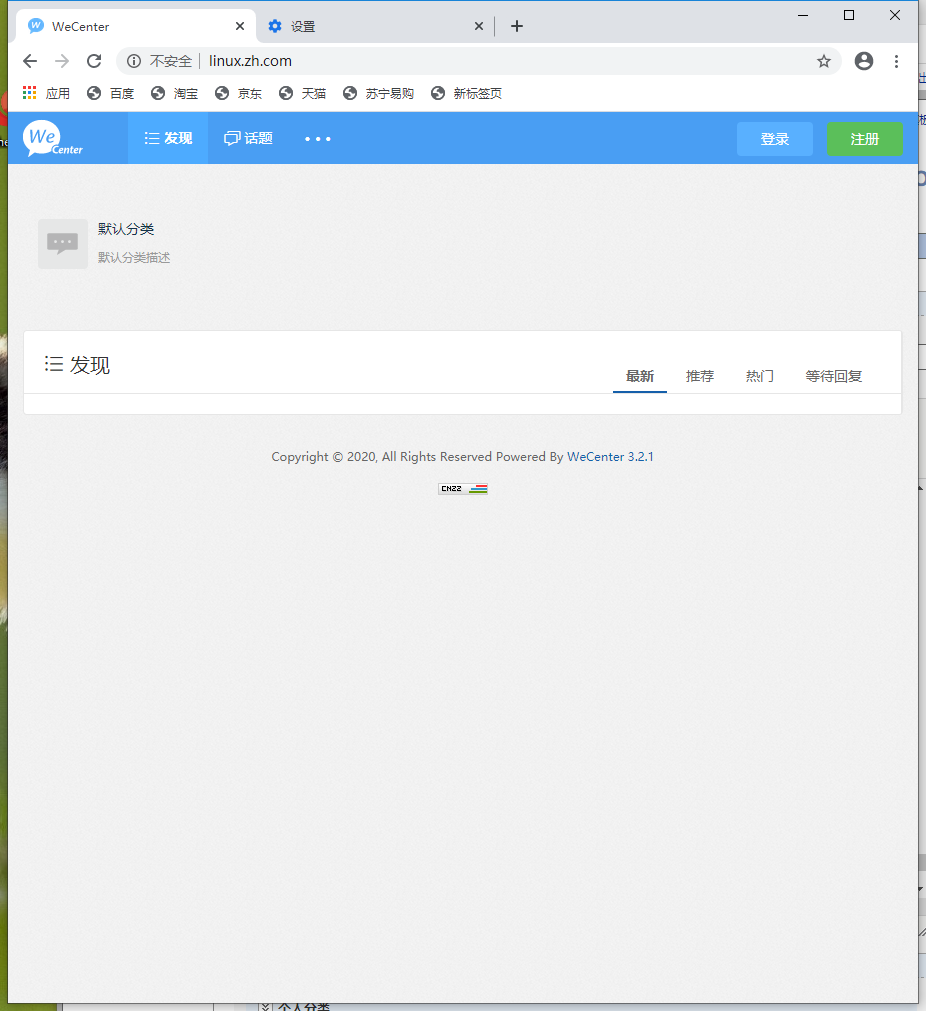
2.搭建知乎
1)上传代码并解压
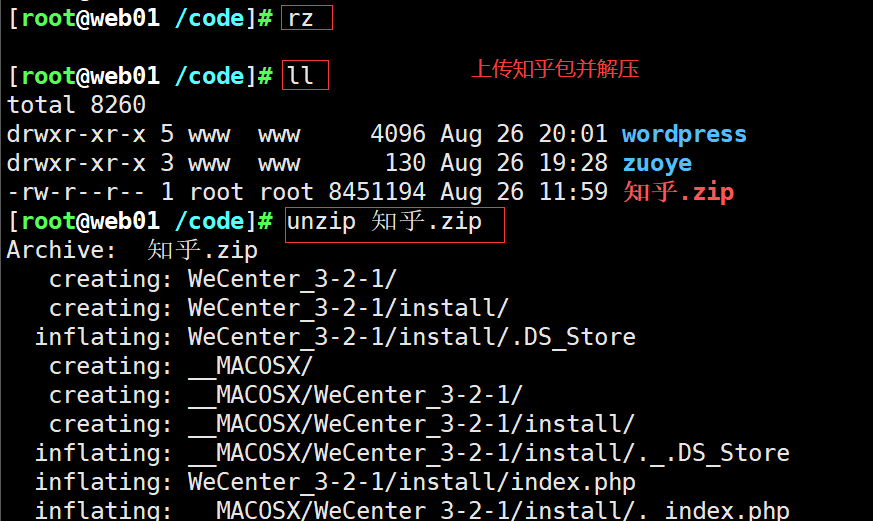
[root@web01 /code]# unzip 知乎.zip
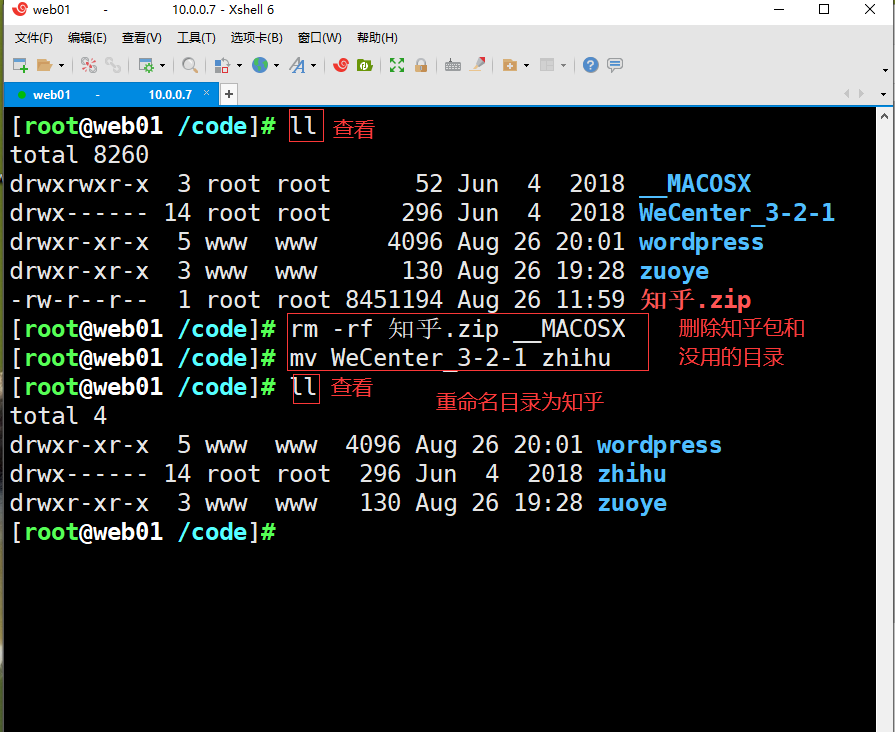
[root@web01 /code]# mv WeCenter_3-2-1 zhihu

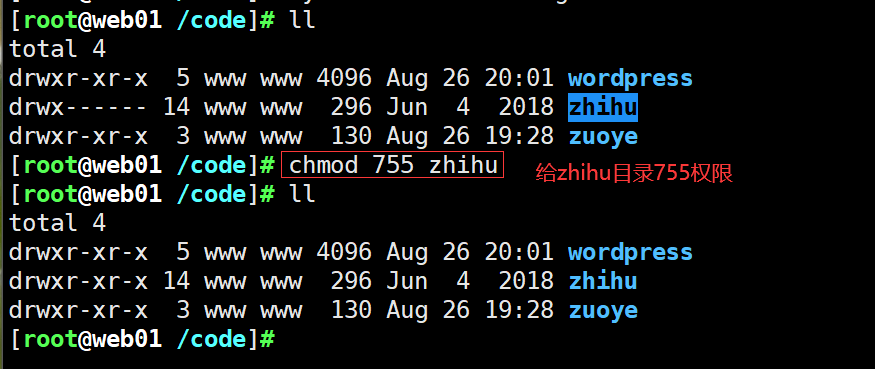
[root@web01 /code]# chown -R www.www /code/
3)配置并重启
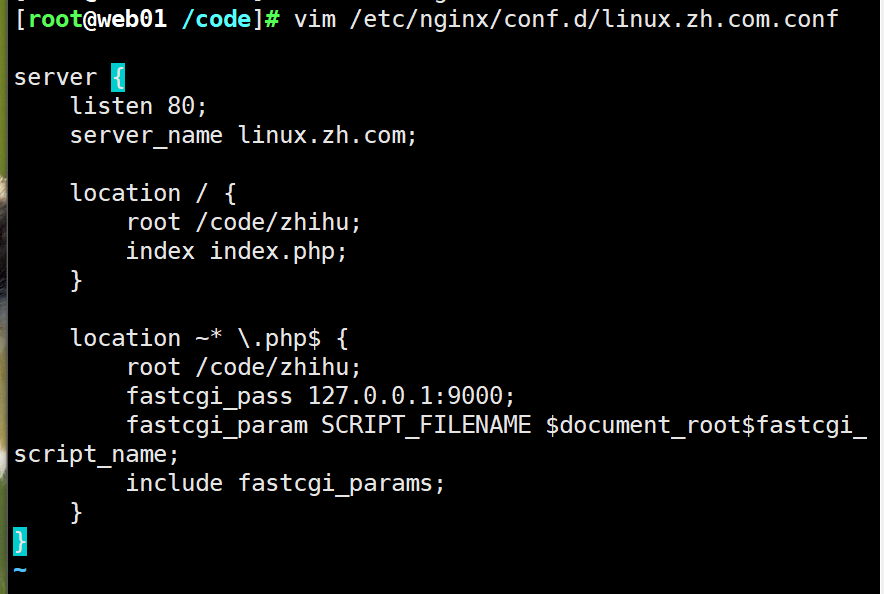
[root@web01 /code]# vim /etc/nginx/conf.d/linux.zh.com.conf
server {
    listen 80;
    server_name linux.zh.com;

    location / {
        root /code/zhihu;
        index index.php;
    }

    location ~* .php$ {
        root /code/zhihu;
        fastcgi_pass 127.0.0.1:9000;
        fastcgi_param SCRIPT_FILENAME $document_root$fastcgi_script_name;
        include fastcgi_params;
    }
}

[root@web01 /code]# systemctl restart nginx
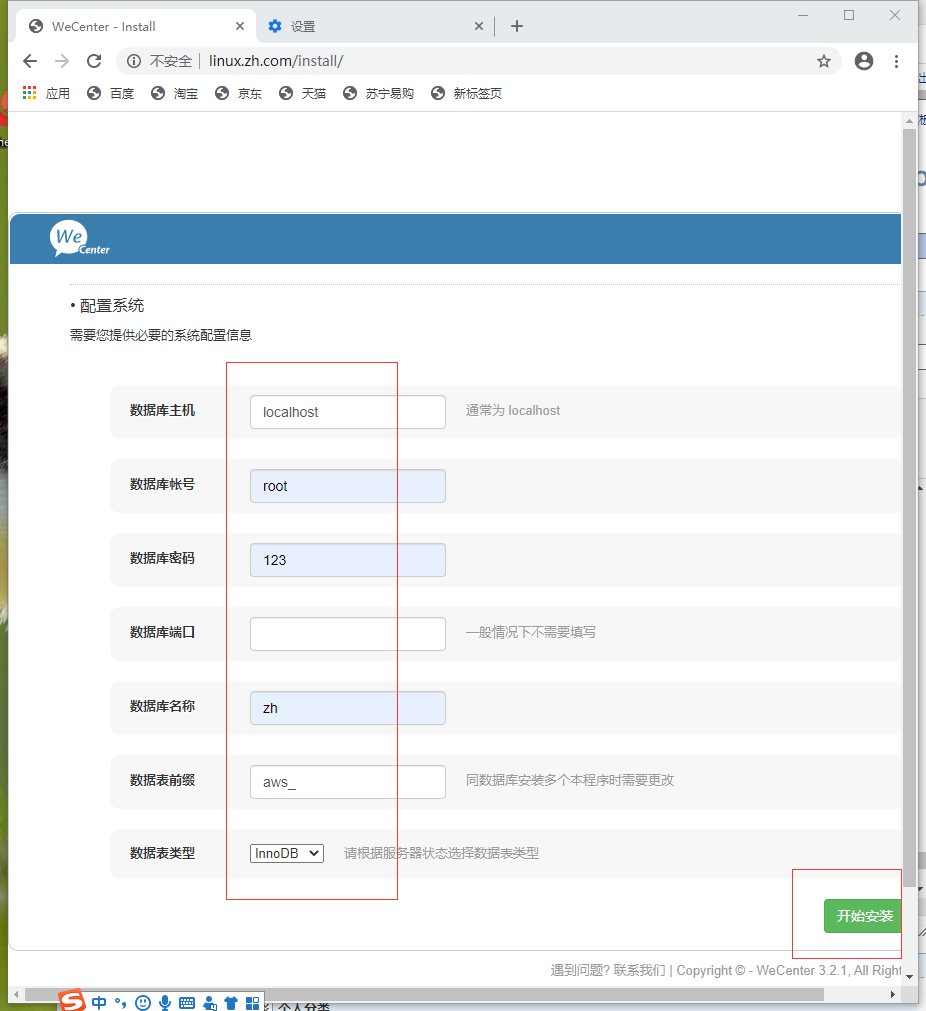
5)创建数据库

[root@web01 /code]# mysql -uroot -p123
MariaDB [(none)]> create database zh;
MariaDB [(none)]> show databases;
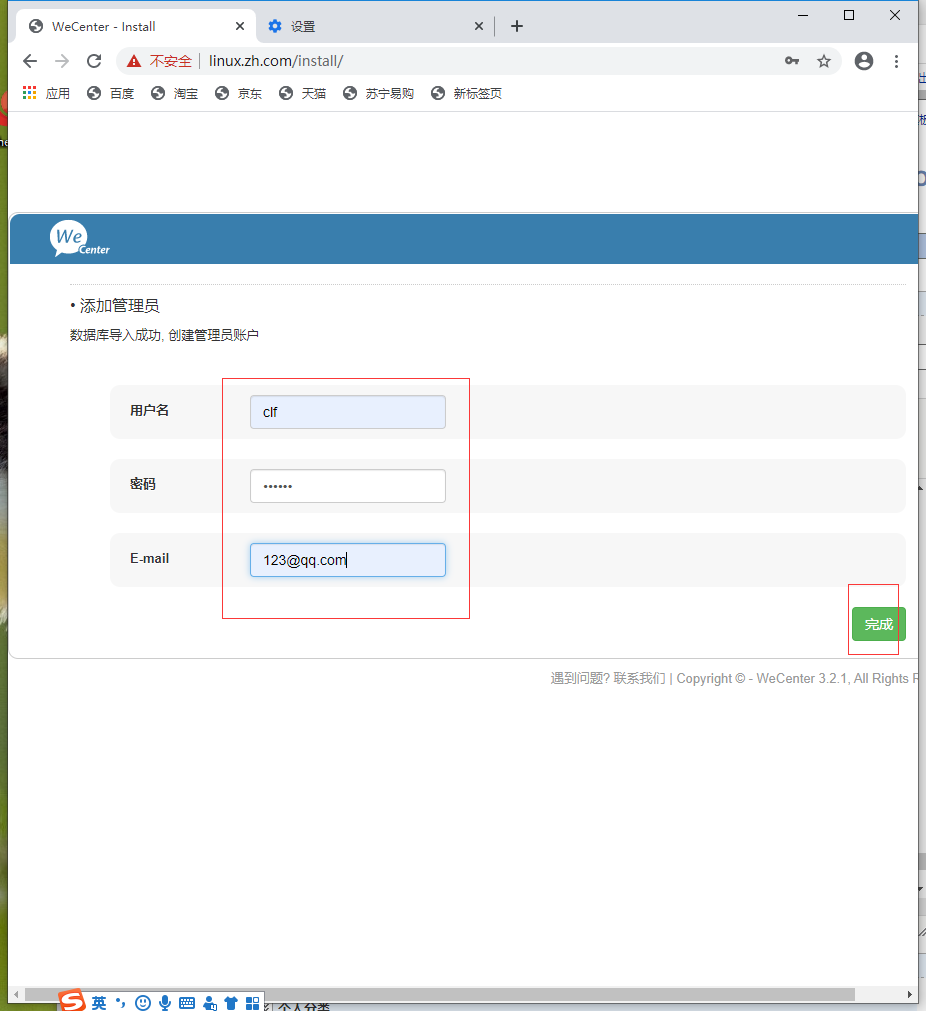
6) 访问测试

drivers
10.0.0.7 linux.zh.com