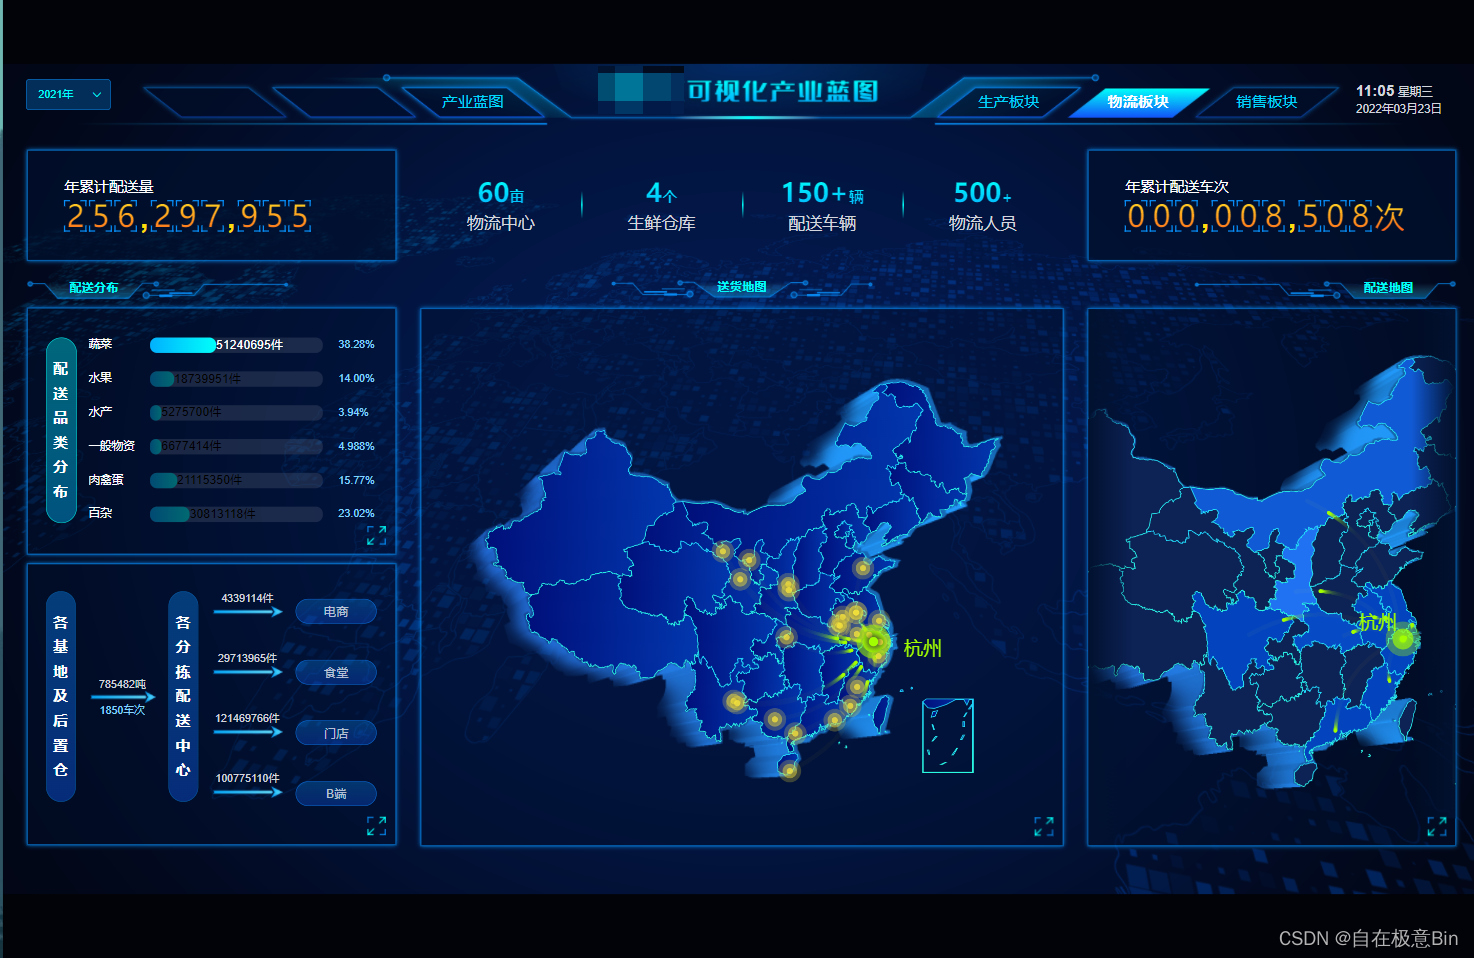
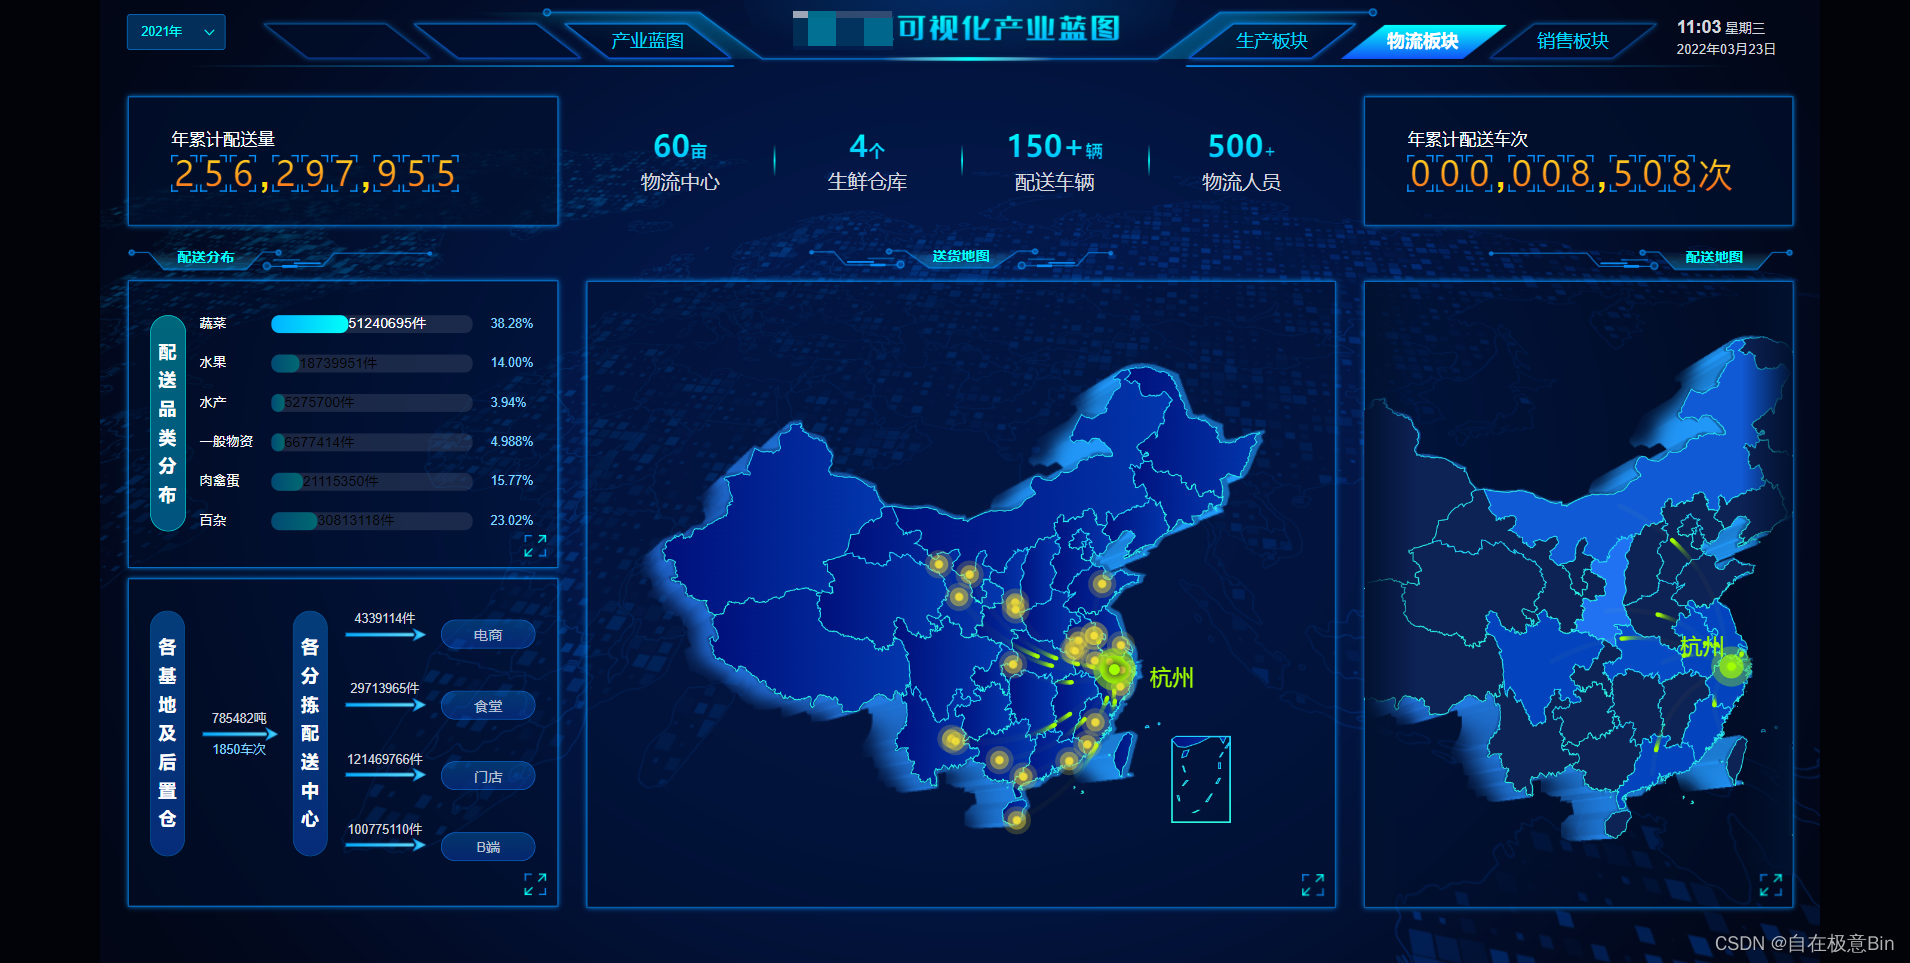
下面说下有两种方式计算sacle,结果相同,只是方式不大同:
第一种:
一、在App.vue的props注入宽高
 1  props: {
 2      {
 3       type: String,
 4       default: "1920"
 5     },
 6     height: {
 7       type: String,
 8       default: "1080"
 9     }
10   },
二、在data中定义style
1 style: {
2          this.width + "px",
3         height: this.height + "px",
4         transform: "scale(1) translate(-50%, -50%)"
5       }
三、在methods中定义方法
Debounce: (fn, t) => {
      const delay = t || 500;
      let timer;
      return function() {
        const args = arguments;
        if (timer) {
          clearTimeout(timer);
        }
        const context = this;
        timer = setTimeout(() => {
          timer = null;
          fn.apply(context, args);
        }, delay);
      };
    },
getScale() {
      const w = window.innerWidth / this.width;
      const h = window.innerHeight / this.height;
      return w < h ? w : h;
    },
    setScale() {
      this.style.transform =
        "scale(" + this.getScale() + ") translate(-50%, -50%)";
    }
四、给html标签动态绑定 style
注意:如果宽高不够等比,给最大的盒子一个背景色,下面的例子就是
 <div id="app" style="background:linear-gradient(#112550, #0F2C74)">
    <div class="ScreenAdapter" :style="style">
      <router-view />
    </div>
  </div>
五、给类名 ScreenAdapter 添加css样式
.ScreenAdapter {
  transform-origin: 0 0;
  position: absolute;
  left: 50%;
  top: 50%;
  transition: 0.3s;
}
六、在 mounted 中调用 setScale()方法、和使用window.onresize 方法
this.setScale();
window.onresize = this.Debounce(this.setScale, 1000);
第二种:
背景:数据大屏项目,需要适配不同屏幕,且在任意屏幕下保持16:9的比例,保持显示效果一致,屏幕比例不一致两边留黑即可
分析:
不同屏幕宽高比例(和设计稿16:9)相比会有两种情况:
1、更宽:(window.innerWidth / window.innerHeight) > 16/9 ,以高度为基准,去适配宽度
2、更高:(window.innerWidth / window.innerHeight) < 16/9 ,以宽度为基准,去适配高度
选择方案:
计算需要缩放的比例,利用transform的scale属性缩放即可
为什么不用px->rem或媒体查询?
因为用rem起来太麻烦了;媒体查询代码大量书写 比较繁琐;而且echarts里面的东西不好适配
使用transform可以完全按照设计稿的尺寸去开发,缩放的是整个页面
效果预览更高:

效果预览更宽:

实现代码:
新建resizeMixin.js
 1 // * 默认缩放值
 2 const scale = {
 3    '1',
 4   height: '1',
 5 };
 6
 7 // * 设计稿尺寸(px)
 8 const baseWidth = 1920;
 9 const baseHeight = 1080;
10
11 // * 需保持的比例(默认16:9)
12 const baseProportion = parseFloat((baseWidth / baseHeight).toFixed(5));
13
14 export default {
15   data() {
16     return {
17       drawTiming: null,
18     };
19   },
20   mounted() {
21     this.calcRate();
22     window.addEventListener('resize', this.resize);
23   },
24   beforeDestroy() {
25     window.removeEventListener('resize', this.resize);
26   },
27   methods: {
28     calcRate() {
29       const appRef = this.$refs['appRef'];
30       if (!appRef) return;
31       // 当前宽高比
32       const currentRate = parseFloat(
33         (window.innerWidth / window.innerHeight).toFixed(5)
34       );
35       if (appRef) {
36         if (currentRate > baseProportion) {
37           // 表示更宽
38           scale.width = (
39             (window.innerHeight * baseProportion) /
40             baseWidth
41           ).toFixed(5);
42           scale.height = (window.innerHeight / baseHeight).toFixed(5);
43           appRef.style.transform = `scale(${scale.width}, ${scale.height}) translate(-50%, -50%)`;
44         } else {
45           // 表示更高
46           scale.height = (
47             window.innerWidth /
48             baseProportion /
49             baseHeight
50           ).toFixed(5);
51           scale.width = (window.innerWidth / baseWidth).toFixed(5);
52           appRef.style.transform = `scale(${scale.width}, ${scale.height}) translate(-50%, -50%)`;
53         }
54       }
55     },
56     resize() {
57       clearTimeout(this.drawTiming);
58       this.drawTiming = setTimeout(() => {
59         this.calcRate();
60       }, 200);
61     },
62   },
63 };
在app的路由下使用,body背景设置成黑色即可
 1 <template>
 2   <div  ref="appRef">
 3     <router-view />
 4   </div>
 5 </template>
 6
 7 <script>
 8 import resizeMixin from '@/utils/resizeMixin ';
 9
10 export default {
11   mixins: [resizeMixin]
12 }
以上就是两种方式实现,其根本都是利用transform:scale属性去实现的,个人仅为第二种更好理解,第一种代码较为简洁!