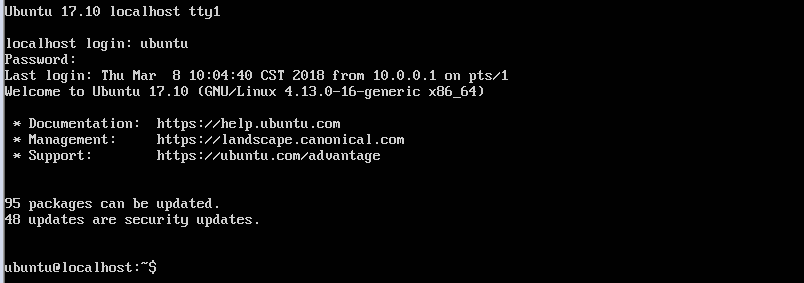
1.1 使用创建用户登陆
Ubuntu 默认root用户无法登陆,只能使用在安装系统的时候新创建的用户登录 我这里新建的用户是ubuntu密码111111
1.2 安装ssh server
由于新建的系统没有安装ssh,这里需要手动安装ssh
apt-get install ssh-server
修改/etc/ssh/sshd-config文件.
找到PermitRootLogin without-password 修改为PermitRootLogin yes,
修改为 PubkeyAuthentication yes修改为no
AuthorizedKeysFile .ssh/authorized_keys前面加上#屏蔽掉,
PasswordAuthentication no修改为yes就可以了。
Ubuntu默认安装了ssh client端但没有安装Server端,所以首先安装ssh-server服务。
Ubuntu默认安装的SSH client为openssh-client,如果你的系统没有安装的话,再用apt-get安装上即可。 然后再确认sshserver是否启动了
1.3 设置root密码,使用root登陆
songyawei@ubuntu:~$ sudo passwd root    #设置root密码
[sudo] password for songyawei:          #此处输入songyawei用户的密码
Enter new UNIX password:                #输入设置root的密码
Retype new UNIX password:               #再次输入设置root的密码
passwd: password updated successfully   #设置成功
1.4 防火墙

root@ubuntu:~# ufw enable #开启防火墙
Command may disrupt existing ssh connections. Proceed with operation (y|n)? y
Firewall is active and enabled on system startup
root@ubuntu:~# ufw status #查看防火墙状态
Status: active
root@ubuntu:~# ufw disable #关闭防火墙
Firewall stopped and disabled on system startup
root@ubuntu:~# ufw status
Status: inactive
root@ubuntu:~# systemctl disable ufw.service #设置开机关闭防火墙
root@ubuntu:~# systemctl list-unit-files |grep ufw
ufw.service disabled
卸载了iptables
apt-get remove iptables
1.5 网络配置(17.10版本)
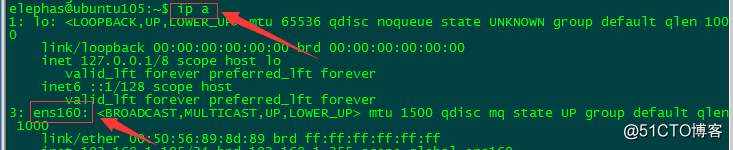
一、查询网卡名称
二、在17.10版本里配置静态IP是设置“01-netcfg.yaml”文件。
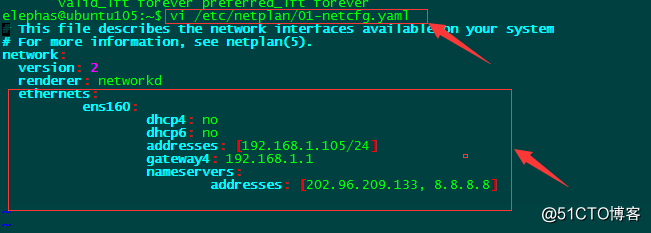
ethernets: ens160: #配置的网卡名称 dhcp4: no #dhcp4关闭 dhcp6: no #dhcp6关闭 addresses: [192.168.1.105/24] #设置本机IP及掩码 gateway4: 192.168.1.1 #设置网关 nameservers: addresses: [202.96.209.133, 8.8.8.8] #设置DNS
三、执行如下命令让配置生效,静态IP就配置好了
netplan apply
1.6 修改主机名
root@ubuntu:~# vim /etc/hostname
root@ubuntu:~# cat /etc/hostname
15b883
root@ubuntu:~# hostname 15b883
1.7 查看网桥工具
root@linux-node4:~# apt-get install bridge-utils
root@linux-node4:~# brctl show
bridge name    bridge id    STP enabled    interfaces
docker0    8000.02427965e22c    no
docker_gwbridge    8000.0242f312b0d0    no