使用kubeadm安装kubernetes,并使用kube-router代替kube-proxy+calico网络。
即:kube-router providing service proxy, firewall and pod networking.
版本:kubernetes v1.20.0
安装kubernetes集群
升级linux系统内核,关闭swap,关闭防火墙,调整内核参数等自己做。
主要安装命令
yum install kubectl-1.20.0-0.x86_64 kubeadm-1.20.0-0.x86_64 kubelet-1.20.0-0.x86_64
kubeadm init --kubernetes-version=1.20.0 --apiserver-advertise-address=192.168.100.80 --image-repository registry.aliyuncs.com/google_containers --pod-network-cidr=10.244.0.0/16
[root@k8s-master ~]# kubeadm init --kubernetes-version=1.20.0 --apiserver-advertise-address=192.168.100.80 --image-repository registry.aliyuncs.com/google_containers --pod-network-cidr=10.244.0.0/16
[init] Using Kubernetes version: v1.20.0
[preflight] Running pre-flight checks
[WARNING IsDockerSystemdCheck]: detected "cgroupfs" as the Docker cgroup driver. The recommended driver is "systemd". Please follow the guide at https://kubernetes.io/docs/setup/cri/
[WARNING Hostname]: hostname "k8s-master" could not be reached
[WARNING Hostname]: hostname "k8s-master": lookup k8s-master on 192.168.100.96:53: no such host
[preflight] Pulling images required for setting up a Kubernetes cluster
[preflight] This might take a minute or two, depending on the speed of your internet connection
[preflight] You can also perform this action in beforehand using 'kubeadm config images pull'
[certs] Using certificateDir folder "/etc/kubernetes/pki"
[certs] Generating "ca" certificate and key
[certs] Generating "apiserver" certificate and key
[certs] apiserver serving cert is signed for DNS names [k8s-master kubernetes kubernetes.default kubernetes.default.svc kubernetes.default.svc.cluster.local] and IPs [10.96.0.1 192.168.100.80]
[certs] Generating "apiserver-kubelet-client" certificate and key
[certs] Generating "front-proxy-ca" certificate and key
[certs] Generating "front-proxy-client" certificate and key
[certs] Generating "etcd/ca" certificate and key
[certs] Generating "etcd/server" certificate and key
[certs] etcd/server serving cert is signed for DNS names [k8s-master localhost] and IPs [192.168.100.80 127.0.0.1 ::1]
[certs] Generating "etcd/peer" certificate and key
[certs] etcd/peer serving cert is signed for DNS names [k8s-master localhost] and IPs [192.168.100.80 127.0.0.1 ::1]
[certs] Generating "etcd/healthcheck-client" certificate and key
[certs] Generating "apiserver-etcd-client" certificate and key
[certs] Generating "sa" key and public key
[kubeconfig] Using kubeconfig folder "/etc/kubernetes"
[kubeconfig] Writing "admin.conf" kubeconfig file
[kubeconfig] Writing "kubelet.conf" kubeconfig file
[kubeconfig] Writing "controller-manager.conf" kubeconfig file
[kubeconfig] Writing "scheduler.conf" kubeconfig file
[kubelet-start] Writing kubelet environment file with flags to file "/var/lib/kubelet/kubeadm-flags.env"
[kubelet-start] Writing kubelet configuration to file "/var/lib/kubelet/config.yaml"
[kubelet-start] Starting the kubelet
[control-plane] Using manifest folder "/etc/kubernetes/manifests"
[control-plane] Creating static Pod manifest for "kube-apiserver"
[control-plane] Creating static Pod manifest for "kube-controller-manager"
[control-plane] Creating static Pod manifest for "kube-scheduler"
[etcd] Creating static Pod manifest for local etcd in "/etc/kubernetes/manifests"
[wait-control-plane] Waiting for the kubelet to boot up the control plane as static Pods from directory "/etc/kubernetes/manifests". This can take up to 4m0s
[apiclient] All control plane components are healthy after 13.002683 seconds
[upload-config] Storing the configuration used in ConfigMap "kubeadm-config" in the "kube-system" Namespace
[kubelet] Creating a ConfigMap "kubelet-config-1.20" in namespace kube-system with the configuration for the kubelets in the cluster
[upload-certs] Skipping phase. Please see --upload-certs
[mark-control-plane] Marking the node k8s-master as control-plane by adding the labels "node-role.kubernetes.io/master=''" and "node-role.kubernetes.io/control-plane='' (deprecated)"
[mark-control-plane] Marking the node k8s-master as control-plane by adding the taints [node-role.kubernetes.io/master:NoSchedule]
[bootstrap-token] Using token: 68mv1r.5ljn91n2yms71dth
[bootstrap-token] Configuring bootstrap tokens, cluster-info ConfigMap, RBAC Roles
[bootstrap-token] configured RBAC rules to allow Node Bootstrap tokens to get nodes
[bootstrap-token] configured RBAC rules to allow Node Bootstrap tokens to post CSRs in order for nodes to get long term certificate credentials
[bootstrap-token] configured RBAC rules to allow the csrapprover controller automatically approve CSRs from a Node Bootstrap Token
[bootstrap-token] configured RBAC rules to allow certificate rotation for all node client certificates in the cluster
[bootstrap-token] Creating the "cluster-info" ConfigMap in the "kube-public" namespace
[kubelet-finalize] Updating "/etc/kubernetes/kubelet.conf" to point to a rotatable kubelet client certificate and key
[addons] Applied essential addon: CoreDNS
[addons] Applied essential addon: kube-proxy
Your Kubernetes control-plane has initialized successfully!
To start using your cluster, you need to run the following as a regular user:
mkdir -p $HOME/.kube
sudo cp -i /etc/kubernetes/admin.conf $HOME/.kube/config
sudo chown $(id -u):$(id -g) $HOME/.kube/config
Alternatively, if you are the root user, you can run:
export KUBECONFIG=/etc/kubernetes/admin.conf
You should now deploy a pod network to the cluster.
Run "kubectl apply -f [podnetwork].yaml" with one of the options listed at:
https://kubernetes.io/docs/concepts/cluster-administration/addons/
Then you can join any number of worker nodes by running the following on each as root:
kubeadm join 192.168.100.80:6443 --token 68mv1r.5ljn91n2yms71dth
--discovery-token-ca-cert-hash sha256:2a29deaa942a7eacb055f608caa686d9c59cb34abb0365b32c22d959b2327dc8
[root@k8s-master ~]# rm -rf .kube/
[root@k8s-master ~]# mkdir -p $HOME/.kube
[root@k8s-master ~]# sudo cp -i /etc/kubernetes/admin.conf $HOME/.kube/config
[root@k8s-master ~]# sudo chown $(id -u):$(id -g) $HOME/.kube/config
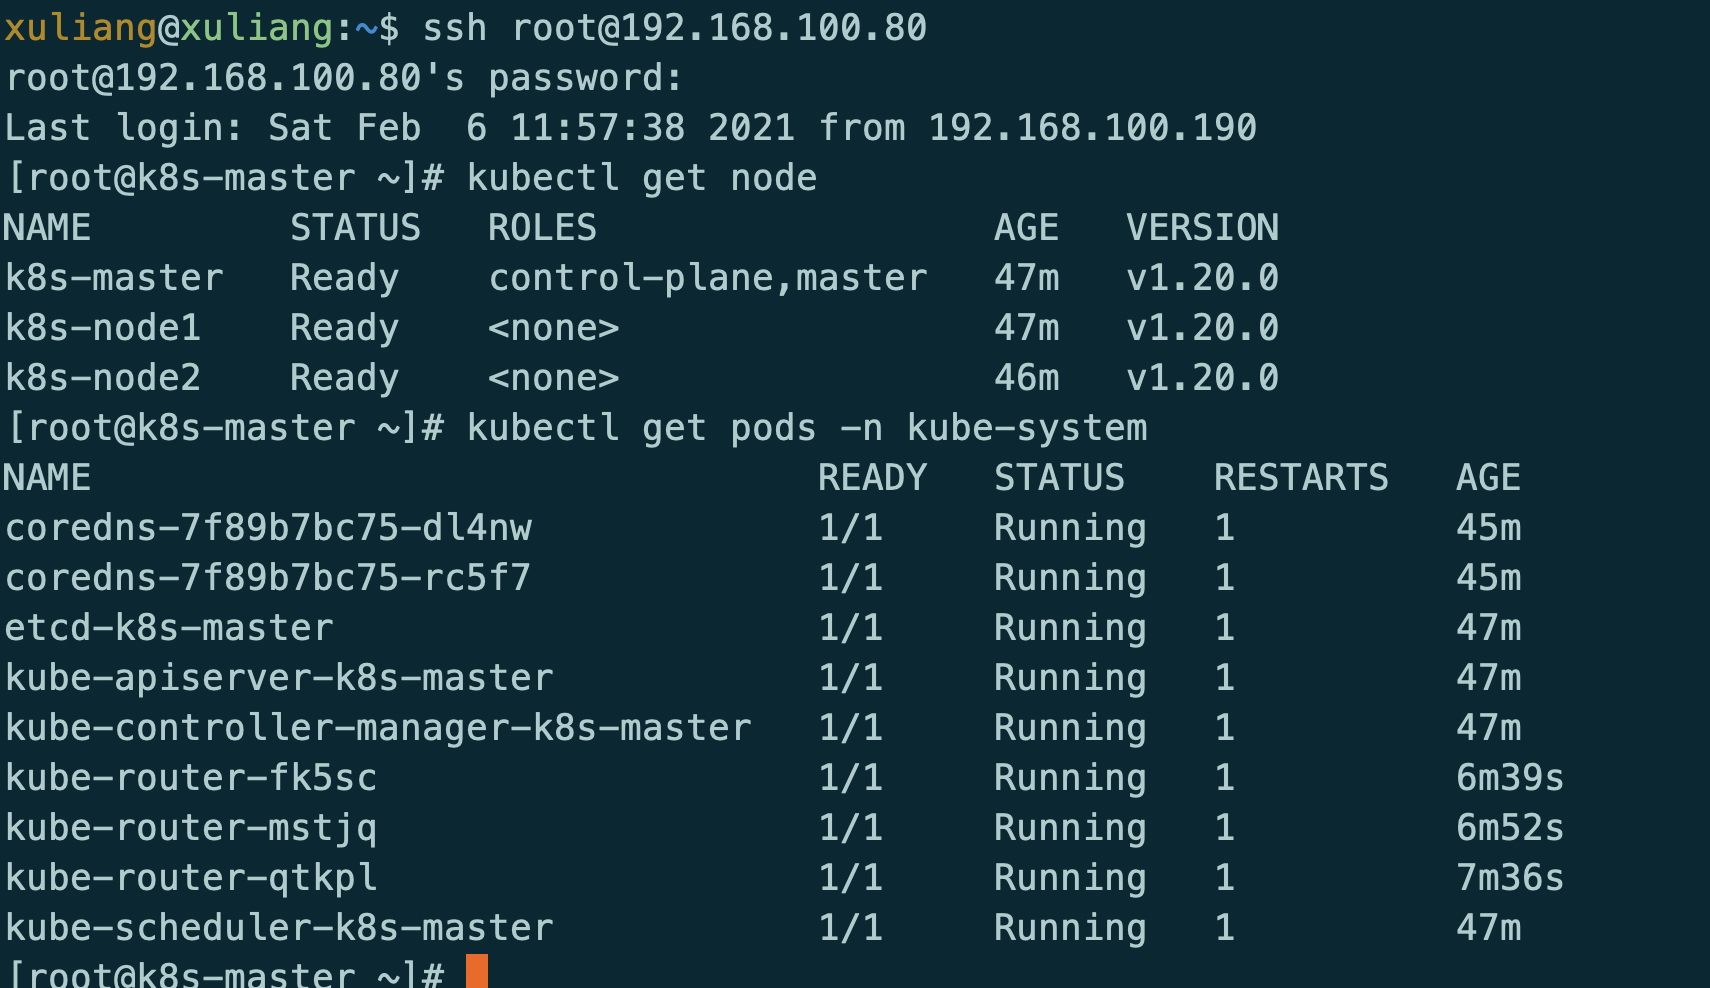
[root@k8s-master ~]# kubectl get node
安装完成后

安装网络
源文件地址:https://github.com/cloudnativelabs/kube-router/blob/master/daemonset/kubeadm-kuberouter.yaml
kubectl apply -f kubeadm-kuberouter.yaml


安装服务测试
kubectl run nginx --image=nginx --expose --port=80 --image-pull-policy='IfNotPresent'
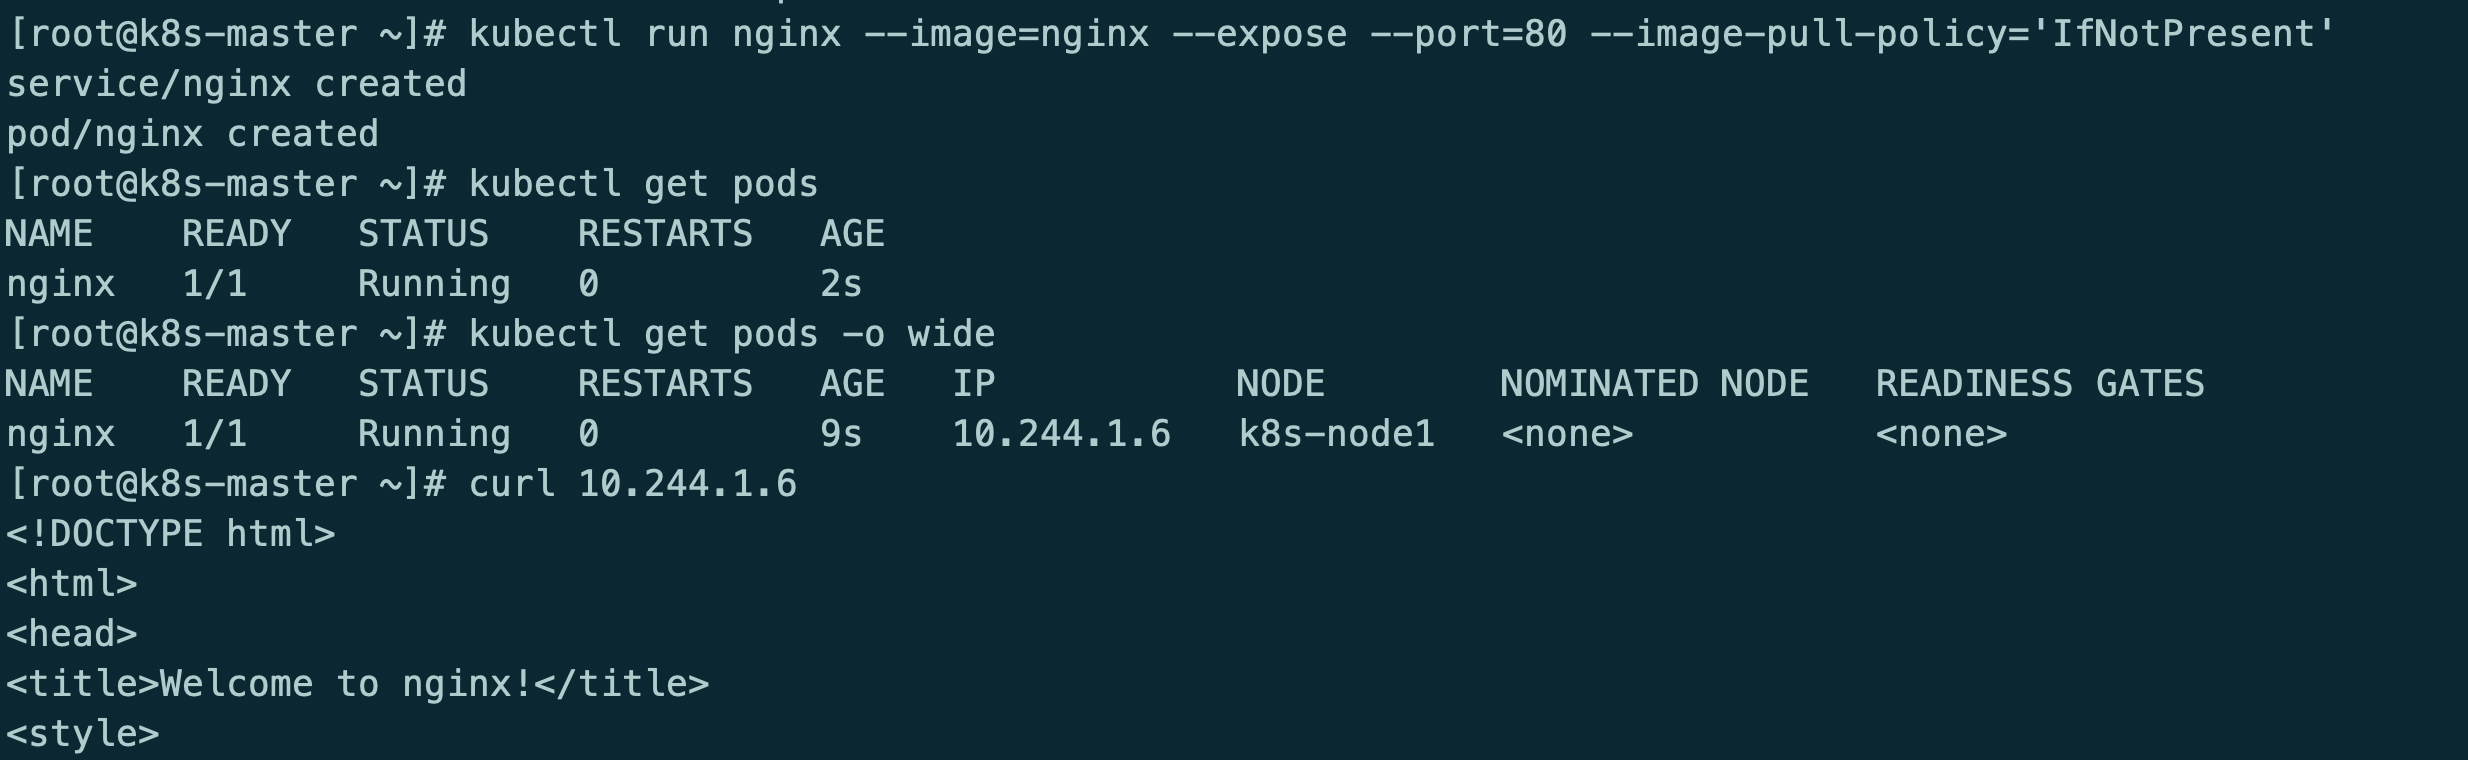
此时kube-router只提供网络功能,kube-proxy提供的service和防火墙策略
kube-router providing service proxy, firewall and pod networking.
参考地址:https://github.com/cloudnativelabs/kube-router/blob/master/docs/kubeadm.md
kubectl delete -f kubeadm-kuberouter.yaml
kubectl apply -f kubeadm-kuberouter-all-features.yaml
kubectl -n kube-system delete ds kube-proxy
docker run --privileged -v /lib/modules:/lib/modules --net=host registry.aliyuncs.com/google_containers/kube-proxy:v1.20.0 kube-proxy --cleanup
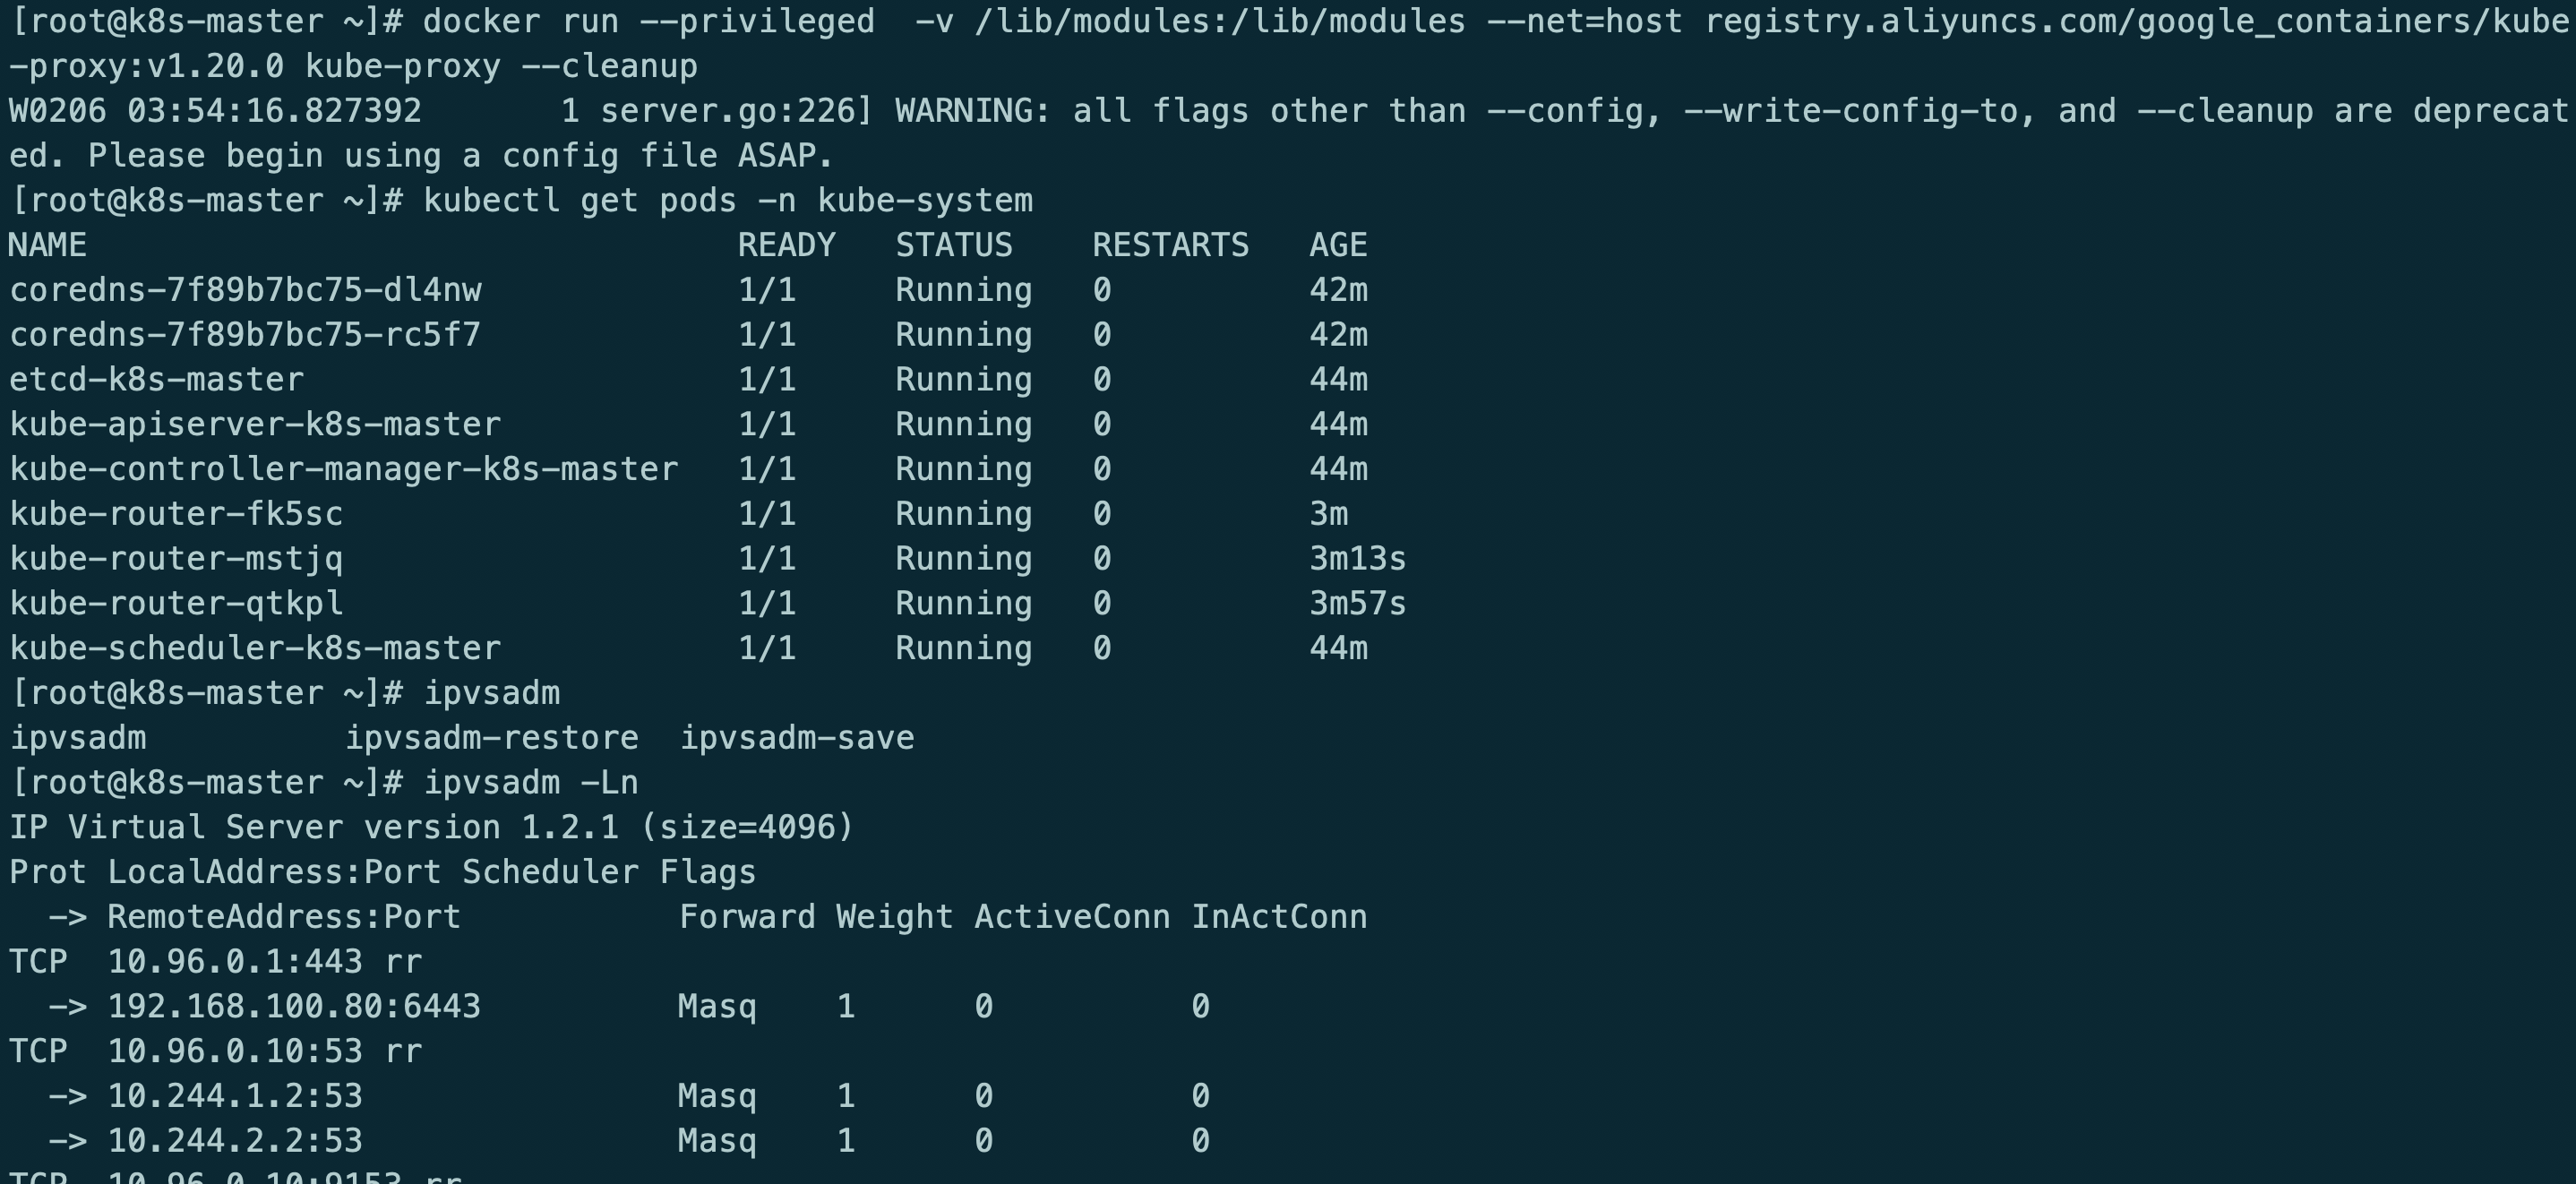
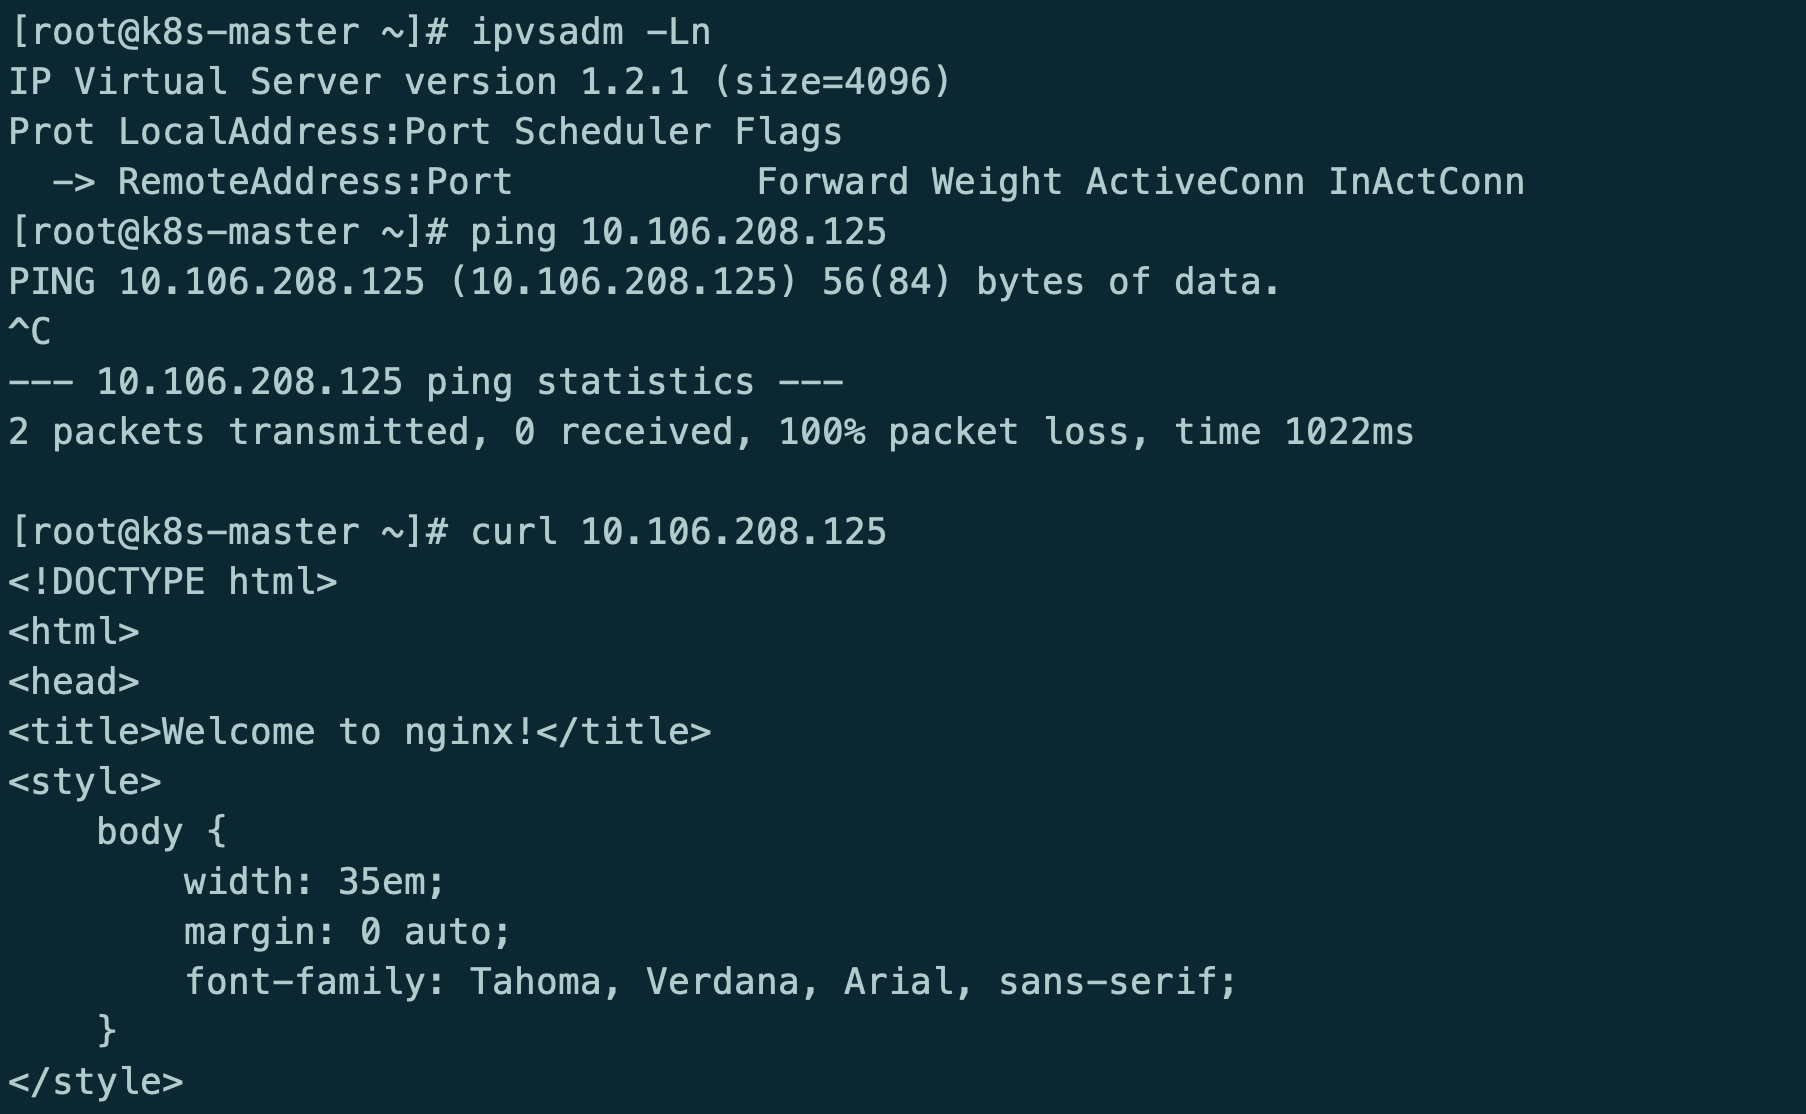
kube-router模式使用ipvs rr策略
最后在重启服务器
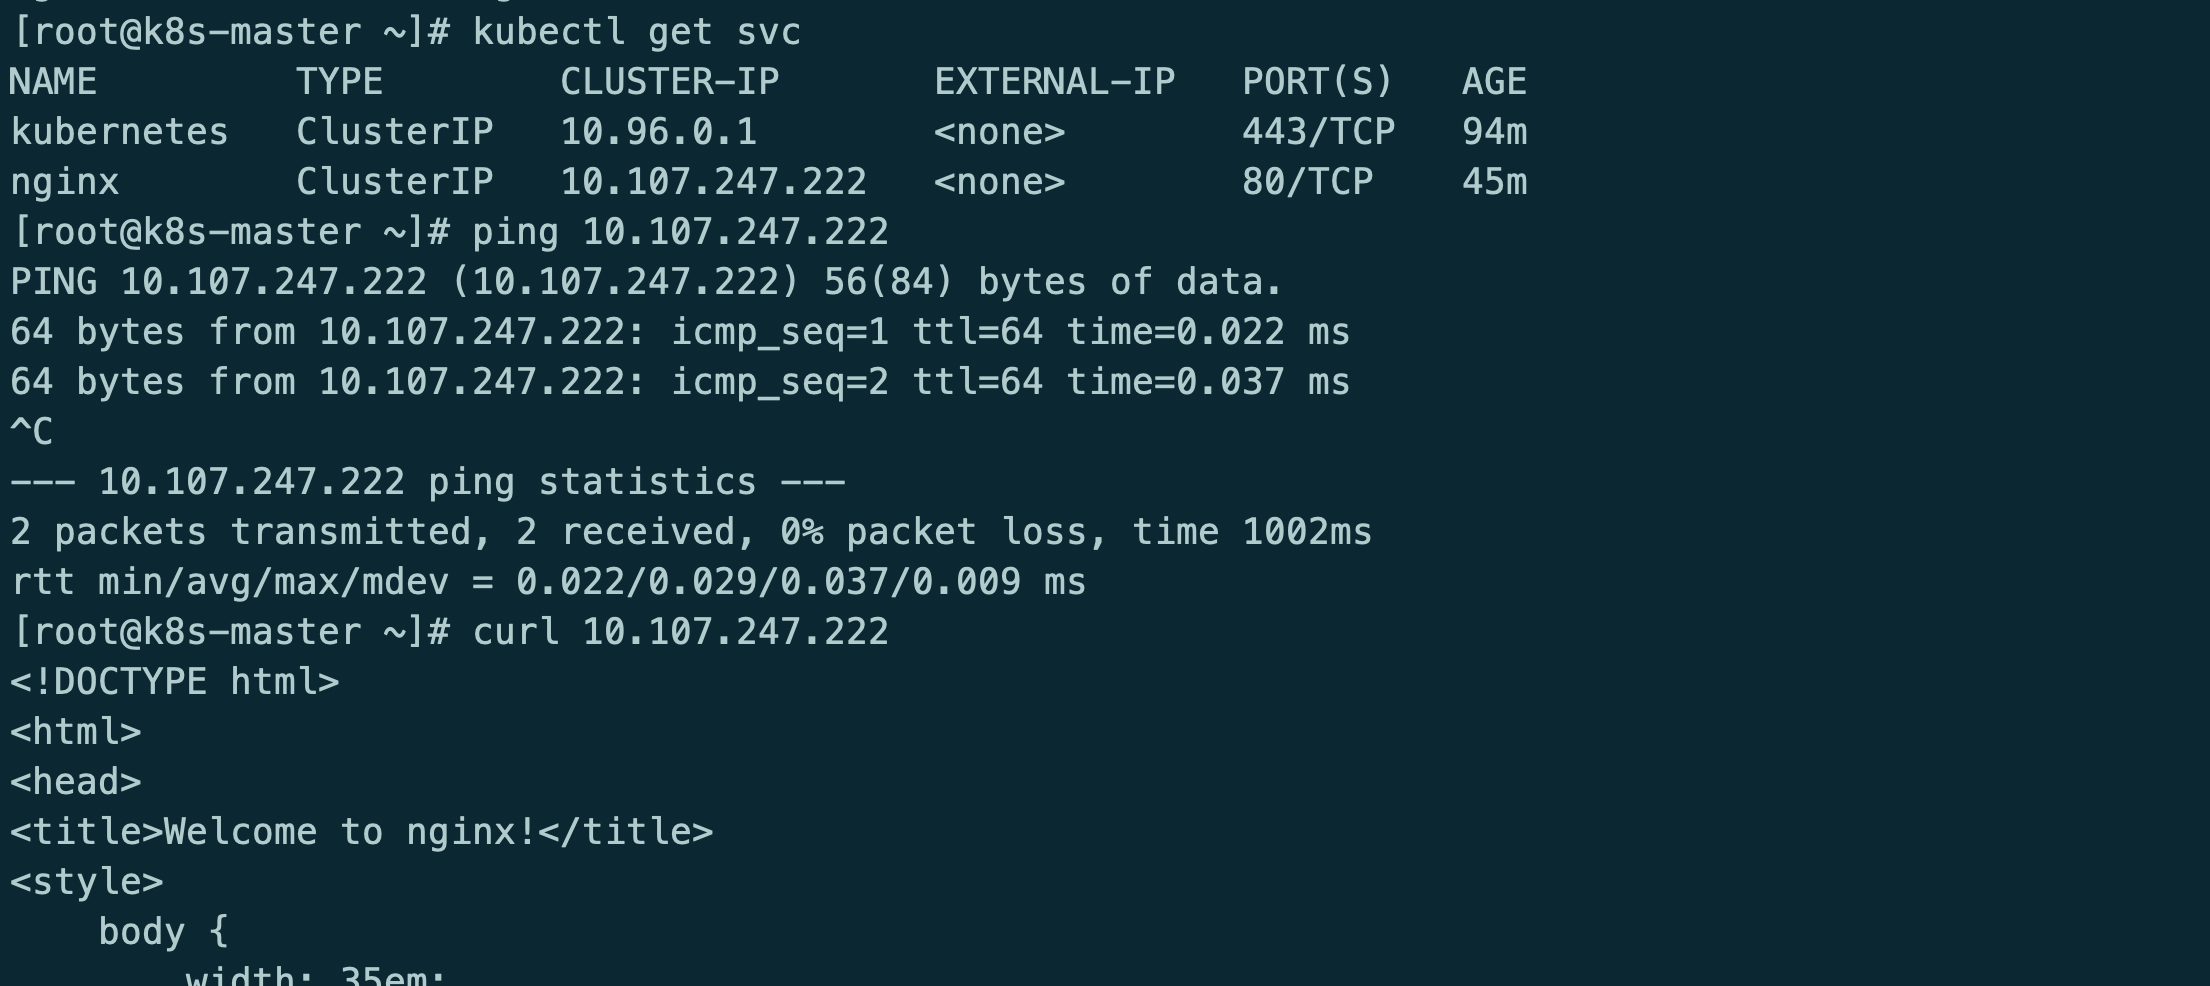
测试服务
格式化集群
kubectl drain k8s-master --delete-local-data --force --ignore-daemonsets
kubectl drain k8s-node1 --delete-local-data --force --ignore-daemonsets
kubectl drain k8s-node2 --delete-local-data --force --ignore-daemonsets
kubectl delete node k8s-master
rm -rf /etc/cni/net.d/10-kuberouter.conflist
kubeadm reset
iptables -F && iptables -t nat -F && iptables -t mangle -F && iptables -X
ipvsadm -C
reboot