一、概述
Element,一套为开发者、设计师和产品经理准备的基于 Vue 2.0 的桌面端组件库指南 了解设计指南,帮助产品设计人员搭建逻辑清晰、结构合理且高效易用的产品。
二、登录演示
环境说明
nodejs版本:v12.15.0
npm版本:6.13.4
vue版本:2.5.2
创建项目
vue init webpack my-project
执行之后,会有一段提示信息
? Project name (my-project) #回车
? Project description  #回车,也可以写点项目描述
? Author #回车,或者输入作者
? Vue build standalone #回车
? Install vue-router? (Y/n) #这里是官方推荐的路由,果断yes
? Use ESLint to lint your code? #No
? Set up unit tests #No
? Setup e2e tests with Nightwatch? #No
? Should we run `npm install` for you after the project has been created? (recommended)
> Yes, use NPM #可以按上下方向键选择,这里我选第一个NPM,按回车确认
  Yes, use Yarn
  No, I will handle that myself
完成后可能会有警告信息,没事,不是ERR就好
安装element-ui
按照官方方法,执行:
npm i element-ui -S
安装完成之后,会在 package.json记录版本
"devDependencies": {
...
...
"element-ui": "^2.14.1"
使用以下命令启动vue项目
npm run dev
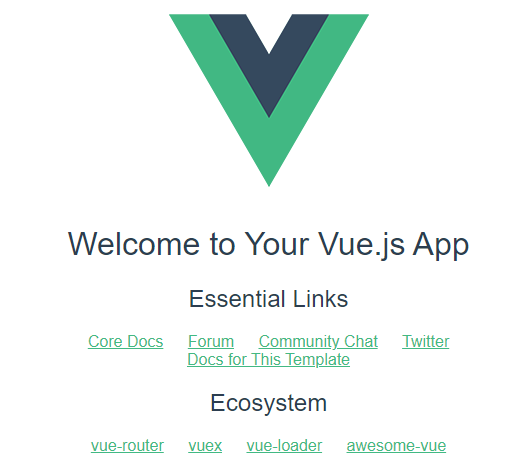
运行完成之后,访问页面:
http://localhost:8080/
效果如下:

使用ElementUI
打开main.js在里面添加三行内容
// The Vue build version to load with the `import` command
// (runtime-only or standalone) has been set in webpack.base.conf with an alias.
import ElementUI from 'element-ui' //新添加
import 'element-ui/lib/theme-chalk/index.css' //新添加,避免后期打包样式不同,要放在import App from './App';之前
import Vue from 'vue'
import App from './App'
import router from './router'

Vue.use(ElementUI)   //新添加
Vue.config.productionTip = false

/* eslint-disable no-new */
new Vue({
  el: '#app',
  router,
  components: { App },
  template: '<App/>'
})
添加了这三行,我们就可以使用element-ui了
接下来在components文件夹内新建一个Login.vue 文件,添加如下代码

<template>
  <div>
    <!-- 在使用表单验证时,需要注意:
    1.必须给表单对象绑定一个对象::model="loginForm",而且不能写成:v-model="loginForm"
    2.所有的子控件的绑定对象必须是表单对象的内部对象,比如:v-model="loginForm.username",否则总是验证失败
     -->
    <el-form class="login-container" :model="loginForm" ref="loginForm"
             :rules="rules" label-position="left">
      <h3 class="login-title">系统登录</h3>
      <el-form-item prop="username">
        <el-input type="text" v-model="loginForm.username" auto-complete="off" placeholder="用户名"></el-input>
      </el-form-item>
      <el-form-item prop="password">
        <el-input type="password" v-model="loginForm.password" auto-complete="off" placeholder="密码"></el-input>
      </el-form-item>
      <el-checkbox class="login-remember" v-model="checked">记住密码</el-checkbox>
      <el-form-item>
        <el-button class="login-button" type="primary" @click="submitClick('loginForm')">登录</el-button>
      </el-form-item>
    </el-form>
  </div>
</template>

<script>
  export default {
    name: "Login",
    data() {
      return {
        rules: {
          username: [
            { required: true, message: '请输入用户名', trigger: 'blur'}
          ],
          password: [
            { required: true, message: '请输入密码', trigger: 'blur'}
          ]
        },
        loginForm: {
          username: "admin",
          password: "123"
        },
        checked: true
      };
    },
    methods: {
      submitClick(formName) {
        // 表单验证
        this.$refs[formName].validate(valid => {
          if(valid) {
            alert('提交成功!')
          } else {
            console.log("error submit!")
            return false
          }
        })
      }
    }
  }
</script>

<style scoped>
  .login-container{
    width: 350px;
    margin: 40px auto;
    background-clip: padding-box;
    padding: 35px 35px 15px 35px;
    border: 1px solid #eaeaea;
    border-radius: 15px;
    box-shadow: 0 0 25px #cac6c6;
    background: #fff;
  }
  .login-title{
    margin: 0 auto 40px auto;
    text-align: center;
    color: #505458;
  }
  .login-remember{
    margin: 0 0 35px 0;
    text-align: center;
  }
  .login-button{
    width: 100%;
  }
</style>
注意事项
1.<el-form-item>一定要写在<el-form>内
2.在使用表单验证时,需要注意:
(1)必须给表单对象绑定一个对象::model=“loginForm”,而且不能写成:v-model=“loginForm”
(2)所有的子控件的绑定对象必须是表单对象的内部对象,比如:v-model=“loginForm.username”,否则总是验证失败
打开router/index.js,添加新路由
import Vue from 'vue'
import Router from 'vue-router'
import HelloWorld from '@/components/HelloWorld'
import Login from "@/components/Login"

Vue.use(Router)

export default new Router({
  mode: 'history',  //去掉url中的#
  routes: [
    {
      path: '/',
      name: 'HelloWorld',
      component: HelloWorld
    },
    {
      path: '/login',
      name: 'Login',
      component: Login
    },
  ]
})
打开App.vue,修改一下样式
<template>
  <div id="app">
    <div style="text-align: center;">
      <img alt="Vue logo" src="./assets/logo.png">
    </div>

    <router-view/>
  </div>
</template>

<script>
  export default {
    name: 'App'
  }
</script>

<style>
  #app {
    font-family: 'Avenir', Helvetica, Arial, sans-serif;
    -webkit-font-smoothing: antialiased;
    -moz-osx-font-smoothing: grayscale;
    /*text-align: center;*/
    color: #2c3e50;
    margin-top: 60px;
  }
</style>
访问登录页面
http://localhost:8080/login
效果如下:

本文参考链接:
https://blog.csdn.net/panchang199266/article/details/90705797
