转自:https://www.cnblogs.com/likehua/p/4552620.html
一、软件安装
地址:http://www.sonatype.org/nexus/thank-you-for-downloading/?dl=tgz
解压:
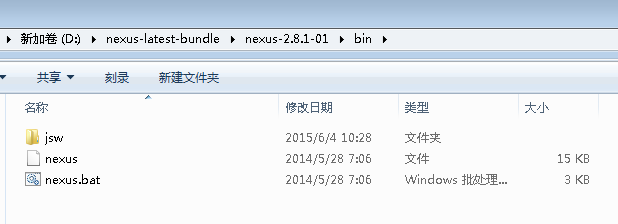
启动:
>> nexus start
打开:http://192.9.104.17:8081/nexus/#welcome
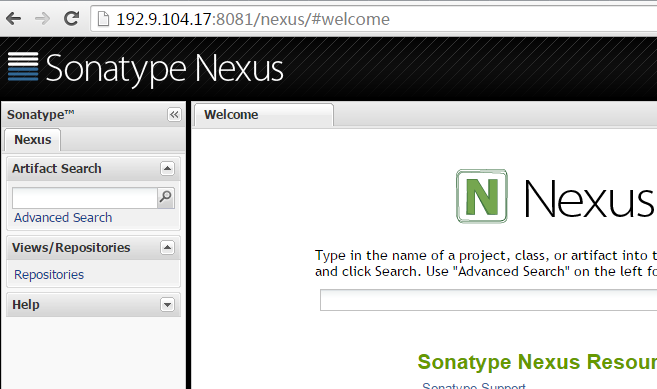
点击右上角,使用admin/admin123(默认管理员)登陆。
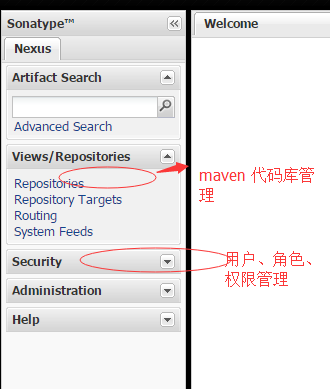
管理操作面板(修改代码库、镜像、用户权限管理等):
二、系统配置
默认的nexus 配置的镜像是无法使用的,需要我们把它设置为可行的,重新构建索引。

重新构建索引:
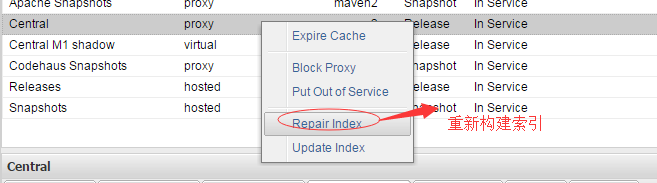
需要修改的仓库有三处:Central、Apache Snapshots、Codehaus Snapshots
另外,releases和snapshots两处的可以自动部署属性必须勾上,如下图:
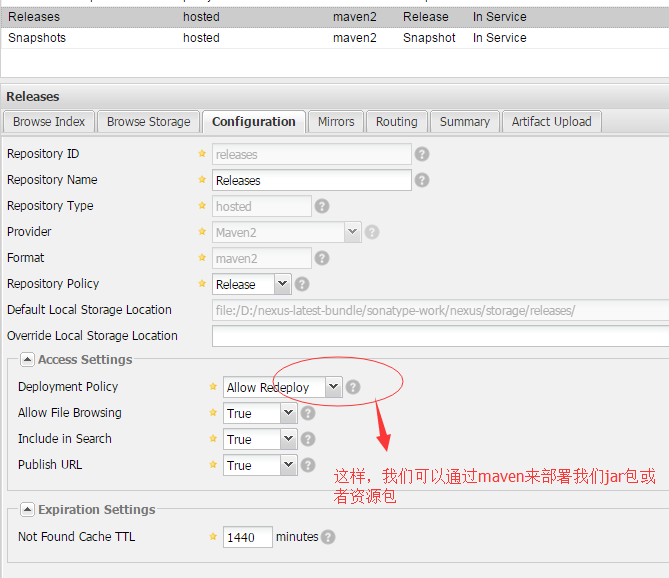
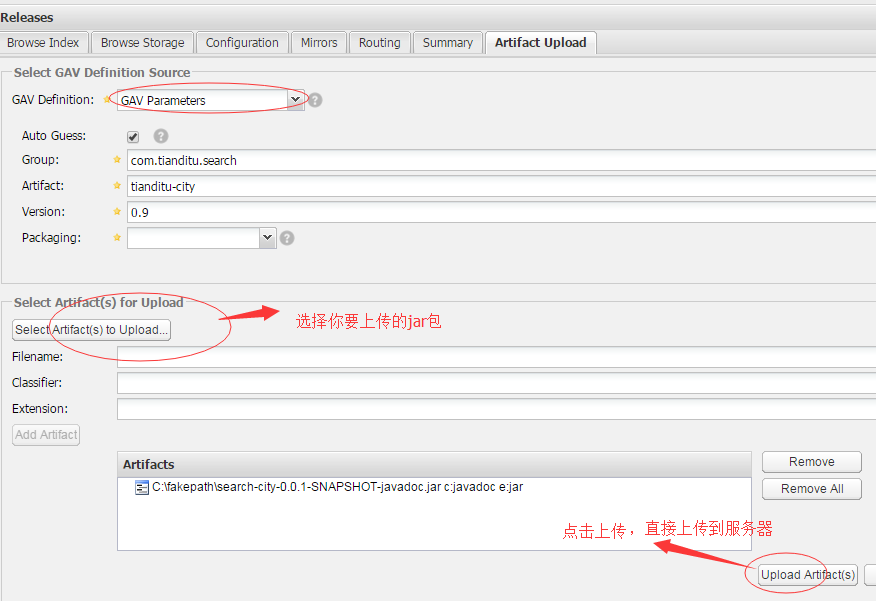
当然,你也可以通过界面来上传jar包。
三、maven环境配置
1、确保你的环境中已经部署和正确配置了maven环境,具体如果安装maven不在此教程范畴之内。
2、到你当前登录的用户下的.m2目录下,创建一个setting.xml,内容如下:
主要注意修改:servers和mirrors两处,如本例所示:
servers:
|
1
2
3
4
5
6
7
8
9
10
11
12
13
14
15
16
17
18
19
20
21
22
23
24
25
26
27
28
29
30
31
32
33
34
35
36
37
38
39
|
<servers> <!-- server | Specifies the authentication information to use when connecting to a particular server, identified by | a unique name within the system (referred to by the 'id' attribute below). | | NOTE: You should either specify username/password OR privateKey/passphrase, since these pairings are | used together. | <server> <id>deploymentRepo</id> <username>repouser</username> <password>repopwd</password> </server> --> <!-- Another sample, using keys to authenticate. <server> <id>siteServer</id> <privateKey>/path/to/private/key</privateKey> <passphrase>optional; leave empty if not used.</passphrase> </server> --> <server> <id>snapshots</id> <username>likehua</username> <password>likehua</password> </server> <server> <id>releases</id> <username>likehua</username> <password>likehua</password> </server> <server> <id>tomcat-remote-deploy</id> <username>tomcat</username> <password>tomcat123</password> </server> </servers> |
注意此处的用户名和密码,是你nexus上创建的用户名,一般付给部署的权限。
另外就是镜像地址的配置:

 1   <mirrors>
 2     <!-- mirror
 3      | Specifies a repository mirror site to use instead of a given repository. The repository that
 4      | this mirror serves has an ID that matches the mirrorOf element of this mirror. IDs are used
 5      | for inheritance and direct lookup purposes, and must be unique across the set of mirrors.
 6      |
 7     <mirror>
 8       <id>mirrorId</id>
 9       <mirrorOf>repositoryId</mirrorOf>
10       <name>Human Readable Name for this Mirror.</name>
11       <url>http://my.repository.com/repo/path</url>
12     </mirror>
13      -->
14       <mirror>
15         <id>nexus</id>
16         <mirrorOf>*</mirrorOf>
17         <name>A Local Nexus Server</name>
18         <url>http://192.9.104.17:8081/nexus/content/groups/public/</url>
19     </mirror>
20   </mirrors>
ok,maven私服搭建配置完成。