经过前面一段比较枯燥的Flutter基础的学习,接下来则要开启全新征程啦,也就是项目综合演练,是骡子是马总得拉出来遛遛,只有通过项目的综合实战才能真正的将之前所学的各个零散的知识加以巩固,所以接下来则从0开始一点点来完成咱们的第一个Flutter小项目。
项目说明:
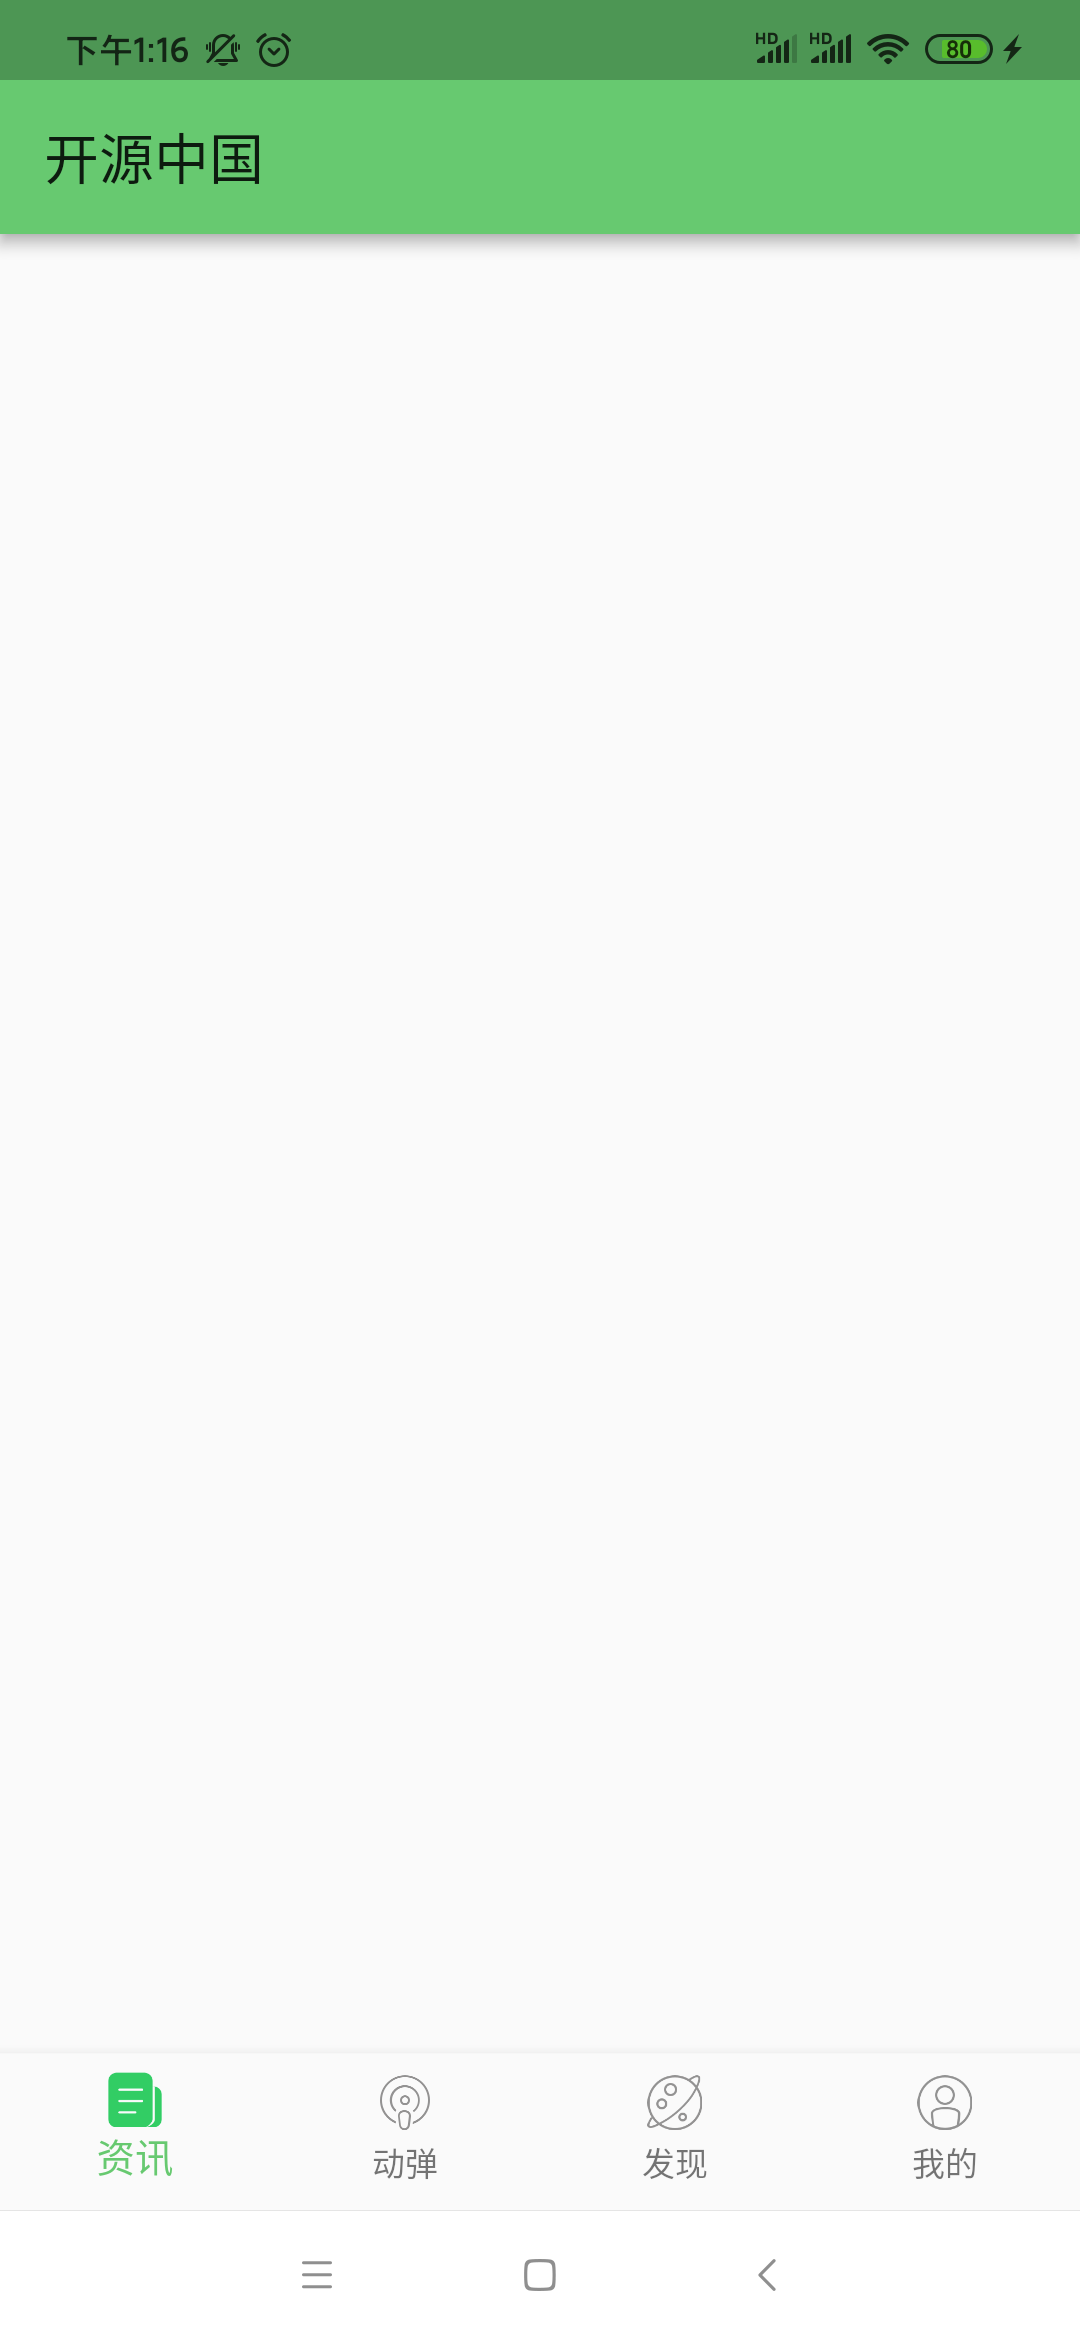
该项目是基本开源中国的开放API来进行开发的,其官方地址为:https://www.oschina.net/openapi/docs/news_list, 用真实的api来模拟真实的项目场景,具体要实现的功能为下面的截图所示:
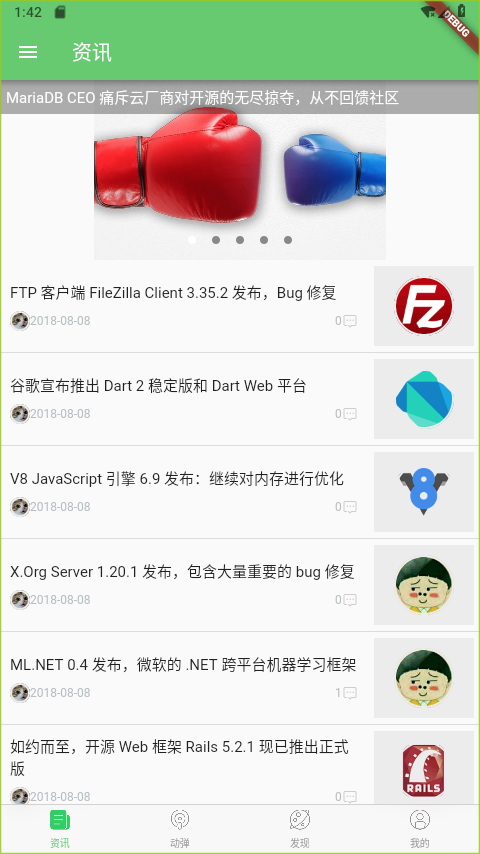
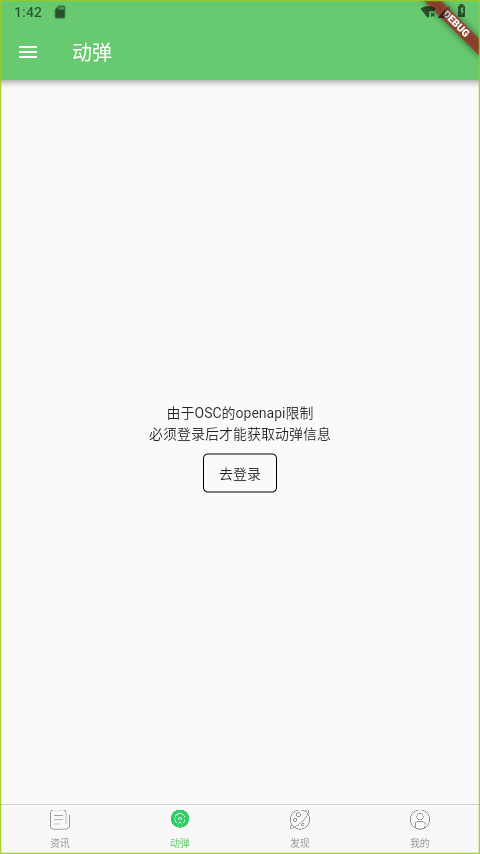
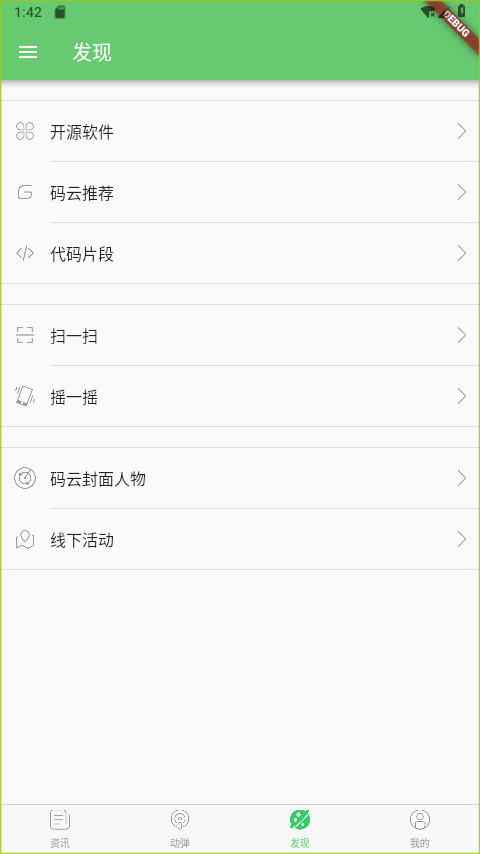
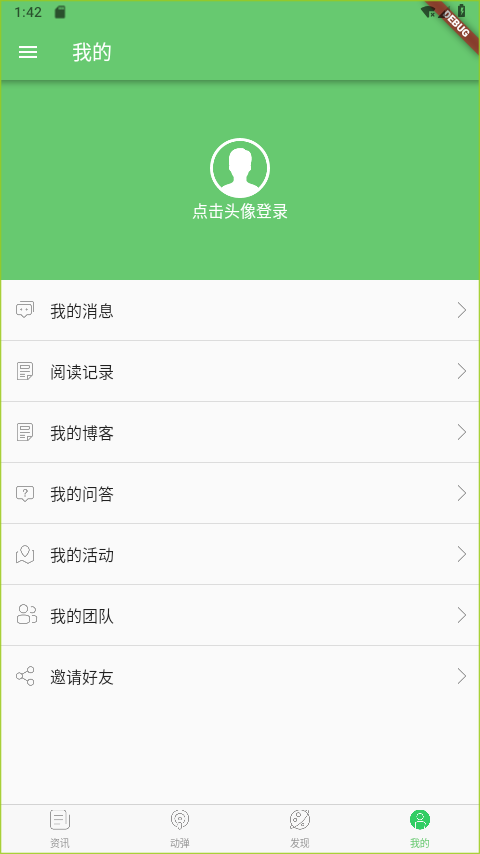
界面不是特别好看,但是里面涉及到的东西还是很多的,也有一定的代码量,所以接下来一点点的从0开始来实现它,当完全把它做出来之后,在项目简历技能一栏写上“会Flutter”问题应该就不大了。
基础框架搭建:
创建项目:
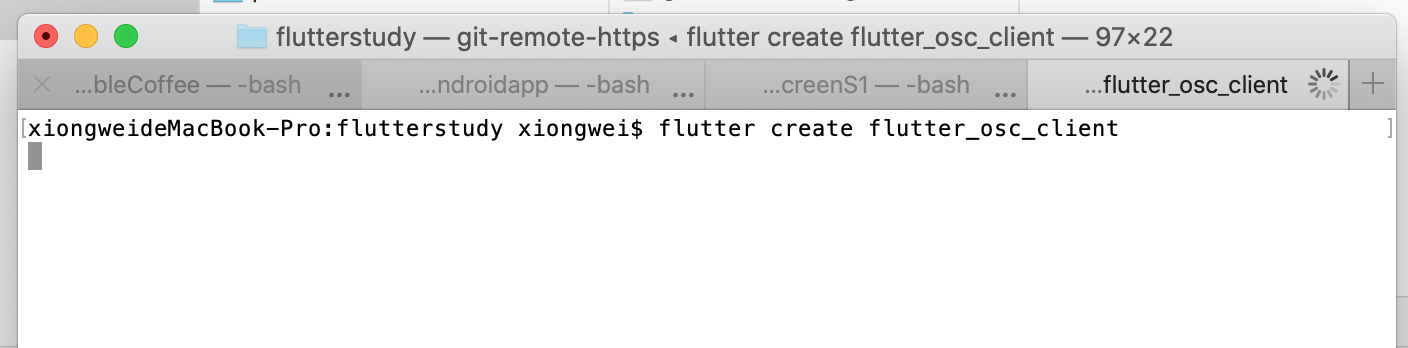
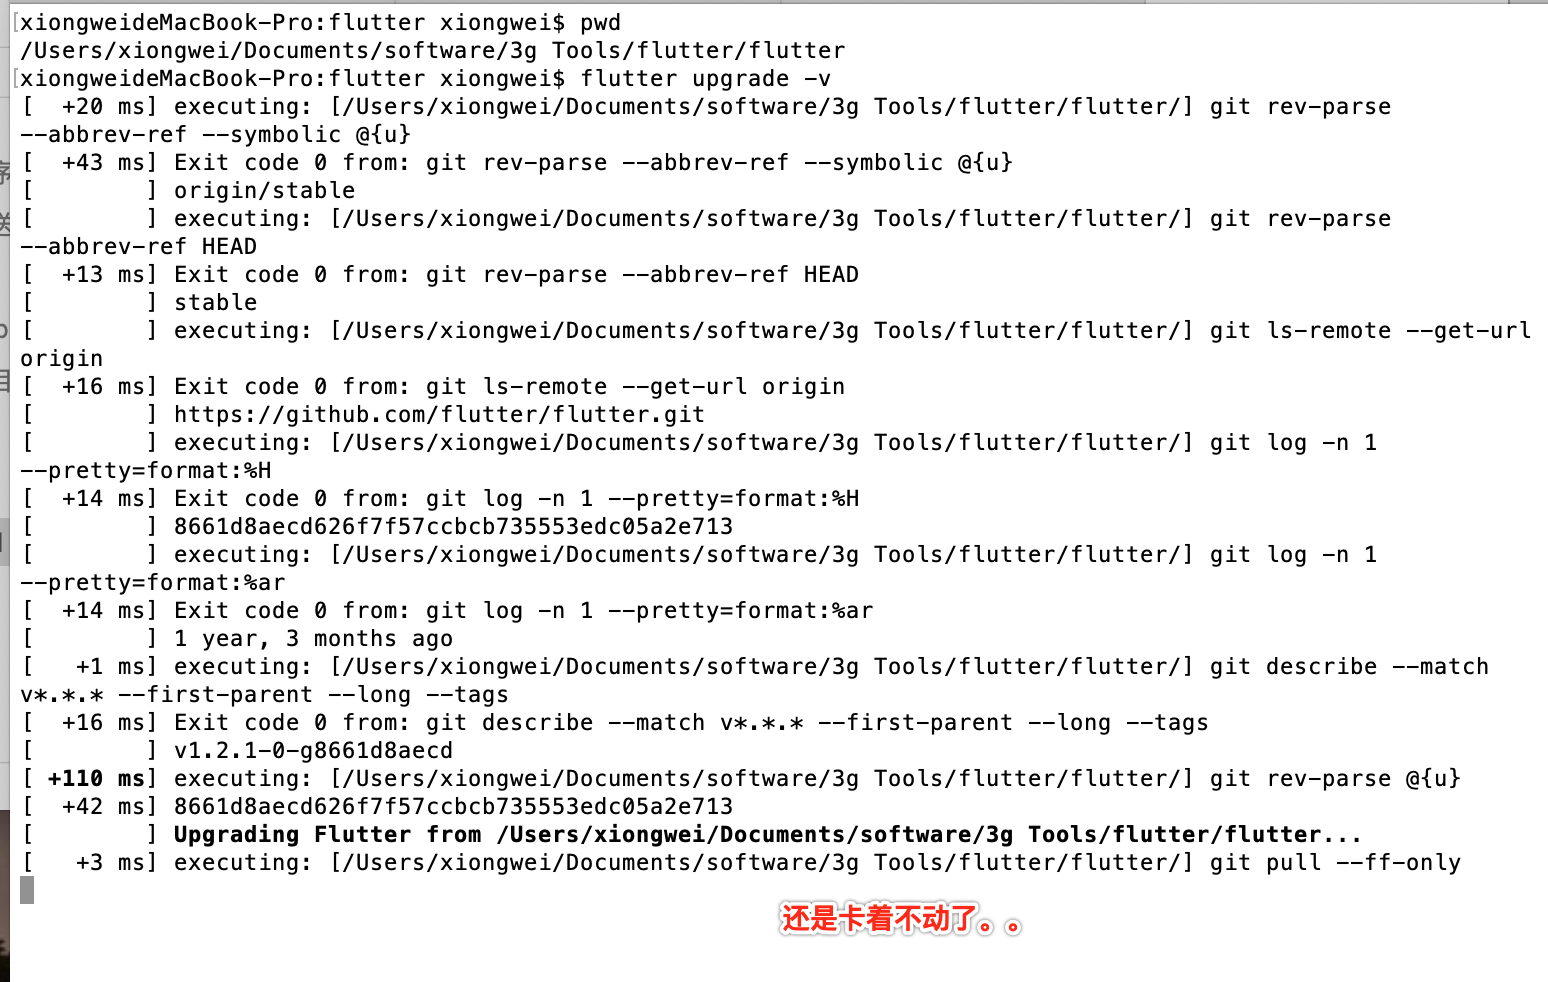
这里还是使用Flutter命令的方式来创建,发现第一步就卡壳了。。
咋回事呀,之前都还学了Flutter的语法的,难道是我Flutter本机的版本太低? 经过询问度娘之后才知道居然是Flutter的git远程仓库访问不了。。参考博主:https://blog.csdn.net/qq_35373144/article/details/104584057?utm_medium=distribute.pc_relevant.none-task-blog-BlogCommendFromMachineLearnPai2-1.nonecase&depth_1-utm_source=distribute.pc_relevant.none-task-blog-BlogCommendFromMachineLearnPai2-1.nonecase,居然运行flutter命令时是需要连网的,而当时flutter sdk是从github下载的,咱们进入到当时下载sdk的目录瞅一下:
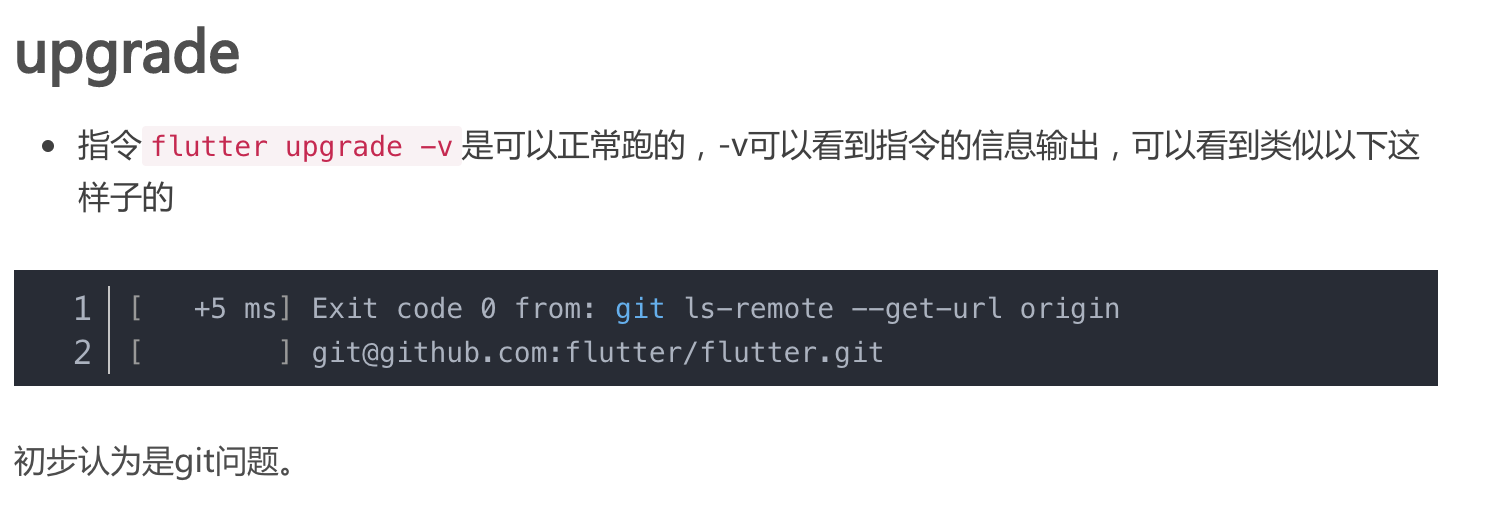
如博主所说,先来尝试更新一下仓库:
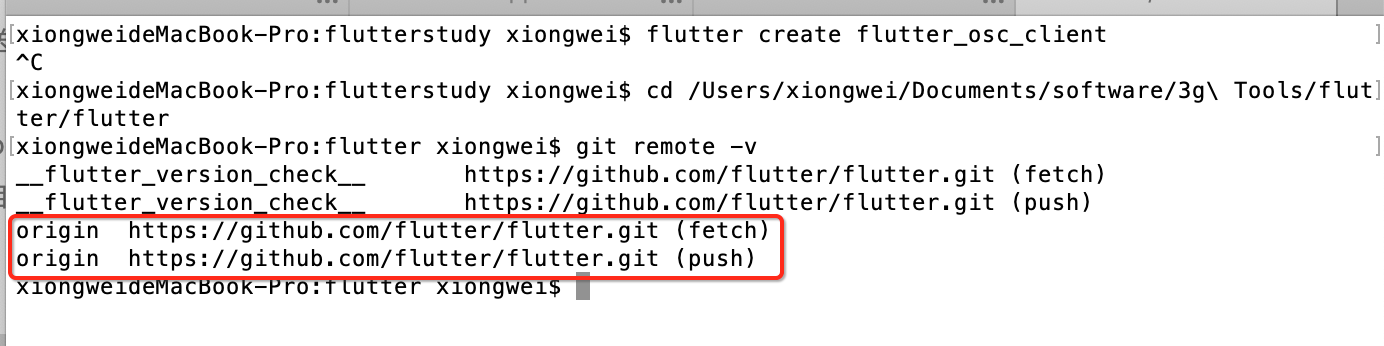
看一下我的情况跟博主所说是否一样:
我猜有可能是需要给git设置一下代理,我本机是开着VPN的,试一下:

发现还是不好使。。然后看一下博主最终提供的解决方案:
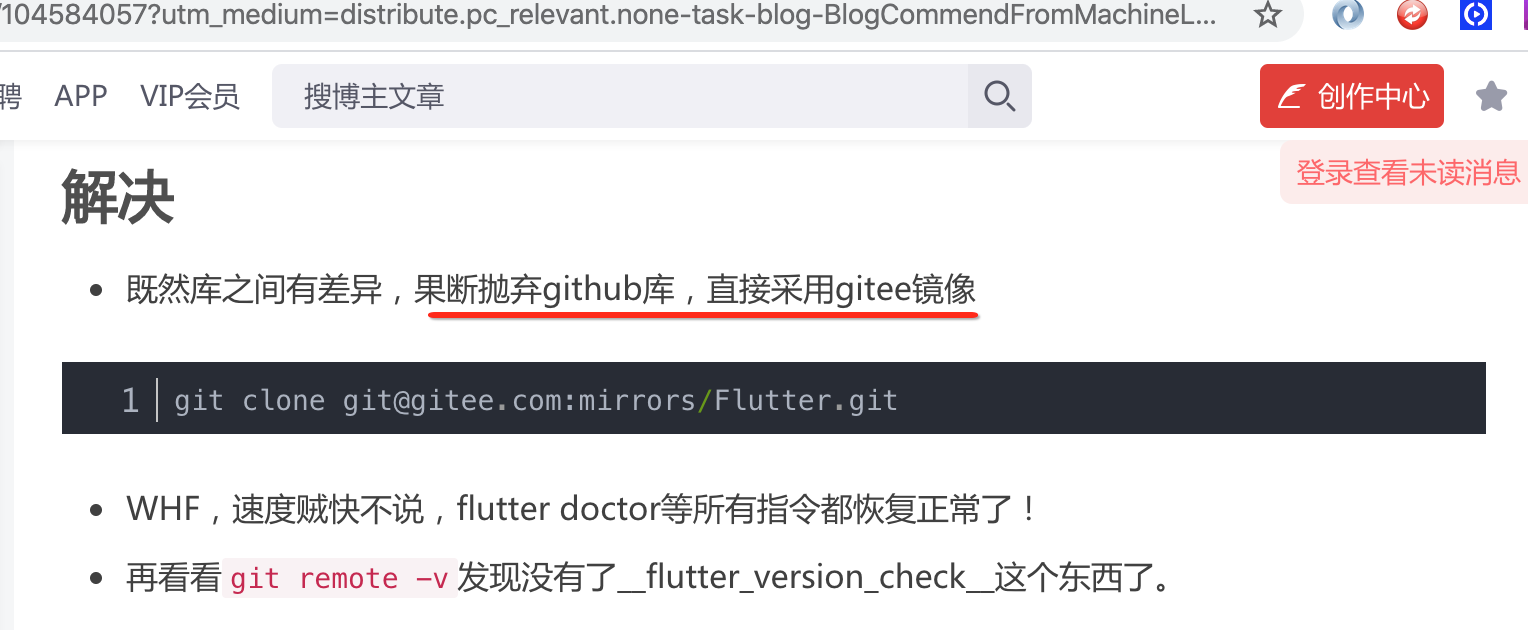
好吧。然后是因为最近两会的原因给墙了么。。最后过了一段时间,啥也没动就好了,小插曲,下面来正式创建一下:
xiongweideMacBook-Pro:flutter xiongwei$ cd /Users/xiongwei/Documents/workspace/
xiongweideMacBook-Pro:workspace xiongwei$ cd flutterstudy/
xiongweideMacBook-Pro:flutterstudy xiongwei$ flutter create flutter_osc_client
Creating project flutter_osc_client...
  flutter_osc_client/ios/Runner.xcworkspace/contents.xcworkspacedata (created)
  flutter_osc_client/ios/Runner/Info.plist (created)
  flutter_osc_client/ios/Runner/Assets.xcassets/LaunchImage.imageset/LaunchImage@2x.png (created)
  flutter_osc_client/ios/Runner/Assets.xcassets/LaunchImage.imageset/LaunchImage@3x.png (created)
  flutter_osc_client/ios/Runner/Assets.xcassets/LaunchImage.imageset/README.md (created)
  flutter_osc_client/ios/Runner/Assets.xcassets/LaunchImage.imageset/Contents.json (created)
  flutter_osc_client/ios/Runner/Assets.xcassets/LaunchImage.imageset/LaunchImage.png (created)
  flutter_osc_client/ios/Runner/Assets.xcassets/AppIcon.appiconset/Icon-App-76x76@2x.png (created)
  flutter_osc_client/ios/Runner/Assets.xcassets/AppIcon.appiconset/Icon-App-29x29@1x.png (created)
  flutter_osc_client/ios/Runner/Assets.xcassets/AppIcon.appiconset/Icon-App-40x40@1x.png (created)
  flutter_osc_client/ios/Runner/Assets.xcassets/AppIcon.appiconset/Icon-App-20x20@1x.png (created)
  flutter_osc_client/ios/Runner/Assets.xcassets/AppIcon.appiconset/Icon-App-1024x1024@1x.png (created)
  flutter_osc_client/ios/Runner/Assets.xcassets/AppIcon.appiconset/Icon-App-83.5x83.5@2x.png (created)
  flutter_osc_client/ios/Runner/Assets.xcassets/AppIcon.appiconset/Icon-App-20x20@3x.png (created)
  flutter_osc_client/ios/Runner/Assets.xcassets/AppIcon.appiconset/Contents.json (created)
  flutter_osc_client/ios/Runner/Assets.xcassets/AppIcon.appiconset/Icon-App-20x20@2x.png (created)
  flutter_osc_client/ios/Runner/Assets.xcassets/AppIcon.appiconset/Icon-App-29x29@3x.png (created)
  flutter_osc_client/ios/Runner/Assets.xcassets/AppIcon.appiconset/Icon-App-40x40@2x.png (created)
  flutter_osc_client/ios/Runner/Assets.xcassets/AppIcon.appiconset/Icon-App-60x60@3x.png (created)
  flutter_osc_client/ios/Runner/Assets.xcassets/AppIcon.appiconset/Icon-App-60x60@2x.png (created)
  flutter_osc_client/ios/Runner/Assets.xcassets/AppIcon.appiconset/Icon-App-76x76@1x.png (created)
  flutter_osc_client/ios/Runner/Assets.xcassets/AppIcon.appiconset/Icon-App-40x40@3x.png (created)
  flutter_osc_client/ios/Runner/Assets.xcassets/AppIcon.appiconset/Icon-App-29x29@2x.png (created)
  flutter_osc_client/ios/Runner/Base.lproj/LaunchScreen.storyboard (created)
  flutter_osc_client/ios/Runner/Base.lproj/Main.storyboard (created)
  flutter_osc_client/ios/Runner.xcodeproj/project.xcworkspace/contents.xcworkspacedata (created)
  flutter_osc_client/ios/Runner.xcodeproj/xcshareddata/xcschemes/Runner.xcscheme (created)
  flutter_osc_client/ios/Flutter/Debug.xcconfig (created)
  flutter_osc_client/ios/Flutter/Release.xcconfig (created)
  flutter_osc_client/ios/Flutter/AppFrameworkInfo.plist (created)
  flutter_osc_client/test/widget_test.dart (created)
  flutter_osc_client/flutter_osc_client.iml (created)
  flutter_osc_client/.gitignore (created)
  flutter_osc_client/.metadata (created)
  flutter_osc_client/ios/Runner/AppDelegate.h (created)
  flutter_osc_client/ios/Runner/main.m (created)
  flutter_osc_client/ios/Runner/AppDelegate.m (created)
  flutter_osc_client/ios/Runner.xcodeproj/project.pbxproj (created)
  flutter_osc_client/android/app/src/profile/AndroidManifest.xml (created)
  flutter_osc_client/android/app/src/main/res/mipmap-mdpi/ic_launcher.png (created)
  flutter_osc_client/android/app/src/main/res/mipmap-hdpi/ic_launcher.png (created)
  flutter_osc_client/android/app/src/main/res/drawable/launch_background.xml (created)
  flutter_osc_client/android/app/src/main/res/mipmap-xxxhdpi/ic_launcher.png (created)
  flutter_osc_client/android/app/src/main/res/mipmap-xxhdpi/ic_launcher.png (created)
  flutter_osc_client/android/app/src/main/res/values/styles.xml (created)
  flutter_osc_client/android/app/src/main/res/mipmap-xhdpi/ic_launcher.png (created)
  flutter_osc_client/android/app/src/main/AndroidManifest.xml (created)
  flutter_osc_client/android/app/src/debug/AndroidManifest.xml (created)
  flutter_osc_client/android/gradle/wrapper/gradle-wrapper.properties (created)
  flutter_osc_client/android/gradle.properties (created)
  flutter_osc_client/android/settings.gradle (created)
  flutter_osc_client/pubspec.yaml (created)
  flutter_osc_client/README.md (created)
  flutter_osc_client/lib/main.dart (created)
  flutter_osc_client/android/app/build.gradle (created)
  flutter_osc_client/android/app/src/main/java/com/example/flutter_osc_client/MainActivity.java (created)
  flutter_osc_client/android/build.gradle (created)
  flutter_osc_client/android/flutter_osc_client_android.iml (created)
  flutter_osc_client/.idea/runConfigurations/main_dart.xml (created)
  flutter_osc_client/.idea/libraries/Flutter_for_Android.xml (created)
  flutter_osc_client/.idea/libraries/Dart_SDK.xml (created)
  flutter_osc_client/.idea/libraries/KotlinJavaRuntime.xml (created)
  flutter_osc_client/.idea/modules.xml (created)
  flutter_osc_client/.idea/workspace.xml (created)
Running "flutter packages get" in flutter_osc_client...             1.3s
Wrote 66 files.

All done!
[!] Flutter is partially installed; more components are available. (Channel stable, v1.2.1, on Mac OS X
    10.15.4 19E287, locale zh-Hans-CN)
[!] Android toolchain - develop for Android devices is partially installed; more components are available.
    (Android SDK version 29.0.1)
[!] iOS toolchain - develop for iOS devices is partially installed; more components are available. (Xcode
    11.2.1)
[!] Android Studio is not available. (not installed)
[!] IntelliJ IDEA Ultimate Edition is partially installed; more components are available. (version 2019.3.5)
[!] Connected device is not available.

Run "flutter doctor" for information about installing additional components.

In order to run your application, type:

  $ cd flutter_osc_client
  $ flutter run

Your application code is in flutter_osc_client/lib/main.dart.
初始化顶部标题:
先来配置一下主题,目前生成的主题色是一个蓝色:
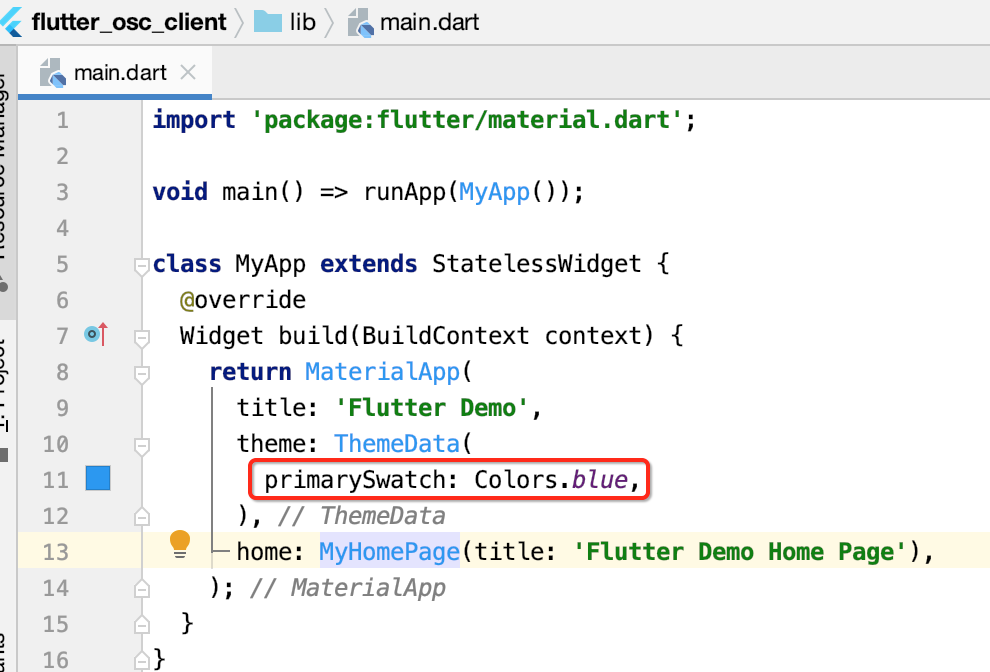
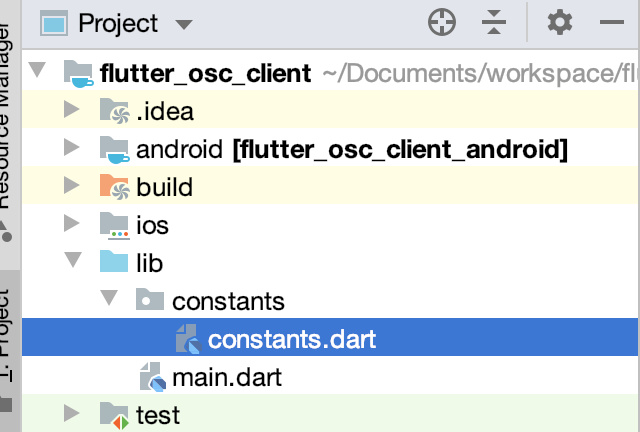
而咱们的风格应该是绿色的,所以需要修改一下主题,对于颜色值咱们可将其定义到一个常量文件中便于统一管理,像Android开发中的colors.xml一样,所以新建一个Dart文件:
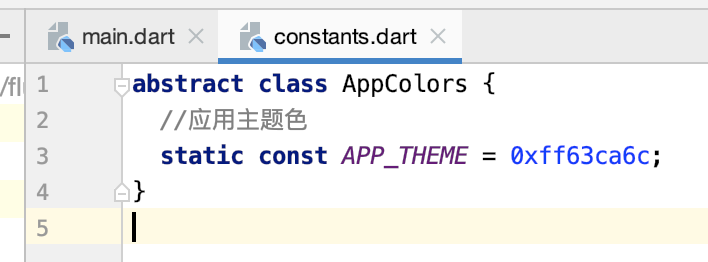
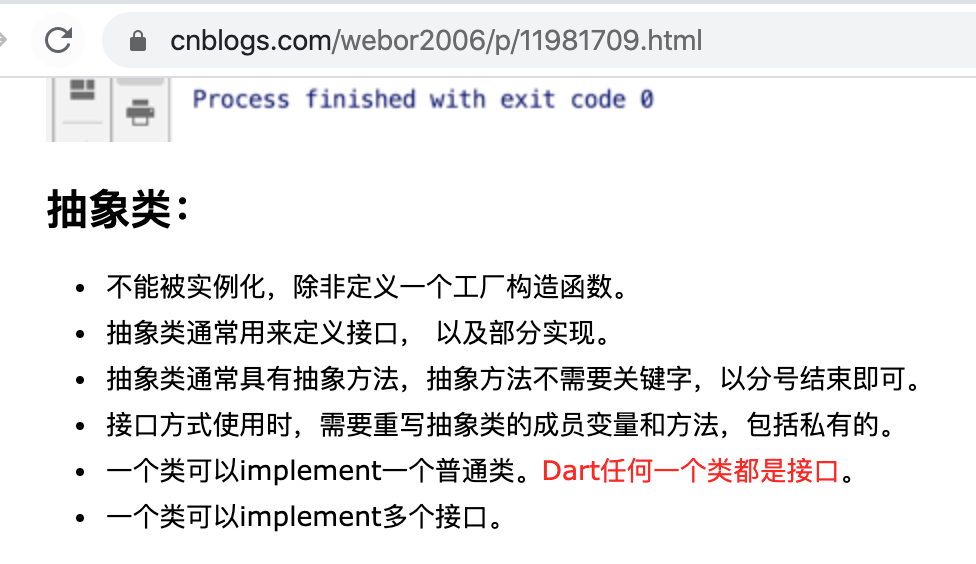
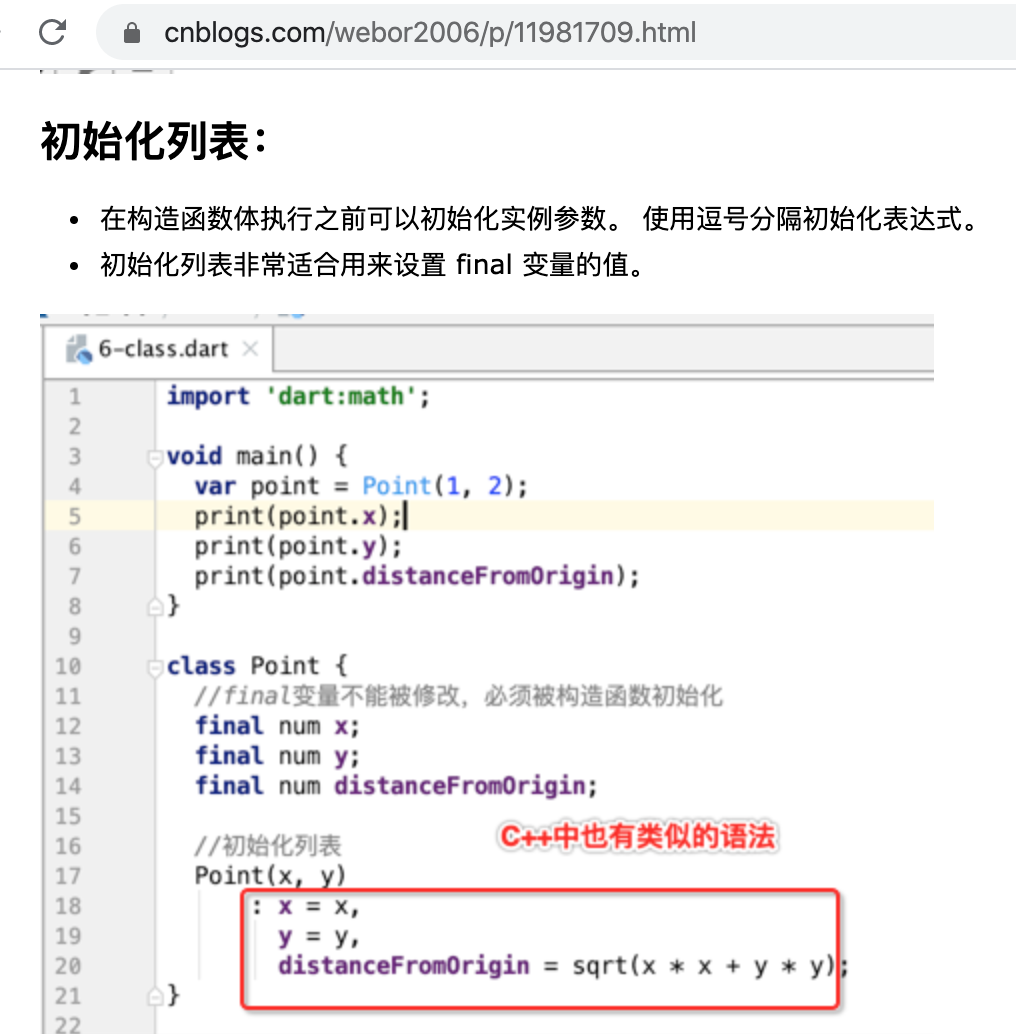
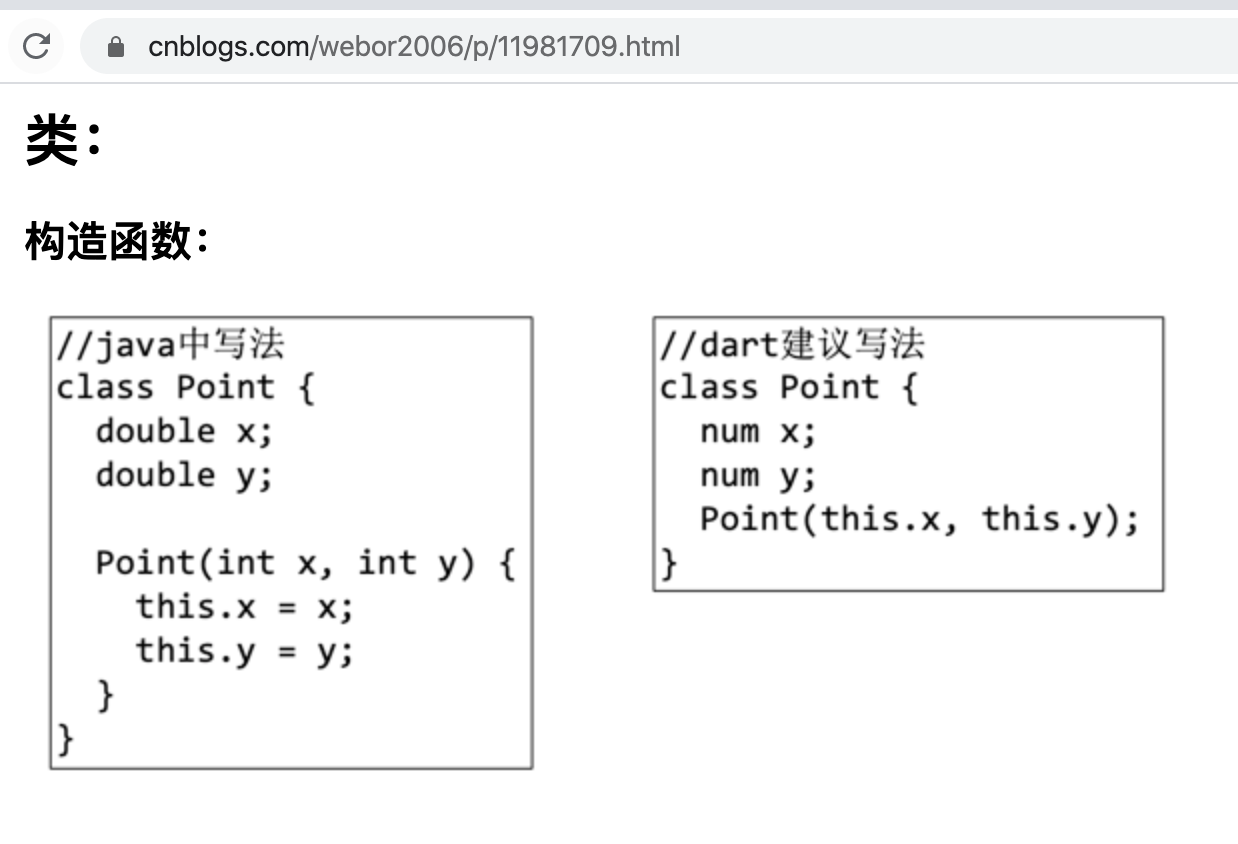
这里是用抽象类来定义的,关于Dart的抽象类还有印象么?可以参考:https://www.cnblogs.com/webor2006/p/11981709.html,简单回忆一下:
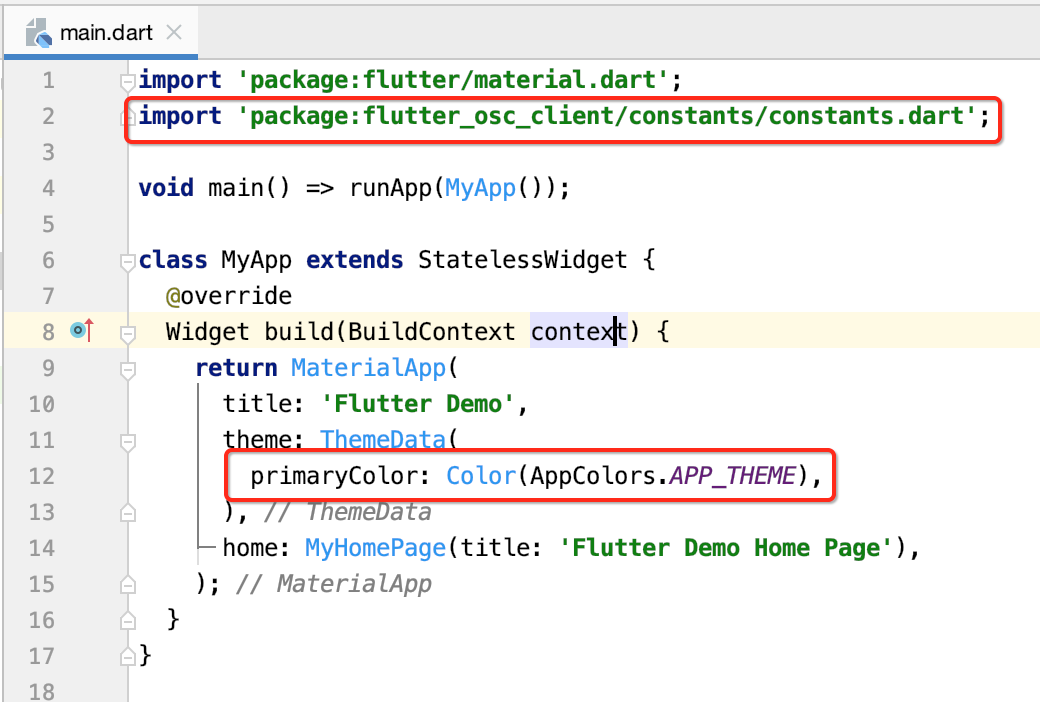
然后咱们使用一下:
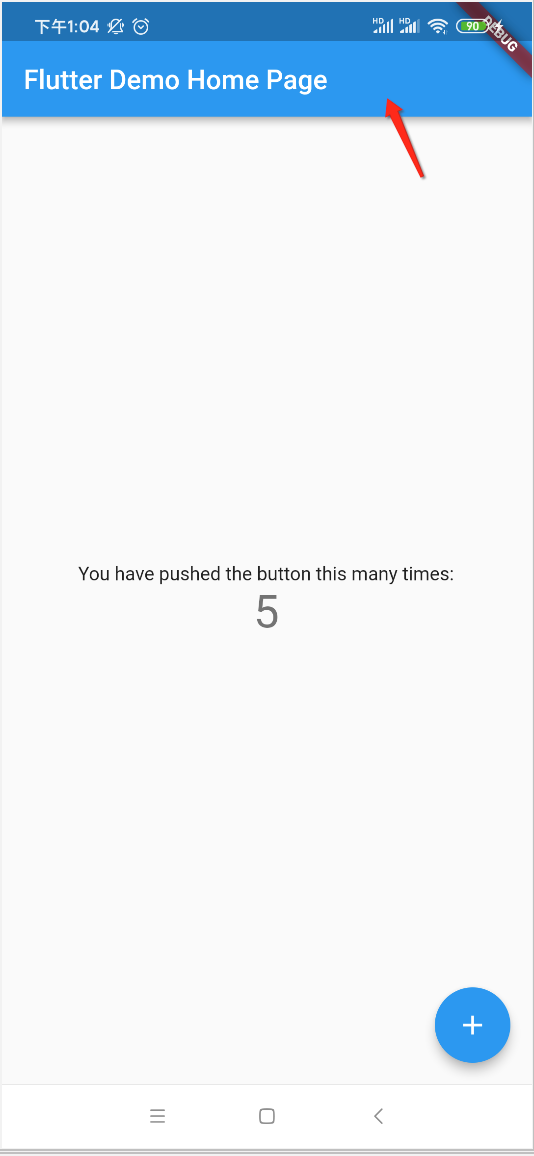
此时运行看一下:
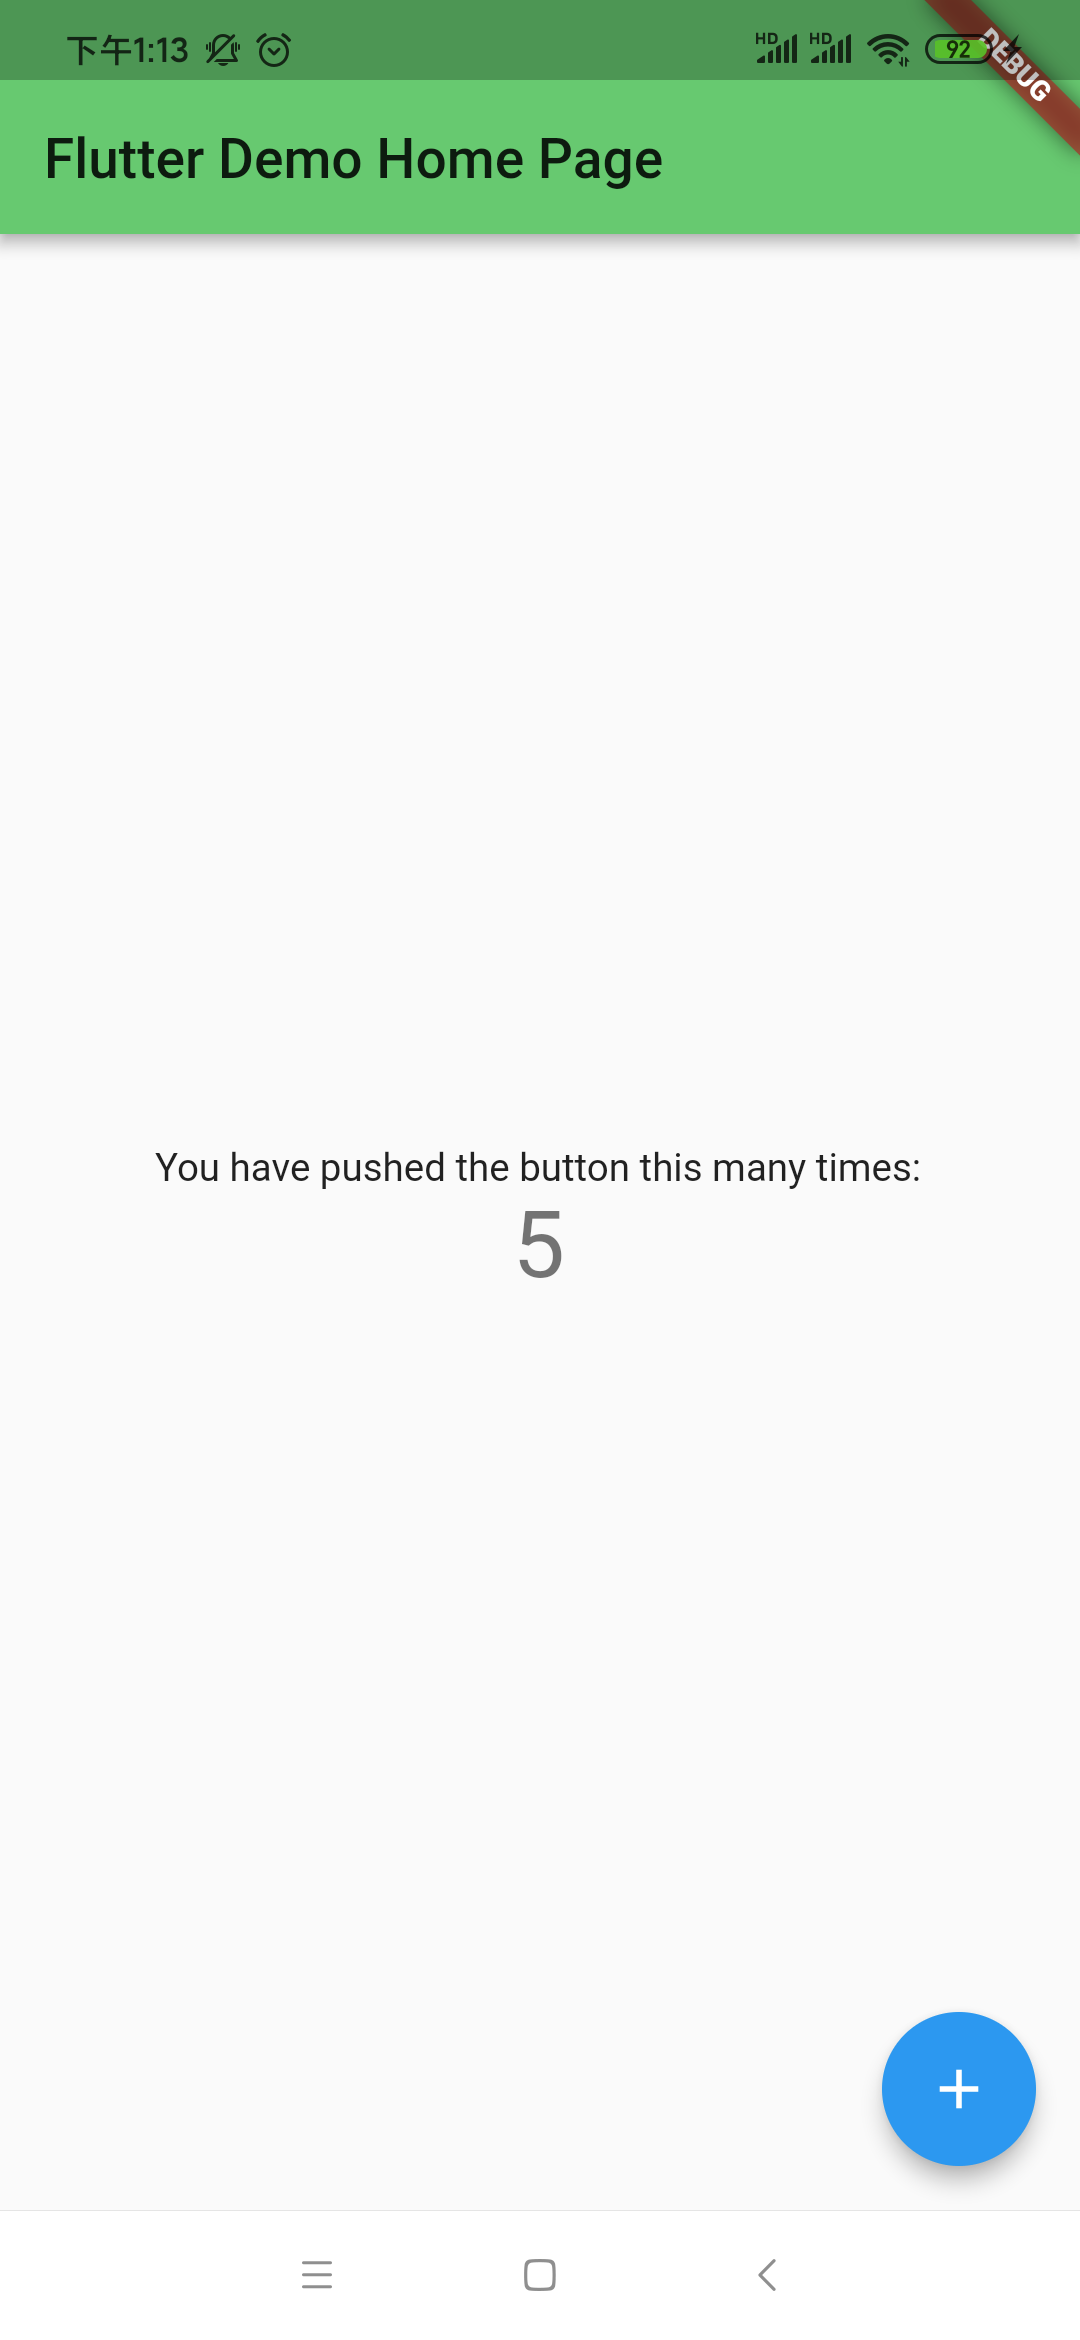
然后把右上角的那个DEBUG标签去掉,影响效果:
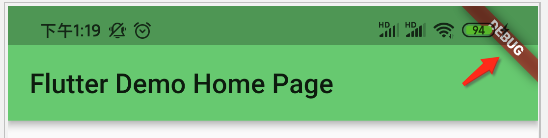
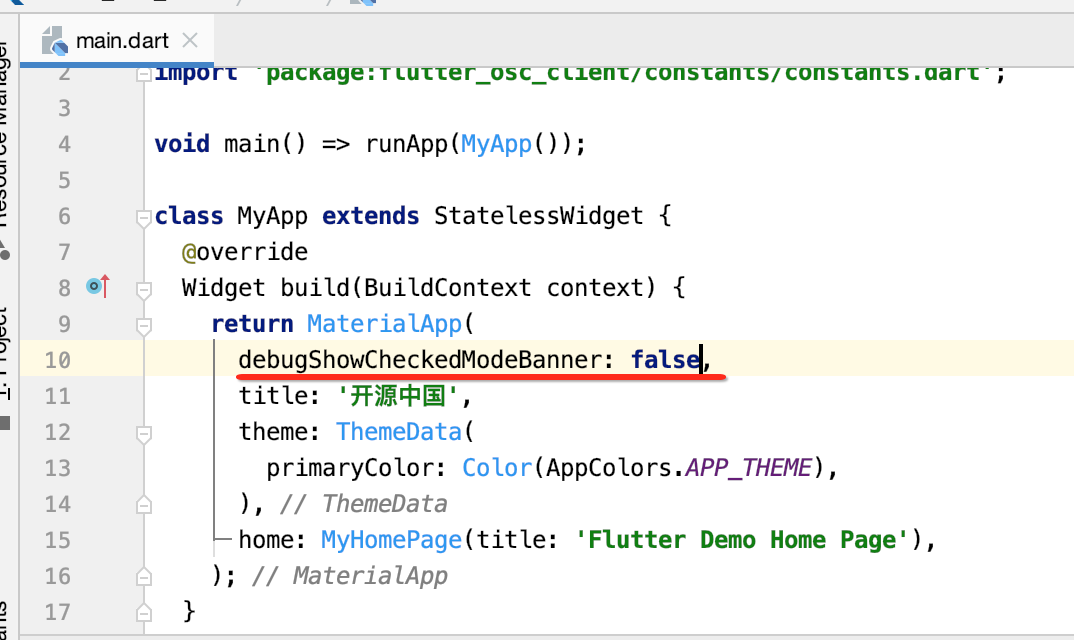
怎么去呢,其实增加一个配置既可:
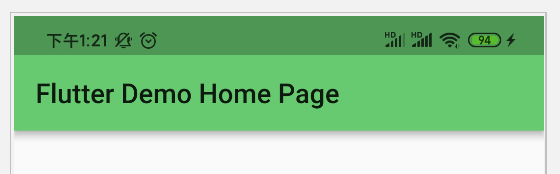
好,接下来需要思考一个问题,就是Flutter默认生成的主界面的Widget是直接定义到了main.dart里面了:
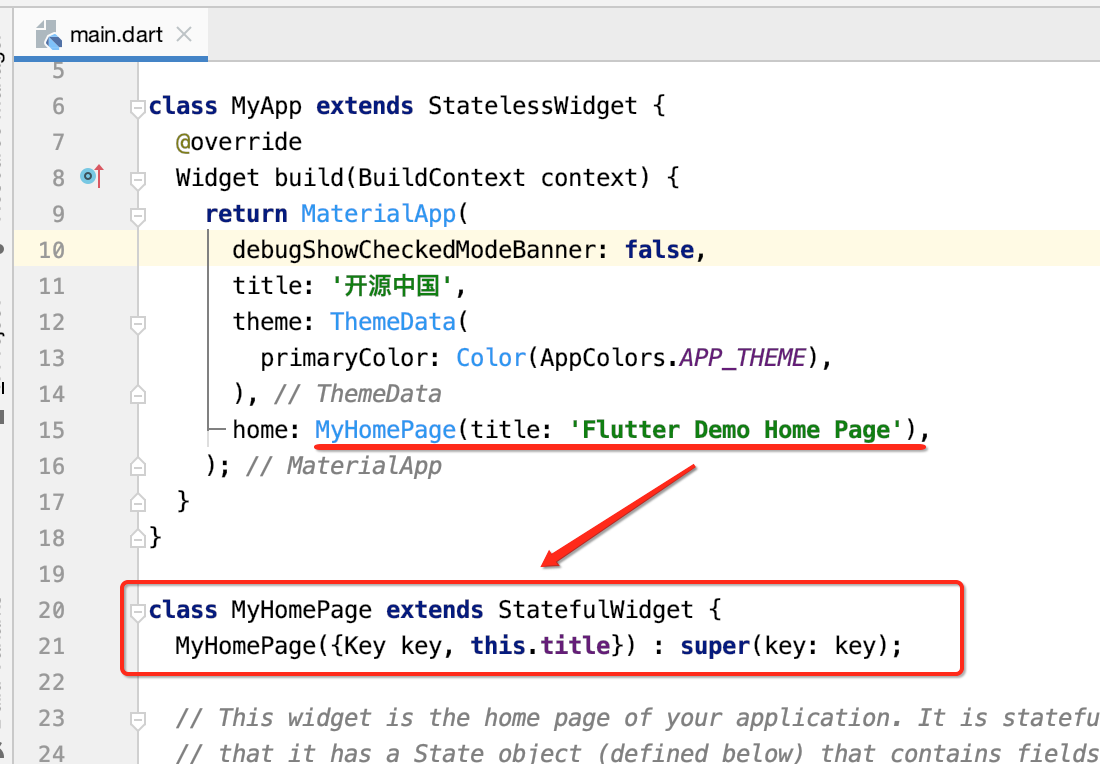
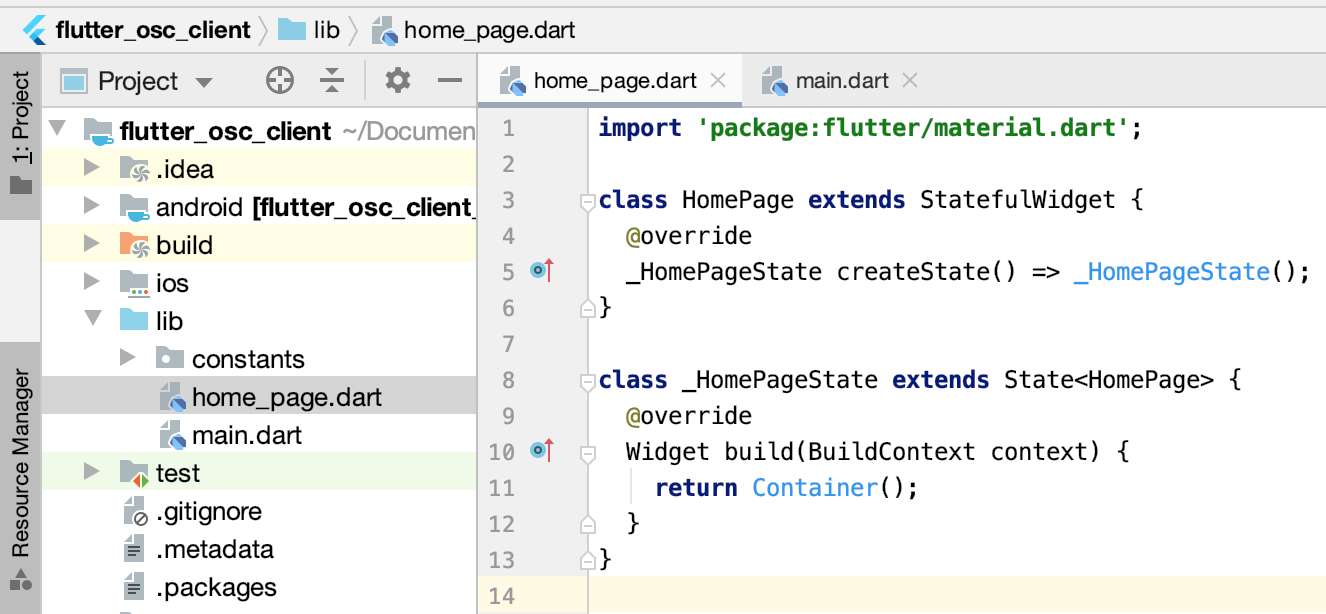
但是!!!实际一个项目肯定会有大量的页面,所以全堆到一个dart文件中很显然是不现实的,所以需要将它单独抽到一个dart中,类于似Android中每个界面都对应一个Activity一样,所以:
import 'package:flutter/material.dart';
import 'package:flutter_osc_client/constants/constants.dart';
import 'package:flutter_osc_client/home_page.dart';

void main() => runApp(MyApp());

class MyApp extends StatelessWidget {
  @override
  Widget build(BuildContext context) {
    return MaterialApp(
      debugShowCheckedModeBanner: false,
      title: '开源中国',
      theme: ThemeData(
        primaryColor: Color(AppColors.APP_THEME),
      ),
      home: HomePage(),
    );
  }
}
基础BottomBar:
导航栏显示:
接下来咱们来定义一下底部导航栏:

先将图片资源文件导入进来:
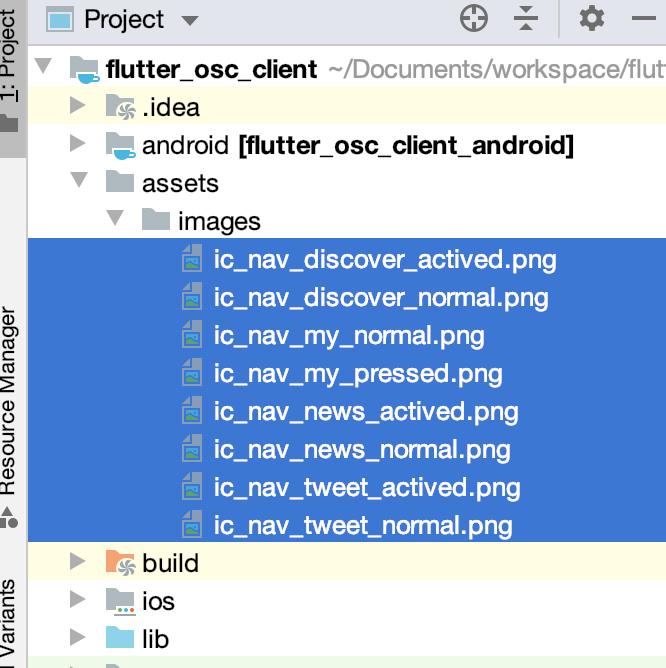
ic_nav_discover_normal.png:

ic_nav_discover_actived.png:

ic_nav_my_normal.png:

ic_nav_my_pressed.png:

ic_nav_news_normal.png:

ic_nav_news_actived.png:

ic_nav_tweet_normal.png:

ic_nav_tweet_actived.png:

然后别忘了在yaml文件中对图片资源进行声明,这个是跟Android不一样的:

当然这里也可以用通配符将所有文件夹中的资源图片加载进来,但是建议还是用到啥加啥。 关于导航栏这块在之前已经学习过了,具体参考https://www.cnblogs.com/webor2006/p/12545701.html, 不过这里对其做一个小小的封装,而不是直接来用,具体如下:
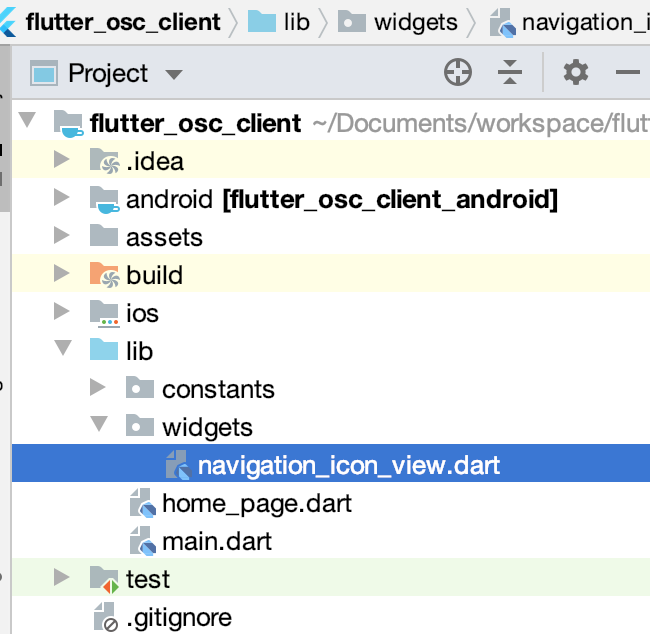
import 'package:flutter/material.dart';

class NavigationIconView {
  //item
  final BottomNavigationBarItem item;

  //title
  final String title;

  //icon path
  final String iconPath;

  //actived icon path
  final String activeIconPath;

  NavigationIconView(
      {@required this.title,
      @required this.iconPath,
      @required this.activeIconPath})
      : item = BottomNavigationBarItem(
            icon: Image.asset(
              iconPath,
               20.0,
              height: 20.0,
            ),
            activeIcon: Image.asset(
              activeIconPath,
               20.0,
              height: 20.0,
            ),
            title: Text(title));
}
其中标红的是啥语法来着,复习一下:https://www.cnblogs.com/webor2006/p/11981709.html,
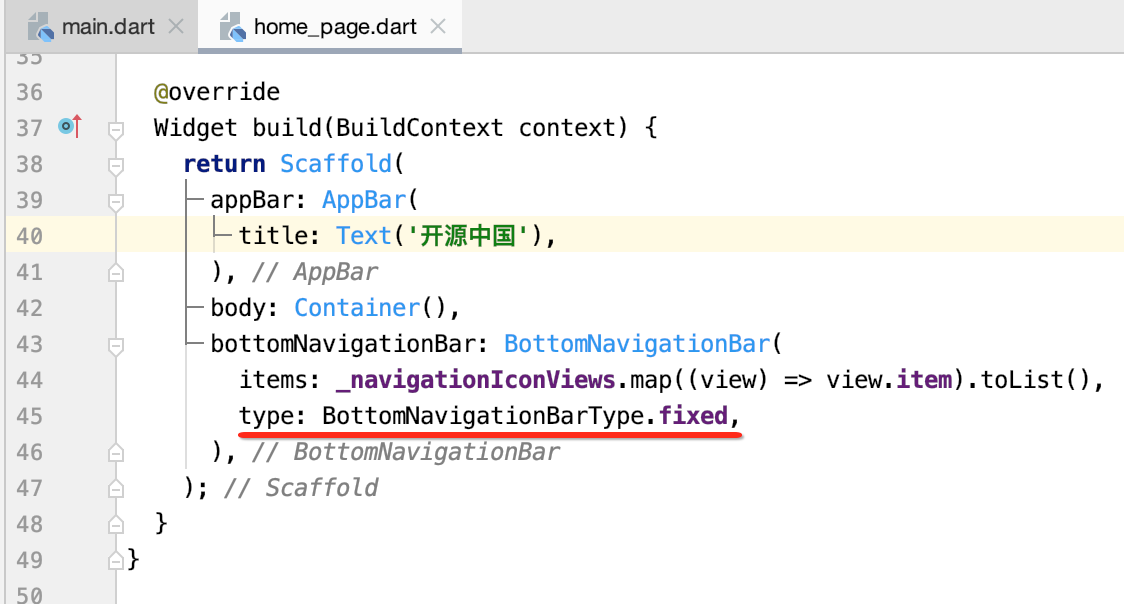
好,接下来则来使用一下它来构造我们需要的TAB栏:
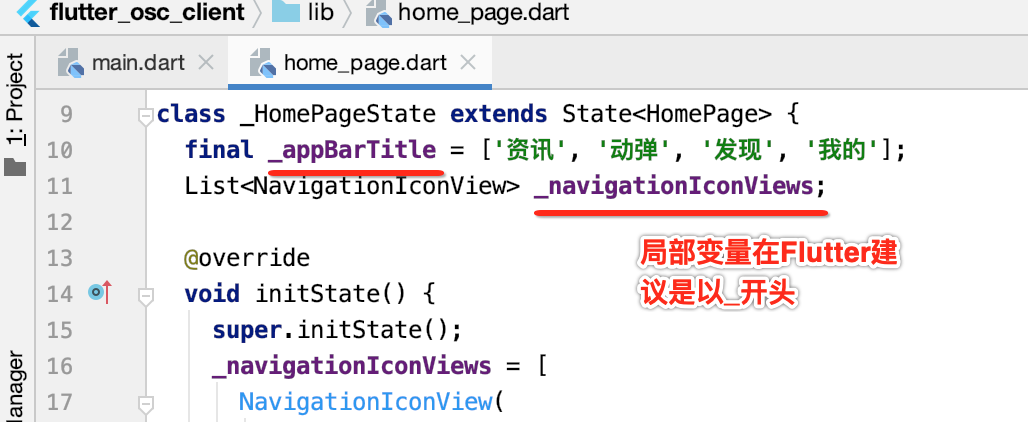
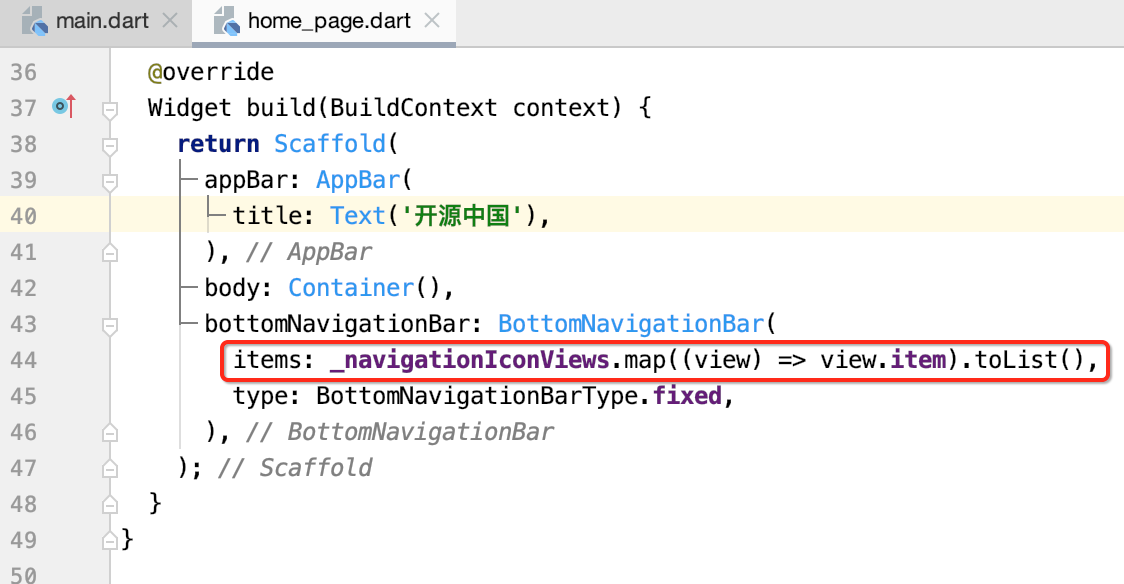
import 'package:flutter/material.dart';
import 'package:flutter_osc_client/widgets/navigation_icon_view.dart';

class HomePage extends StatefulWidget {
  @override
  _HomePageState createState() => _HomePageState();
}

class _HomePageState extends State<HomePage> {
  final _appBarTitle = ['资讯', '动弹', '发现', '我的'];
  List<NavigationIconView> _navigationIconViews;

  @override
  void initState() {
    super.initState();
    _navigationIconViews = [
      NavigationIconView(
          title: _appBarTitle[0],
          iconPath: 'assets/images/ic_nav_news_normal.png',
          activeIconPath: 'assets/images/ic_nav_news_actived.png'),
      NavigationIconView(
          title: _appBarTitle[1],
          iconPath: 'assets/images/ic_nav_tweet_normal.png',
          activeIconPath: 'assets/images/ic_nav_tweet_actived.png'),
      NavigationIconView(
          title: _appBarTitle[2],
          iconPath: 'assets/images/ic_nav_discover_normal.png',
          activeIconPath: 'assets/images/ic_nav_discover_actived.png'),
      NavigationIconView(
          title: _appBarTitle[3],
          iconPath: 'assets/images/ic_nav_my_normal.png',
          activeIconPath: 'assets/images/ic_nav_my_pressed.png'),
    ];
  }

  @override
  Widget build(BuildContext context) {
    return Scaffold(
      appBar: AppBar(
        title: Text('开源中国'),
      ),
      body: Container(),
      bottomNavigationBar: BottomNavigationBar(
        items: _navigationIconViews.map((view) => view.item).toList(),
      ),
    );
  }
}
运行看一下:

呃,只显示了图标,文字呢,其实需要再加一句代码既可,如下:
再运行看一下:
ok,木问题,不过这里有需要再对两个基础语法进行一下回顾:
这个就是一个Lambda表达式的一个转换操作符,熟悉java8的一看便知,这种写法需要知道为啥要这样写。
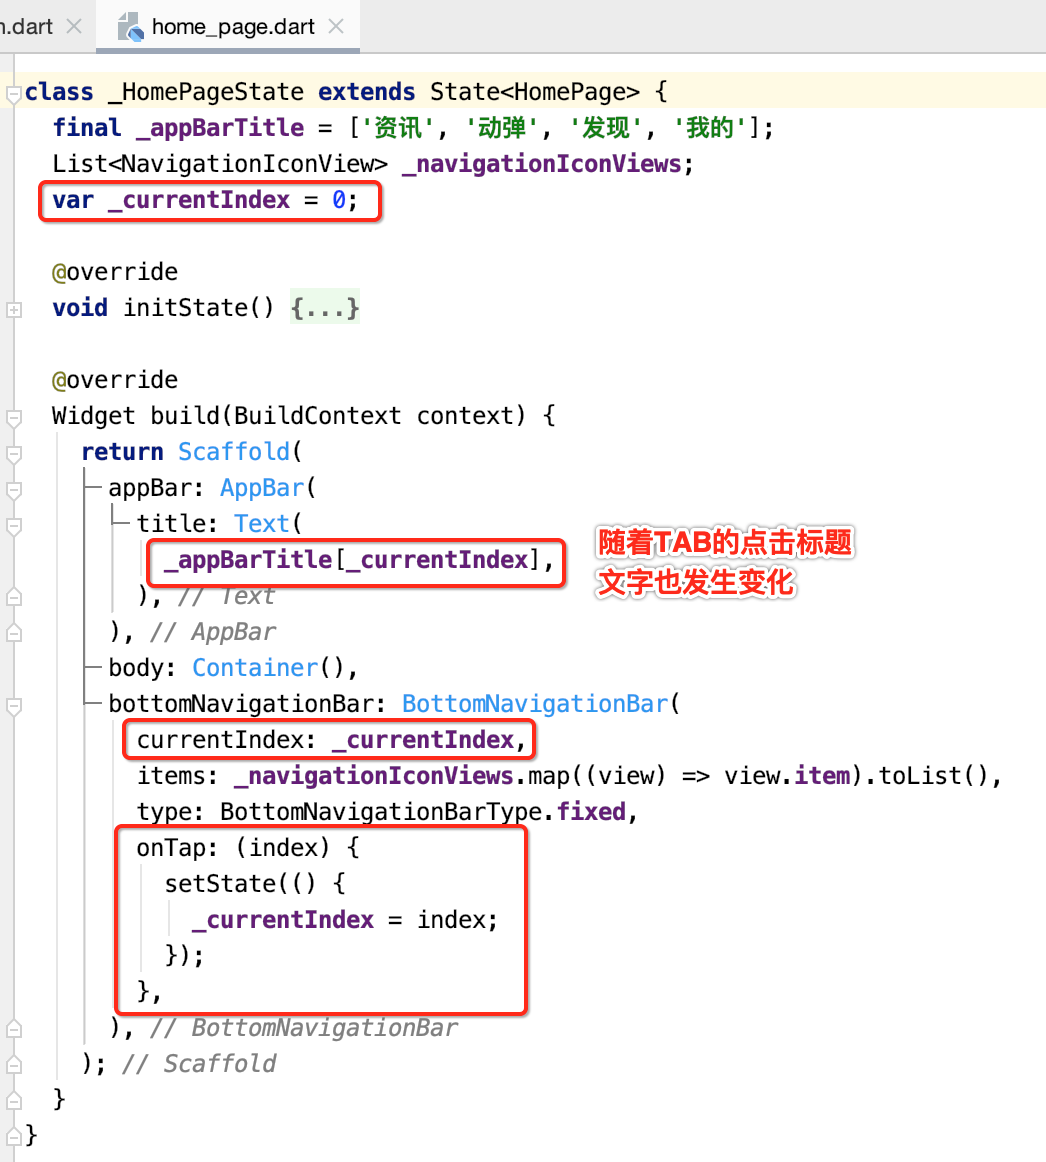
增加点击事件:
点击切换标题:
运行:

不过标题栏文字的颜色不太和谐,先在颜色常量文件中定义一个色值:

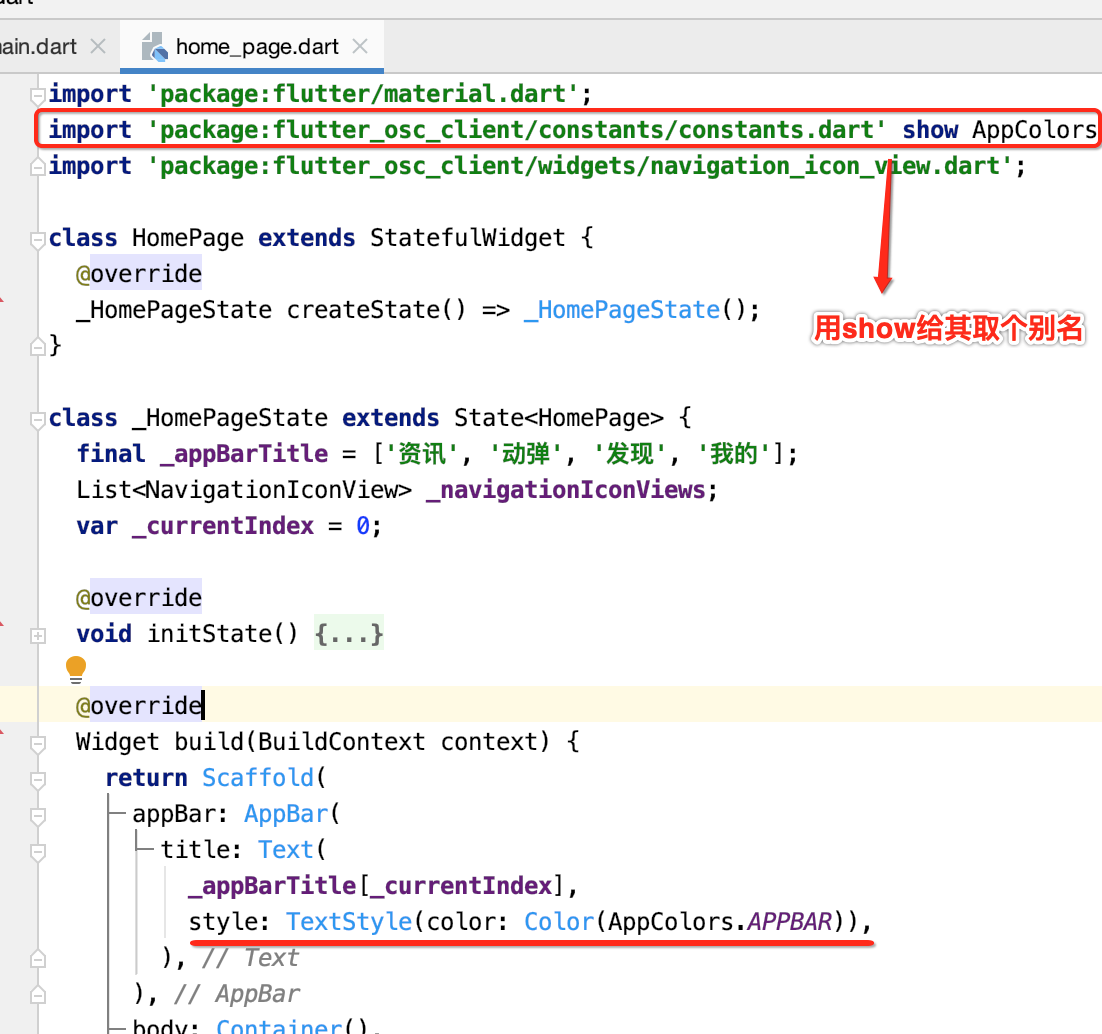
再运行:
点击切换body:
接下来则处理点击之后的内容区域:

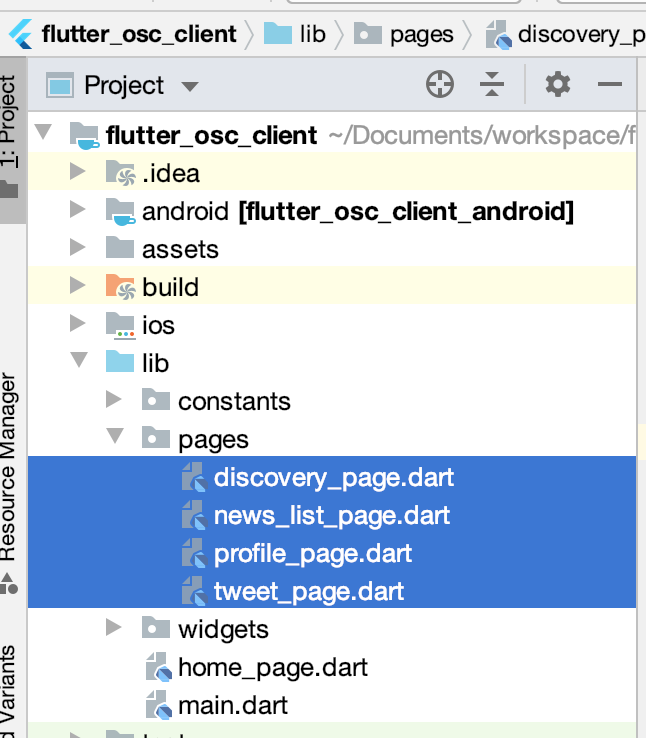
那首先先准备四个Widget呗,单独新建,内容先简单显示个文本占个位:
news_list_page.dart:资讯
import 'package:flutter/material.dart';

class NewsListPage extends StatefulWidget {
  @override
  _NewsListPageState createState() => _NewsListPageState();
}

class _NewsListPageState extends State<NewsListPage> {
  @override
  Widget build(BuildContext context) {
    return Center(
      child: Text('资讯'),
    );
  }
}
tweet_page.dart:动弹
import 'package:flutter/material.dart';

class TweetPage extends StatefulWidget {
  @override
  _TweetPageState createState() => _TweetPageState();
}

class _TweetPageState extends State<TweetPage> {
  @override
  Widget build(BuildContext context) {
    return Center(
      child: Text('动弹'),
    );
  }
}
discovery_page.dart:发现
import 'package:flutter/material.dart';

class DiscoveryPage extends StatefulWidget {
  @override
  _DiscoveryPageState createState() => _DiscoveryPageState();
}

class _DiscoveryPageState extends State<DiscoveryPage> {
  @override
  Widget build(BuildContext context) {
    return Center(
      child: Text('发现'),
    );
  }
}
profile_page.dart:我的
import 'package:flutter/material.dart';

class ProfilePage extends StatefulWidget {
  @override
  _ProfilePageState createState() => _ProfilePageState();
}

class _ProfilePageState extends State<ProfilePage> {
  @override
  Widget build(BuildContext context) {
    return Center(
      child: Text('我的'),
    );
  }
}
接下来使用一下,比较简单:
class HomePage extends StatefulWidget {
  @override
  _HomePageState createState() => _HomePageState();
}

class _HomePageState extends State<HomePage> {
  final _appBarTitle = ['资讯', '动弹', '发现', '我的'];
  List<NavigationIconView> _navigationIconViews;
  var _currentIndex = 0;
  List<Widget> _pages;

  @override
  void initState() {
    super.initState();
    _navigationIconViews = [
      NavigationIconView(
          title: _appBarTitle[0],
          iconPath: 'assets/images/ic_nav_news_normal.png',
          activeIconPath: 'assets/images/ic_nav_news_actived.png'),
      NavigationIconView(
          title: _appBarTitle[1],
          iconPath: 'assets/images/ic_nav_tweet_normal.png',
          activeIconPath: 'assets/images/ic_nav_tweet_actived.png'),
      NavigationIconView(
          title: _appBarTitle[2],
          iconPath: 'assets/images/ic_nav_discover_normal.png',
          activeIconPath: 'assets/images/ic_nav_discover_actived.png'),
      NavigationIconView(
          title: _appBarTitle[3],
          iconPath: 'assets/images/ic_nav_my_normal.png',
          activeIconPath: 'assets/images/ic_nav_my_pressed.png'),
    ];

    _pages = [
      NewsListPage(),
      TweetPage(),
      DiscoveryPage(),
      ProfilePage(),
    ];
  }

  @override
  Widget build(BuildContext context) {
    return Scaffold(
      appBar: AppBar(
        title: Text(
          _appBarTitle[_currentIndex],
          style: TextStyle(color: Color(AppColors.APPBAR)),
        ),
      ),
      body: _pages[_currentIndex],
      bottomNavigationBar: BottomNavigationBar(
        currentIndex: _currentIndex,
        items: _navigationIconViews.map((view) => view.item).toList(),
        type: BottomNavigationBarType.fixed,
        onTap: (index) {
          setState(() {
            _currentIndex = index;
          });
        },
      ),
    );
  }
}
运行:
增加ViewPager滑动切换效果:
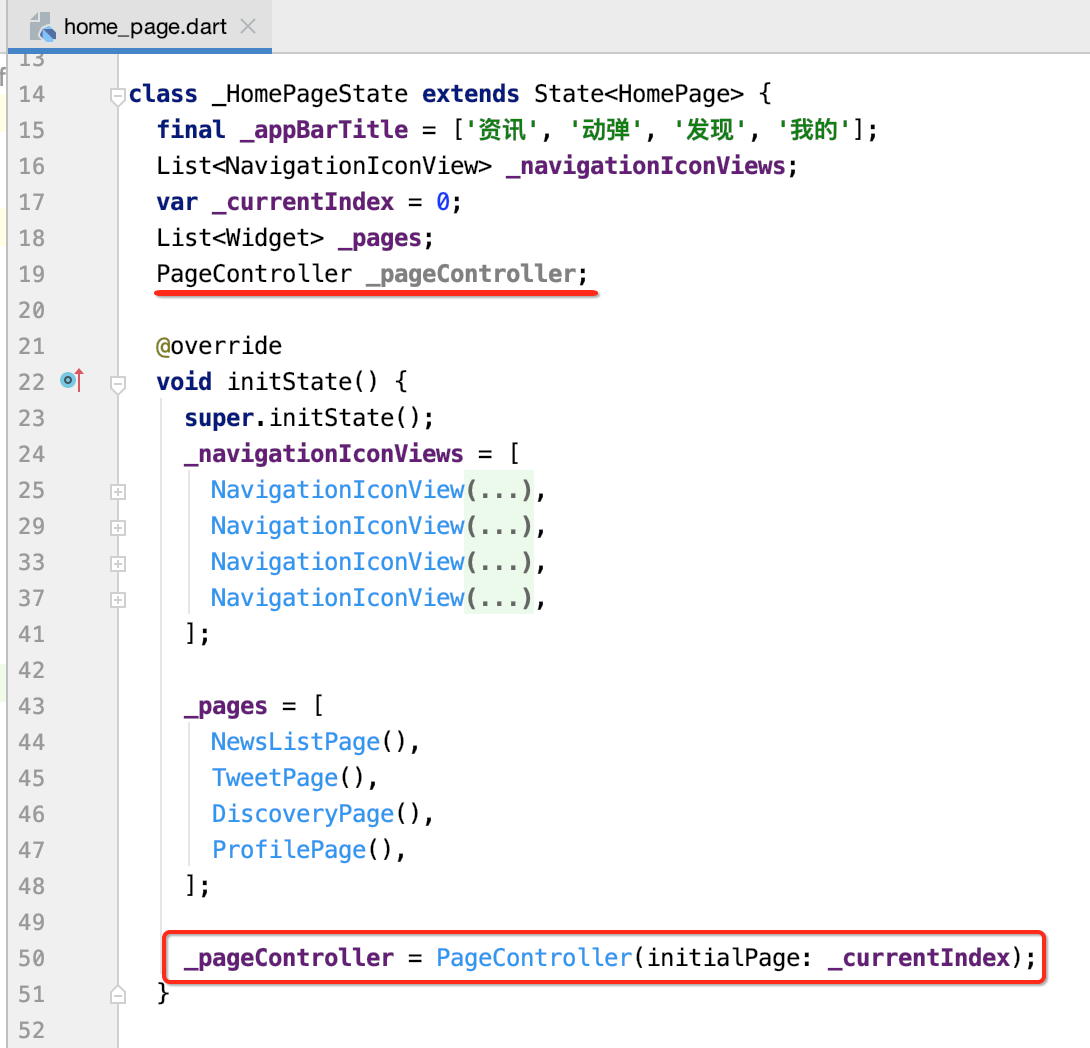
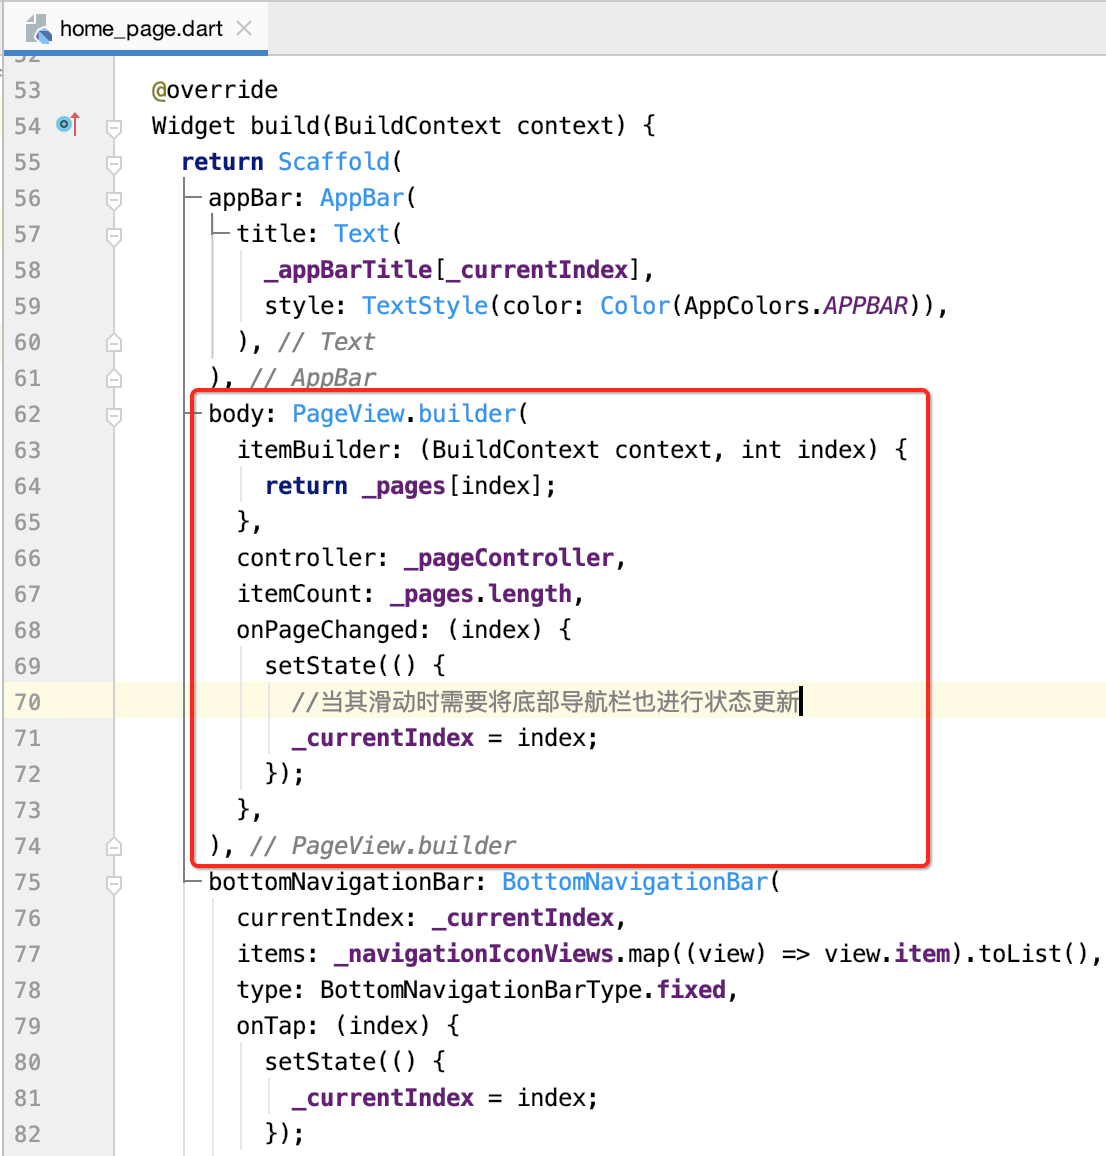
对于上面页面切换还不支持左右滑动切换,类似于Android中的ViewPager效果,怎么加呢?此时需要用到PageController了,如下:
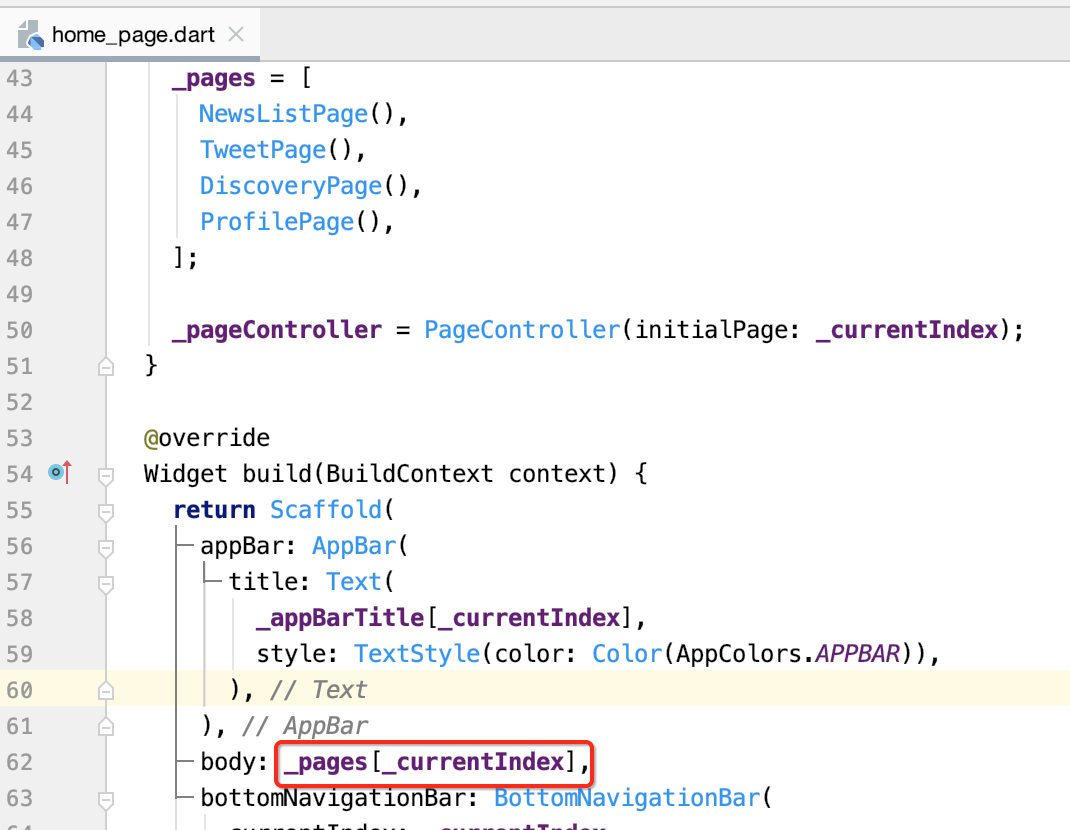
那怎么用呢?这里的body的widget得需要换了,目前咱们是这么用的:
咱们试一下:
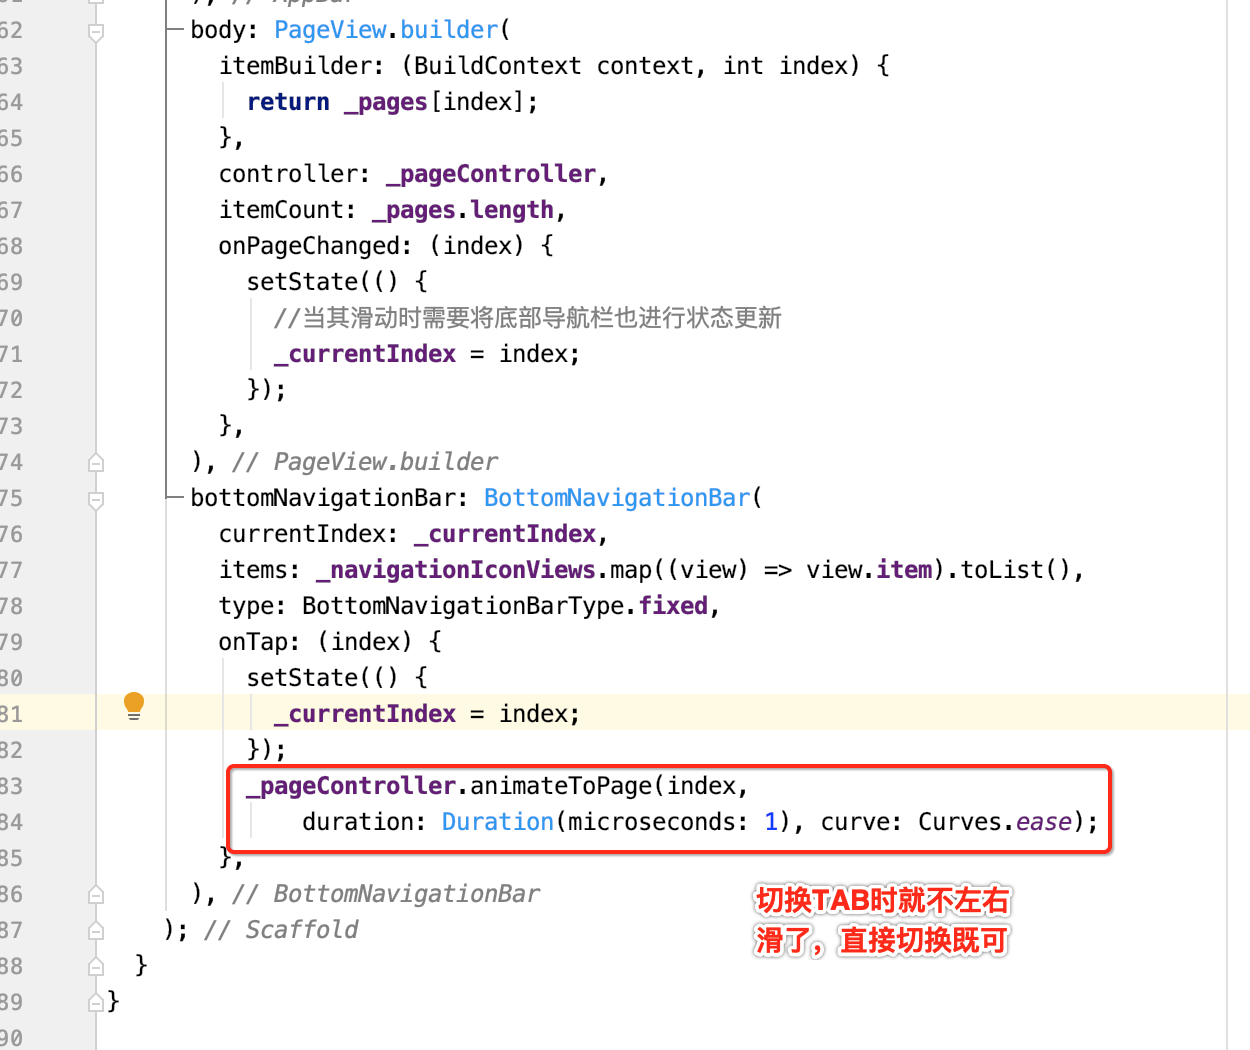
嗯,但是当我们点击TAB时还不能让页面进行切换,所以接下来再处理一下:
看效果:
其中咱们也可以阻止进行滑动,了解一下:
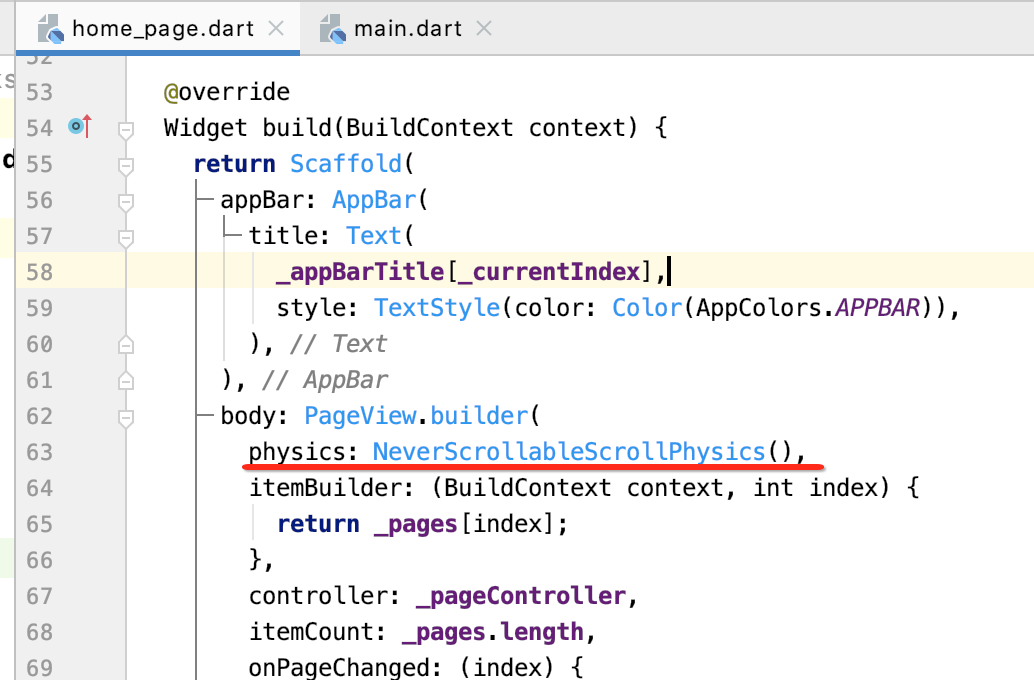
这个就根据实际场景需要再决定是否用,这里咱们还是需要支持左右滑,所以该属性就不用添加了。
侧滑菜单:
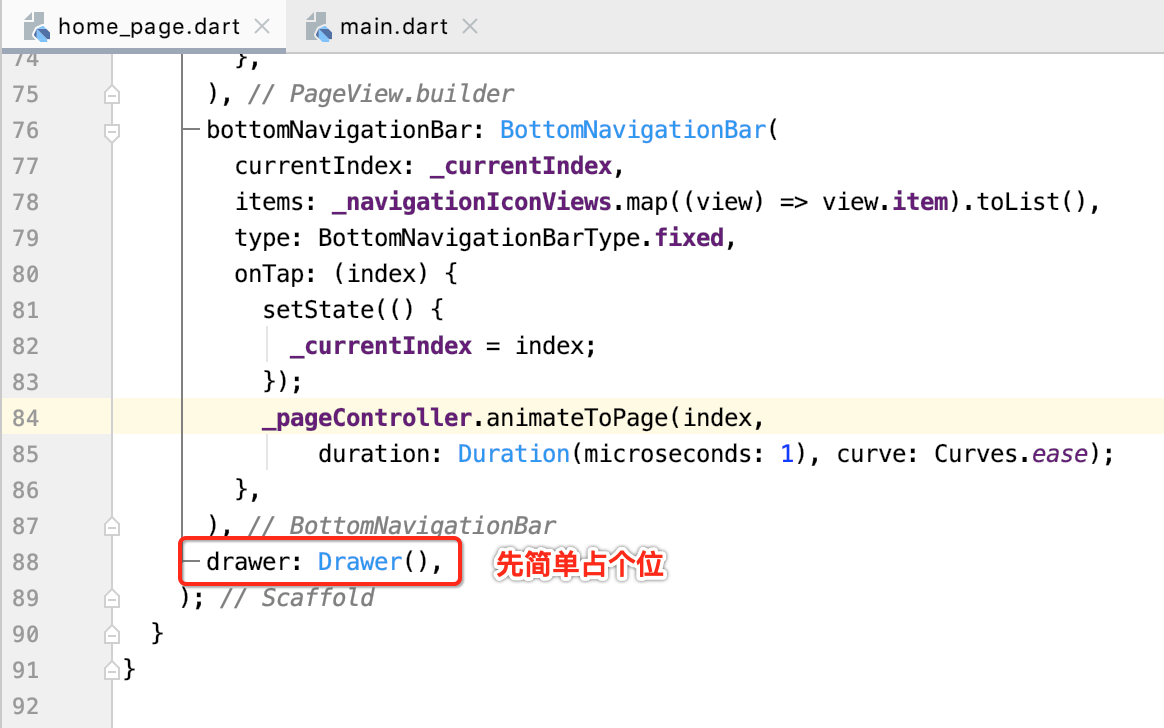
增加侧滑效果:
接下来咱们则来弄一下侧滑菜单效果:
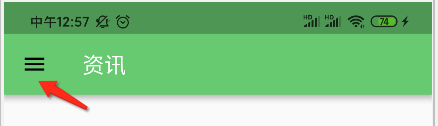
嗯,是的,此时滑动效果就出来了,就是如此任性:
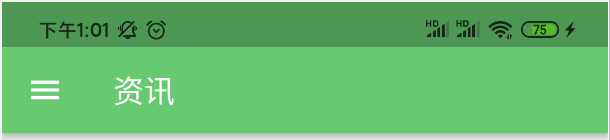
然后这个侧滑菜单的ICON色调不对:
应该是白色的,那如何来更改呢?其实设置一下主题色既可,如下:
运行:
关于这块的学习可以参考:https://www.cnblogs.com/webor2006/p/12578218.html,下面则来对侧滑菜单项进行处理:
侧滑菜单处理:
首先先来处理顶部背景图:
先将其背景图弄进工程:
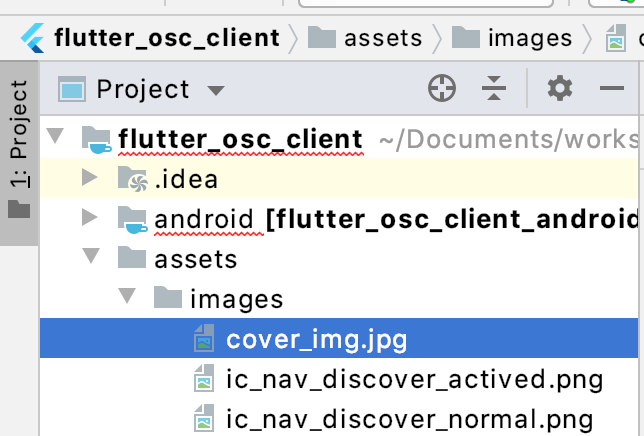
附件地址:https://files.cnblogs.com/files/webor2006/cover_img.jpg.zip

接下来则来处理滑动抽屉界面,同样也单独新建一个文件来处理:
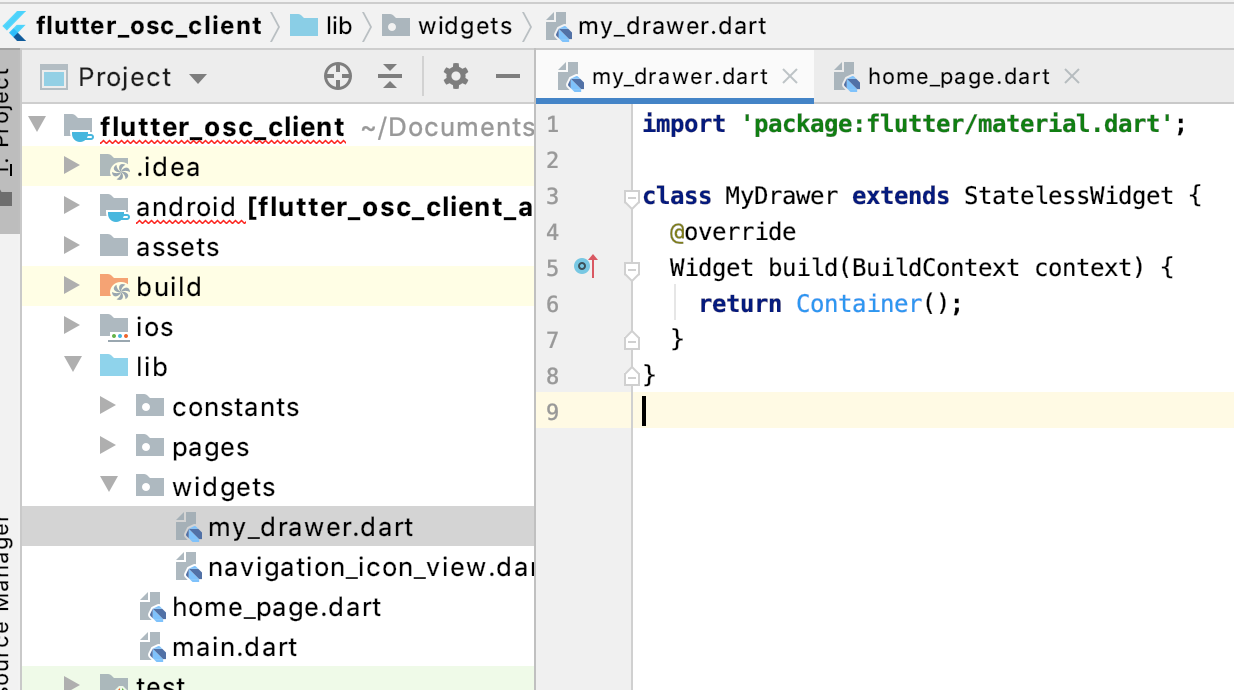

接下来集中编写MyDrawer类,先来对元数据进行封装:
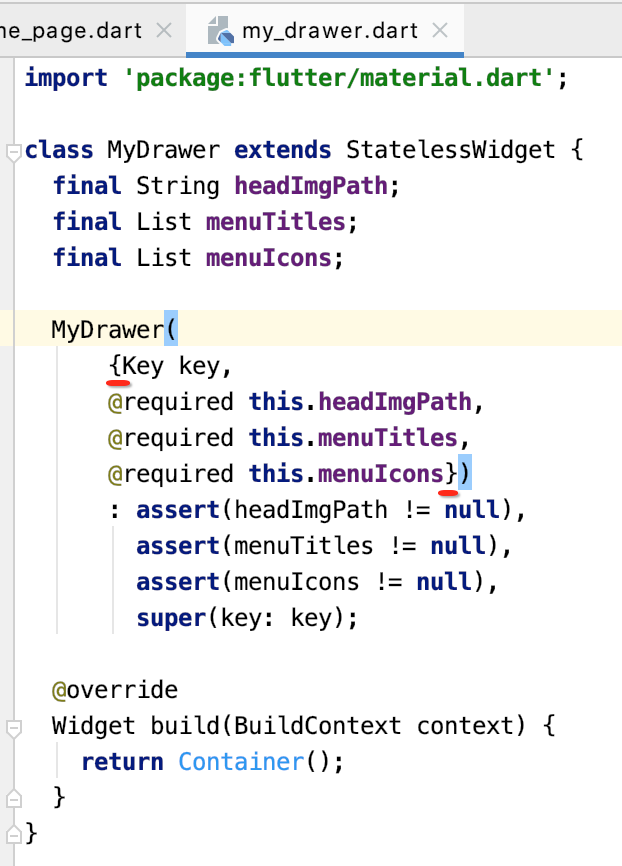
import 'package:flutter/material.dart';

class MyDrawer extends StatelessWidget {
  final String headImgPath;
  final List menuTitles;
  final List menuIcons;

  MyDrawer(
      {Key key,
      @required this.headImgPath,
      @required this.menuTitles,
      @required this.menuIcons})
      : assert(headImgPath != null),
        assert(menuTitles != null),
        assert(menuIcons != null),
        super(key: key);

  @override
  Widget build(BuildContext context) {
    return Container();
  }
}
其中关于Dart的构造语法再来回忆一下:
另外这里还用到了可选命名参数,用{}括起来:
这个在之前也多次强调过,啰嗦一下便于将其语法映入脑髓中,所以此时咱们的调用也需要发生变化:
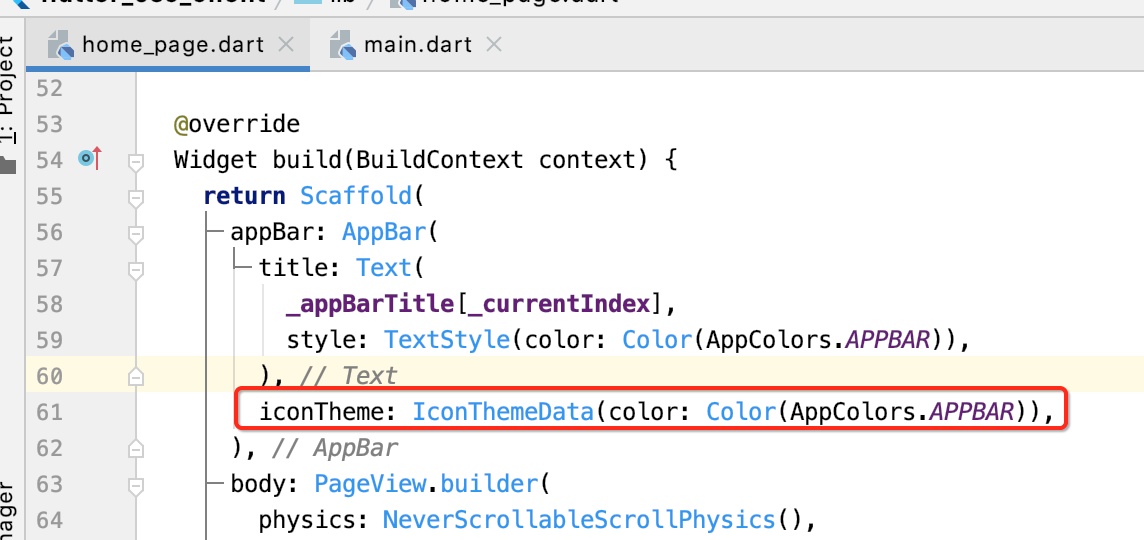
class _HomePageState extends State<HomePage> {
  final _appBarTitle = ['资讯', '动弹', '发现', '我的'];
  List<NavigationIconView> _navigationIconViews;
  var _currentIndex = 0;
  List<Widget> _pages;
  PageController _pageController;

  @override
  void initState() {
    super.initState();
    _navigationIconViews = [
      NavigationIconView(
          title: _appBarTitle[0],
          iconPath: 'assets/images/ic_nav_news_normal.png',
          activeIconPath: 'assets/images/ic_nav_news_actived.png'),
      NavigationIconView(
          title: _appBarTitle[1],
          iconPath: 'assets/images/ic_nav_tweet_normal.png',
          activeIconPath: 'assets/images/ic_nav_tweet_actived.png'),
      NavigationIconView(
          title: _appBarTitle[2],
          iconPath: 'assets/images/ic_nav_discover_normal.png',
          activeIconPath: 'assets/images/ic_nav_discover_actived.png'),
      NavigationIconView(
          title: _appBarTitle[3],
          iconPath: 'assets/images/ic_nav_my_normal.png',
          activeIconPath: 'assets/images/ic_nav_my_pressed.png'),
    ];

    _pages = [
      NewsListPage(),
      TweetPage(),
      DiscoveryPage(),
      ProfilePage(),
    ];

    _pageController = PageController(initialPage: _currentIndex);
  }

  @override
  Widget build(BuildContext context) {
    return Scaffold(
      appBar: AppBar(
        title: Text(
          _appBarTitle[_currentIndex],
          style: TextStyle(color: Color(AppColors.APPBAR)),
        ),
        iconTheme: IconThemeData(color: Color(AppColors.APPBAR)),
      ),
      body: PageView.builder(
        physics: NeverScrollableScrollPhysics(),
        itemBuilder: (BuildContext context, int index) {
          return _pages[index];
        },
        controller: _pageController,
        itemCount: _pages.length,
        onPageChanged: (index) {
          setState(() {
            //当其滑动时需要将底部导航栏也进行状态更新
            _currentIndex = index;
          });
        },
      ),
      bottomNavigationBar: BottomNavigationBar(
        currentIndex: _currentIndex,
        items: _navigationIconViews.map((view) => view.item).toList(),
        type: BottomNavigationBarType.fixed,
        onTap: (index) {
          setState(() {
            _currentIndex = index;
          });
          _pageController.animateToPage(index,
              duration: Duration(microseconds: 1), curve: Curves.ease);
        },
      ),
      drawer: MyDrawer(
        headImgPath: 'assets/images/cover_img.jpg',
        menuIcons: [Icons.send, Icons.home, Icons.error, Icons.settings],
        menuTitles: ['发布动弹', '动弹小黑屋', '关于', '设置'],
      ),
    );
  }
}
好,接下来使用一下这些数据生成咱们想要的菜单项:
import 'package:flutter/material.dart';

class MyDrawer extends StatelessWidget {
  final String headImgPath;
  final List menuTitles;
  final List menuIcons;

  MyDrawer(
      {Key key,
      @required this.headImgPath,
      @required this.menuTitles,
      @required this.menuIcons})
      : assert(headImgPath != null),
        assert(menuTitles != null),
        assert(menuIcons != null),
        super(key: key);

  @override
  Widget build(BuildContext context) {
    return Drawer(
      child: ListView.separated(
          itemBuilder: (context, index) {
            if (index == 0) {
              //第一个则显示顶部图片
              return Image.asset(
                headImgPath,
                fit: BoxFit.cover,
              );
            }
            index -= 1;
            return ListTile(
              leading: Icon(menuIcons[index]),
              title: Text(menuTitles[index]),
              trailing: Icon(Icons.arrow_forward_ios), //右箭头
            );
          },
          separatorBuilder: (context, index) {
            if (index == 0) {
              return Divider(
                height: 0.0,
              );
            } else {
              return Divider(
                height: 1.0,
              );
            }
          }, //列表分隔线
          itemCount: menuTitles.length + 1),
    );
  }
}
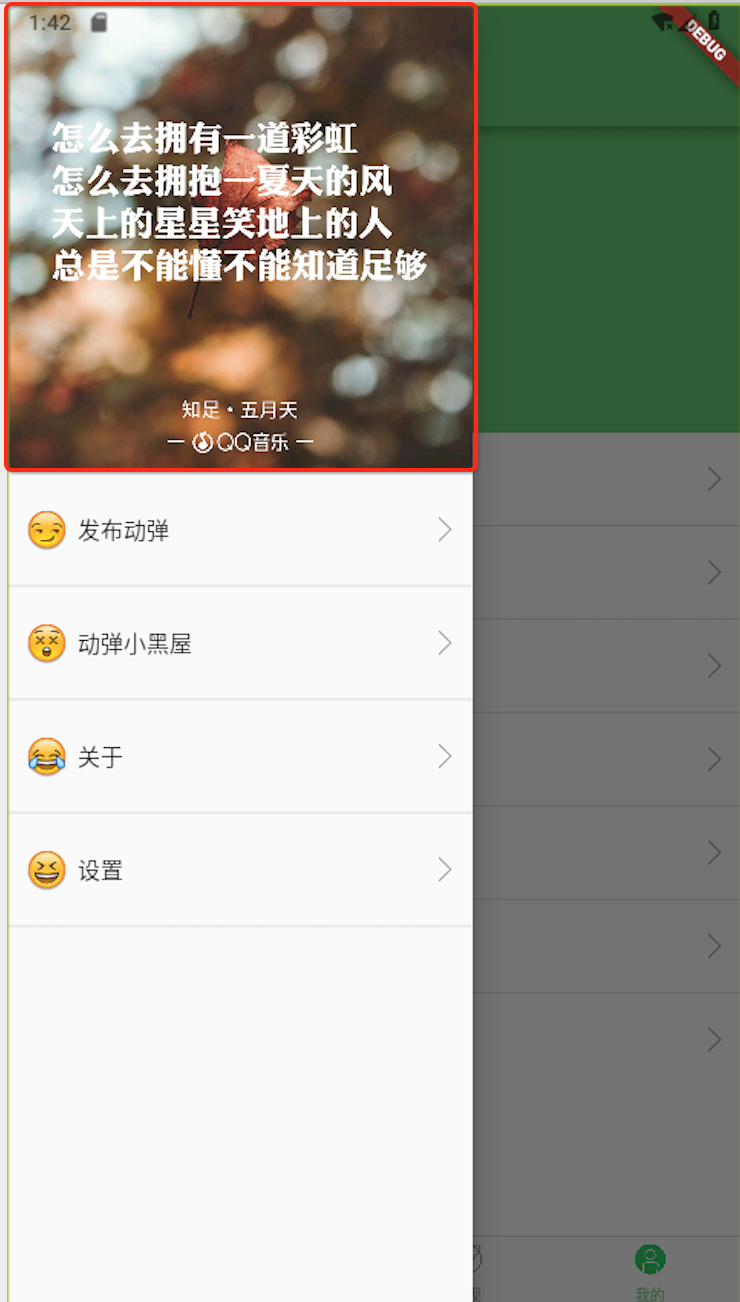
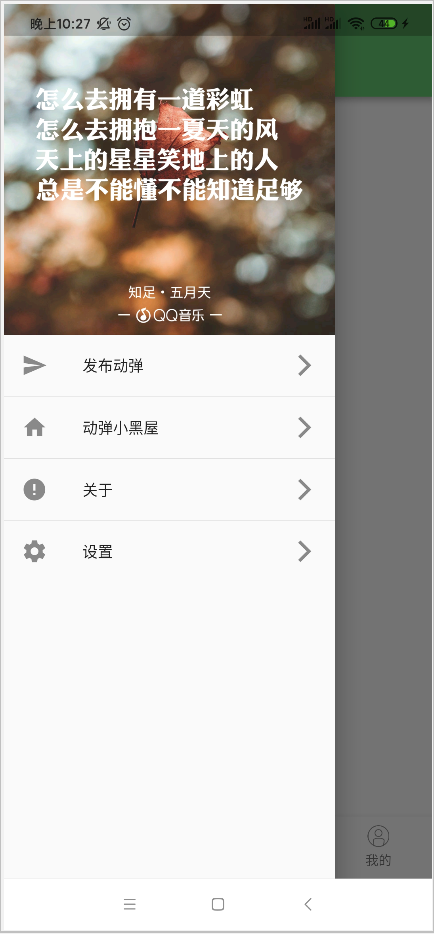
运行看一下:
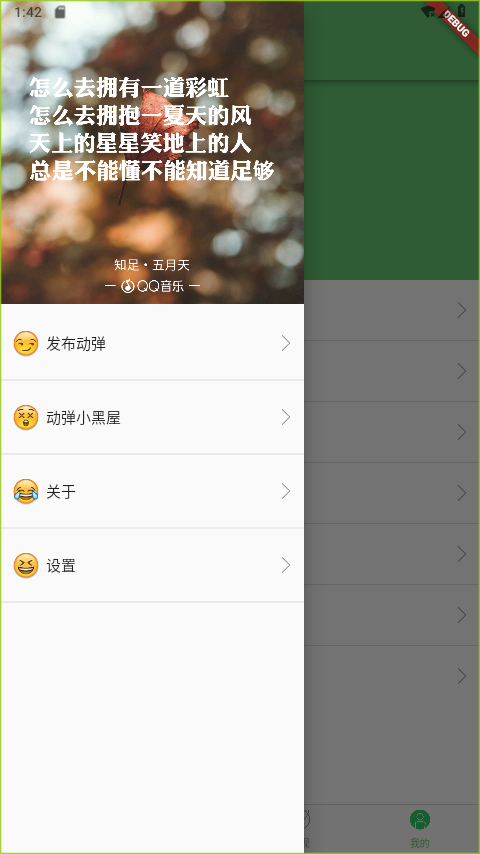
但是发现侧滑菜单的标题栏颜色有点不和谐:
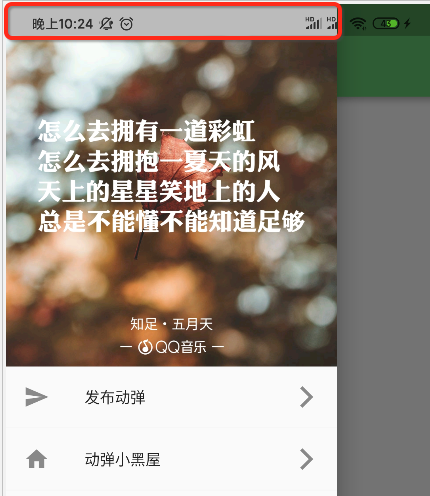
其实这里要增加一个设置既可,如下:
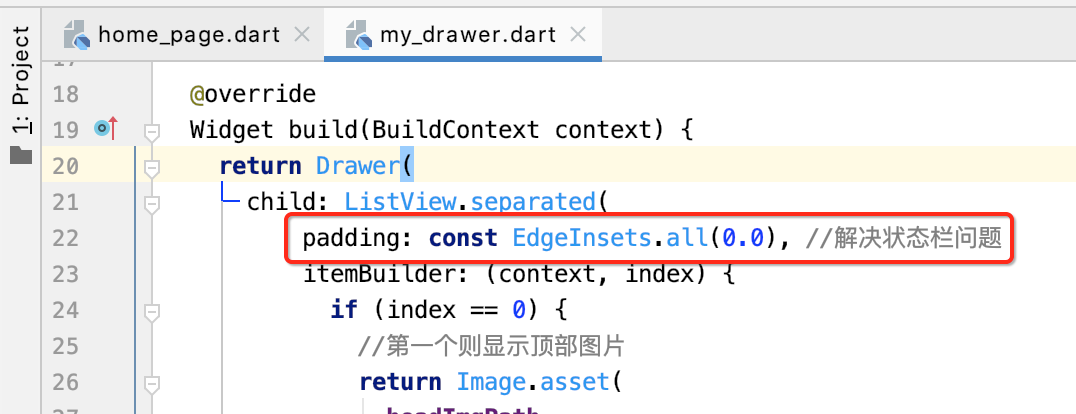
此时就变为了一个透明的效果了:
处理点击事件:
这里先来新建四个占位的页面:
'发布动弹':
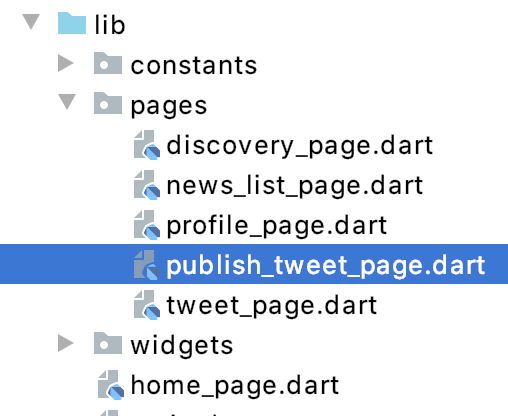
import 'package:flutter/material.dart';

class PublishTweetPage extends StatefulWidget {
  @override
  _PublishTweetPageState createState() => _PublishTweetPageState();
}

class _PublishTweetPageState extends State<PublishTweetPage> {
  @override
  Widget build(BuildContext context) {
    return Scaffold(
      appBar: AppBar(
        title: Text('发布动弹'),
      ),
    );
  }
}
'动弹小黑屋':
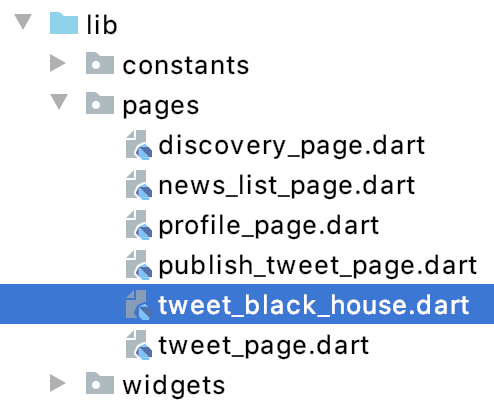
import 'package:flutter/material.dart';

class TweetBlackHousePage extends StatefulWidget {
  @override
  _TweetBlackHousePageState createState() => _TweetBlackHousePageState();
}

class _TweetBlackHousePageState extends State<TweetBlackHousePage> {
  @override
  Widget build(BuildContext context) {
    return Scaffold(
      appBar: AppBar(
        title: Text('动弹小黑屋'),
      ),
    );
  }
}
'关于':
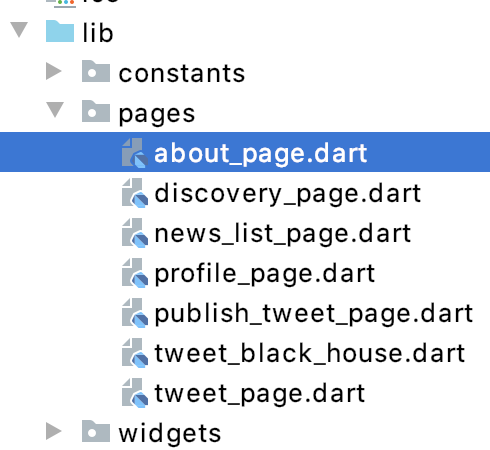
import 'package:flutter/material.dart';

class AboutPage extends StatefulWidget {
  @override
  _AboutPageState createState() => _AboutPageState();
}

class _AboutPageState extends State<AboutPage> {
  @override
  Widget build(BuildContext context) {
    return Scaffold(
      appBar: AppBar(
        title: Text('关于'),
      ),
    );
  }
}
'设置' :
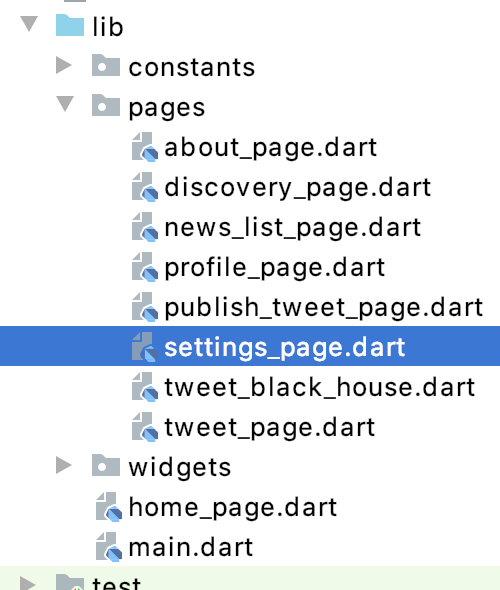
import 'package:flutter/material.dart';

class SettingsPage extends StatefulWidget {
  @override
  _SettingsPageState createState() => _SettingsPageState();
}

class _SettingsPageState extends State<SettingsPage> {
  @override
  Widget build(BuildContext context) {
    return Scaffold(
      appBar: AppBar(
        title: Text('设置'),
      ),
    );
  }
}
接下来则处理菜单栏的点击事件,如下:
import 'package:flutter/material.dart';
import 'package:flutter_osc_client/pages/about_page.dart';
import 'package:flutter_osc_client/pages/publish_tweet_page.dart';
import 'package:flutter_osc_client/pages/settings_page.dart';
import 'package:flutter_osc_client/pages/tweet_black_house.dart';

class MyDrawer extends StatelessWidget {
  final String headImgPath;
  final List menuTitles;
  final List menuIcons;

  MyDrawer(
      {Key key,
      @required this.headImgPath,
      @required this.menuTitles,
      @required this.menuIcons})
      : assert(headImgPath != null),
        assert(menuTitles != null),
        assert(menuIcons != null),
        super(key: key);

  @override
  Widget build(BuildContext context) {
    return Drawer(
      child: ListView.separated(
          padding: const EdgeInsets.all(0.0), //解决状态栏问题
          itemBuilder: (context, index) {
            if (index == 0) {
              //第一个则显示顶部图片
              return Image.asset(
                headImgPath,
                fit: BoxFit.cover,
              );
            }
            index -= 1;
            return ListTile(
              leading: Icon(menuIcons[index]),
              title: Text(menuTitles[index]),
              trailing: Icon(Icons.arrow_forward_ios), //右箭头
              onTap: () {
                switch (index) {
                  case 0:
                    _navPush(context, PublishTweetPage());
                    break;
                  case 1:
                    _navPush(context, TweetBlackHousePage());
                    break;
                  case 2:
                    _navPush(context, AboutPage());
                    break;
                  case 3:
                    _navPush(context, SettingsPage());
                    break;
                }
              },
            );
          },
          separatorBuilder: (context, index) {
            if (index == 0) {
              return Divider(
                height: 0.0,
              );
            } else {
              return Divider(
                height: 1.0,
              );
            }
          }, //列表分隔线
          itemCount: menuTitles.length + 1),
    );
  }

  _navPush(BuildContext context, Widget page) {
    Navigator.push(context, MaterialPageRoute(builder: (context) => page));
  }
}
关于页面路由的知识可以参考https://www.cnblogs.com/webor2006/p/12545701.html,这里运行看一下: