前言:想要实现登录后才能进入主页等其他页面,不然都会跳转到登录页。但是Vuex有个不够完美的地方,一旦刷新页面就会没了,所以还要用到localStorage。
一、router.js:
import Vue from 'vue'
import Router from 'vue-router'
import HelloWorld from '@/components/HelloWorld'
import store from '../store/index'
Vue.use(Router);
// 懒加载组件
const login = () => import('Components/common/login/index.vue');
const loading = () => import('Components/common/loading/index.vue');
const home = () => import('Pages/home/home.vue');
const user = () => import('Pages/userManage/index.vue');
const addUser = () => import('Pages/userManage/add/index.vue');
const editUser = () => import('Pages/userManage/edit/index.vue');
const menu = () => import('Pages/menuManage/index.vue');
const umbrella = () => import('Pages/umbrellaManage/index.vue');
const location = () => import('Pages/locationManage/index.vue');
const order = () => import('Pages/orderManage/index.vue');
const test = () => import('Pages/test.vue');
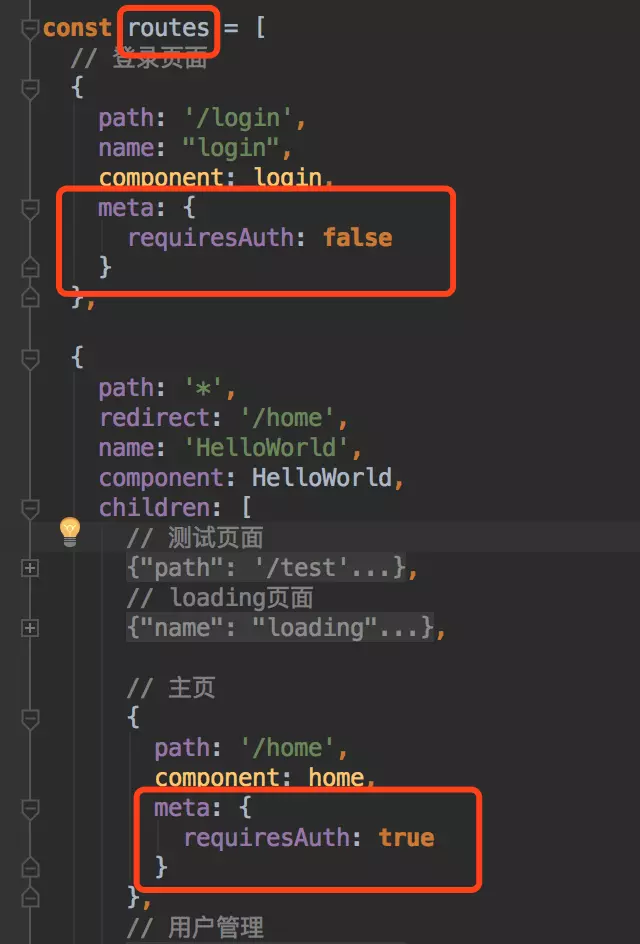
const routes = [
// 登录页面
{
path: '/login',
name: "login",
component: login,
meta: {
requiresAuth: false
}
},
{
path: '*',
redirect: '/home',
name: 'HelloWorld',
component: HelloWorld,
children: [
// 测试页面
{
path: '/test',
component: test,
meta: {
requiresAuth: true
}
},
// loading页面
{
path: '/loading',
name: "loading",
component: loading,
meta: {
requiresAuth: true
}
},
// 主页
{
path: '/home',
component: home,
meta: {
requiresAuth: true
}
},
// 用户管理
{
path: '/user',
component: user,
meta: {
requiresAuth: true
}
},
{
path: '/user/add',
name: 'addUser',
component: addUser,
meta: {
requiresAuth: true
}
},
{
path: '/user/edit',
name: 'editUser',
component: editUser,
meta: {
requiresAuth: true
}
},
// 菜单管理
{
path: '/menu',
name: 'menu',
component: menu,
meta: {
requiresAuth: true
}
},
// 雨伞管理
{
path: '/umbrella',
name: 'umbrella',
component: umbrella,
meta: {
requiresAuth: true
}
},
// 租借点管理
{
path: '/location',
name: 'location',
component: location,
meta: {
requiresAuth: true
}
},
// 订单管理
{
path: '/order',
name: 'order',
component: order,
meta: {
requiresAuth: true
}
},
]
}
];
// 页面刷新时,重新赋值有没登录
if (window.localStorage.getItem('isLogin')) {
store.commit('setIsLogin', window.localStorage.getItem('isLogin'));
}
const router = new Router({
routes
});
router.beforeEach((to, from, next) => {
if (to.matched.some(r => r.meta.requiresAuth)) { // 判断该路由是否需要登录权限
console.log(store.getters.isLogin);
if (store.getters.isLogin) { // 通过vuex 如果当前有登录
next();
}
else {
console.log("没有登录吖")
next({
path: '/login',
query: {redirect: to.fullPath}
})
}
}
else {
next();
}
});
export default router;
这里有四个需要重点关注的地方(引入和使用就不纳入其中了):
1.单独一个routes数组用来存放路由变量,然后每一个路由对象都需要有个meta参数,里面有个requiresAuth(也可以命其他名),这个就是用来判断这个页面需不需要判断权限,所以login页面为false,其他页面都为true。
2.new一个router对象,刚刚在注意点1的数组作为参数,然后最后导出这个router对象给其他页面引用。
3.要有一个判断页面刷新,重新赋值有没登录。这个时候判断localStorage中的isLogin,如果为true,所以刷新前是有登录的,则提交触发vuex更改状态。
4.vue-router提供的钩子函数,在路由更换的时候,都会触发这个函数,这个时候就要用到注意点1的meta.requiresAuth,如果即将要进入的页面需要判断登录权限,检测vuex的isLogin,为true就可以进去,不然都跳转到登录页面。
二、Vuex

文件位置
modules/login.js
const login = {
  state: {
    // true为已经登录,false为没登录
    isLogin: false
  },
  mutations: {
    setIsLogin(state, isLogin) {
      state.isLogin = isLogin;
    }
  },
  actions: {

  },
}

export default login;
getters.js
const getters = {
  isCollapse: state => state.nav.isCollapse,
  isLogin: state => state.login.isLogin
};
export default getters
index.js
import Vue from 'vue';
import Vuex from 'vuex';
import nav from './modules/nav'
import login from './modules/login'
// import app from './modules/app';
// import user from './modules/user';
// import menu from './modules/menu';
import getters from './getters';

Vue.use(Vuex);

const store = new Vuex.Store({
  strict: process.env.NODE_ENV !== 'production',
  modules: {
    nav,
    login
    // app,
    // user,
    // menu
  },
  getters
});

export default store
三、实际使用-->登录
handleSubmit() {
        this.$refs["loginForm"].validate((valid) => {
          if (valid) {
            if(this.loginForm.userName === "admin" && this.loginForm.password === "admin") {
              this.$notify({
                title: '恭喜你',
                message: '登录成功!',
                type: 'success'
              });
              // 触发setIsLogin方法改变vuex中isLogin的值,
              this.$store.commit('setIsLogin', true);
             // 改变localStorage中isLogin的值,
              window.localStorage.setItem('isLogin', true);
              // Cookies.set('Token', response.data.token)
              this.$router.push({path: '/home'});

            }
            else {
              this.$message({
                message: '登录失败:密码错误!',
                type: 'warning'
              });
            }
          } else {
            console.log('error submit!!');
            return false;
          }
        });
},
四、实际使用-->退出登录
handleCommand(command) {
        if(command === "exit") {
          // 触发setIsLogin方法改变vuex中isLogin的值,
          this.$store.commit('setIsLogin', false);
          // 改变localStorage中isLogin的值,
          window.localStorage.setItem('isLogin', false);
          this.$notify({
            title: '退出登录成功',
            message: '请重新登录',
            type: 'success'
          });
          this.$router.push({path: '/login'});
        }
}
<el-dropdown @command="handleCommand">
      <span class="el-dropdown-link">
        欢迎你,{{name}}<i class="el-icon-arrow-down el-icon--right"></i>
      </span>
        <el-dropdown-menu slot="dropdown">
          <el-dropdown-item command="exit">退出登录</el-dropdown-item>
        </el-dropdown-menu>
</el-dropdown>
作者:Lia代码猪崽
链接:https://www.jianshu.com/p/f920b0e994dc
来源:简书
简书著作权归作者所有,任何形式的转载都请联系作者获得授权并注明出处。