官方文档:https://www.wireshark.org/docs/wsug_html/
官网:http://www.tcpdump.org/
备忘录:https://www.runoob.com/linux/linux-comm-tcpdump.html
tcpdump是一款强大的网络抓包工具,运行在Linux平台上。熟悉tcpdump的使用能够帮助我们分析、调试网络数据。
作为互联网上经典的的系统管理员必备工具,tcpdump以其强大的功能,灵活的截取策略,成为每个高级的系统管理员分析网络,排查问题等所必备的工具之一。在实际工作中,需要以root权限去执行该命令。
一、常用命令选项
-i #指定监听网络接口
-nn #进行ip和端口名称的转换,一个n不要ip解析到域名,将协议转换为端口
-w #将捕获到的信息保存到文件中,且不分析和打印在屏幕
-r #从指定的文件中读取数据,一般是-w保存的文件
-v #输出稍微详细的信息
-vv#输出详细的报文信息
二、安装tcpdump工具
[root@tcpdump-server ~]# yum install -y tcpdump
实验环境
1.准备两台机器
192.168.80.128 ----tcpdump-server
192.168.80.129 ----test-server
2.两台机器均关闭防火墙和selinux
监视指定网络接口的数据包
[root@tcpdump-server ~]# tcpdump -i ens33
监听网卡端口为80的应用发出和接收的所有http协议包
[root@tcpdump-server ~]# tcpdump -i ens33  port 80 -vv -nn
[root@test-server ~]# curl http://192.168.80.128   #测试
监视ens33网卡上源地址192.168.80.129的所有网络包
[root@tcpdump-server ~]# tcpdump -i ens33 src 192.168.80.129
[root@test-server ~]# ssh 192.168.80.128 #测试
监视ens33网卡上目的地址是192.168.80.129的所有网络包
[root@tcpdump-server ~]# tcpdump -i ens33 dst 192.168.80.129
两台机器同时操作
[root@tcpdump-server ~]# ip a  #查看自己网卡
#抓来自192.168.80.129这台机器的imcp协议的包
[root@tcpdump-server ~]# tcpdump -i ens33 icmp -vv -nn
[root@test-server ~]# ping -c 1 192.168.80.128 #ping tcpdump的机器一次
PING 192.168.80.128 (192.168.80.128) 56(84) bytes of data.
64 bytes from 192.168.80.128: icmp_seq=1 ttl=64 time=0.751 ms

--- 192.168.80.128 ping statistics ---
1 packets transmitted, 1 received, 0% packet loss, time 0ms
rtt min/avg/max/mdev = 0.751/0.751/0.751/0.000 ms
[root@tcpdump-server ~]# tcpdump -i ens33 icmp -vv -nn
tcpdump: listening on ens33, link-type EN10MB (Ethernet), capture size 262144 bytes
00:55:58.756161 IP (tos 0x0, ttl 64, id 33221, offset 0, flags [DF], proto ICMP (1), length 84)
    192.168.80.129 > 192.168.80.128: ICMP echo request, id 1139, seq 1, length 64
00:55:58.756254 IP (tos 0x0, ttl 64, id 11681, offset 0, flags [none], proto ICMP (1), length 84)
    192.168.80.128 > 192.168.80.129: ICMP echo reply, id 1139, seq 1, length 64

echo request :请求包
echo reply:回复包
实验二抓一个tcp的包--全部在文本模式下操作
[root@tcpdump-server ~]# yum install -y epel*
[root@tcpdump-server ~]# yum install -y nginx
[root@tcpdump-server ~]# systemctl start nginx
[root@test-server ~]# curl -I http://192.168.80.128/ #测试访问
[root@tcpdump-server ~]# tcpdump -i ens33 tcp -vv -nn -w tcp.txt  #抓包tcp--在文本模式下
按shift键加pu键可以上翻。pd键可以下翻
[root@test-server ~]# curl -I http://192.168.80.128/  --访问
[root@tcpdump-server ~]# ls
anaconda-ks.cfg  tcp.txt   ---抓包生成的文件,不能用vim查看
[root@tcpdump-server ~]# tcpdump -r tcp.txt  #读生成的文件
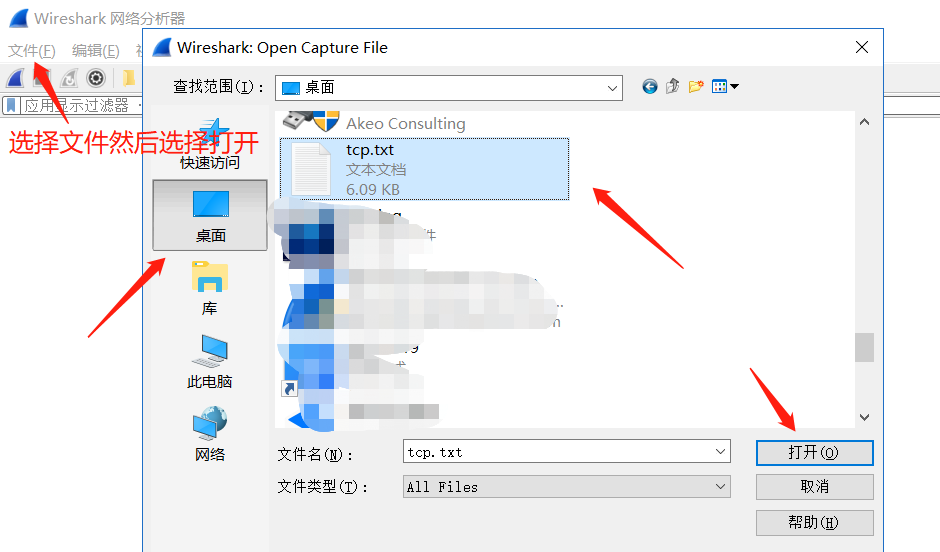
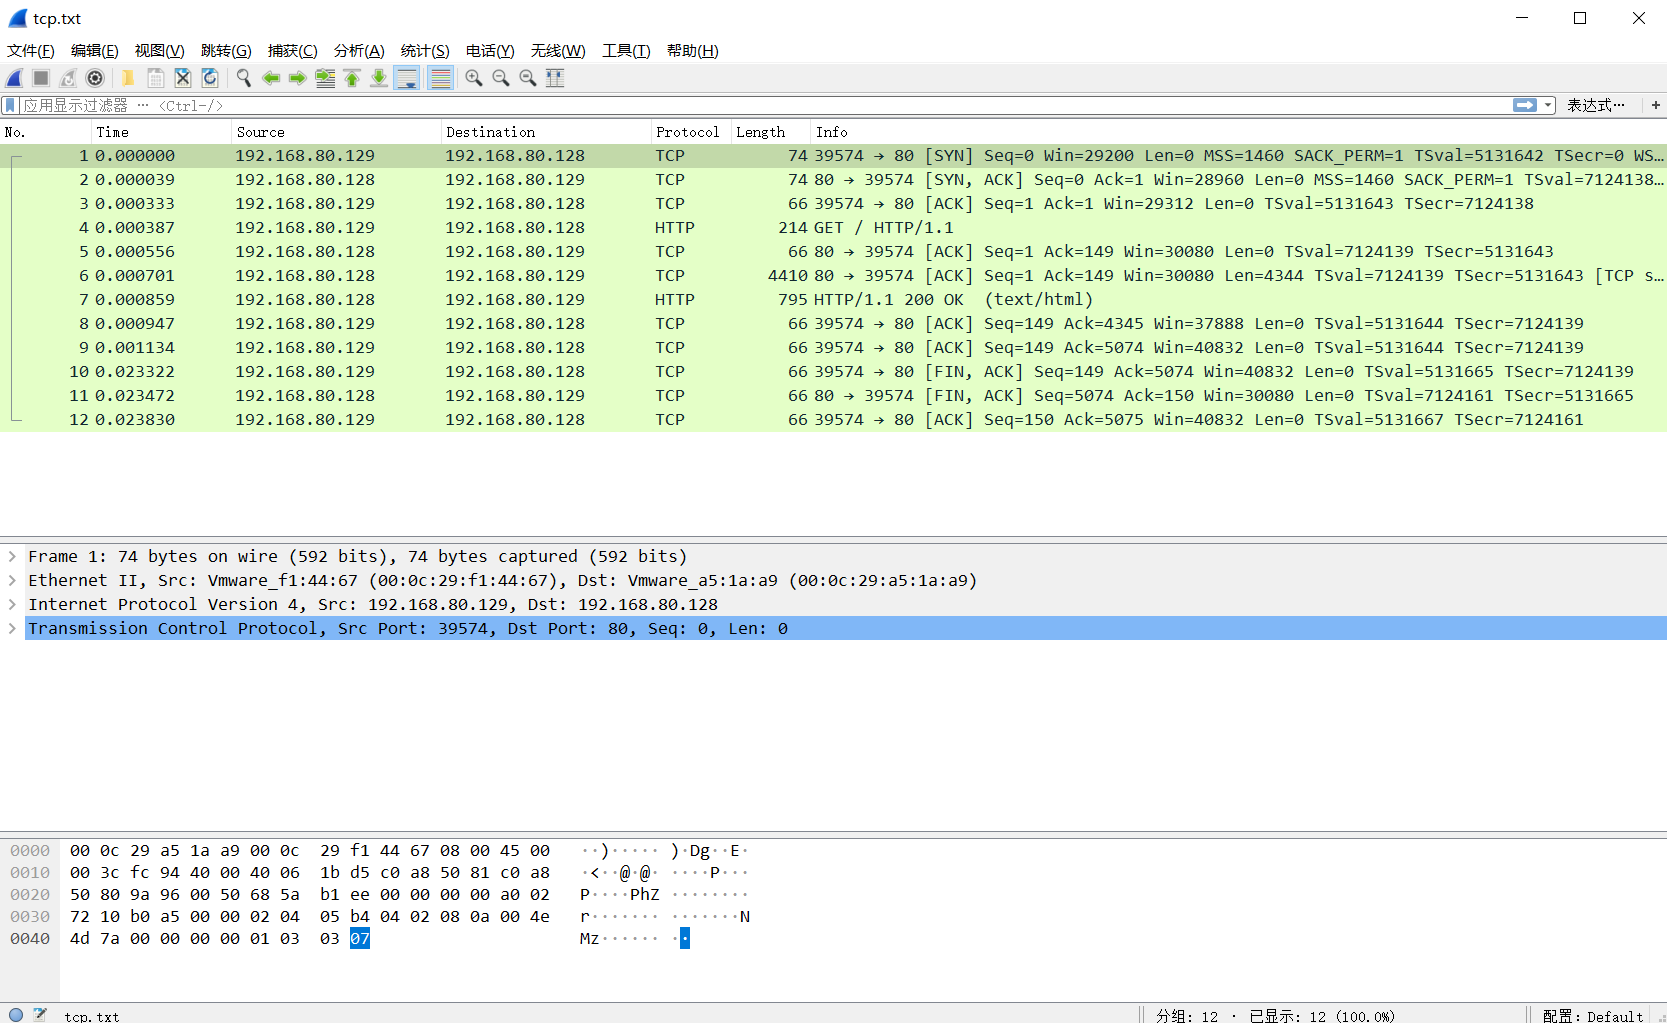
=======导入wireshark
[root@tcpdump-server ~]# tcpdump -i ens33 tcp -vv -nn | less
[root@test-server ~]# curl -I http://192.168.80.128/  --访问,文本模式下

6个标记
SYN(synchronous建立联机)
ACK(acknowledgement 确认) 用.表示
PSH(push传送)
FIN(finish结束)
RST(reset重置)
URG(urgent紧急)
==========
Sequence number(顺序号码)
1.需要重新抓包一次并保存。

[root@linux-server ~]# curl -I http://192.168.80.120
2.用客户端工具连接tcpdump-server的机器将产生的文件导入wireshark中
[root@tcpdump-server ~]# rm -rf tcp.txt #将原来的删除
[root@tcpdump-server ~]# ls
tcp.txt
[root@tcpdump-server ~]# sz tcp.txt #下载到桌面