Xcode 已经集成了git,建立新项目时钩选使用git,然后按照下面步骤让Xcode和git@osc 建立连接。
第一步:成生SSH密钥
打开终端命令工具,输入命令:ssh-keygen -t rsa -C "邮箱地址"
注意ssh-keygen没有空格。屏幕输出:
Generating public/private rsa key pair.
Enter file in which to save the key (/Users/diaosi/.ssh/id_rsa):文件名字
在上方输入生成的密钥文件名,如:qinpeikey,屏幕输出:
Enter passphrase (empty for no passphrase): 输入密码
Enter same passphrase again: 确认密码
Your identification has been saved in diaosi.
Your public key has been saved in diaosi.pub.
The key fingerprint is:
25:fd:01:00:89:98:49:bf:2e:ac:32:2e:d2:5d:bf:98 diaosi@gmail.com
5d:bf:96:2f:51:d7:5f:c4:66:15:9f:80:99:73:1e:dc qinpei2010@126.com
The key's randomart image is:
+--[ RSA 2048]----+
| =..o+|
| = +.EB|
| = .=o|
| . . o =|
| S . ..+|
| .o.|
| +. |
| ... |
| ..|
+-----------------+
屏幕提示生成密钥文件成功,保存在
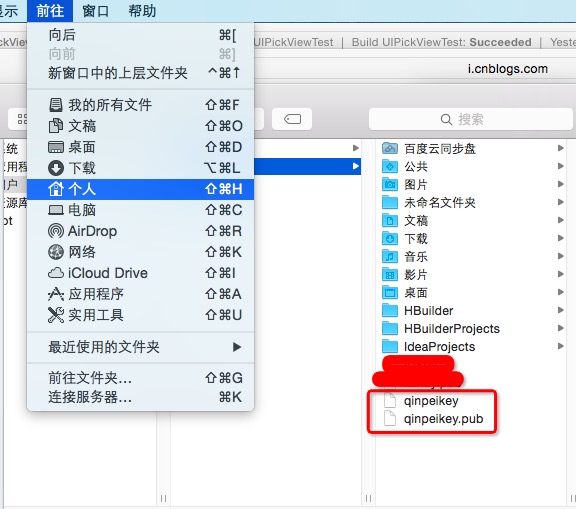
第二步:把qinpeikey.pub中的内容加入git@osc 的SSH密钥中
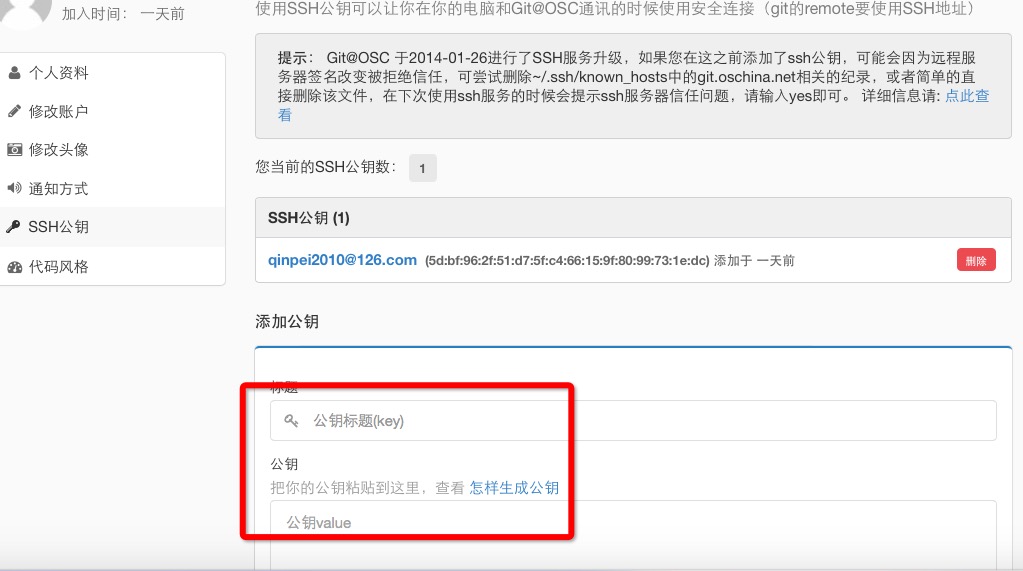
第三步:添加SSH并连接
输入命令:ssh-add ~/用户名字
Enter passphrase for /Users/litingzhe/qinpeikey:
Identity added: /Users/litingzhe/qinpeikey (/Users/litingzhe/qinpeikey)
输入命令ssh -T git@git.oschina.net,屏幕输出:
Welcome to Git@OSC, qinpei2010!
第四步:设置个人信息
输入命令:
git config --global user.name "你的名字"
git config --global user.email "你的Email"
第五步:设置项目
获取git@osc 上的项目路径。
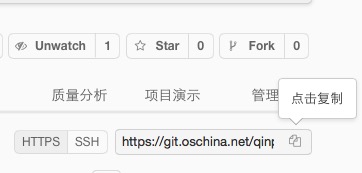
在Xcode中新建项目时添加
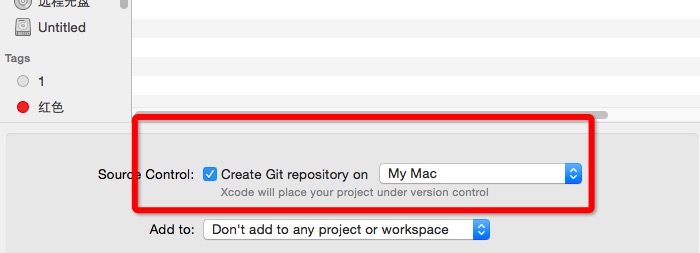
然后就可以通过
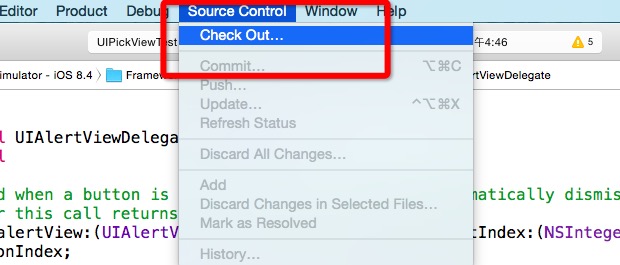
来控制版本
备注:需要注意的是每次重新启动系统后,都要先执行第3步的 ssh-add ~/用户名字 ,验证一下密码