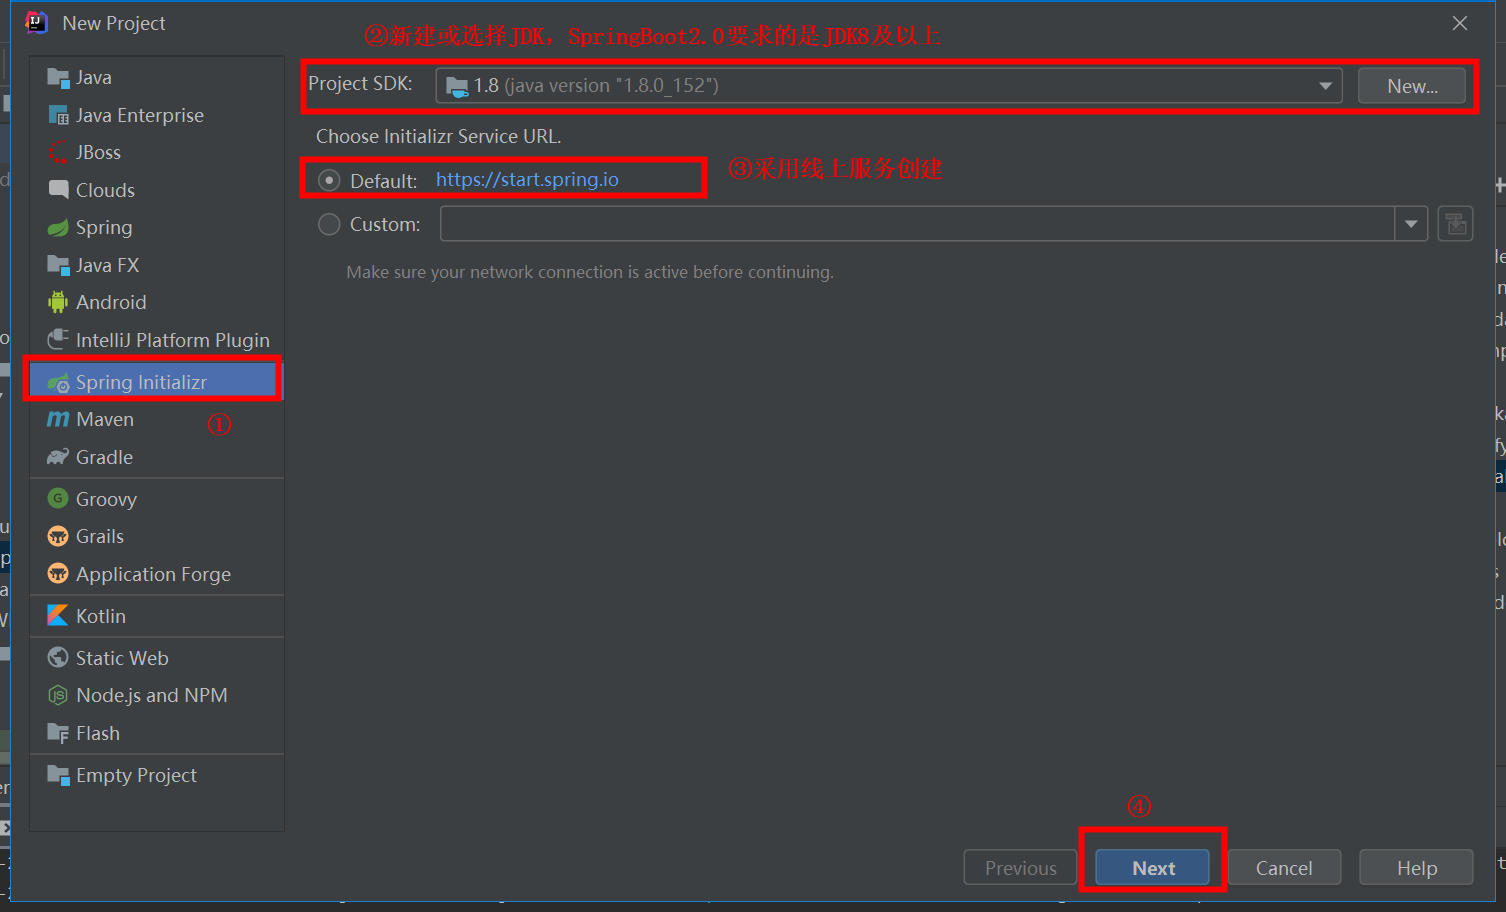
一、在线引导创建:https://start.spring.io/
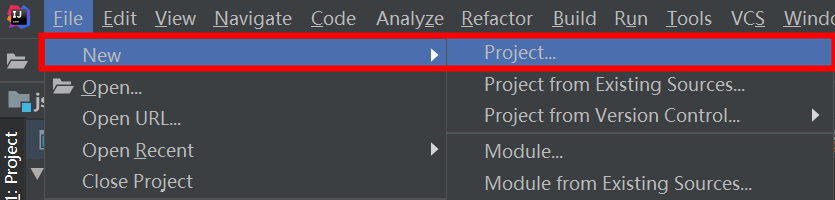
File -> New -> Project...
填写Group、Artifact、Package(默认的包路径)

选择SpringBoot版本及希望依赖的组件

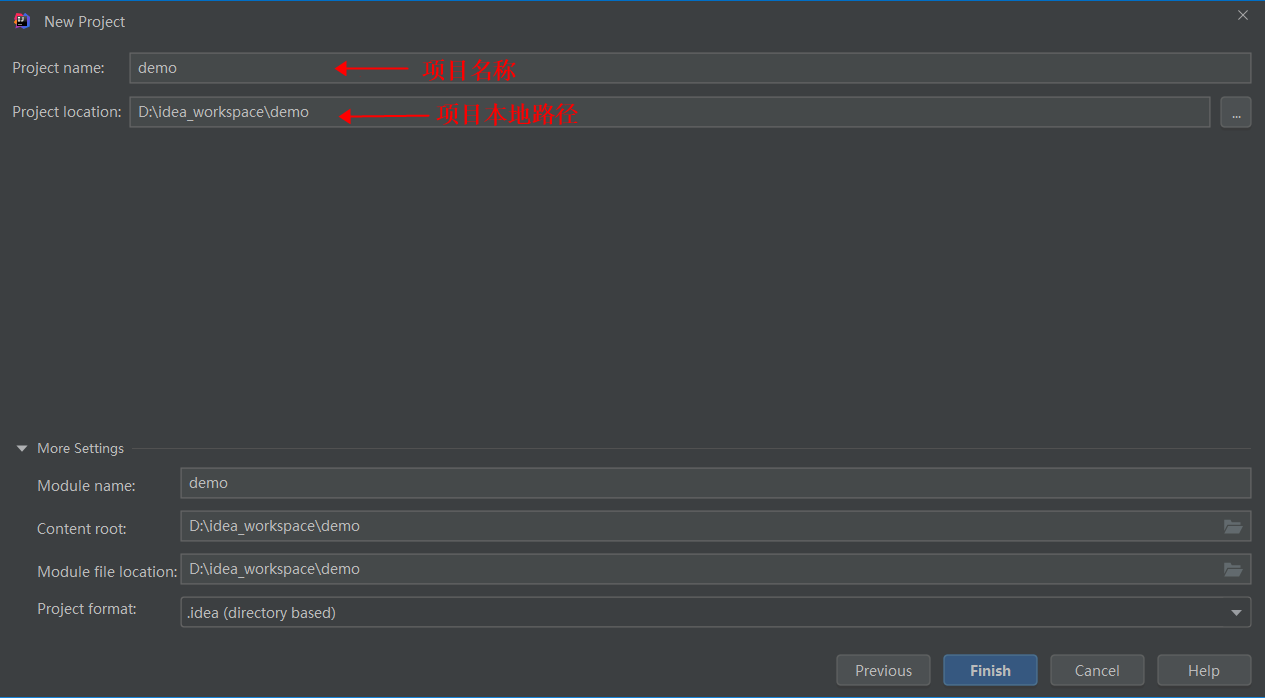
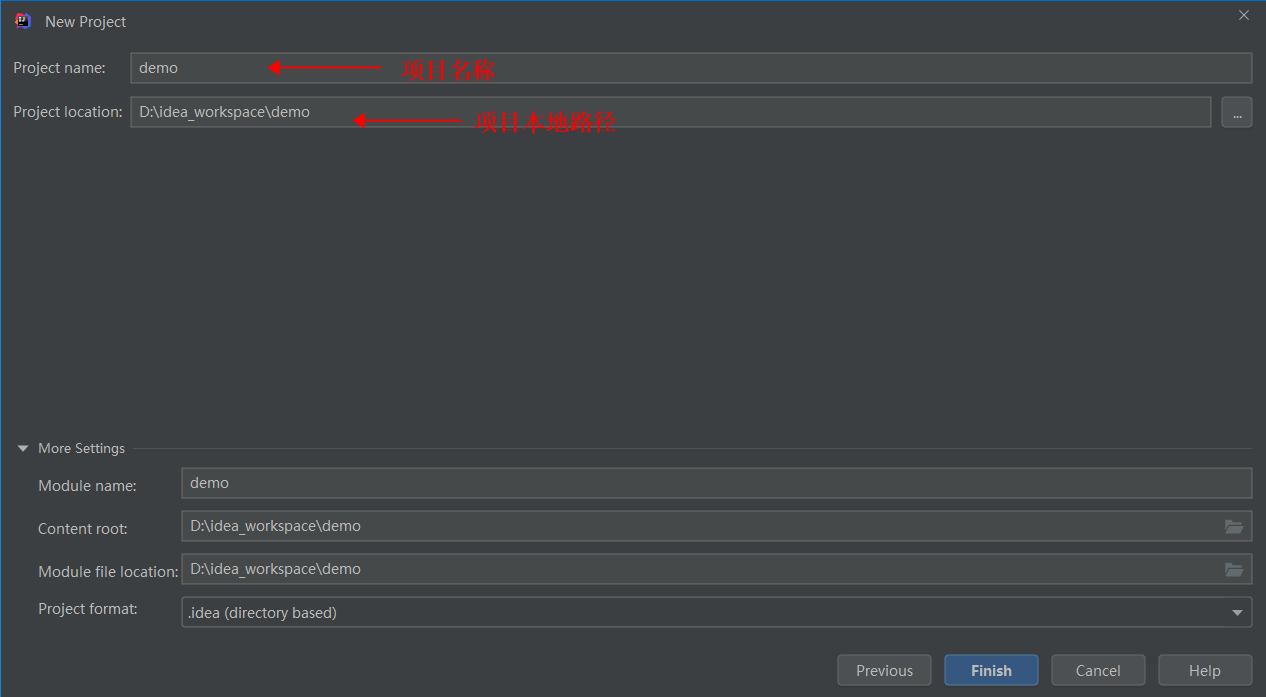
选择项目本地路径
pom.xml内容如下:
<?xml version="1.0" encoding="UTF-8"?>
<project xmlns="http://maven.apache.org/POM/4.0.0" xmlns:xsi="http://www.w3.org/2001/XMLSchema-instance"
         xsi:schemaLocation="http://maven.apache.org/POM/4.0.0 https://maven.apache.org/xsd/maven-4.0.0.xsd">
    <modelVersion>4.0.0</modelVersion>
    <parent>
        <groupId>org.springframework.boot</groupId>
        <artifactId>spring-boot-starter-parent</artifactId>
        <version>2.3.6.RELEASE</version>
        <relativePath/> <!-- lookup parent from repository -->
    </parent>
    <groupId>com.appst</groupId>
    <artifactId>demo</artifactId>
    <version>0.0.1-SNAPSHOT</version>
    <name>demo</name>
    <description>Demo project for Spring Boot</description>

    <properties>
        <java.version>1.8</java.version>
    </properties>

    <dependencies>
        <dependency>
            <groupId>org.springframework.boot</groupId>
            <artifactId>spring-boot-starter</artifactId>
        </dependency>

        <dependency>
            <groupId>org.springframework.boot</groupId>
            <artifactId>spring-boot-starter-test</artifactId>
            <scope>test</scope>
            <exclusions>
                <exclusion>
                    <groupId>org.junit.vintage</groupId>
                    <artifactId>junit-vintage-engine</artifactId>
                </exclusion>
            </exclusions>
        </dependency>
    </dependencies>

    <build>
        <plugins>
            <plugin>
                <groupId>org.springframework.boot</groupId>
                <artifactId>spring-boot-maven-plugin</artifactId>
            </plugin>
        </plugins>
    </build>

</project>
最终生成的项目结构如下:

DemoApplication.java
import org.springframework.boot.SpringApplication;
import org.springframework.boot.autoconfigure.SpringBootApplication;

@SpringBootApplication
public class DemoApplication {

    public static void main(String[] args) {
        SpringApplication.run(DemoApplication.class, args);
    }

}
二、手动创建


1、引入依赖:
(1) SpringBoot的父parent
<parent>
    <groupId>org.springframework.boot</groupId>
    <artifactId>spring-boot-starter-parent</artifactId>
    <version>2.3.6.RELEASE</version>
    <relativePath/> <!-- lookup parent from repository -->
</parent>
(2) SpringBoot的其他依赖组件
<dependencies>
    <dependency>
        <groupId>org.springframework.boot</groupId>
        <artifactId>spring-boot-starter</artifactId>
    </dependency>

    <dependency>
        <groupId>org.springframework.boot</groupId>
        <artifactId>spring-boot-starter-test</artifactId>
        <scope>test</scope>
        <exclusions>
            <exclusion>
                <groupId>org.junit.vintage</groupId>
                <artifactId>junit-vintage-engine</artifactId>
            </exclusion>
        </exclusions>
    </dependency>
</dependencies>

<build>
    <plugins>
        <plugin>
            <groupId>org.springframework.boot</groupId>
            <artifactId>spring-boot-maven-plugin</artifactId>
        </plugin>
    </plugins>
</build>
2、在resources下创建没有内容的application.properties文件。
3、创建com.appst.demo.DemoApplication类:
import org.springframework.boot.SpringApplication;
import org.springframework.boot.autoconfigure.SpringBootApplication;

@SpringBootApplication
public class DemoApplication {

    public static void main(String[] args) {
        SpringApplication.run(DemoApplication.class, args);
    }

}
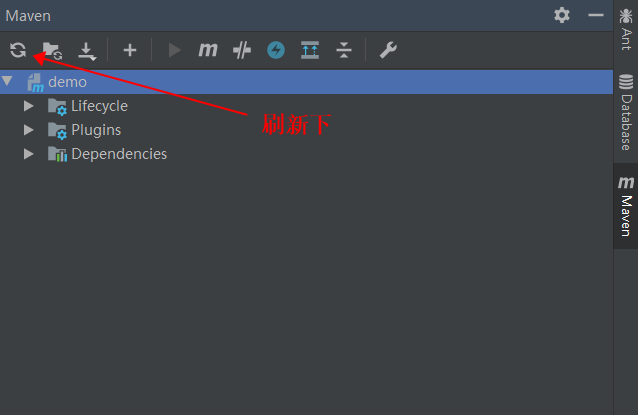
完成后“刷新下”
三、SpringBoot项目结构说明
使用 Spring Initializr 构建的SpringBoot工程的各目录,如下图所示:

重要提示:SpringBoot 官方推荐我们使用轻量级的Jar File 格式来打包和部署工程,如果想部署War File的传统Web项目,则必须添加webapp目录,和进行相关初始化才能正常使用。
启动类的位置
提问:为什么启动类“约定”放在RootPackage呢?
① 如果将启动类放在顶层,配合注解@SpringBootApplication 实现默认向后扫描,例如:
@SpringBootApplication
public class DemoApplication {

    public static void main(String[] args) {
        SpringApplication.run(DemoApplication.class, args);
    }

}
② 这是为什么呢?@SpringBootApplication作为启动类的便携式入口注解,其主要由三大部件组成,其中@ComponentScan 这个注解就是本案的关键,根据SpringBoot的内置实现,Spring从这个注解所在的位置默认向后扫描,包括常见的Controller、Service、Entity都可以扫描到。
@SpringBootConfiguration
@EnableAutoConfiguration
@ComponentScan
public @interface SpringBootApplication {
}
③ 将启动类放置在RootPackage,可以隐式完成组件扫描,不需要单独定义@ComponentScan(basePackages="com.xx.xx"),践行了SpringBoot 约定优于配置的核心理念。
静态资源的存放位置
springboot访问静态资源,有两个默认目录:
- 一个是 classpath/static 目录 (src/main/resources)
- 一个是 ServletContext 根目录下( src/main/webapp,一般是web应用 )
webapp我们是比较熟悉的,这里就不再详述。主要将resources目录。
1、对哪些目录进行映射
classpath:/META-INF/resources/
classpath:/resources/
classpath:/static/  一般用于存放静态资源(css,js,image等)
classpath:/public/  一般用于存放页面
/:当前项目的根路径
即在这五个目录下放静态资源(比如:a.js等),可以直接访问(http://localhost:8080/a.js),类似于以前web项目的webapp下;放到其他目录下无法被访问。
2、为什么是那几个目录?
WebMvcAutoConfiguration类自动为我们注册。
3、 同个文件的加载顺序,默认按如下顺序查找
classpath:/META-INF/resources/,classpath:/resources/,classpath:/static/,classpath:/public/
4、resources可能的其他目录
/src/main/resources/templates/ 用于存放页面,一般是thyleleaf、FreeMaker、Velocity、JSP等 (注意,这个需要引入thymeleaf相关依赖)
5、src/main/webapp/
有的人习惯性新建一个跟java,resources同级的目录专门用于开发前端。不过需要注意的是,一般如果你是用jsp进行前端开发的话,是需要在SpringBoot中创建一个标准的webapp文件夹的。貌似jsp放在/templates下是无法正常识别。
6、SpringBoot默认能识别的日志文件命名格式
SpringBoot建议我们使用 -spring的文件名,因为这样的配置文件,SpringBoot能够为其支持新特性。
例如在日志文件中,可以用<SpringProfile>来支持根据不同环境使用不同的日志。
Logback:logback-spring.xml, logback-spring.groovy, logback.xml, logback.groovy
Log4j:log4j-spring.properties, log4j-spring.xml, log4j.properties, log4j.xml
Log4j2:log4j2-spring.xml, log4j2.xml
JDK (Java Util Logging):logging.properties
默认的全局application.properties
该文件是SpringBoot的配置文件,如果我们想要修改文件的搜索顺序,我们可以修改spring.resources.static-locations的默认值。