在介绍什么是 SpringMVC 之前,我们先看看 Spring 的基本架构。如下图:
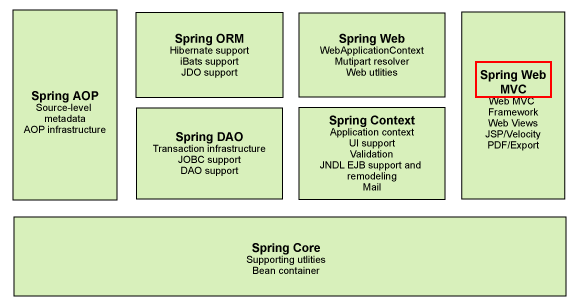
我们可以看到,在 Spring 的基本架构中,红色圈起来的 Spring Web MVC ,也就是本系列的主角 SpringMVC,它是属于Spring基本架构里面的一个组成部分,属于SpringFrameWork的后续产品,已经融合在Spring Web Flow里面,所以我们在后期和 Spring 进行整合的时候,几乎不需要别的什么配置。
SpringMVC 是类似于 Struts2 的一个 MVC 框架,在实际开发中,接收浏览器的请求响应,对数据进行处理,然后返回页面进行显示,但是上手难度却比 Struts2 简单多了。而且由于 Struts2 所暴露出来的安全问题,SpringMVC 已经成为了大多数企业优先选择的框架。
那么多的不说,我们直接通过一个实例来看看 SpringMVC 的魔力。
2、创建 web 工程,并导入相应的 jar 包。
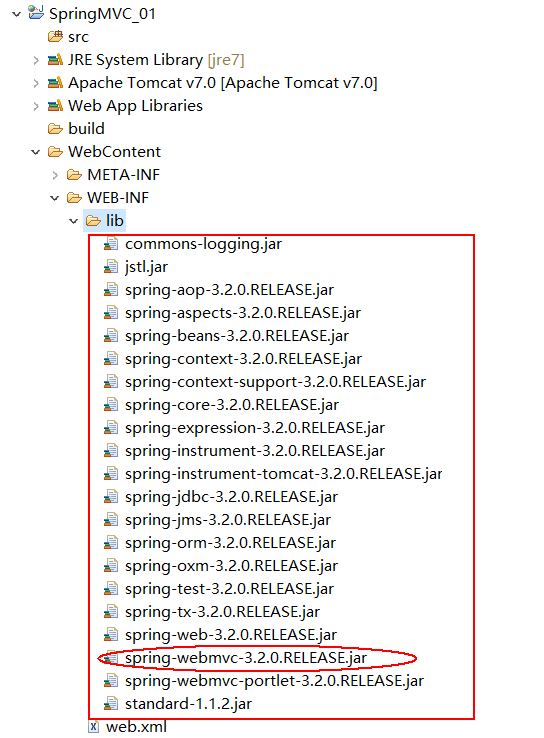
这里我们加入了 Spring 3.2 的所有 jar 包,正好也佐证了上面所说的 SpringMVC 是 Spring 架构的一部分,注意:一定要包括红色椭圆圈起来的 spring-webmvc-3.2.0.RELEASE.jar
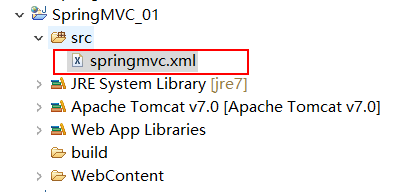
3、新建 SpringMVC 全局配置文件
在 src 目录下新建 springmvc.xml 文件,并添加如下代码:
|
1
2
3
4
5
6
7
8
9
10
11
12
13
14
15
16
17
18
19
20
|
<?xml version="1.0" encoding="UTF-8"?><beans xmlns="http://www.springframework.org/schema/beans" xmlns:xsi="http://www.w3.org/2001/XMLSchema-instance" xmlns:mvc="http://www.springframework.org/schema/mvc" xmlns:context="http://www.springframework.org/schema/context" xmlns:aop="http://www.springframework.org/schema/aop" xmlns:tx="http://www.springframework.org/schema/tx" xsi:schemaLocation="http://www.springframework.org/schema/beans http://www.springframework.org/schema/beans/spring-beans-4.2.xsd http://www.springframework.org/schema/mvc http://www.springframework.org/schema/mvc/spring-mvc-4.2.xsd http://www.springframework.org/schema/context http://www.springframework.org/schema/context/spring-context.xsd http://www.springframework.org/schema/aop http://www.springframework.org/schema/aop/spring-aop-4.2.xsd http://www.springframework.org/schema/tx http://www.springframework.org/schema/tx/spring-tx.xsd"></beans> |
4、在 web.xml 文件中配置前端过滤器
|
1
2
3
4
5
6
7
8
9
10
11
12
13
14
15
16
17
18
19
20
21
22
|
<?xml version="1.0" encoding="UTF-8"?><web-app xmlns:xsi="http://www.w3.org/2001/XMLSchema-instance" xmlns="http://java.sun.com/xml/ns/javaee" xsi:schemaLocation="http://java.sun.com/xml/ns/javaee http://java.sun.com/xml/ns/javaee/web-app_3_0.xsd" id="WebApp_ID" version="3.0"> <display-name>SpringMVC_01</display-name> <!-- 配置前端控制器DispatcherServlet --> <servlet> <servlet-name>springmvc</servlet-name> <servlet-class>org.springframework.web.servlet.DispatcherServlet</servlet-class> <init-param> <param-name>contextConfigLocation</param-name> <!-- 对应上一步创建全局配置文件的文件名以及目录 --> <param-value>classpath:springmvc.xml</param-value> </init-param> </servlet> <servlet-mapping> <servlet-name>springmvc</servlet-name> <url-pattern>*.do</url-pattern> </servlet-mapping></web-app> |
5、编写处理器 Handler
|
1
2
3
4
5
6
7
8
9
10
11
12
13
14
15
16
17
18
19
20
21
|
package com.ys.controller;import javax.servlet.http.HttpServletRequest;import javax.servlet.http.HttpServletResponse;import org.springframework.web.servlet.ModelAndView;import org.springframework.web.servlet.mvc.Controller;public class HelloController implements Controller{ @Override public ModelAndView handleRequest(HttpServletRequest request, HttpServletResponse response) throws Exception { ModelAndView modelView = new ModelAndView(); //类似于 request.setAttribute() modelView.addObject("name","张三"); modelView.setViewName("/WEB-INF/view/index.jsp"); return modelView; }} |
6、在 springmvc.xml 文件中配置 Handler,处理器映射器,处理器适配器,以及试图解析器
在 springmvc.xml 文件中添加如下代码:
|
1
2
3
4
5
6
7
8
9
10
11
|
<!-- 配置Handler --> <bean name="/hello.do" class="com.ys.controller.HelloController" /> <!-- 配置处理器映射器 将bean的name作为url进行查找,需要在配置Handler时指定bean name(就是url)--><bean class="org.springframework.web.servlet.handler.BeanNameUrlHandlerMapping" /> <!-- 配置处理器适配器,所有适配器都得实现 HandlerAdapter接口 --> <bean class="org.springframework.web.servlet.mvc.SimpleControllerHandlerAdapter" /> <!-- 配置视图解析器 进行jsp解析,默认使用jstl标签,classpath下得有jstl的包--><bean class="org.springframework.web.servlet.view.InternalResourceViewResolver" /> |
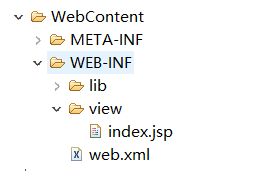
7、在 /WEB-INF/view 目录下创建 index.jsp 文件
|
1
2
3
4
5
6
7
8
9
10
11
12
|
<%@ page language="java" contentType="text/html; charset=UTF-8" pageEncoding="UTF-8"%><!DOCTYPE html PUBLIC "-//W3C//DTD HTML 4.01 Transitional//EN" "http://www.w3.org/TR/html4/loose.dtd"><html><head><meta http-equiv="Content-Type" content="text/html; charset=UTF-8"><title>Insert title here</title></head><body>hello:${name}</body></html> |
8、在浏览器输入 http://localhost:8080/SpringMVC_01/hello.do
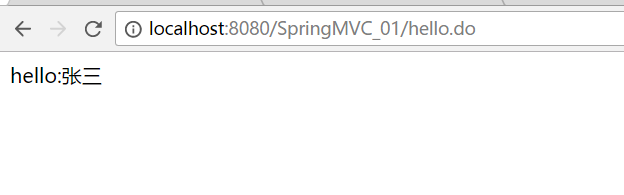
跟着上面的步骤,相信你已经搭建了一个 SpringMVC 的简单实例,那么为什么要这么写呢?请看下一篇博客分解!!