一、文件准备
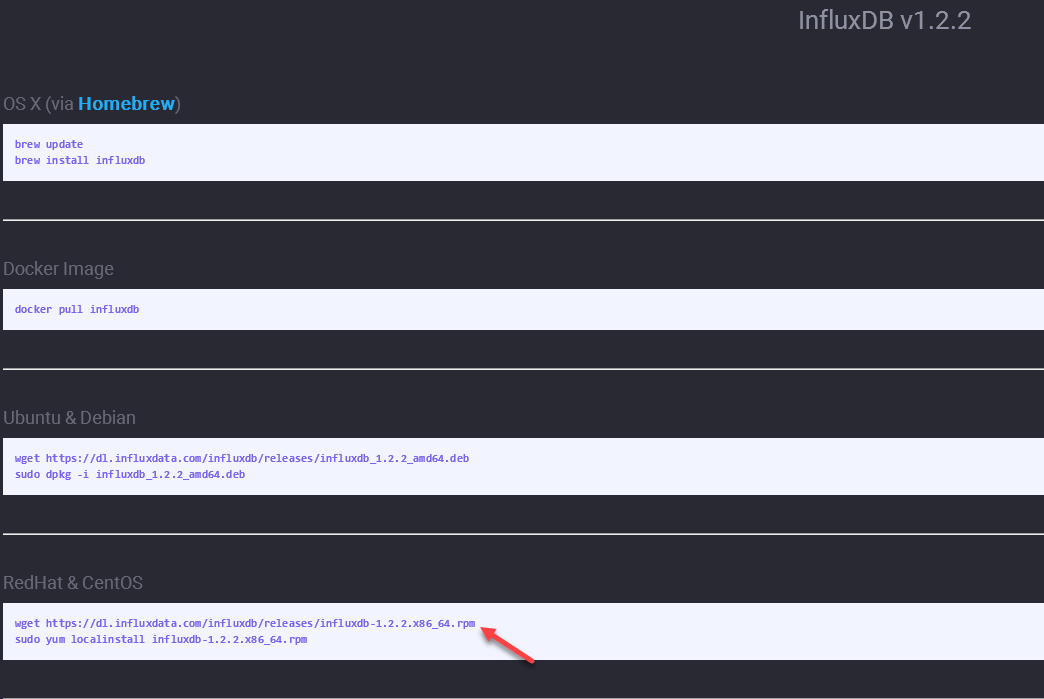
1.1 文件名称
influxdb-1.2.2.x86_64.rpm
1.2 下载地址
https://portal.influxdata.com/downloads
【注意、注意、注意】下载时可能需要FanQiang

二、工具准备
2.1 Xshell
一个强大的安全终端模拟软件,它支持SSH1, SSH2, 以及Microsoft Windows 平台的TELNET 协议。
Xshell 通过互联网到远程主机的安全连接以及它创新性的设计和特色帮助用户在复杂的网络环境中享受他们的工作。
三、部署图
由于InfluxDb集群版是收费的,而单机版是开源的,所以我们目前只部署单机版

四、InfluxDb安装
以下操作,均使用root用户
4.1 通过Xshell连接到虚拟机,执行如下命令:
wget https://dl.influxdata.com/influxdb/releases/influxdb-1.2.2.x86_64.rpm
sudo yum localinstall influxdb-1.2.2.x86_64.rpm
五、InfluxDb配置文件
InfluxDb配置文件,存放在/etc/influxdb/influxdb.conf
详细配置参考:https://docs.influxdata.com/influxdb/v1.2/administration/config/
主要修改点如下所示:
5.1 端口设置
InfluxDb默认使用如下网络端口:
TCP port 8086 is used for client-server communication over InfluxDB’s HTTP API
TCP port 8088 is used for the RPC service for backup and restore
【注意、注意、注意】 如果你也安装了Hadoop并且启动了,yarn的Web端口也是8088,会导致influxdb启动不起来!!!
在influxdb.conf中的全局部分,增加如下红字所示部分:
# Once every 24 hours InfluxDB will report usage data to usage.influxdata.com
# The data includes a random ID, os, arch, version, the number of series and other
# usage data. No data from user databases is ever transmitted.
# Change this option to true to disable reporting.
 reporting-disabled =true
 bind-address = ":8087"
【注意、注意、注意】如上所示,influxdb每隔24小时,会收集你机器上的一些信息,然后上报到usage.influxdata.com,果断关闭!
8083是Influxdb的Web界面管理端口,这个在1.1+版本是默认关闭的,需要手动打开:
[admin]
  # Determines whether the admin service is enabled.
   enabled = true

  # The default bind address used by the admin service.
   bind-address = ":8083"
六、InfluxDb操作
6.1 启动InfluxDb
执行命令:systemctl start influxdb
或者:influxd
6.2 查看InfluxDb状态
执行命令:systemctl status influxdb
6.2 停止InfluxDb
执行命令:systemctl stop influxdb
七、浏览器访问InfluxDb
浏览器中输入:http://10.10.0.1:8083
