1、添加Maven依赖
<dependencies>
        <dependency>
            <groupId>mysql</groupId>
            <artifactId>mysql-connector-java</artifactId>
            <version>5.1.38</version>
        </dependency>

        <dependency>
            <groupId>org.projectlombok</groupId>
            <artifactId>lombok</artifactId>
            <version>1.18.8</version>
            <optional>true</optional>
        </dependency>

        <dependency>
            <groupId>com.alibaba</groupId>
            <artifactId>druid-spring-boot-starter</artifactId>
            <version>1.1.21</version>
        </dependency>

        <dependency>
            <groupId>com.baomidou</groupId>
            <artifactId>mybatis-plus-boot-starter</artifactId>
            <version>3.1.0</version>
        </dependency>

        <dependency>
            <groupId>org.springframework.boot</groupId>
            <artifactId>spring-boot-starter-web</artifactId>
            <version>2.1.5.RELEASE</version>
        </dependency>

        <dependency>
            <groupId>org.springframework.boot</groupId>
            <artifactId>spring-boot-autoconfigure</artifactId>
            <optional>true</optional>
            <version>2.1.5.RELEASE</version>
        </dependency>
    </dependencies>
2、SpringBoot配置文件配置
application.yml文件内容
# Spring Datasource Settings
spring:
  datasource:
    name: druidDataSource
    type: com.alibaba.druid.pool.DruidDataSource
    druid:
      driver-class-name: com.mysql.jdbc.Driver
      url: jdbc:mysql://192.168.202.17:3306/auth_service?useUnicode=true&characterEncoding=UTF-8&autoReconnect=true&failOverReadOnly=false
      username: root
      password: 123456
      filters: stat,wall,log4j,config
      max-active: 100
      initial-size: 1
      max-wait: 60000
      min-idle: 1
      time-between-eviction-runs-millis: 60000
      min-evictable-idle-time-millis: 300000
      validation-query: select 'x'
      test-while-idle: true
      test-on-borrow: false
      test-on-return: false
      pool-prepared-statements: true
      max-open-prepared-statements: 50
      max-pool-prepared-statement-per-connection-size: 20
3、通过自定义配置类对Druid进行自定义属性配置
package com.harara.druid.config;

import lombok.Data;
import org.springframework.boot.context.properties.ConfigurationProperties;
import org.springframework.stereotype.Component;

/**
 * @author : harara
 * @version : 1.0
 * @date : 2020/6/17 14:02
 */
@Data
@Component
@ConfigurationProperties(prefix = "spring.datasource.druid")
public class DruidDataSourceProperties {

    private String driverClassName;
    private String url;
    private String username;
    private String password;
    //配置监控统计拦截的filters,去掉后监控界面sql无法进行统计
    private String filters;
    //初始化大小
    private int initialSize;
    //最小连接数
    private int minIdle;
    //最大连接数
    private int maxActive;
    //获取连接等待超时时间
    private long maxWait;
    private long timeBetweenEvictionRunsMillis;
    private long minEvictableIdleTimeMillis;
    private String validationQuery;
    private boolean testWhileIdle;
    private boolean testOnBorrow;
    private boolean testOnReturn;
    private boolean  poolPreparedStatements;
    private int MaxOpenPreparedStatements;
    private int maxPoolPreparedStatementPerConnectionSize;

}
4、构建DataSource对象
package com.harara.druid.config;

import com.alibaba.druid.pool.DruidDataSource;
import org.springframework.beans.factory.annotation.Autowired;
import org.springframework.context.annotation.Bean;
import org.springframework.context.annotation.Configuration;

import javax.sql.DataSource;
import java.sql.SQLException;

/**
 * @author : harara
 * @version : 2.0
 * @date : 2020/6/16 16:59
 */
@Configuration
public class DruidConfig {

    @Autowired
    private DruidDataSourceProperties properties;

    @Bean
    public DataSource druid(){
        DruidDataSource druidDataSource = new DruidDataSource();
        druidDataSource.setDriverClassName(properties.getDriverClassName());
        druidDataSource.setUrl(properties.getUrl());
        druidDataSource.setUsername(properties.getUsername());
        druidDataSource.setPassword(properties.getPassword());

        druidDataSource.setInitialSize(properties.getInitialSize());
        druidDataSource.setMinIdle(properties.getMinIdle());
        druidDataSource.setMaxActive(properties.getMaxActive());
        druidDataSource.setMaxWait(properties.getMaxWait());

        druidDataSource.setTimeBetweenEvictionRunsMillis(properties.getTimeBetweenEvictionRunsMillis());
        druidDataSource.setMinEvictableIdleTimeMillis(properties.getMinEvictableIdleTimeMillis());
        druidDataSource.setValidationQuery(properties.getValidationQuery());
        druidDataSource.setTestWhileIdle(properties.isTestWhileIdle());
        druidDataSource.setTestOnBorrow(properties.isTestOnBorrow());
        druidDataSource.setTestOnReturn(properties.isTestWhileIdle());
        druidDataSource.setPoolPreparedStatements(properties.isPoolPreparedStatements());
        druidDataSource.setMaxOpenPreparedStatements(properties.getMaxOpenPreparedStatements());
        druidDataSource.setMaxPoolPreparedStatementPerConnectionSize(properties.getMaxPoolPreparedStatementPerConnectionSize());

        try {
            druidDataSource.setFilters(properties.getFilters());
            druidDataSource.init();
        } catch (SQLException e) {
            e.printStackTrace();
        }

        return druidDataSource;
    }

}
5、配置监控拦截器
package com.harara.druid.filter;

import com.alibaba.druid.support.http.WebStatFilter;

import javax.servlet.annotation.WebFilter;
import javax.servlet.annotation.WebInitParam;

/**
 * @author : harara
 * @version : 2.0
 * @date : 2020/6/17 14:46
 */
@WebFilter(filterName = "druidWebStatFilter",
        urlPatterns = "/*", //拦截哪些请求
        initParams={
            @WebInitParam(name = "exclusions",value = "*.js,*.gif,*.jpg,*.bmp,*.png,*.css,*.ico,/druid/*") //排查拦截哪些请求
        }
)
public class DruidStatFilter extends WebStatFilter{

}
6、配置Druid监控视图
package com.harara.druid.servlet;

import com.alibaba.druid.support.http.StatViewServlet;

import javax.servlet.annotation.WebInitParam;
import javax.servlet.annotation.WebServlet;

/**
 * @author : harara
 * @version : 1.0
 * @date : 2020/6/17 14:51
 */
@WebServlet(urlPatterns = {"/druid/*"},
        initParams = {
        @WebInitParam(name = "loginUsername",value = "admin"), //允许登录的用户名
        @WebInitParam(name = "loginPassword",value = "123456"), //允许登录的密码
        @WebInitParam(name = "allow",value = ""), //允许哪些ip访问,没有配置或者为空,则允许所有访问
        @WebInitParam(name = "deny",value = "192.169.1.111"),//不允许哪些ip访问(存在共同时,deny优于allow)
        @WebInitParam(name = "resetEnable",value = "true") //禁止监控管理页面的"Reset All"按钮功能
}
)
public class DruidStatViewServlet extends StatViewServlet {

}
7、启动类需要加上@ServletComponentScan注解,否则访问监控页面会报404
package com.harara.druid;

import org.springframework.boot.SpringApplication;
import org.springframework.boot.autoconfigure.SpringBootApplication;
import org.springframework.boot.web.servlet.ServletComponentScan;
import org.springframework.context.annotation.ComponentScan;

/**
 * @author : harara
 * @version : 2.0
 * @date : 2020/6/16 17:51
 */
@SpringBootApplication
@ComponentScan(basePackages = {"com.harara.druid"})
// druid监控页面是一个servlet,需要让SpingBoot支持servlet
@ServletComponentScan
public class DruidApplication {


    public static void main(String[] args) {
        SpringApplication.run(DruidApplication.class,args);

    }
}
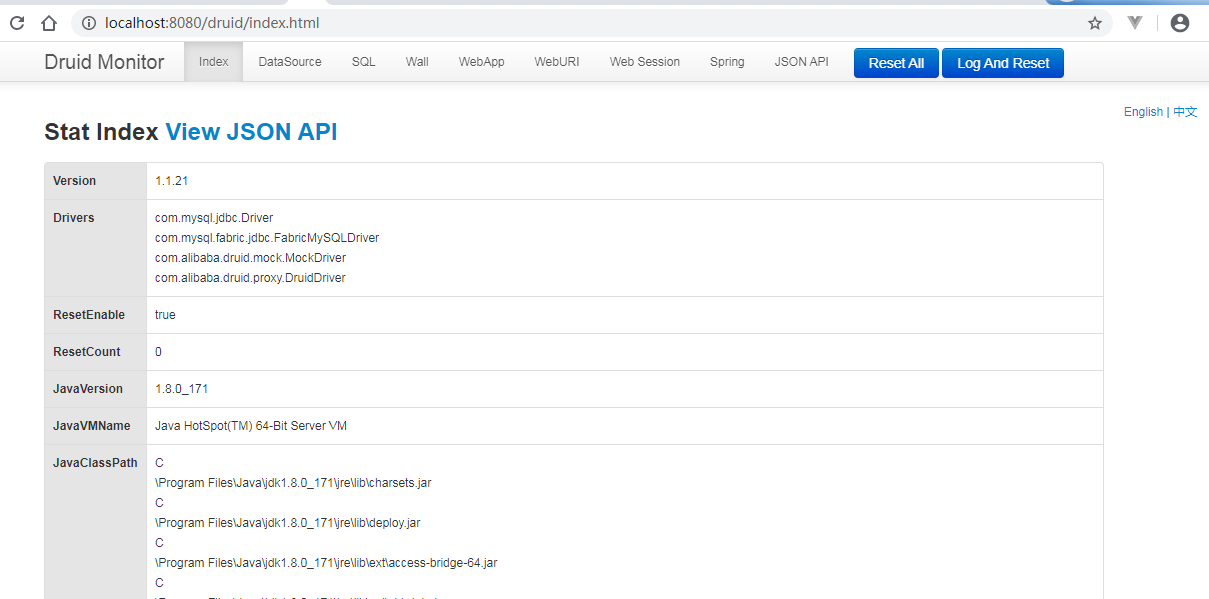
查看druid监控
配置完成后,启动SpringBoot应用程序。在浏览器输入地址http://localhost:8080/druid/index.html访问Druid监控后台页面
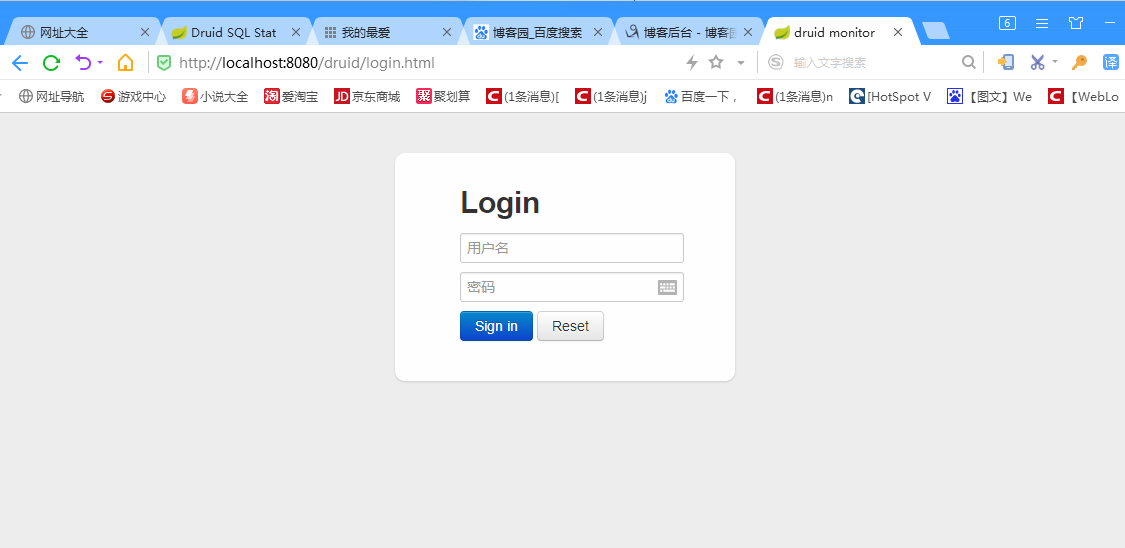
输入用户名和密码就可以查看druid监控信息
参考地址
Spring Boot集成Druid实现数据源管理与监控:https://www.jianshu.com/p/fae8fc159270
druid监控页面404:https://blog.csdn.net/w820896059/article/details/96426011