ubuntu下nginx+php5环境的部署和centos系统下的部署稍有不同,废话不多说,以下为操作记录:
1)nginx安装
root@ubuntutest01-KVM:~# sudo apt-get update && sudo apt-get upgrade
root@ubuntutest01-KVM:~# sudo apt-get install libpcre3 libpcre3-dev zlib1g-dev libssl-dev build-essential openssl libssl0.9.8 libssl-dev
root@ubuntutest01-KVM:~# wget http://nginx.org/download/nginx-1.8.0.tar.gz
root@ubuntutest01-KVM:~# tar -zxvf nginx-1.8.0.tar.gz
root@ubuntutest01-KVM:~# cd nginx-1.8.0
root@ubuntutest01-KVM:~# ./configure --prefix=/usr/local/nginx --user=nginx --group=nginx --with-http_ssl_module --with-http_flv_module --with-http_stub_status_module --with-http_gzip_static_module --with-pcre
root@ubuntutest01-KVM:~# make && make install
2)php5的安装
add-apt-repository 命令是 apt 源的添加,ppa 就是软件对应的源,在官网上可以找到
root@ubuntutest01-KVM:~# sudo add-apt-repository ppa:ondrej/php5-5.6
如果上面命令执行后报错和没有发现命令则执行
root@ubuntutest01-KVM:~# sudo apt-get install Python-software-properties
root@ubuntutest01-KVM:~# sudo apt-get update
root@ubuntutest01-KVM:~# sudo apt-get install php
root@ubuntutest01-KVM:~# php5 -v
安装好php后,在nginx里添加对接php的配置后,访问.php文件会报错502!
这是因为nginx中访问.php文件的请求都交给php-fpm程序处理的,php-fpm监听9000端口
所以还有启动php-fpm程序。
安装php-fpm
root@ubuntutest01-KVM:~# apt-get install php5-fpm php5-gd php5-cli php5-curl php5-mcrypt php5-mysql php5-readline
启动php-fpm
root@ubuntutest01-KVM:~# service php5-fpm start
root@ubuntutest01-KVM:~# ps -ef|grep php5-fpm
root@ubuntutest01-KVM:~# lsof -i:9000
但是发现php5-fpm启动后,9000端口却没有起来!这是为什么?
这是因为php-fpm有两种监听方式:一种是.sock文件方式,另一种是9000端口方式
修改办法:
root@ubuntutest01-KVM:~# vim /etc/php5/fpm/pool.d/www.conf
.....
;listen = /var/run/php5-fpm.sock //注释这行,这是默认的监听方式
listen = 9000 //改为监听9000端口方式
重启php-fpm
root@ubuntutest01-KVM:~# service php5-fpm restart
root@ubuntutest01-KVM:~# lsof -i:9000 //发现9000端口已经起来了
3)nginx+php配置
root@ubuntutest01-KVM:~# vim /usr/local/nginx/conf/nginx.conf //将nginx启动用户改成www-data,确保这个用户存在,不存在就手动创建,保证nginx和php启动用户一致
user  www-data;
worker_processes  8;

#error_log  logs/error.log;
#error_log  logs/error.log  notice;
#error_log  logs/error.log  info;

pid        logs/nginx.pid;

events {
    worker_connections  65535;
}

http {
    include       mime.types;
    default_type  application/octet-stream;
    charset utf-8;

    log_format  main  '$http_x_forwarded_for $remote_addr $remote_user [$time_local] "$request" '
                      '$status $body_bytes_sent "$http_referer" '
                      '"$http_user_agent" "$http_cookie" $host $request_time';
    sendfile       on;
    tcp_nopush     on;
    tcp_nodelay    on;
    keepalive_timeout  65;

    fastcgi_connect_timeout 3000;
    fastcgi_send_timeout 3000;
    fastcgi_read_timeout 3000;
    fastcgi_buffer_size 256k;
    fastcgi_buffers 8 256k;
    fastcgi_busy_buffers_size 256k;
    fastcgi_temp_file_write_size 256k;
    fastcgi_intercept_errors on;

    client_header_timeout 600s;
    client_body_timeout 600s;

    client_max_body_size 100m;
    client_body_buffer_size 256k;

    gzip  on;
    gzip_min_length  1k;
    gzip_buffers     4 16k;
    gzip_http_version 1.1;
    gzip_comp_level 9;
    gzip_types       text/plain application/x-javascript text/css application/xml text/javascript application/x-httpd-php;
    gzip_vary on;

    include vhosts/*.conf;
}
root@ubuntutest01-KVM:~# vim /usr/local/nginx/conf/vhosts/vote.com.conf
server {
    listen 8080;
    server_name www.wangshibo.com;

    access_log  /usr/local/nginx/logs/access.log main;
    error_log  /usr/local/nginx/logs/error.log;

    location / {
        root /home/www/vote;
        try_files $uri $uri/ @router;
        index index.html index.php index.htm;
        }

    location /nginx_status {
        stub_status on;
        access_log off;
        }

    error_page   500 502 503 504  /50x.html;
    location = /50x.html {
        root   html;
        }

    location @router {
       rewrite ^.*$ /index.php last;
    }

    location ~ .php$ {
        root          /home/www/vote;
        fastcgi_pass   127.0.0.1:9000;
        fastcgi_index  index.php;
        fastcgi_param  SCRIPT_FILENAME  $document_root$fastcgi_script_name;         //这一行和下面一行要加上,不然访问php文件可能出现空白!
        fastcgi_param  PATH_INFO  $fastcgi_script_name;
        include        fastcgi_params;
    }

    location ~ ^/(status|ping)$ {
        include fastcgi_params;
        fastcgi_pass 127.0.0.1:9000;
        fastcgi_param SCRIPT_FILENAME $fastcgi_script_name;
        }
}
测试文件(html文件和php文件)
root@ubuntutest01-KVM:~# vim /home/www/vote/test.html
sdfsadf
12313123
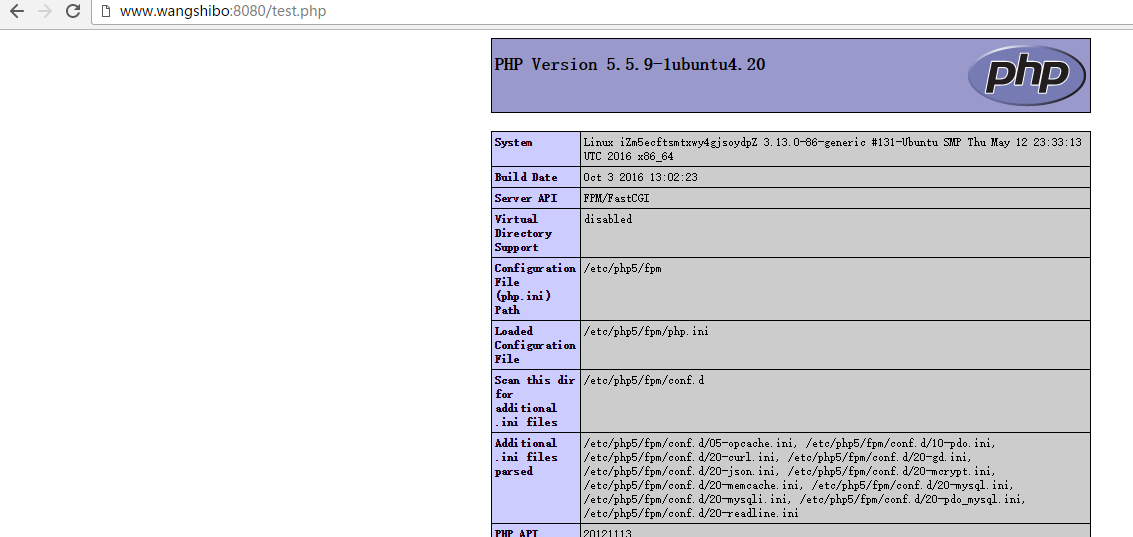
root@ubuntutest01-KVM:~# vim /home/www/vote/test.php
<?php              //这一行不能空格,否则访问会有问题
phpinfo();
?>
修改php-fpm文件(确保/etc/php5/fpm/php-fpm.conf文件中打开了include=/etc/php5/fpm/pool.d/*.conf)
root@ubuntutest01-KVM:~# vim /etc/php5/fpm/pool.d/www.conf
....
user = www-data
group = www-data
....
listen.owner = www-data
listen.group = www-data
listen.mode = 0660
重启nginx和php-rpm
root@ubuntutest01-KVM:~# /usr/local/nginx/sbin/nginx -s reload
root@ubuntutest01-KVM:~# /etc/init.d/php5-fpm restart
最后,验证访问是否正常: