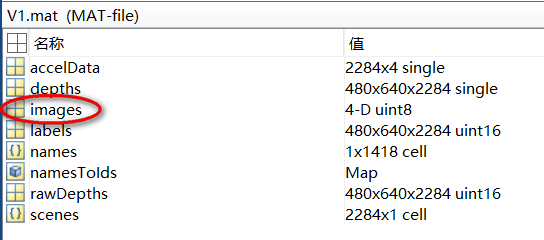
需求:现有数据文件V1.mat,里面包含多个数据集,现需将里面的images数据集提取出来,然后进行压缩裁剪成指定大小
V1.mat数据集目录:

1、从mat文件中提取数据(使用Python)
V1.mat文件太大,在此不提供
 1 import numpy as np
 2 import h5py
 3
 4 mat = h5py.File('./V1.mat')
 5
 6 print(mat['images'].shape)#查看mat文件中images的格式
 7 #(2284, 3, 640, 480)
 8
 9 images = np.transpose(mat['images'])
10 #转置,images是numpy.ndarray格式的
11
12 print(images)#控制台输出数据
13 print(images.shape)#输出数据格式
14 #(480, 640, 3, 2284)
15
16 np.save('./images', images)#保存数据,会生成一个images.npy文件
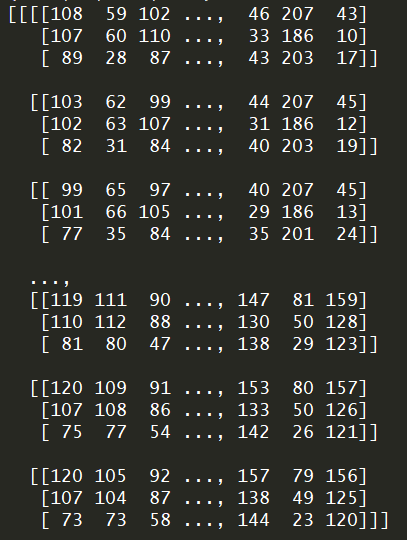
print(images)输出的数据:

2、将数据恢复成图片并保存
 1 import numpy as np
 2 import  torchvision.transforms as transforms
 3
 4 dataset = np.load('./images.npy')
 5
 6 for i in range(dataset.shape[3]):
 7     img_tensor = dataset[:, :, :, i]#2284
 8     # print(img_tensor.shape)#(480, 640, 3)
 9
10     img = transforms.ToPILImage()(img_tensor)#转成图片
11     # print(img.size)#(640, 480)
12
13     #img.show()
14     img.save('./Test/%d.jpg' % i)
转成的图片:

3、压缩并裁剪图片
这个程序包含了第二部分,等比例压缩后再裁剪,可以保持原图片比例,但会丢失一些边界信息。直接压缩可以保存原图片信息,但会变形。。。
 1 import numpy as np
 2 import torchvision.transforms as transforms
 3 import matplotlib.pyplot as plt
 4 from PIL import Image
 5
 6 dataset = np.load('./V1/images.npy')#图片文件目录
 7
 8
 9 '''
10 等比例压缩
11 '''
12 def scale_high(img, target_high):
13     ow, oh = img.size
14     if (ow == target_high):
15         return img
16     h = target_high
17     w = int(target_high * ow / oh)
18     return img.resize((w, h), Image.BICUBIC)
19
20 '''
21 遍历图片
22 等比例压缩后裁剪
23 '''
24 def ScaleAndCrop():
25     for i in range(1):  #dataset.shape[3]   #
26         img_tensor = dataset[:, :, :, i]    #(480, 640, 3, 2284)
27         #print(img_tensor.shape)            #(480, 640, 3)
28         img = transforms.ToPILImage()(img_tensor)#数据转成图片
29         # print(img.size)       #(640, 480)
30         # img.show()
31         scale_img = scale_high(img,256)      #等比例压缩图片
32         # print(scale_img.size)       #(341, 256)
33         # scale_img.show()
34         crop = transforms.RandomCrop((256, 256))    #裁剪图片
35         crop_img = crop(scale_img)  #
36         # crop_img.show()
37         crop_img.save('./Picture/%d.jpg' % i)   #保存图片
38
39 '''
40 遍历图片,直接缩放
41 '''
42 def CropDirc():
43     for i in range(1):  #dataset.shape[3]   #
44         img_tensor = dataset[:, :, :, i]    #(480, 640, 3, 2284)
45         #print(img_tensor.shape)            #(480, 640, 3)
46         img = transforms.ToPILImage()(img_tensor)#数据转成图片
47         # print(img.size)       #(640, 480)
48         # img.show()
49         crop = transforms.Scale([256, 256])
50         crop_img = crop(img)
51
52         # print(crop_img.size)  # (256, 256)
53         # crop_img.show()
54         crop_img.save('./Picture/%d.jpg' % i)