上一章节,讲解了SpringCloud如何通过RestTemplate+Ribbon去负载均衡消费服务,本章主要讲述如何通过Feign去消费服务。
一、Feign 简介:
Feign是一个便利的rest框架,在Ribbon的基础上进行了一次改进,采用接口的方式,将需要调用的其他服务的方法定义成抽象方法,不需要自己构建http请求,简化了调用。但是最后的原理还是通过ribbon在注册服务器中找到服务实例,然后对请求进行分配。
在工作中,我们基本上都是使用Feign来进行服务调用,因为Feign使用起来就像是调用自身本地的方法一样,而感觉不到是调用远程方法,相当舒服,它主要有3个优点。
- 1. feign本身里面就包含有了ribbon,具有负载均衡的能力
- 2. fegin是一个采用基于接口的注解的编程方式,更加简便
- 3. fegin整合了Hystrix,具有熔断的能力
二、 准备工作:
1. 启动eureka-server 工程,eureka注册中心就启动了。
2. 启动springcloud-eureka-client工程,springcloud-eureka-client工程的端口为9300。
3. 将springcloud-eureka-client工程的application.properties文件中端口改成9400,然后再启动springcloud-eureka-client。
通过上面步骤,我们就启动了端口9300,9400两个一样的springcloud-eureka-client服务模块(为了测试feign的负载均衡能力)。
三、新建一个feign服务:
1. 新建一个spring-boot工程,取名为springcloud-feign-client,修改pox文件如下:
<parent>标签就是引入我们第一章节新建的父工程的pom.xml文件,具体可参考:一起来学Spring Cloud | 第一章 :如何搭建一个多模块的springcloud项目
<?xml version="1.0" encoding="UTF-8"?>
<project xmlns="http://maven.apache.org/POM/4.0.0" xmlns:xsi="http://www.w3.org/2001/XMLSchema-instance"
	xsi:schemaLocation="http://maven.apache.org/POM/4.0.0 http://maven.apache.org/xsd/maven-4.0.0.xsd">
	<modelVersion>4.0.0</modelVersion>

	<parent>
		<groupId>com.haly</groupId>
		<artifactId>springcloud</artifactId>
		<version>0.0.1-SNAPSHOT</version>
	</parent>

	<groupId>com.haly</groupId>
	<artifactId>springcloud-feign-client</artifactId>
	<version>0.0.1-SNAPSHOT</version>
	<name>springcloud-ribbon-client</name>
	<description>新建一个springcloud项目</description>

	<dependencies>
		<dependency>
            <groupId>org.springframework.cloud</groupId>
            <artifactId>spring-cloud-starter-netflix-eureka-client</artifactId>
        </dependency>
        <dependency>
            <groupId>org.springframework.boot</groupId>
            <artifactId>spring-boot-starter-web</artifactId>
        </dependency>
           <dependency>
            <groupId>org.springframework.cloud</groupId>
            <artifactId>spring-cloud-starter-openfeign</artifactId>
        </dependency>
	</dependencies>

	<build>
		<plugins>
			<plugin>
				<groupId>org.springframework.boot</groupId>
				<artifactId>spring-boot-maven-plugin</artifactId>
			</plugin>
		</plugins>
	</build>


</project>
2. 修改application.properties文件如下
server.port=9600
spring.application.name=springcloud-feign-client
eureka.client.serviceUrl.defaultZone=http://localhost:8761/eureka/
3. 模块启动类需要增加注解@EnableFeignClients,表示开启Feign的功能
package com.haly;

import org.springframework.boot.SpringApplication;
import org.springframework.boot.autoconfigure.SpringBootApplication;
import org.springframework.cloud.client.discovery.EnableDiscoveryClient;
import org.springframework.cloud.openfeign.EnableFeignClients;

@SpringBootApplication
@EnableFeignClients
@EnableDiscoveryClient
public class SpringcloudFeignClientApplication {

	public static void main(String[] args) {
		SpringApplication.run(SpringcloudFeignClientApplication.class, args);
	}

}
4. 定义一个feign接口,通过@FeignClient(“服务名”),来指定调用哪个服务。本章案例中调用了springcloud-eureka-client服务的“/hello”接口
springcloud-eureka-client模块中的hello接口,具体实现可以参考:一起来学Spring Cloud | 第二章:服务注册和发现组件 (Eureka)
ps:抽象方法的注解、方法名、参数要和服务提供方保持一致(这里是与springcloud-eureka-client模块中的 /hello方法保持一致)
package com.haly.romote;

import org.springframework.cloud.openfeign.FeignClient;
import org.springframework.web.bind.annotation.RequestMapping;
import org.springframework.web.bind.annotation.RequestMethod;
import org.springframework.web.bind.annotation.RequestParam;

@FeignClient(value = "springcloud-eureka-client")
public interface FeignRemoteService {

    @RequestMapping(value = "/hello",method = RequestMethod.GET)
    public String hello(@RequestParam(value = "name") String name);

}
5. controller层,对外暴露一个"/getHello"的API接口,给页面测试,通过上面定义的Feign客户端FeignRemoteService来消费服务。代码如下:
package com.haly.controller;

import org.springframework.beans.factory.annotation.Autowired;
import org.springframework.web.bind.annotation.GetMapping;
import org.springframework.web.bind.annotation.RequestParam;
import org.springframework.web.bind.annotation.RestController;

import com.haly.romote.FeignRemoteService;


@RestController
public class FeignController {

    @Autowired
    FeignRemoteService feignRemoteService;

    @GetMapping(value = "/getHello")
    public String getHello(@RequestParam String name) {
        return feignRemoteService.hello(name);
    }

}
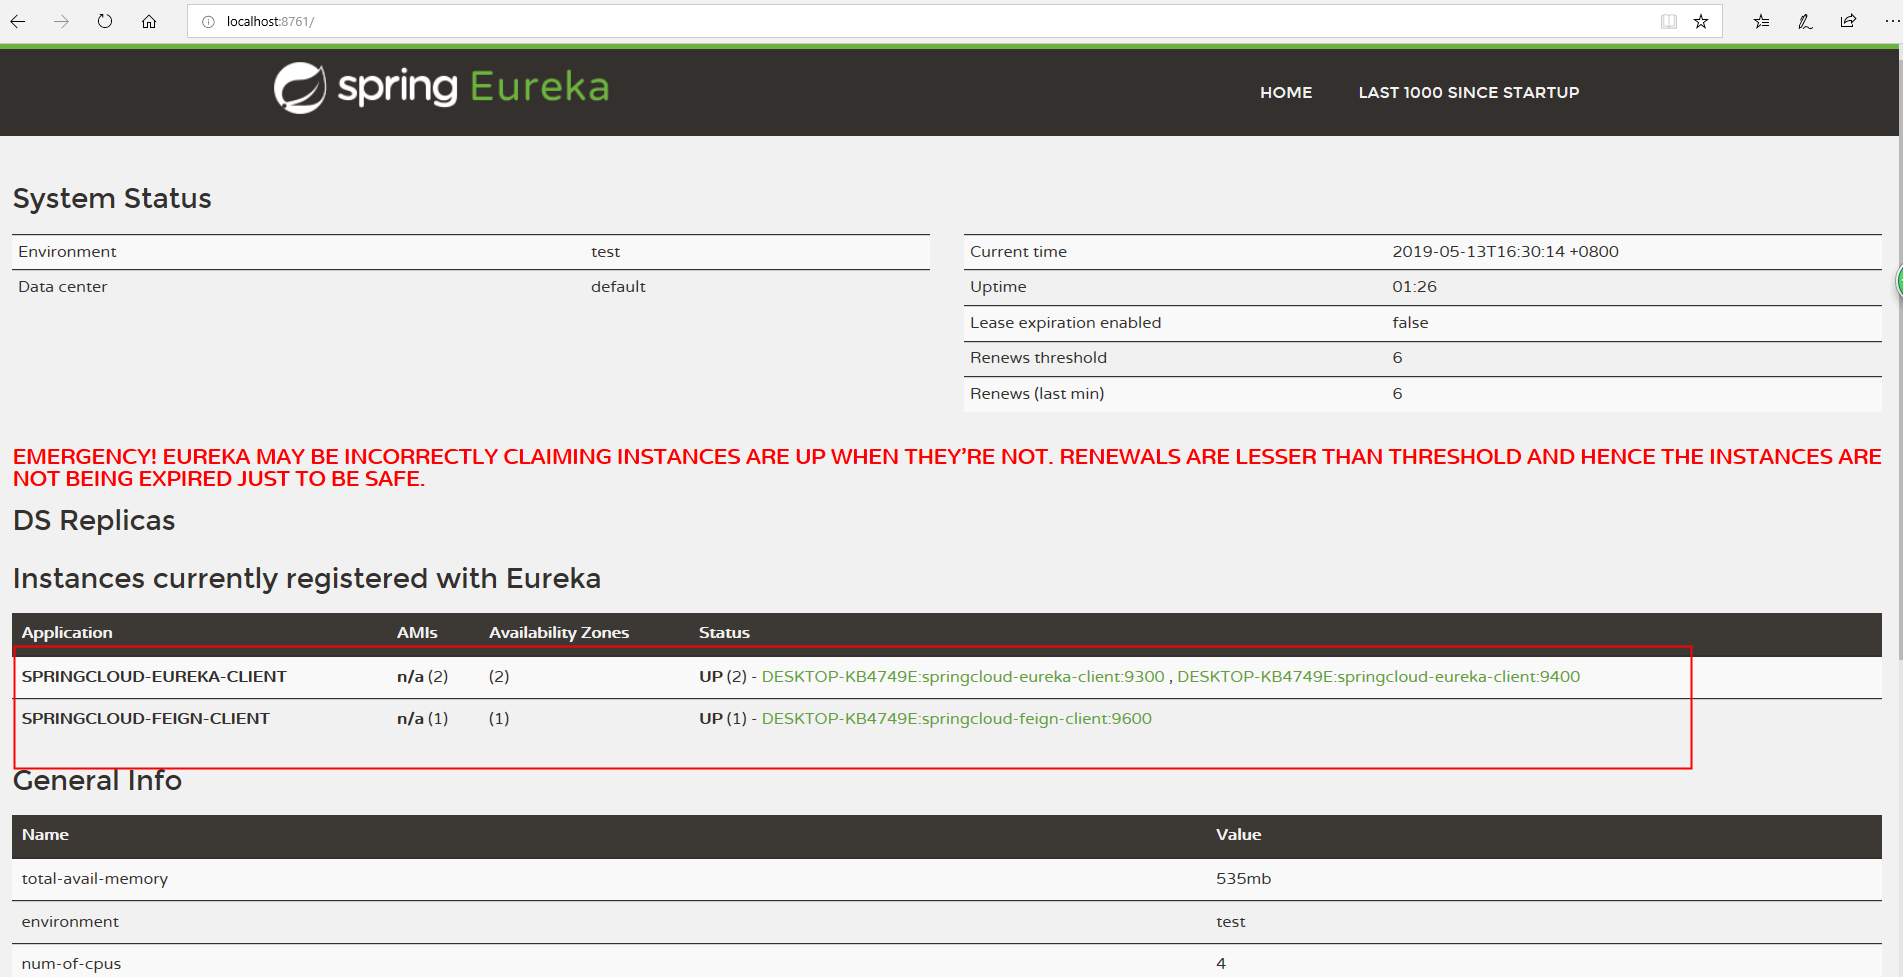
6. 启动各个服务模块,服务注册结果如下
访问地址 http://localhost:9600/getHello?name=young码农 , 多次轮流访问页面,出现9300,9400服务接口返回结果,证明feign是整合了负载均衡功能


四、总结:
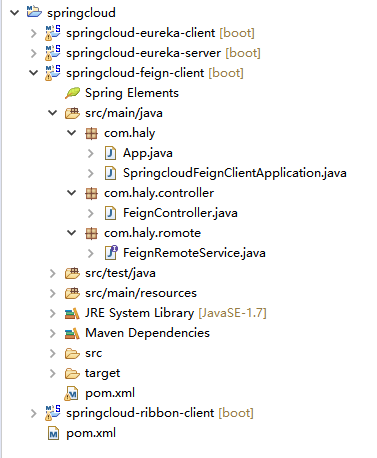
加上本章节代码后,代码目录结构: