此贴自己记录
下载grafana
https://grafana.com/grafana/download?platform=windows
从官网下载influxDB elefraf的方法 :
https://blog.csdn.net/v6543210/article/details/86934941
还有解压方式
wget https://dl.influxdata.com/telegraf/releases/telegraf-1.9.0~rc2_windows_amd64.zip
unzip telegraf-1.9.0~rc2_windows_amd64.zip
wget https://dl.influxdata.com/telegraf/releases/telegraf-1.10.4_linux_amd64.tar.gz
tar xf telegraf-1.10.4_linux_amd64.tar.gz
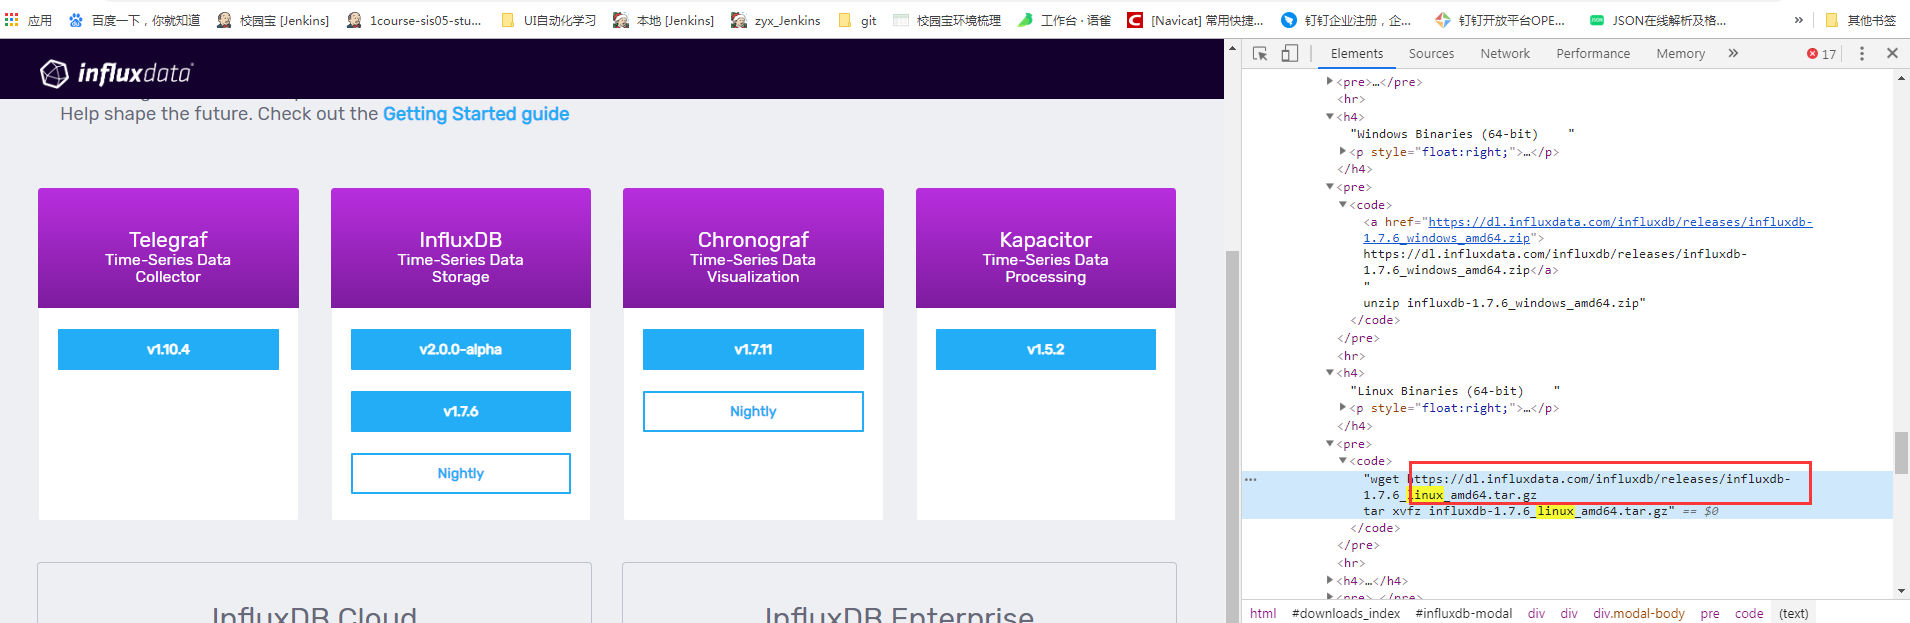
https://dl.influxdata.com/influxdb/releases/influxdb-1.7.6_windows_amd64.zip
wget https://dl.influxdata.com/influxdb/releases/influxdb-1.7.6_linux_amd64.tar.gz
tar xvfz influxdb-1.7.6_linux_amd64.tar.gz
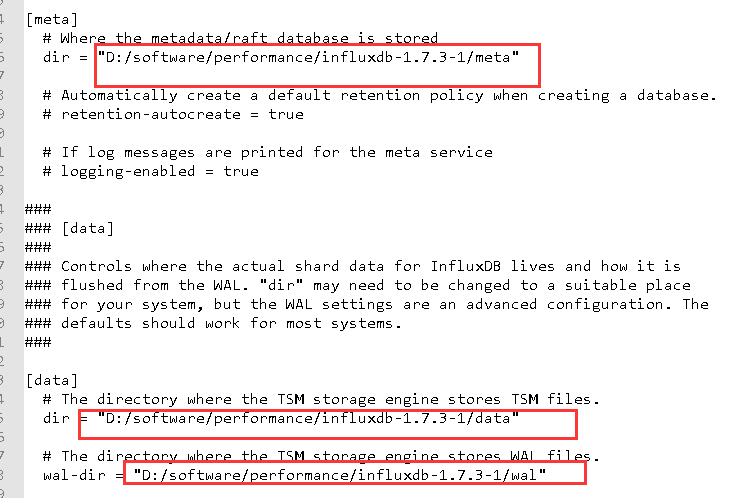
一开始是解压在D:softwareperformancewindowsinfluxdb-1.7.3-1
修改了配置文件,在performance目录下新建了目录
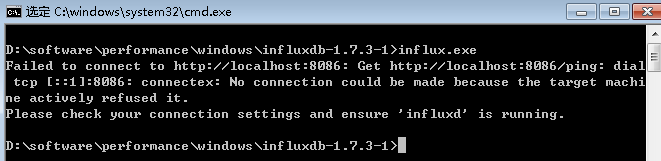
重新启动,出现问题 No connection could be made because the target machine actively refused it
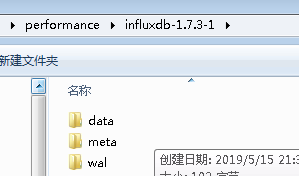
然后 自己把windowsinfluxdb-1.7.3-1目录下文件都放到performanceinfluxdb下
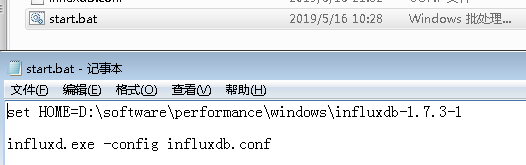
set HOME=D:softwareperformancewindowsinfluxdb-1.7.3-1
influxd.exe -config influxdb.conf
可视化界面参考:https://blog.csdn.net/qq_35981283/article/details/84068053
用的
grafana安装
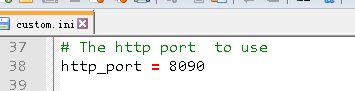
然后将conf文件夹中的sample.ini在原地复制一份,并改名为custom.ini。我们可以对custom.ini进行编辑。
默认grafana的端口是3000,这个端口需要Windows的权限,我们可以在custom.ini对其进行修改。将custom.ini中的http_port取消注释并修改,我改成了8090,这个端口是不需要Windows额外的权限。
现在我们就可运行它了,直接运行bin文件夹中的grafana-server.exe,双击grafana-server.exe运行或者命令行运行,最好是用命令行的方式运行(start+空格+要运行的程序的绝对路径和程序名)。
然后打开localhost:8090(自己改的端口)
默认用户名密码都是admin
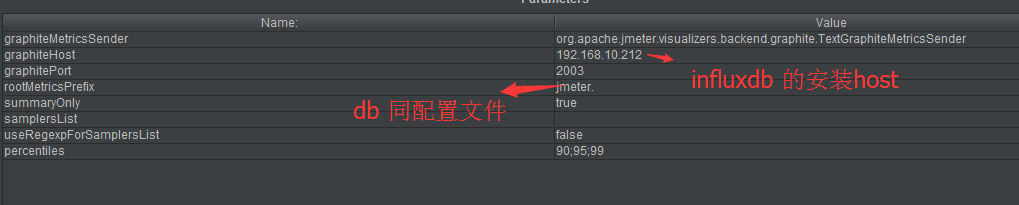
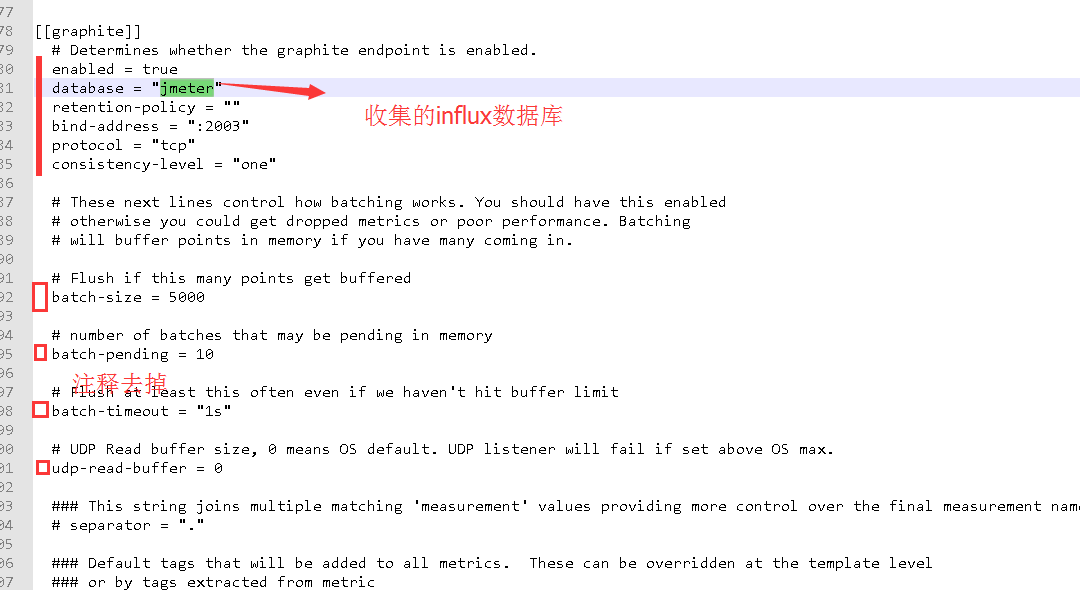
配置jmeter收集数据
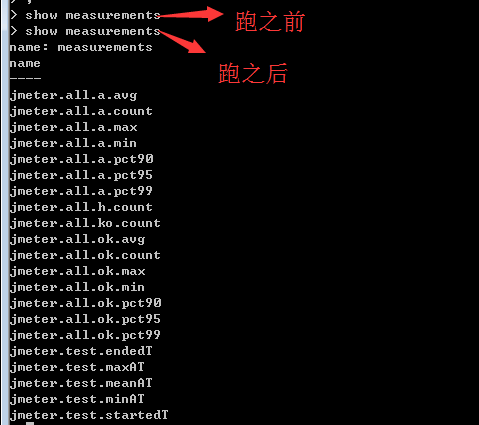
jmeter脚本跑完才有表数据