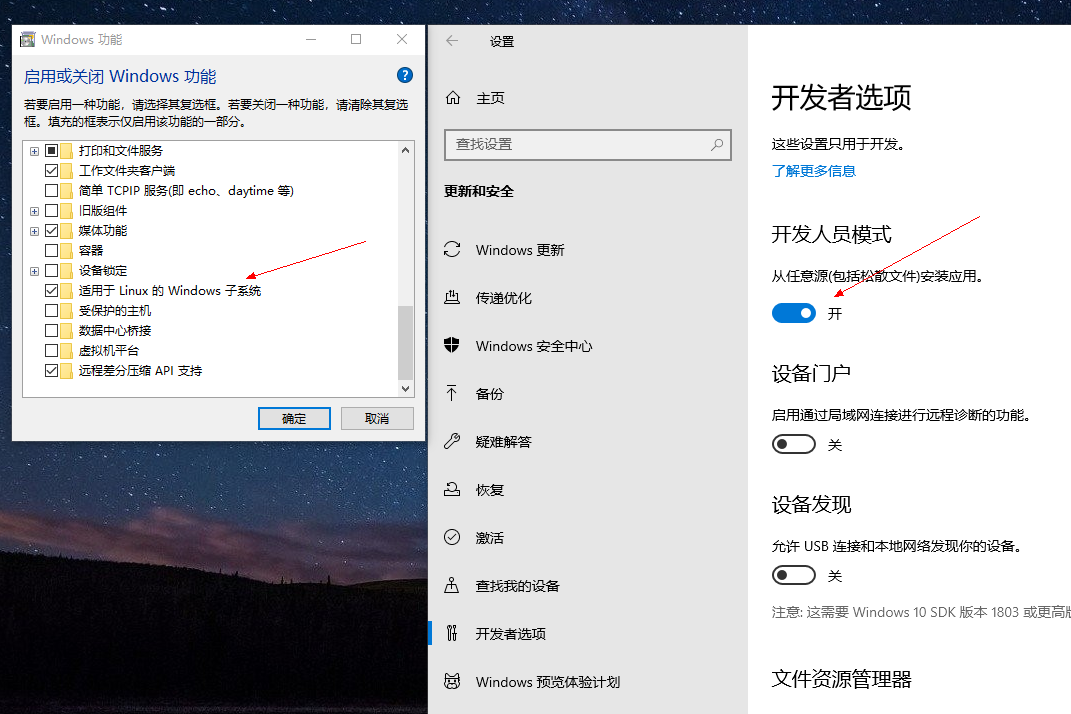
1. 安装前的配置

2.我选择的的Ubuntu 16.04,下载地址:https://docs.microsoft.com/zh-cn/windows/wsl/install-manual
下载后是一个 .appx 后缀的应用,直接双击安装即可。

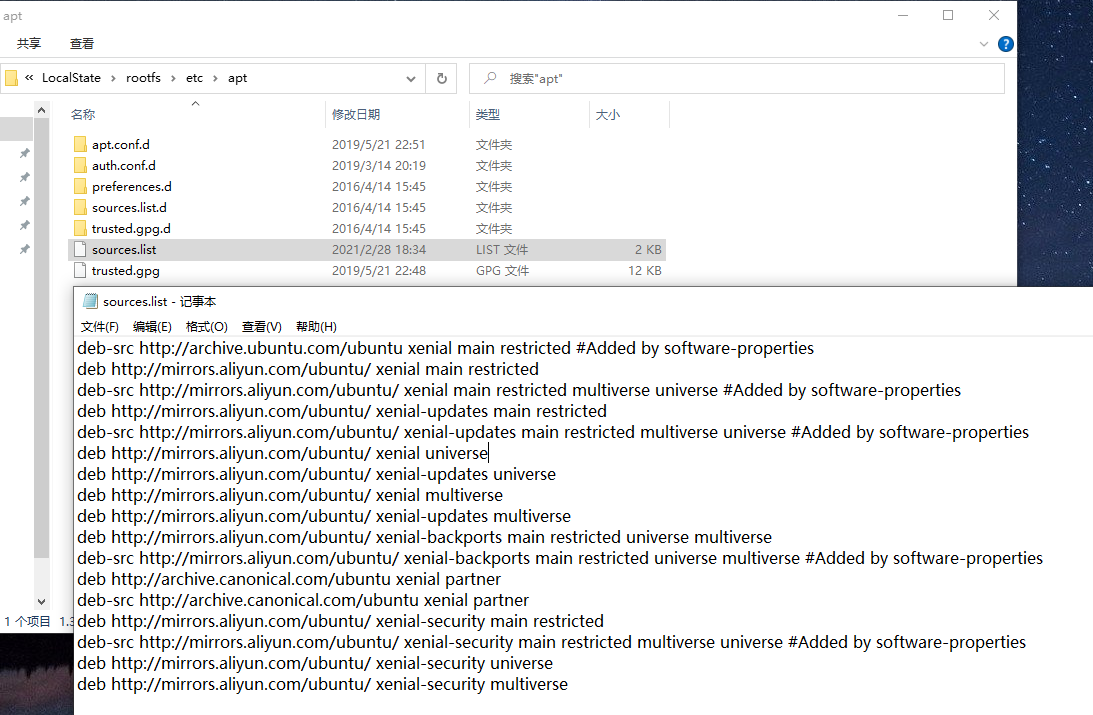
3. 更新ubuntu软件源,wsl挂载到win10的路径为 C:Users用户AppDataLocalPackagesCanonicalGroupLimited.Ubuntu16.04onWindows_79rhkp1fndgscLocalState ootfs
// sources.list 中填写

deb-src http://archive.ubuntu.com/ubuntu xenial main restricted #Added by software-properties
deb http://mirrors.aliyun.com/ubuntu/ xenial main restricted
deb-src http://mirrors.aliyun.com/ubuntu/ xenial main restricted multiverse universe #Added by software-properties
deb http://mirrors.aliyun.com/ubuntu/ xenial-updates main restricted
deb-src http://mirrors.aliyun.com/ubuntu/ xenial-updates main restricted multiverse universe #Added by software-properties
deb http://mirrors.aliyun.com/ubuntu/ xenial universe
deb http://mirrors.aliyun.com/ubuntu/ xenial-updates universe
deb http://mirrors.aliyun.com/ubuntu/ xenial multiverse
deb http://mirrors.aliyun.com/ubuntu/ xenial-updates multiverse
deb http://mirrors.aliyun.com/ubuntu/ xenial-backports main restricted universe multiverse
deb-src http://mirrors.aliyun.com/ubuntu/ xenial-backports main restricted universe multiverse #Added by software-properties
deb http://archive.canonical.com/ubuntu xenial partner
deb-src http://archive.canonical.com/ubuntu xenial partner
deb http://mirrors.aliyun.com/ubuntu/ xenial-security main restricted
deb-src http://mirrors.aliyun.com/ubuntu/ xenial-security main restricted multiverse universe #Added by software-properties
deb http://mirrors.aliyun.com/ubuntu/ xenial-security universe
deb http://mirrors.aliyun.com/ubuntu/ xenial-security multiverse


//更新源
sudo apt-get update

4.配置ssh-server
sudo apt-get install openssh-server  //安装

sudo vim /etc/ssh/sshd_config      //编辑配置文件


#PubkeyAuthentication yes      //默认是Public Key登录,我这里注释掉改为用户名密码登录
#UsePAM yes
PasswordAuthentication yes        //用户名密码登录


sudo service ssh restart      //启动ssh-server

ps -ef|grep ssh          // 查看是否启动成功
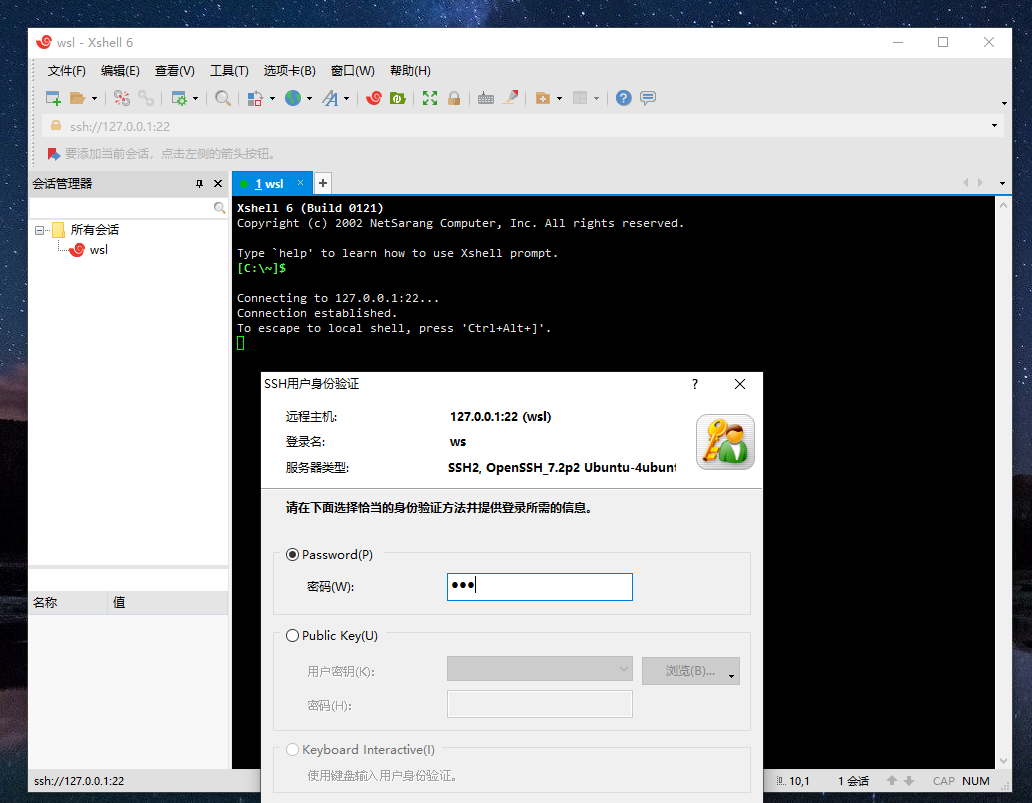
5.用Xshell连接测试
