一、 创建 spring boot 项目,添加项目依赖


<?xml version="1.0" encoding="UTF-8"?>
<project xmlns="http://maven.apache.org/POM/4.0.0" xmlns:xsi="http://www.w3.org/2001/XMLSchema-instance"
    xsi:schemaLocation="http://maven.apache.org/POM/4.0.0 https://maven.apache.org/xsd/maven-4.0.0.xsd">
    <modelVersion>4.0.0</modelVersion>
    <parent>
        <groupId>org.springframework.boot</groupId>
        <artifactId>spring-boot-starter-parent</artifactId>
        <version>2.1.9.RELEASE</version>
        <relativePath/> <!-- lookup parent from repository -->
    </parent>
    <groupId>com.example</groupId>
    <artifactId>use-camunda</artifactId>
    <version>0.0.1-SNAPSHOT</version>
    <name>use-camunda</name>
    <description>Demo project for Spring Boot</description>

    <properties>
        <java.version>1.8</java.version>
    </properties>

    <dependencies>
        <!--spring boot web 启动依赖-->
        <dependency>
            <groupId>org.springframework.boot</groupId>
            <artifactId>spring-boot-starter-web</artifactId>
        </dependency>

        <!--数据库 mysql 依赖-->
        <dependency>
            <groupId>mysql</groupId>
            <artifactId>mysql-connector-java</artifactId>
            <version>5.1.39</version>
        </dependency>


        <!--get/set 方法-->
        <dependency>
            <groupId>org.projectlombok</groupId>
            <artifactId>lombok</artifactId>
            <optional>true</optional>
        </dependency>

        <!--测试单元-->
        <dependency>
            <groupId>org.springframework.boot</groupId>
            <artifactId>spring-boot-starter-test</artifactId>
            <scope>test</scope>
        </dependency>

        <!-- spring boot 对 Camunda的依赖 -->
        <dependency>
            <groupId>org.camunda.bpm.springboot</groupId>
            <artifactId>camunda-bpm-spring-boot-starter-webapp</artifactId>
            <version>3.2.0</version>
        </dependency>
        <dependency>
            <groupId>org.camunda.bpm.springboot</groupId>
            <artifactId>camunda-bpm-spring-boot-starter-rest</artifactId>
            <version>3.2.0</version>
        </dependency>

        <!--连接池-->
        <dependency>
            <groupId>com.alibaba</groupId>
            <artifactId>druid-spring-boot-starter</artifactId>
            <version>1.1.0</version>
        </dependency>

        <dependency>
            <groupId>org.springframework.boot</groupId>
            <artifactId>spring-boot-starter-jdbc</artifactId>
        </dependency>

        <!--swagger 支持-->
        <dependency>
            <groupId>io.springfox</groupId>
            <artifactId>springfox-swagger2</artifactId>
            <version>2.5.0</version>
        </dependency>

        <!-- swagger-ui -->
        <dependency>
            <groupId>io.springfox</groupId>
            <artifactId>springfox-swagger-ui</artifactId>
            <version>2.5.0</version>
        </dependency>

        <!--actuator 支持-->
        <dependency>
            <groupId>org.springframework.boot</groupId>
            <artifactId>spring-boot-starter-actuator</artifactId>
            <version>2.1.3.RELEASE</version>
        </dependency>


    </dependencies>

    <build>
        <plugins>
            <plugin>
                <groupId>org.springframework.boot</groupId>
                <artifactId>spring-boot-maven-plugin</artifactId>
                <configuration>
                    <layout>ZIP</layout>
                </configuration>
                <executions>
                    <execution>
                        <goals>
                            <goal>repackage</goal>
                        </goals>
                    </execution>
                </executions>
            </plugin>
            <plugin>
                <groupId>org.apache.maven.plugins</groupId>
                <artifactId>maven-compiler-plugin</artifactId>
                <version>2.3.2</version>
                <configuration>
                    <source>1.8</source>
                    <target>1.8</target>
                </configuration>
            </plugin>
        </plugins>
    </build>

</project>
注意:
01.camunda 是基于 activiti5.x 改造的新框架
02. camunda 与高版本 mysql 不兼容,需要使用 5.x 版本的 mysql
二、修改配置文件
application.properties 重命名 : application.yml
#camunda 配置
camunda:
  bpm:
    admin-user:
      id: admin
      password: admin
      firstName: admin
    filter:
      create: All tasks
    job-execution:
      enabled: true
    metrics:
      enabled: false
      db-reporter-activate: false

#mysql 数据库配置
spring:
  application:
    name: wct-iot
  datasource:
    driver-class-name: com.mysql.jdbc.Driver
    url: jdbc:mysql://localhost/camunda02?serverTimezone=GMT%2B8&autoReconnect=true&useUnicode=yes&characterEncoding=UTF-8&useSSL=false
    username: root
    password: 123456
    type: com.alibaba.druid.pool.DruidDataSource

#服务端口
server:
  port: 8080
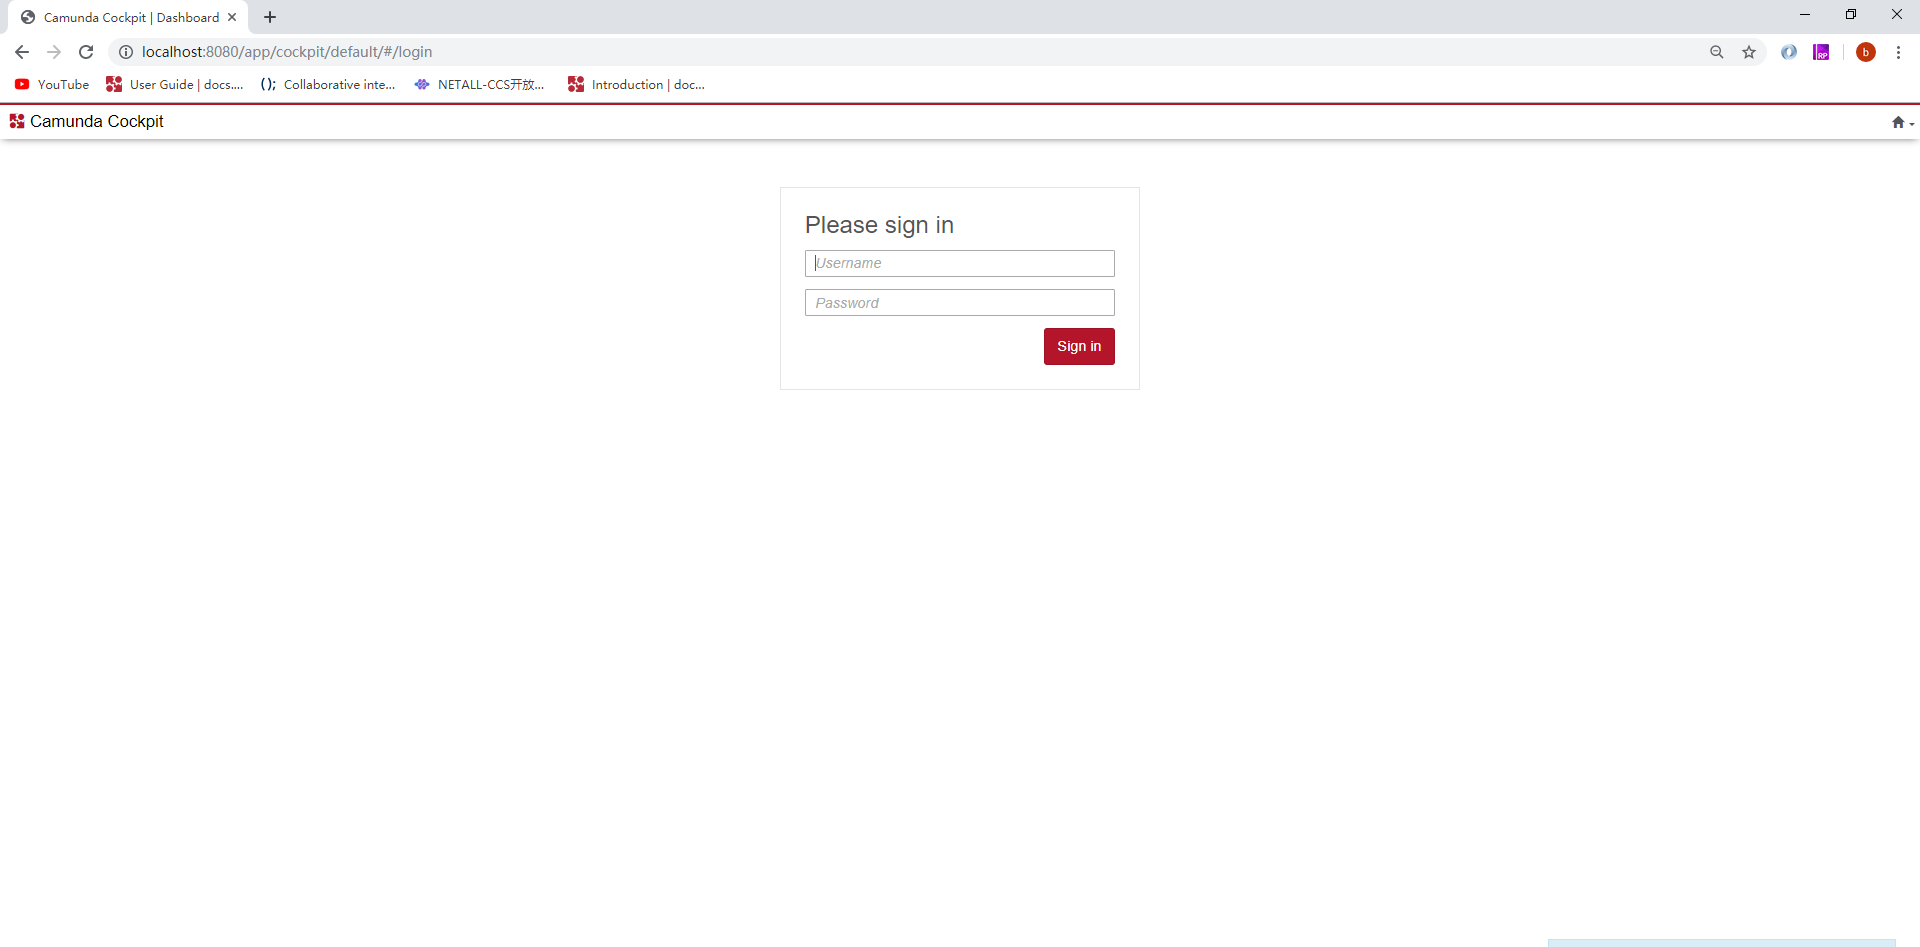
启动项目,访问:localhost:8080 ,camunda 本地部署成功
启动的另一种方式:下载官方的启动包:https://camunda.com/download/
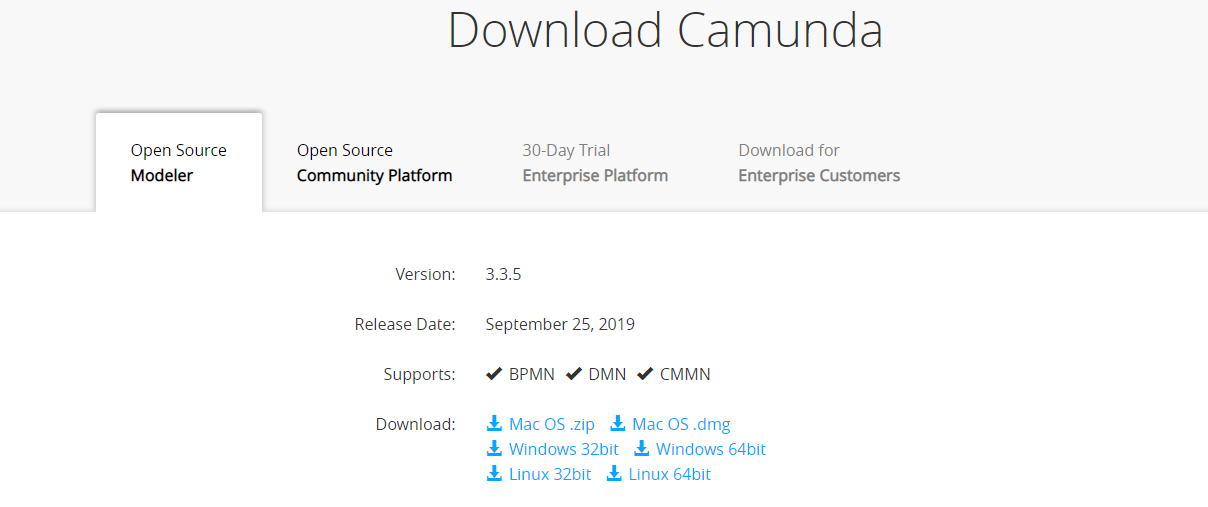
三、下载camunda model 设计器
https://camunda.com/download/modeler/
四、resource 下创建 /META-INF/processes.xml (空文件)
五、使用官方demo、camunda 默认使用的数据库
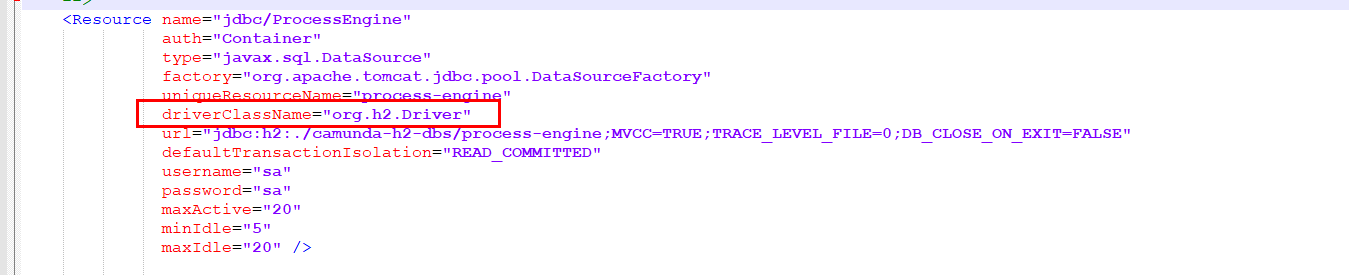
如果需要修改数据库,需要切换端口,与导入 jar
六、使用 camunda