前言
博客园提供了个人首页背景的模板,但却是让人觉得一言难尽。对于一个不了解css,html的小白来说,想要自定义自己的blog背景确实有点难,于是乎我仔细研究了一下,终于找到了一个适合于我们这些门外汉的方法,现在给大家分享一下。
一、将选定的背景图上传至博客园服务器
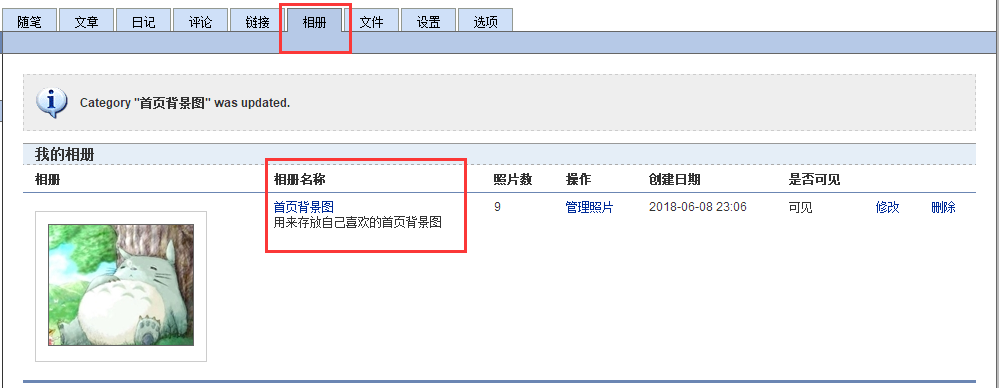
- 方法一:将选定的图片上传至自己博客园的相册中(自己可以新增一个相册,用来存放首页背景图)

- 方法二:新增随笔,在随笔中上传背景图
二、获取上传至博客园服务器背景图的url
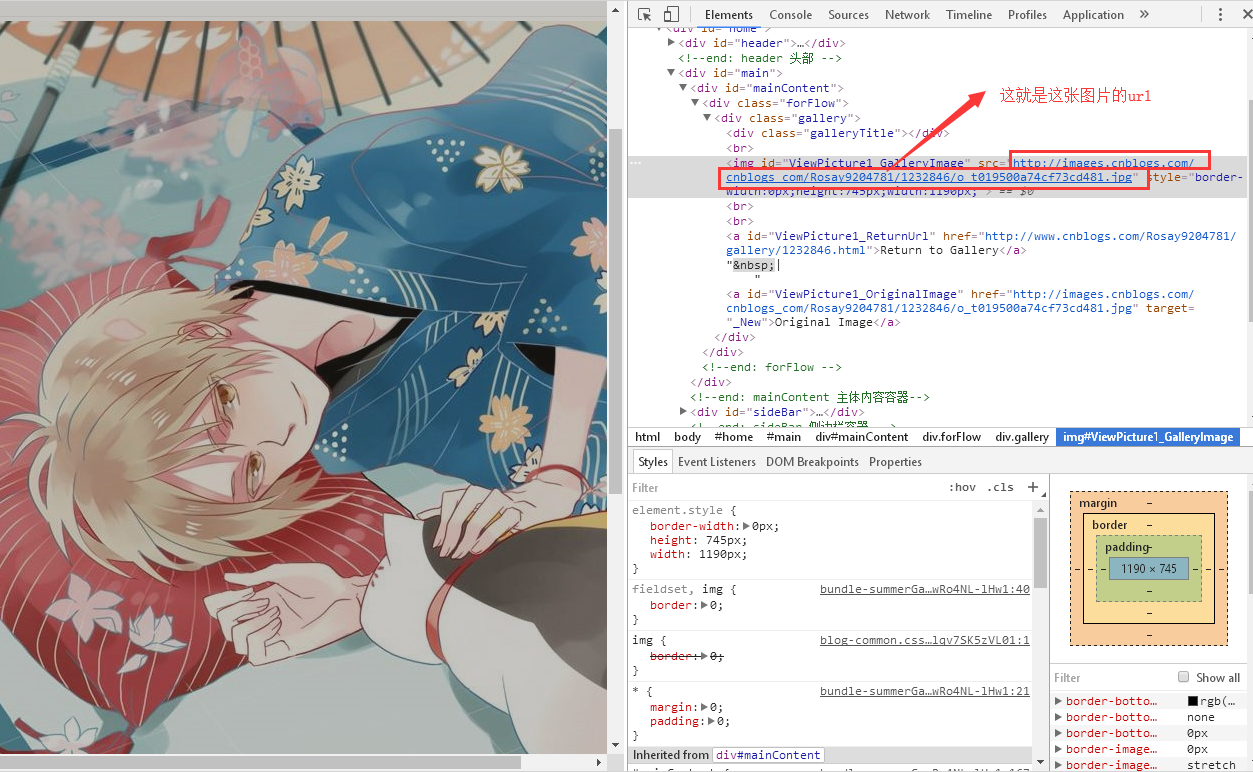
- 打开相册,选择自己喜欢的图片,点进去。然后在那篇博客中,找到图片所在位置:鼠标右键--->审查元素,将url复制下来

三、修改博客源码
- 首先:找到“页面定制css代码框”粘贴复制下面代码:个人首页--->管理--->设置--->页面定制css代码
/*simplememory*/
#google_ad_c1, #google_ad_c2 {display:none;}
.syntaxhighlighter a, .syntaxhighlighter div, .syntaxhighlighter code, .syntaxhighlighter table, .syntaxhighlighter table td,
.syntaxhighlighter table tr, .syntaxhighlighter table tbody, .syntaxhighlighter table thead, .syntaxhighlighter table caption,
.syntaxhighlighter textarea {
font-size: 14px!important;
}
#home {
opacity: 0.80;
margin: 0 auto;
width: 85%;
min-width: 950px;
background-color: #fff;
padding: 30px;
margin-top: 30px;
margin-bottom: 50px;
box-shadow: 0 2px 6px rgba(100, 100, 100, 0.3);
}
#blogTitle h1 {
font-size: 30px;
font-weight: bold;
font-family: "Comic Sans MS";
line-height: 1.5em;
margin-top: 20px;
color: #515151;
}
#navList a:hover {
color: #4C9ED9;
text-decoration: none;
}
#navList a {
display: block;
width: 5em;
height: 22px;
float: left;
text-align: center;
padding-top: 18px;
}
#navigator {
font-size: 15px;
border-bottom: 1px solid #ededed;
border-top: 1px solid #ededed;
height: 50px;
clear: both;
margin-top: 25px;
}
.catListTitle {
margin-top: 21px;
margin-bottom: 10.5px;
text-align: left;
border-left: 10px solid rgba(82, 168, 236, 0.8);
padding: 10px 0 14px 10px;
background-color: #f5f5f5;
}
#ad_under_post_holder #google_ad_c1,#google_ad_c2{
display: none !important;
}
body {
color: #000;
background: url(http://images2015.cnblogs.com/blog/969197/201703/969197-20170325160900815-1058599404.jpg
) fixed;
background-size: 100%;
background-repeat: no-repeat;
font-family: "Helvetica Neue",Helvetica,Verdana,Arial,sans-serif;
font-size: 12px;
min-height: 101%;
}
#topics .postTitle {
border: 0px;
font-size: 200%;
font-weight: bold;
float: left;
line-height: 1.5;
width: 100%;
padding-left: 5px;
}

div.commentform p{
margin-bottom:10px;
}
.comment_btn {
padding: 5px 10px;
height: 35px;
width: 90px;
border: 0 none;
border-radius: 5px;
background: #ddd;
color: #999;
cursor:pointer;
font-family: "Lato", Helvetica Neue, Helvetica, Microsoft Yahei, 宋体, Arial, sans-serif;
text-shadow: 0 0 1px #fff;
display: inline !important;
}
.comment_btn:hover{
padding: 5px 10px;
height: 35px;
width: 90px;
border: 0 none;
border-radius: 5px;
background: #258fb8;
color: white;
cursor:pointer;
font-family: "Lato", Helvetica Neue, Helvetica, Microsoft Yahei, 宋体, Arial, sans-serif;
text-shadow: 0 0 1px #fff;
display: inline !important;
}
#commentform_title {
background-image:none;
background-repeat:no-repeat;
margin-bottom:10px;
padding:0;
font-size:24px;
}
#commentbox_opt,#commentbox_opt + p {
text-align:center;
}
.commentbox_title {
width: 100%;
}
#tbCommentBody {
font-family:'Microsoft Yahei', Microsoft Yahei, 宋体, sans-serif;
margin-top:10px;
max-width:100%;
min-width:100%;
background:white;
color:#333;
border:2px solid #fff;
box-shadow:inset 0 0 8px #aaa;
// padding:10px;
height:250px;
font-size:14px;
min-height:120px;
}
.feedbackItem {
font-size:14px;
line-height:24px;
margin:10px 0;
padding:20px;
background:#F2F2F2;
box-shadow:0 0 5px #aaa;
}
.feedbackListSubtitle {
font-weight:normal;
}

#blog-comments-placeholder, #comment_form {
padding: 20px;
background: #fff;
-webkit-box-shadow: 1px 2px 3px #ddd;
box-shadow: 1px 2px 3px #ddd;
margin-bottom: 50px;
}
.feedback_area_title {
margin-bottom: 15px;
font-size: 1.8em;
}
.feedbackItem {
border-bottom: 1px solid #CCC;
margin-bottom: 10px;
padding: 5px;
background: rgb(248, 248, 248);
}
.color_shine {background: rgb(226, 242, 255);}
.feedbackItem:hover {-webkit-animation-name: color_shine;-webkit-animation-duration: 2s;-webkit-animation-iteration-count: infinite;}
#comment_form .title {
font-weight: normal;
margin-bottom: 15px;
}
- 其次:找到下面模块body
body {
color: #000;
background: url(http://images2015.cnblogs.com/blog/969197/201703/969197-20170325160900815-1058599404.jpg
) fixed;
background-size: 100%;
background-repeat: no-repeat;
font-family: "Helvetica Neue",Helvetica,Verdana,Arial,sans-serif;
font-size: 12px;
min-height: 101%;
}
- 最后:将body模块下的参数"background”url的值修改为你之前获取的url地址,保存既可以
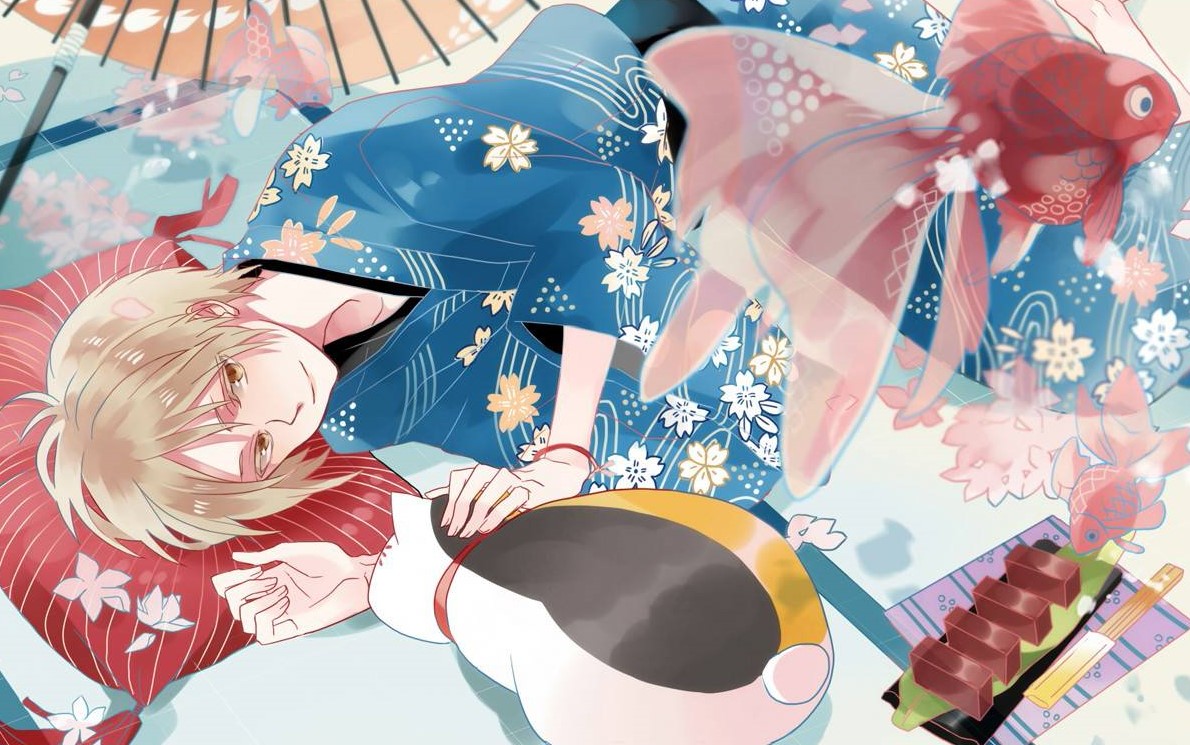
以下是我自己的背景图:

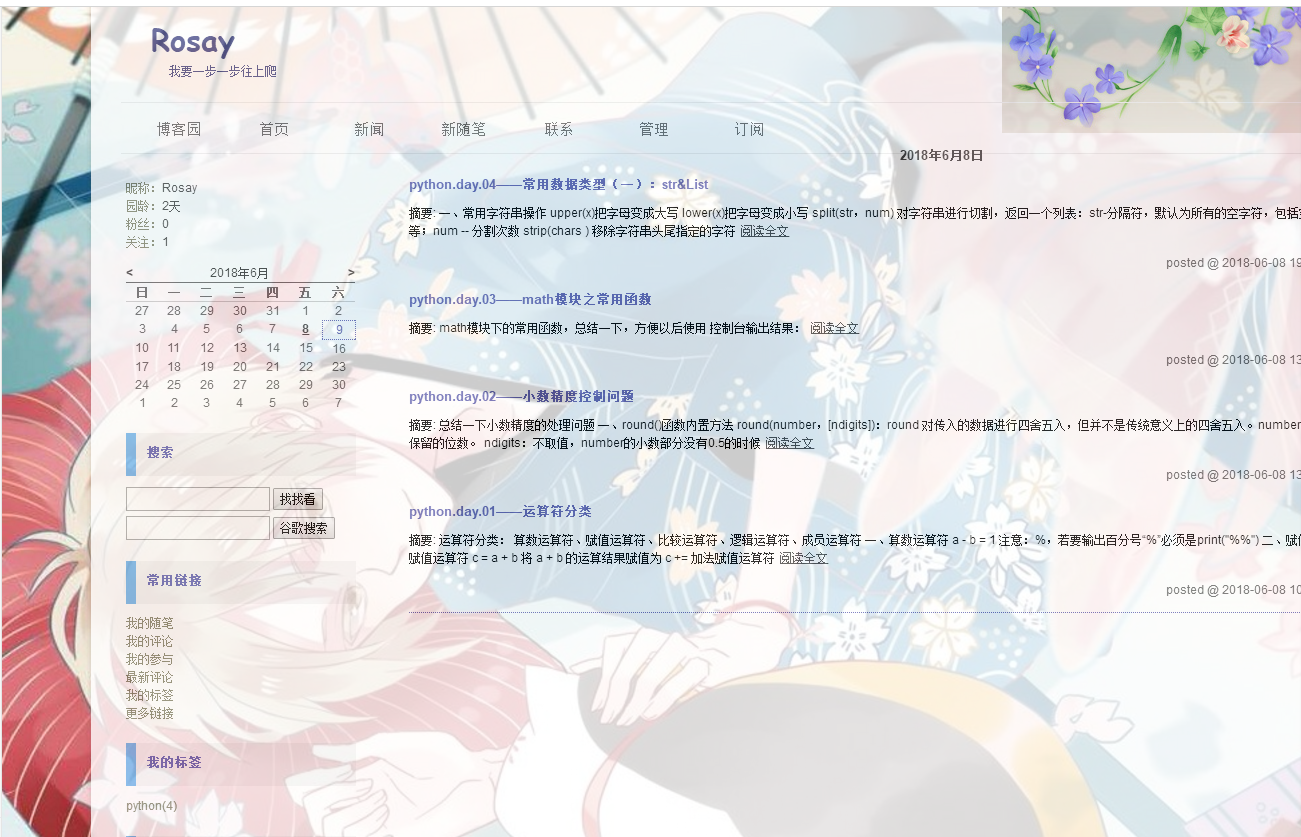
效果图:
