Abp Vnext Vue3 的版本实现
Abp Vnext Pro 的 Vue3 实现版本 开箱即用的中后台前端/设计解决方案
 |
 |
 |
 |
 |
 |
开始
系统功能
- [x] 用户管理
- [x] 角色管理
- [x] 审计日志
- [x] 后台任务
- [x] 集成事件
- [x] IdentityServer4
- [x] 客户端管理
- [x] Api 资源管理
- [x] ApiScope 管理
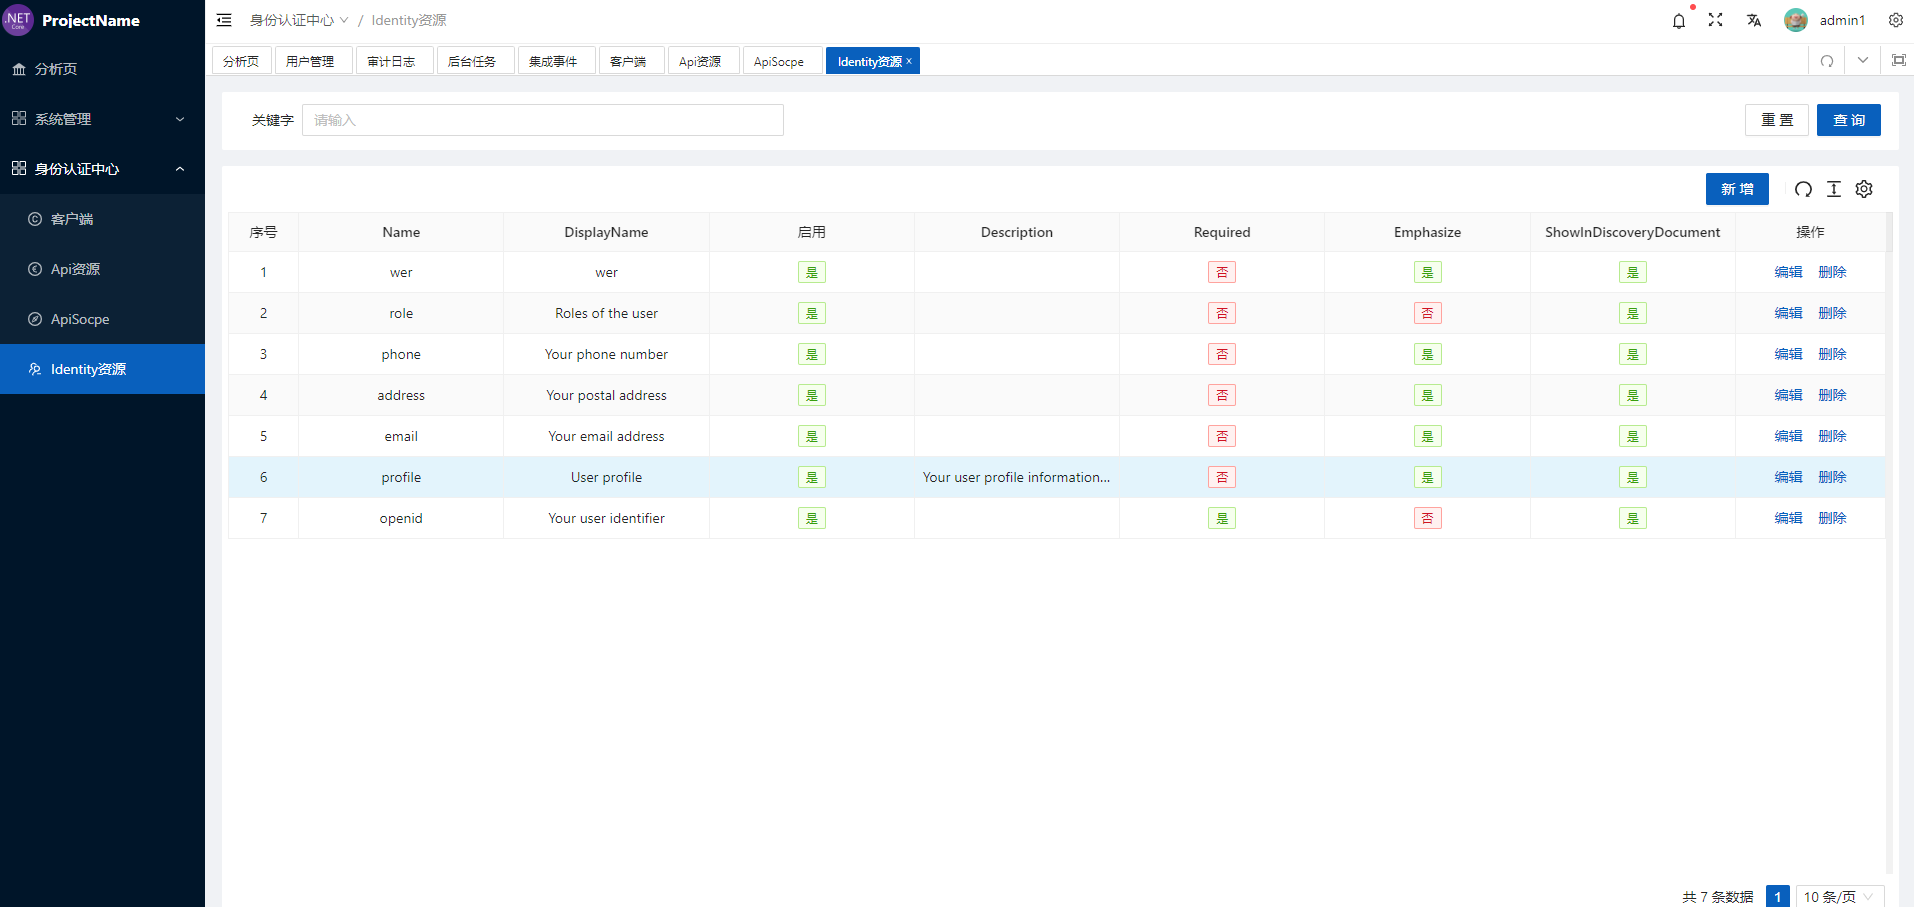
- [x] Identity 资源管理
- [x] SinglaR 消息通知
- [x] 多语言
- [x] FreeSql
- [x] 数据字典(UI 暂时没有)
- [x] 容器化部署
- [x] 单元测试
- [x] ES 日志
- [x] Setting 管理
- [x] 多租户
- [ ] 组织机构
项目结构
后端
.
├── Directory.Build.props nuget 版本控制
├── frameworks # 公共模块
│       ├── CAP # dotnetcore.cap
│       └── Extensions # 自定义扩展
├── gateways # 网关
├── modules # 模块
│       ├── DataDictionaryManagement # 数据字典
│       └── NotificationManagement # 通知服务
├── services # 公共静态资源目录
│       ├── host # 启动模块
│           ├── CompanyName.ProjectName.HttpApi.Host # admin ui host
│           └── CompanyName.ProjectName.IdentityServer # IdentityServer host
│       ├── src  # 源码
│           └── CompanyName.ProjectName.DbMigrator # 迁移控制台程序
│       └── test # 单元测试
前端
.
├── _nginx # docker 打包
├── build # 打包脚本相关
│   ├── config # 配置文件
│   ├── generate # 生成器
│   ├── script # 脚本
│   └── vite # vite配置
├── mock # mock文件夹
├── public # 公共静态资源目录
├── src # 主目录
│   ├── api # 接口文件
│   ├── assets # 资源文件
│   │   ├── icons # icon sprite 图标文件夹
│   │   ├── images # 项目存放图片的文件夹
│   │   └── svg # 项目存放svg图片的文件夹
│   ├── components # 公共组件
│   ├── design # 样式文件
│   ├── directives # 指令
│   ├── enums # 枚举/常量
│   ├── hooks # hook
│   │   ├── component # 组件相关hook
│   │   ├── core # 基础hook
│   │   ├── event # 事件相关hook
│   │   ├── setting # 配置相关hook
│   │   └── web # web相关hook
│   ├── layouts # 布局文件
│   │   ├── default # 默认布局
│   │   ├── iframe # iframe布局
│   │   └── page # 页面布局
│   ├── locales # 多语言
│   ├── logics # 逻辑
│   ├── main.ts # 主入口
│   ├── router # 路由配置
│   ├── services # Nswag生成的代理
│   │   ├── ServiceProxies.ts # Nswag生成的代理
│   │   ├── ServiceProxyBase.ts # Nswag生成的代理拦截器
│   ├── settings # 项目配置
│   │   ├── componentSetting.ts # 组件配置
│   │   ├── designSetting.ts # 样式配置
│   │   ├── encryptionSetting.ts # 加密配置
│   │   ├── localeSetting.ts # 多语言配置
│   │   ├── projectSetting.ts # 项目配置
│   │   └── siteSetting.ts # 站点配置
│   ├── store # 数据仓库
│   ├── utils # 工具类
│   └── views # 页面
├── test # 测试
│   └── server # 测试用到的服务
│       ├── api # 测试服务器
│       ├── upload # 测试上传服务器
│       └── websocket # 测试ws服务器
├── types # 类型文件
├── vite.config.ts # vite配置文件
└── windi.config.ts # windcss配置文件
运行项目前提
-
Mysql
docker run --name mymysql -p 3306:3306 -e MYSQL_ROOT_PASSWORD=1q2w3E* -d mysql:5.7 --character-set-server=utf8mb4 --collation-server=utf8mb4_unicode_ci -
Redis
docker run --name myredis -p 6379:6379 -d redis:latest redis-server -
RabbitMq 非必须
-
appsetting.development.json-> CAP:Enabled 设置为 false
docker run -d --name myrabbitmq -e RABBITMQ_DEFAULT_USER=admin -e RABBITMQ_DEFAULT_PASS=admin -p 15672:15672 -p 5672:5672 rabbitmq:management -
ELK 非必须
-
appsetting.development.json-> LogToElasticSearch:Enabled 设置为 false
-
安装 Node.js, Npm Or Yarn
获取项目
- 直接 clone 项目
git clone https://github.com/WangJunZzz/abp-vnext-pro.git
OR
- 下载代码生成器
git clone https://github.com/WangJunZzz/abp-vnext-pro-gui.git
- 下载代码生成生成器之后,输入自己想要的项目名称生成代码即可
启动
- 修改 HttpApi.Host-> appsettings.development.json 的数据库连接字符串,Redis, RabbitMq,Es 地址即可(如果没有 es 也可以运行,只是前端 es 日志页面无法使用而已,不影响后端项目启动)
- 修改 IdentityServer-> appsettings.development.json 数据库连接字符串
- 修改 DbMigrator-> appsettings.json 数据库连接字符串
- 运行 DbMigrator 生成数据库
- 启动 HttpApi.Host 和 IdentityServer
- 前端 yarn 之后,执行 npm run dev 启动
配置说明
- HttpApi.Host-> appsettings.development.json
{
  // Serilog 日志配置,生成环境修改日志级别
  "Serilog": {
    "MinimumLevel": {
      "Default": "Information",
      "Override": {
        "Microsoft": "Information",
        "Volo.Abp": "Information",
        "Hangfire": "Information",
        "DotNetCore.CAP": "Information",
        "Serilog.AspNetCore": "Information"
      }
    }
  },
  // 跨域设置
  "App": {
    "CorsOrigins": "https://*.ProjectName.com,http://localhost:4200,http://localhost:3100"
  },
  // 数据库连接字符串,修改为你本地的mysql地址
  "ConnectionStrings": {
    "Default": "Data Source=localhost;Database=CompanyNameProjectNameDB;uid=root;pwd=1q2w3E*;charset=utf8mb4;Allow User Variables=true;AllowLoadLocalInfile=true"
  },
  // Redis缓存
  "Cache": {
    "Redis": {
      "ConnectionString": "localhost",
      "Password": "mypassword",
      "DatabaseId": 0
    }
  },
  // Jwt配置
  "Jwt": {
    "Audience": "CompanyNameProjectName",
    //客户端标识
    "SecurityKey": "dzehzRz9a8asdfasfdadfasdfasdfafsdadfasbasdf=",
    "Issuer": "CompanyNameProjectName",
    //签发者
    "ExpirationTime": 24
    //过期时间 hour
  },
  // 使用了Dotnetcore.cap的rabbitmq,false的情况基于内存
  "Cap": {
    "Enabled": "false",
    "RabbitMq": {
      "HostName": "localhost",
      "UserName": "admin",
      "Password": "admin"
    }
  },
  // es日志地址配置
  "LogToElasticSearch": {
    "Enabled": "true",
    "ElasticSearch": {
      "Url": "http://es.cn",
      "IndexFormat": "companyname.projectname.development",
      "UserName": "elastic",
      "Password": "aVVhjQ95RP7nbwNy",
      "DashboardIndex": "companyname.projectname"
    }
  },
  // identityserver地址
  "HttpClient": {
    "Sts": {
      "Url": "http://localhost:44354"
    }
  },
  // Consul 服务发现和治理
  "Consul": {
    "Enabled": false,
    "Host": "http://localhost:8500",
    "Service": "Project-Service"
  }
}
- IdentityServer-> appsettings.development.json
{
  "App": {
    "SelfUrl": "https://localhost:44354",
    "ClientUrl": "http://localhost:4200",
    "CorsOrigins": "https://*.ProjectName.com,http://localhost:4200,https://localhost:44307,https://localhost:44315",
    "RedirectAllowedUrls": "http://localhost:4200,https://localhost:44307"
  },
  // mysql连接字符串
  "ConnectionStrings": {
    "Default": "Data Source=localhost;Database=CompanyNameProjectNameDB;uid=root;pwd=1q2w3E*;charset=utf8mb4;Allow User Variables=true;AllowLoadLocalInfile=true"
  },
  // Redis
  "Redis": {
    "Configuration": "localhost,password=mypassword"
  }
}
- DbMigrator-> appsettings.json
  // 迁移数据库
  "ConnectionStrings": {
     "Default": "Data Source=localhost;Database=CompanyNameProjectNameDB;uid=root;pwd=1q2w3E*;charset=utf8mb4;Allow User Variables=true;AllowLoadLocalInfile=true"
  }
前端
- 前端采用 TypeScript,所有的类型动态生成 NSwag
- 后端 api 统一使用 Post
- 定义 api 格式
// 一定要打Tags,因为前端会根据这个生成代理类
// 建议参数都封装为一个Input
[SwaggerOperation(summary: "登录", Tags = new[] {"Account"})]
public Task<LoginOutput> LoginAsync(LoginInput input)
{
    return _loginAppService.LoginAsync(input);
}
-
在前端目录下配置代理的地址
- nswag->nswag.json
  "documentGenerator": {
    "fromDocument": {
      "url": "http://localhost:44315/swagger/v1/swagger.json", // 代理地址,只有生成的时候用,不区分环境
    }
  }
- 如果接口参数或者返回值有改变,需要重新生成代理,执行:
npm run nswag
-
前端多环境,.env.development 和.env.production
- 接口地址配置 VITE_API_URL
- IdentityServer 地址配置 VITE_AUTH_URL
-
权限配置
-
菜单权限
- src/router/routes
policy 字段匹配后端的权限名称
- 按钮权限
v-auth="'AbpIdentity.Users.Delete'"
- src/router/routes
健康检查
模块
用户管理
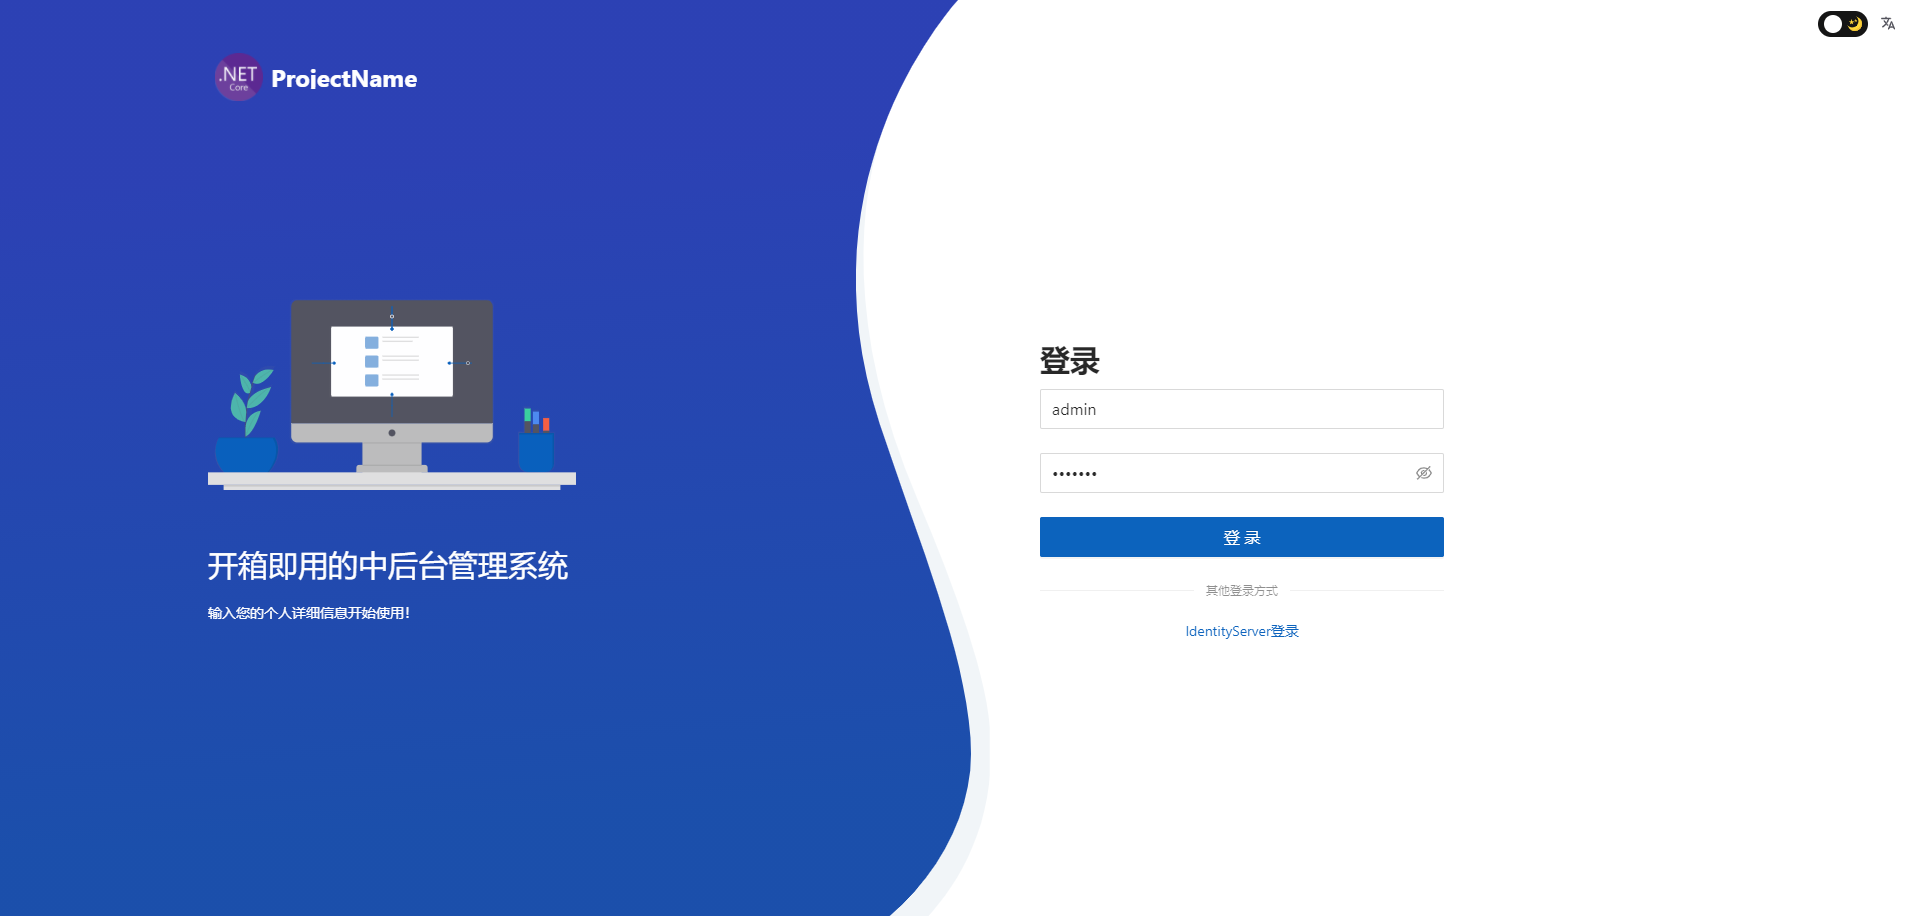
- 提供原始登录和第三方登录(IdentityServer4),默认用户名密码:admin 1q2w3*
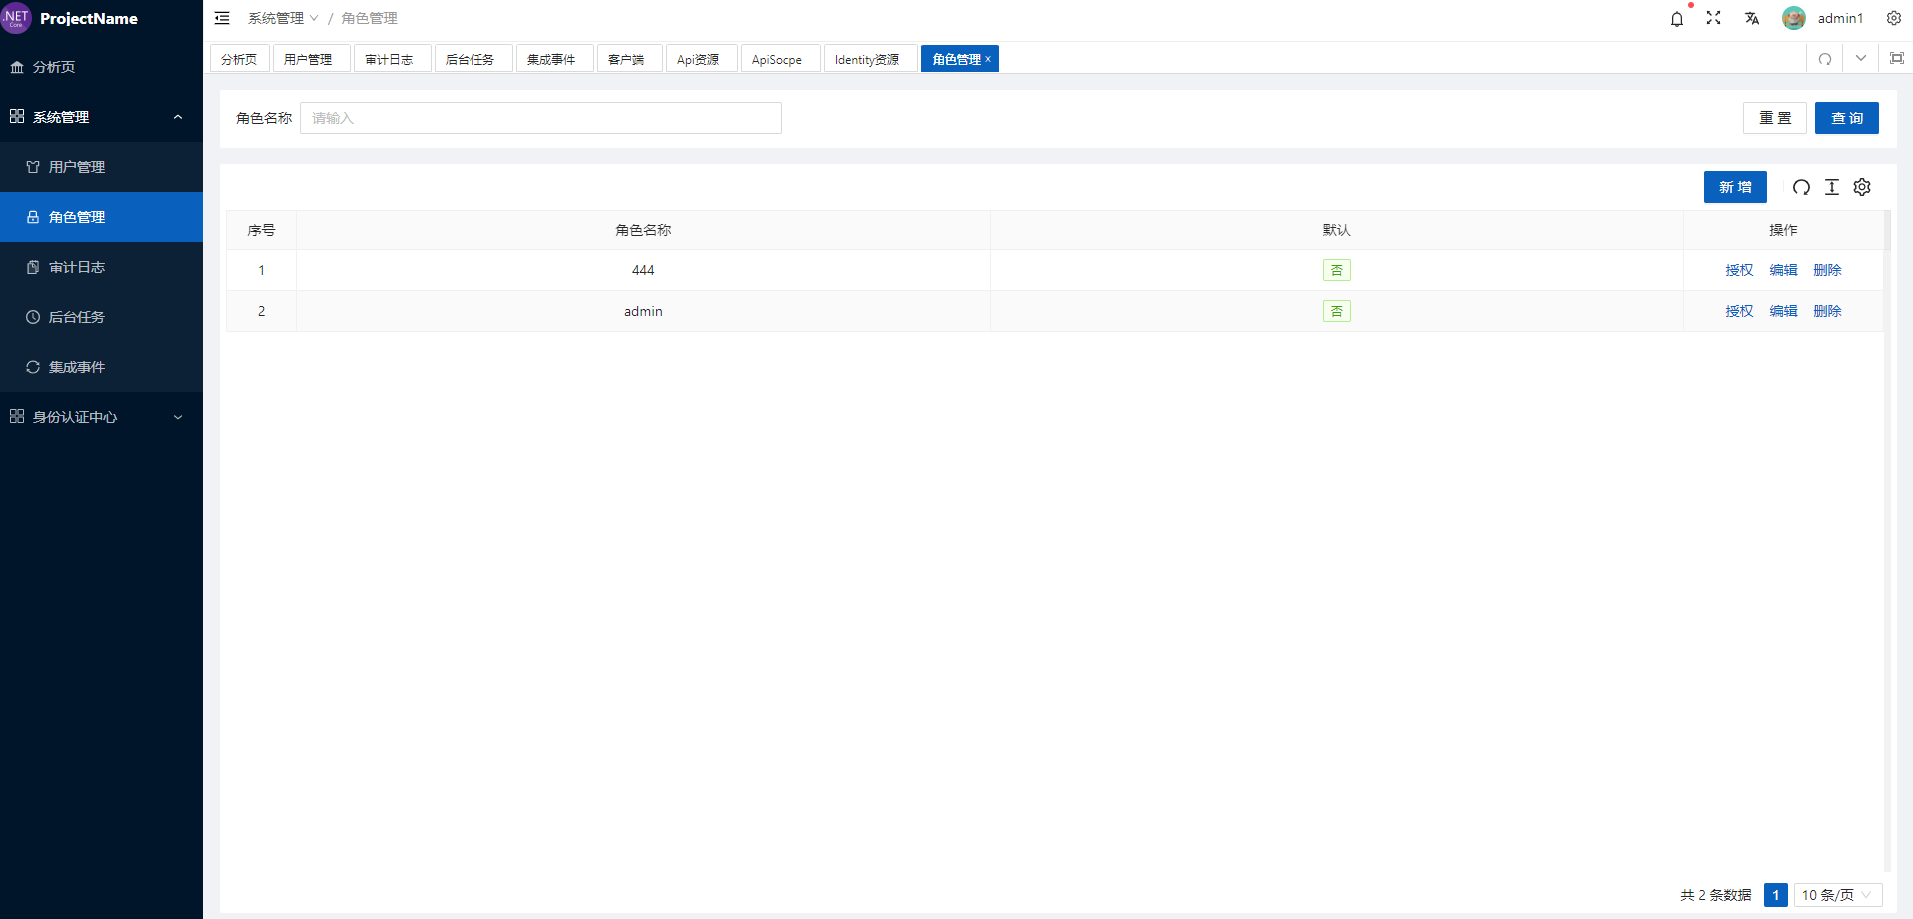
角色管理
- 权限定义(Application.Contracts 层)
- Abp 会自动扫描继承 PermissionDefinitionProvider
- 文档 Abp 官方
- 在 Http.Api 的 Controller 打上 Authorize
设置管理
消息通知
- 消息类型,发送给指定人和广播消息
- 发送消息到前端,通过集成事件和 RabbitMq
- 注入 NotificationManager 发送消息,
/// <summary>
/// 发送普通文本消息
/// </summary>
/// <returns></returns>
/// <exception cref="NotificationManagementDomainException"></exception>
public async Task<Notification> SendCommonTextAsync(string title, string content, List<Guid> receiveIds)
{
    if (receiveIds is {Count: 0})
    {
        throw new NotificationManagementDomainException("消息接收人不能为空");

    var senderId = Guid.Empty;
    if (_currentUser?.Id != null)
    {
        senderId = _currentUser.Id.Value;

    var entity = new Notification(GuidGenerator.Create(), title, content, MessageType.Text, senderId);
    foreach (var item in receiveIds)
    {
        entity.AddNotificationSubscription(GuidGenerator.Create(), item);

    var notificationEto = ObjectMapper.Map<Notification, NotificationEto>(entity);
    // 发送集成事件
    entity.AddCreatedNotificationDistributedEvent(new CreatedNotificationDistributedEvent(notificationEto));
    return entity = await _notificationRepository.InsertAsync(entity);
}
- Handler 当前事件:NotificationCreatedDistributedEventHandler
/// <summary>
/// 发送消息
/// </summary>
public async Task SendMessageAsync(string title, string content, MessageType messageType, List<string> users)
{
    switch (messageType)
    {
        case MessageType.Text:
            await SendMessageToClientByUserIdAsync(new SendNotificationDto(title, content, messageType), users);
            break;
        case MessageType.BroadCast:
            await SendMessageToAllClientAsync(new SendNotificationDto(title, content, messageType));
            break;
        default:
            throw new UserFriendlyException("未知的消息类型");
    }
}
- 前端接受 SignalR 消息
// src/hooks/web/useSignalR.js
import * as signalR from "@microsoft/signalr";
import { useMessage } from "/@/hooks/web/useMessage";
import { useUserStoreWithOut } from "/@/store/modules/user";
export function useSignalR() {
  /**
   * 开始连接SignalR
   */
  function startConnect(): void {
    let connection = connectionsignalR();
    //接收普通文本消息
    connection.on("ReceiveTextMessageAsync", ReceiveTextMessageHandlerAsync);
    //接收广播消息
    connection.on("ReceiveBroadCastMessageAsync", ReceiveBroadCastMessageHandlerAsync);
    //开始连接
    connection.start();
  }

  /**
   * 连接signalr
   */
  function connectionsignalR(): signalR.HubConnection {
    const userStore = useUserStoreWithOut();
    const token = userStore.getToken;

    const url = (import.meta.env.VITE_WEBSOCKE_URL as string) + "/ws/signalr/notification";
    const connection = new signalR.HubConnectionBuilder()
      .withUrl(url, {
        accessTokenFactory: () => token,
        skipNegotiation: true,
        transport: signalR.HttpTransportType.WebSockets,
      })
      .withAutomaticReconnect({
        nextRetryDelayInMilliseconds: (retryContext) => {
          //重连规则:重连次数<300:间隔1s;重试次数<3000:间隔3s;重试次数>3000:间隔30s
          let count = retryContext.previousRetryCount / 300;
          if (count < 1) {
            //重试次数<300,间隔1s
            return 1000;
          } else if (count < 10) {
            //重试次数>300:间隔5s
            return 1000 * 5;
          } //重试次数>3000:间隔30s
          else {
            return 1000 * 30;
          }
        },
      })
      .configureLogging(signalR.LogLevel.Debug)
      .build();
    return connection;
  }

  /**
   * 接收文本消息
   * @param message 消息体
   */
  function ReceiveTextMessageHandlerAsync(message: any) {
    console.log(message);

    const { notification } = useMessage();

    notification.open({
      message: message.title,
      description: message.content,
    });
  }

  /**
   * 接收广播消息
   * @param message 消息体
   */
  function ReceiveBroadCastMessageHandlerAsync(message: any) {
    const { notification } = useMessage();

    notification.open({
      message: message.title,
      description: message.content,
    });
  }

  return { startConnect };
}
审计日志
- 参考 Abp 官方文档即可
ES 日志
- 在 appsetting.development.json 设置是否开启
  "LogToElasticSearch": {
    "Enabled": "false", // 如果为fasel,日志也会写入到本地,安装ELK,参考上面的docker-compose
    "ElasticSearch": {
      "Url": "http://es.cn",
      "IndexFormat": "companyname.projectname.development",
      "UserName": "elastic",
      "Password": "aVVhjQ95RP7nbwNy",
      "DashboardIndex": "companyname.projectname"
    }
  },
后台任务
- 定时任务
public override void OnPostApplicationInitialization(ApplicationInitializationContext context)
{
    context.CreateRecurringJob();
    base.OnPostApplicationInitialization(context);
}
- 延迟任务: 官方文档
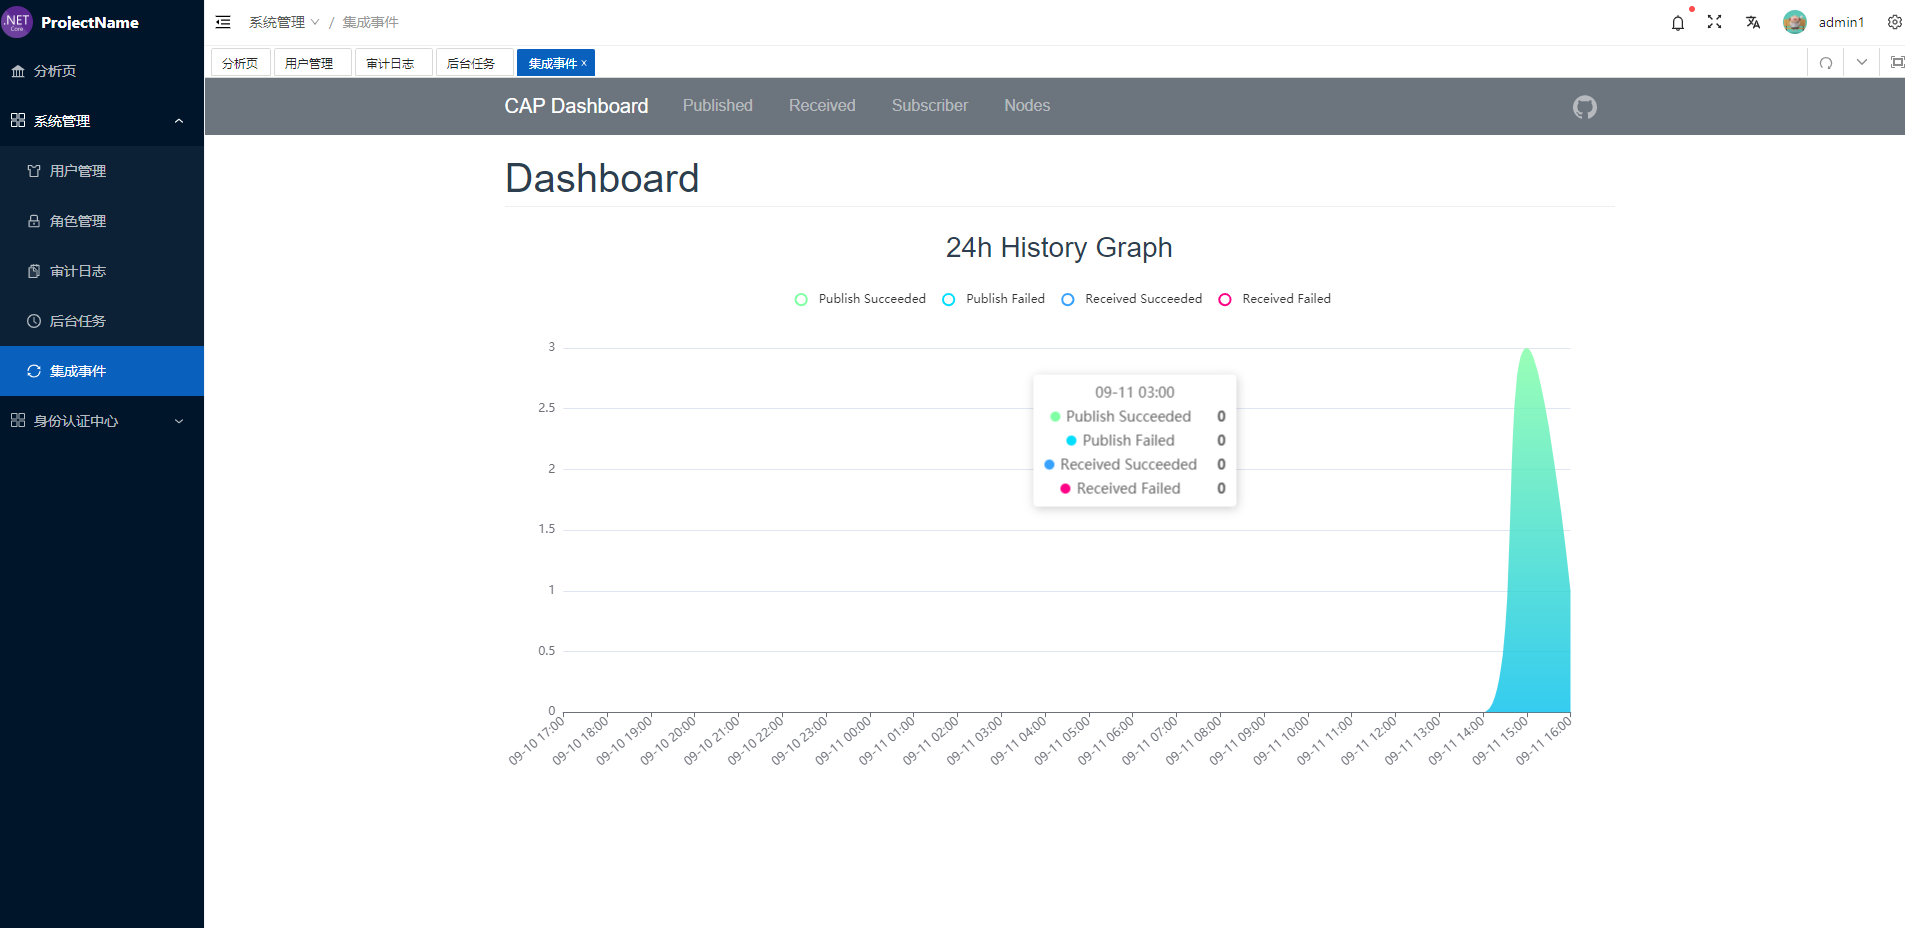
集成事件
-
在 appsetting.development.json 设置是否开启
  "Cap": {
    "Enabled": "false", //如果为false 默认使用内存级别的队列,否则请安装rabbitmq
    "RabbitMq": {
      "HostName": "localhost",
      "UserName": "admin",
      "Password": "admin"
    }
  },
private void ConfigurationCap(ServiceConfigurationContext context)
{
    var configuration = context.Services.GetConfiguration();
    var enabled = configuration.GetValue<bool>("Cap:Enabled", false);
    if (enabled)
    {
        context.AddAbpCap(capOptions =>
        {
            capOptions.UseEntityFramework<ProjectNameDbContext>();
            capOptions.UseRabbitMQ(option =>
            {
                option.HostName = configuration.GetValue<string>("Cap:RabbitMq:HostName");
                option.UserName = configuration.GetValue<string>("Cap:RabbitMq:UserName");
                option.Password = configuration.GetValue<string>("Cap:RabbitMq:Password");
            });
            var hostingEnvironment = context.Services.GetHostingEnvironment();
            bool auth = !hostingEnvironment.IsDevelopment();
            capOptions.UseDashboard(options => { options.UseAuth = auth; });
        });
    }
    else
    {
        context.AddAbpCap(capOptions =>
        {
            capOptions.UseInMemoryStorage();
            capOptions.UseInMemoryMessageQueue();
            var hostingEnvironment = context.Services.GetHostingEnvironment();
            bool auth = !hostingEnvironment.IsDevelopment();
            capOptions.UseDashboard(options => { options.UseAuth = auth; });
        });
    }
}
- 发布事件
- 可参考通知模块
// 发送集成事件
entity.AddCreatedNotificationDistributedEvent(new CreatedNotificationDistributedEvent(notificationEto));
- 订阅事件
- 可参考通知模块
/// <summary>
/// 创建消息事件处理
/// </summary>
public class
    CreatedNotificationDistributedEventHandler : IDistributedEventHandler<CreatedNotificationDistributedEvent>,
        ITransientDependency
{
    private readonly INotificationAppService _hubAppService;
    public CreatedNotificationDistributedEventHandler(INotificationAppService hubAppService)
    {
        _hubAppService = hubAppService;
    }
    public Task HandleEventAsync(CreatedNotificationDistributedEvent eventData)
    {
        return _hubAppService.SendMessageAsync(
            eventData.NotificationEto.Title,
            eventData.NotificationEto.Content,
            eventData.NotificationEto.MessageType,
            eventData.NotificationEto.NotificationSubscriptions.Select(e => e.ReceiveId.ToString()).ToList());
    }
}
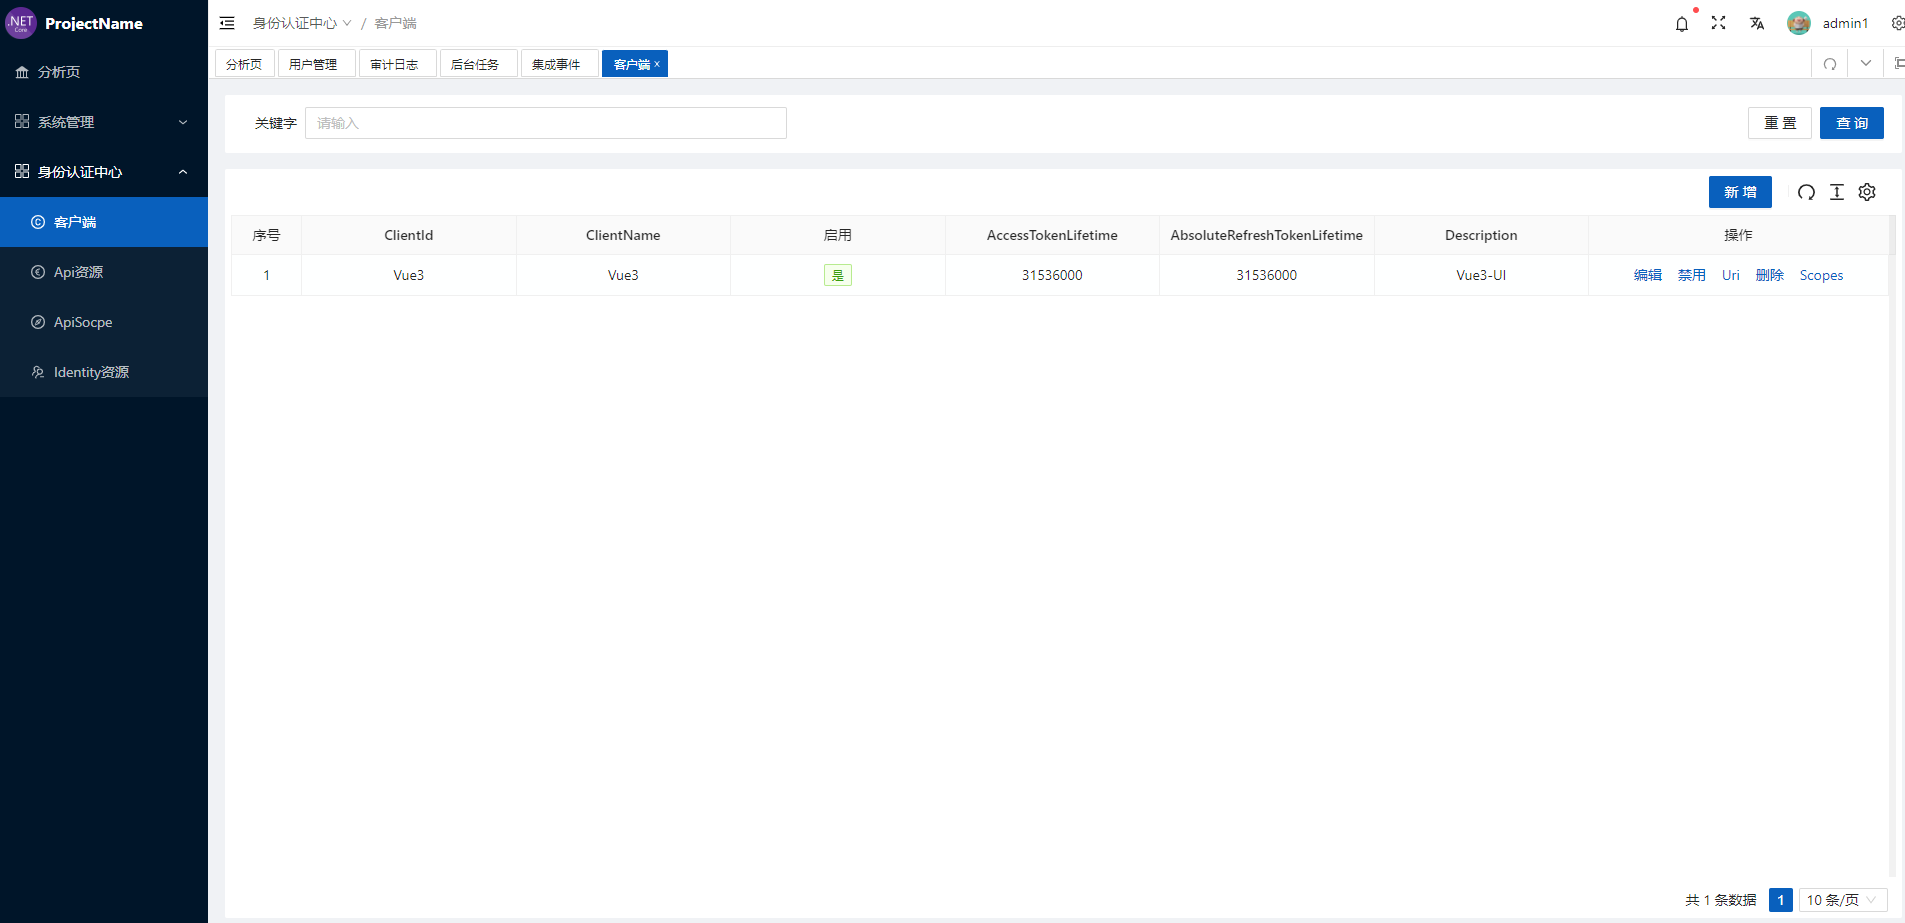
身份认证中心
- IdentityServer4
- 可重写登录界面 UI
租户管理
- 提供租户登录和 IdentityServer4 租户登录方式
Ocelot 网关(可选)
- 集成 Ocelot 和 Consul
部署
Docker 方式
HttpApi.Host
-
发布 HttpApi.Host 到和 Dockerfile 同级目录
-- publish -- Dockerfile -
Dockerfile
FROM mcr.microsoft.com/dotnet/aspnet:5.0

# 创建目录
RUN mkdir /app

COPY publish /app

# 设置工作目录
WORKDIR /app

# 暴露80端口
EXPOSE 80

# 设置环境变量
ENV ASPNETCORE_ENVIRONMENT=Production

ENTRYPOINT ["dotnet", "CompanyName.ProjectName.HttpApi.Host.dll"]
- 生成 Docker 镜像
docker build -t abp-vnext-pro-admin .
- 运行容器
docker run -itd --name abp-vnext-pro-admin -p 8011:80 abp-vnext-pro-admin
IdentityServer.Host
- 步骤同上
前端
- 打包
npm run build
- Dockerfile
FROM nginx:1.17.3-alpine as base
EXPOSE 80
COPY /_nginx/nginx.conf /etc/nginx/nginx.conf
COPY /_nginx/env.js /etc/nginx/env.js
COPY /_nginx/default.conf /etc/nginx/conf.d/default.conf
COPY /dist/ /usr/share/nginx/html
CMD ["nginx", "-g", "daemon off;"]
- 生成 Docker 镜像
docker build -t abp-vnext-pro-ui .
- 运行容器
docker run -itd --name abp-vnext-pro-ui -p 8012:80 abp-vnext-pro-ui
常见问题
VS 编译项目字符串超过 256 个字符
- 把项目拷贝到磁盘根目录 OR 使用 Rider 开发
Hangfire 和 Cap 界面加载不出来
- 这 2 个界面开启了权限认证,由于前端路由的异步加载,导致路由在渲染的时候 access_token 没有加载出来,Ctrl+F5 刷新即可