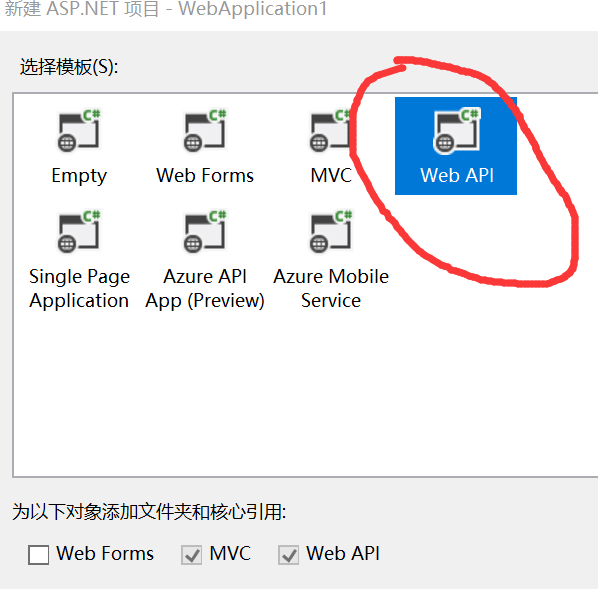
1】创建 WebAPIWebAPI WebAPI,新建 ,新建 ->项目 ->ASP.NET Web >ASP.NET Web >ASP.NET Web >ASP.NET Web 应用程序 应用程序 应用程序 ->Web API>Web API>Web API >
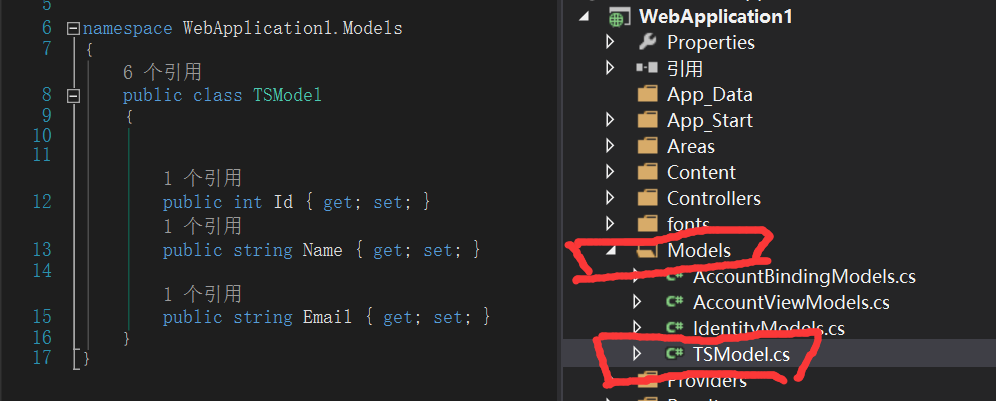
2】:在Models文件夹中创建一个模型【TSModel.cs】先定义几个测试模型
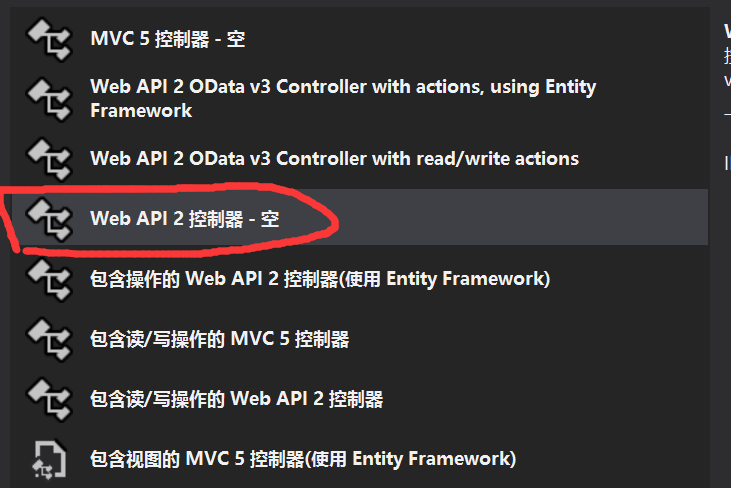
3】:然后创建一个webapi控制器,民命【Main】
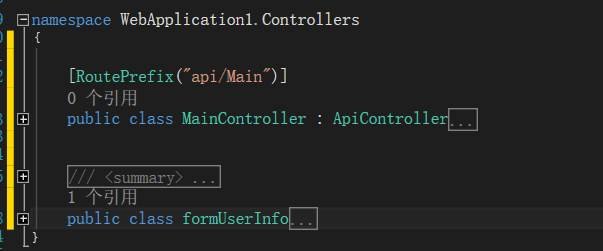
然后在控制器中写下【代码自行打开】

 1     [RoutePrefix("api/Main")]
 2     public class MainController : ApiController
 3     {
 4         [Route("GetUserInfo")]
 5         [HttpPost]
 6         public HttpResponseMessage GetUserInfo([FromBody]formUserInfo obj)
 7         {
 8             //[FromBody]int page, [FromBody]int rows, [FromBody]string email
 9             List<TSModel> listStudent = new List<TSModel>();
10             for (int i = 0; i < 550; i++)
11             {
12                 TSModel student = new Models.TSModel();
13                 Random ran = new Random();
14                 student.Email = i.ToString() + ran.Next(100, 999).ToString() + "TS@qq.com";
15                 student.Id = i;
16                 student.Name = "TS-Name" + i.ToString() + ran.Next(100, 999).ToString();
17                 listStudent.Add(student);
18             }
19
20             int page = obj.page;
21             int rows = obj.rows;
22             List<TSModel> ts = new List<TSModel>();
23             for (int i = (page - 1) * rows; i < (page * rows > listStudent.Count ? listStudent.Count : page * rows); i++)
24             {
25                 ts.Add(listStudent[i]);
26             }
27
28             string json = Newtonsoft.Json.JsonConvert.SerializeObject(new { rows = ts, total = listStudent.Count, success = true });
29             return new HttpResponseMessage { Content = new StringContent(json, System.Text.Encoding.UTF8, "text/plain") };
30         }
31     }
32
33
34     /// <summary>
35     /// form提交数据
36     /// </summary>
37     public class formUserInfo
38     {
39         public int page { get; set; }
40         public int rows { get; set; }
41         public string email { get; set; }
42     }
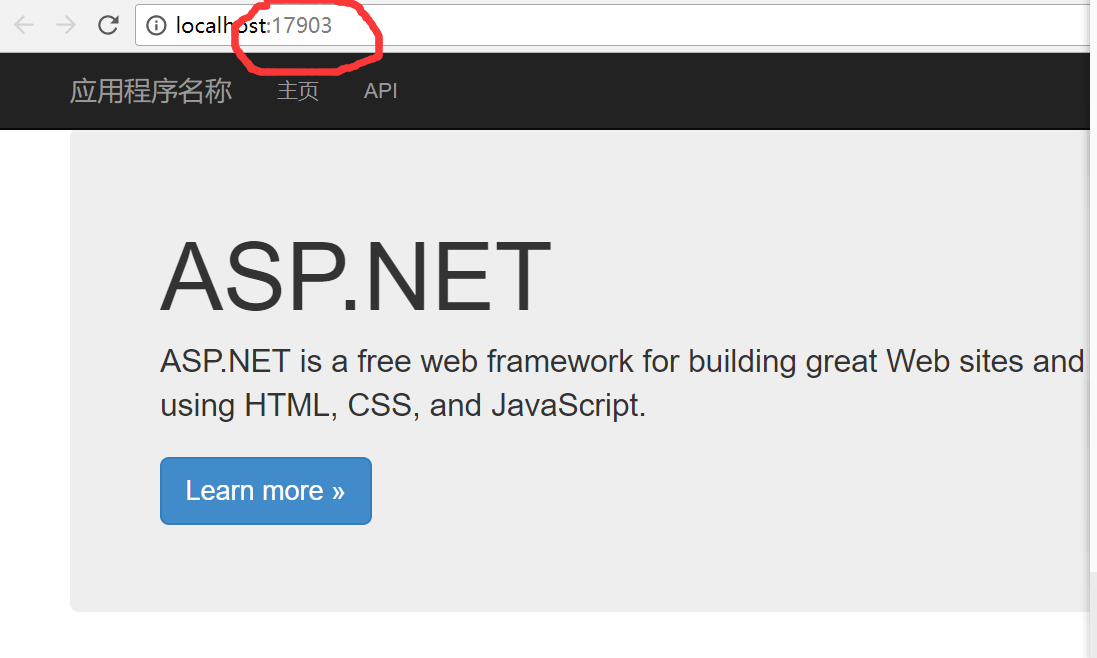
4】然后运行一下程序【由于这个创建之初系统会有自带程序,实际开发中可以删除这些】,运行的主要目的是为了看端口号;实际开发中这个发布之后由直自己设置。
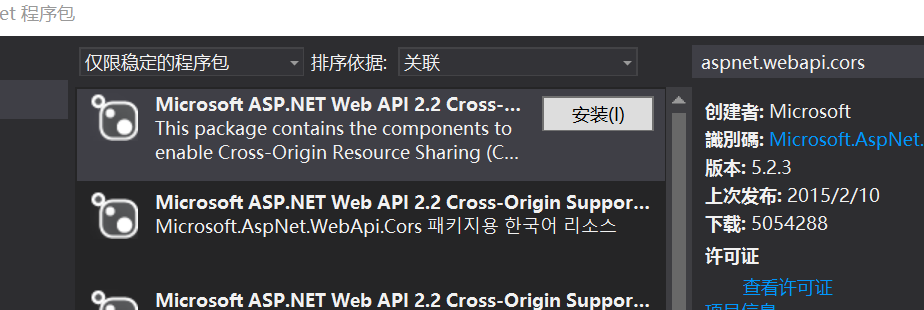
5】:安装【aspnet.webapi.cors】这个在NuGet中设置
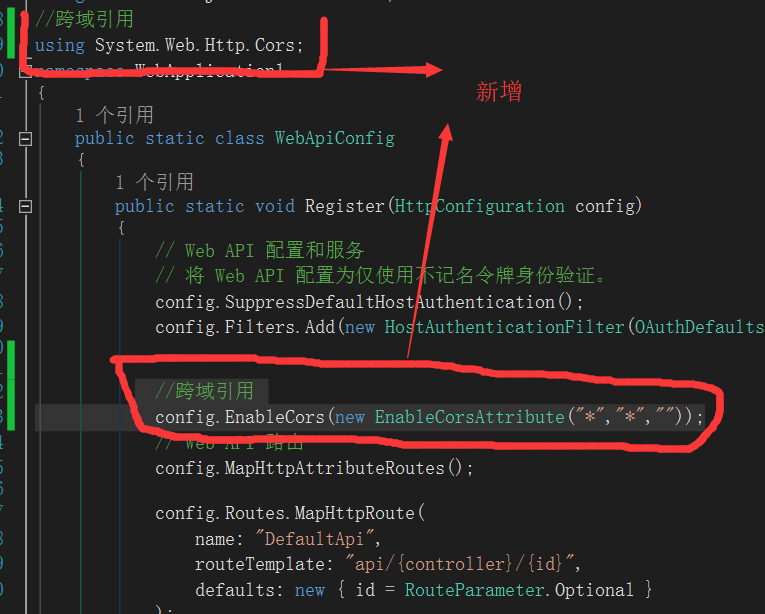
6】在App_Start/WebApiConfig.cs 添加设置
//跨域引用
using System.Web.Http.Cors;
//跨域引用
          config.EnableCors(new EnableCorsAttribute("*","*",""));

api到此结束,然后看看效果。先写一个html

 1 <!DOCTYPE html>
 2 <html>
 3 <head>
 4     <title>Ems SA</title>
 5     <link rel="stylesheet" type="text/css" href="JqueryEasyui/themes/bootstrap/easyui.css" />
 6     <link rel="stylesheet" type="text/css" href="JqueryEasyui/themes/icon.css" />
 7     <link rel="stylesheet" type="text/css" href="JqueryEasyui/demo/demo.css" />
 8     <script type="text/javascript" src="JqueryEasyui/jquery.min.js"></script>
 9     <script type="text/javascript" src="JqueryEasyui/jquery.easyui.min.js"></script>
10     <script type="text/javascript">
11         function doSearch() {
12
13         }
14     </script>
15 </head>
16 <body>
17     <div>
18         <table id="dg" class="easyui-datagrid" style=" 100%; height: auto; min-height: 400px"
19                data-options="
20                 iconCls: 'icon-edit',
21                 singleSelect: true,
22                 url: 'http://localhost:17903/api/Main/GetUserInfo',
23                 method: 'post',
24                 pagination:true,
25                 pageSize:15,
26                 pageList: [5, 10, 15],
27                 queryParams: {'email': ''}
28
29         ">
30             <thead>
31                 <tr>
32                     <th data-options="field:'ck',checkbox:true">
33                     </th>
34                     <th data-options="field:'Id'">
35                         Id
36                     </th>
37                     <th data-options="field:'Name'">
38                         Name
39                     </th>
40
41                     <th data-options="field:'Email'">
42                         Email
43                     </th>
44                 </tr>
45             </thead>
46         </table>
47     </div>
48 </body>
49 </html>
然后运行看看效果

【ps:本人在网络上看见这个Demo,所需学习之后在这里作为分享。记得当时下载这个例子需要积分,但是忘记是哪一个网址,所不提供Demo下载。按照上面步骤就可获取一个完整Demo】
