这里就不介绍怎么创建springboot项目了,可以查看我前面的博客
Spring Cloud Eureka
Spring Cloud Eureka是Spring Cloud Netflix项目下的服务治理模块。而Spring Cloud Netflix项目是Spring Cloud的子项目之一,主要内容是对Netflix公司一系列开源产品的包装,它为Spring Boot应用提供了自配置的Netflix OSS整合。通过一些简单的注解,开发者就可以快速的在应用中配置一下常用模块并构建庞大的分布式系统。它主要提供的模块包括:服务发现(Eureka),断路器(Hystrix),智能路由(Zuul),客户端负载均衡(Ribbon)等。
1、在pom.xml文件中加入
<!-- 这里特别注意,如果默认是2.02版本之类的,controller springbuiler启动会失败 -->
<parent>
<groupId>org.springframework.boot</groupId>
<artifactId>spring-boot-starter-parent</artifactId>
<version>1.4.0.RELEASE</version>
<relativePath/> <!-- lookup parent from repository -->
</parent>
 <dependencies>
        <dependency>
            <groupId>org.springframework.boot</groupId>
            <artifactId>spring-boot-starter-web</artifactId>
        </dependency>

        <dependency>
            <groupId>org.springframework.boot</groupId>
            <artifactId>spring-boot-starter-test</artifactId>
            <scope>test</scope>
        </dependency>
        <dependency>
            <groupId>org.springframework.cloud</groupId>
            <artifactId>spring-cloud-starter-eureka-server</artifactId>
           </dependency>
    </dependencies>


<dependencyManagement>
        <dependencies>
            <dependency>
               <groupId>org.springframework.cloud</groupId>
               <artifactId>spring-cloud-dependencies</artifactId>
               <version>Dalston.SR3</version>
               <type>pom</type>
               <scope>import</scope>
            </dependency>
        </dependencies>
    </dependencyManagement>
2、通过@EnableEurekaServer注解启动一个服务注册中心提供给其他应用进行对话。这一步非常的简单,只需要在一个普通的Spring Boot应用中添加这个注解就能开启此功能,比如下面的例子
package com.example.demo;
import org.springframework.boot.SpringApplication;
import org.springframework.boot.autoconfigure.SpringBootApplication;
import org.springframework.cloud.netflix.eureka.server.EnableEurekaServer;
@EnableEurekaServer
@SpringBootApplication
public class EurekaServerApplication {

    public static void main(String[] args) {
        SpringApplication.run(EurekaServerApplication.class, args);

    }
}
3、在默认设置下,该服务注册中心也会将自己作为客户端来尝试注册它自己,所以我们需要禁用它的客户端注册行为,只需要在application.properties配置文件中增加如下信息:
spring.application.name=eurekaServer
server.port=8000

eureka.instance.hostname=localhost
eureka.client.register-with-eureka=false
eureka.client.fetch-registry=false
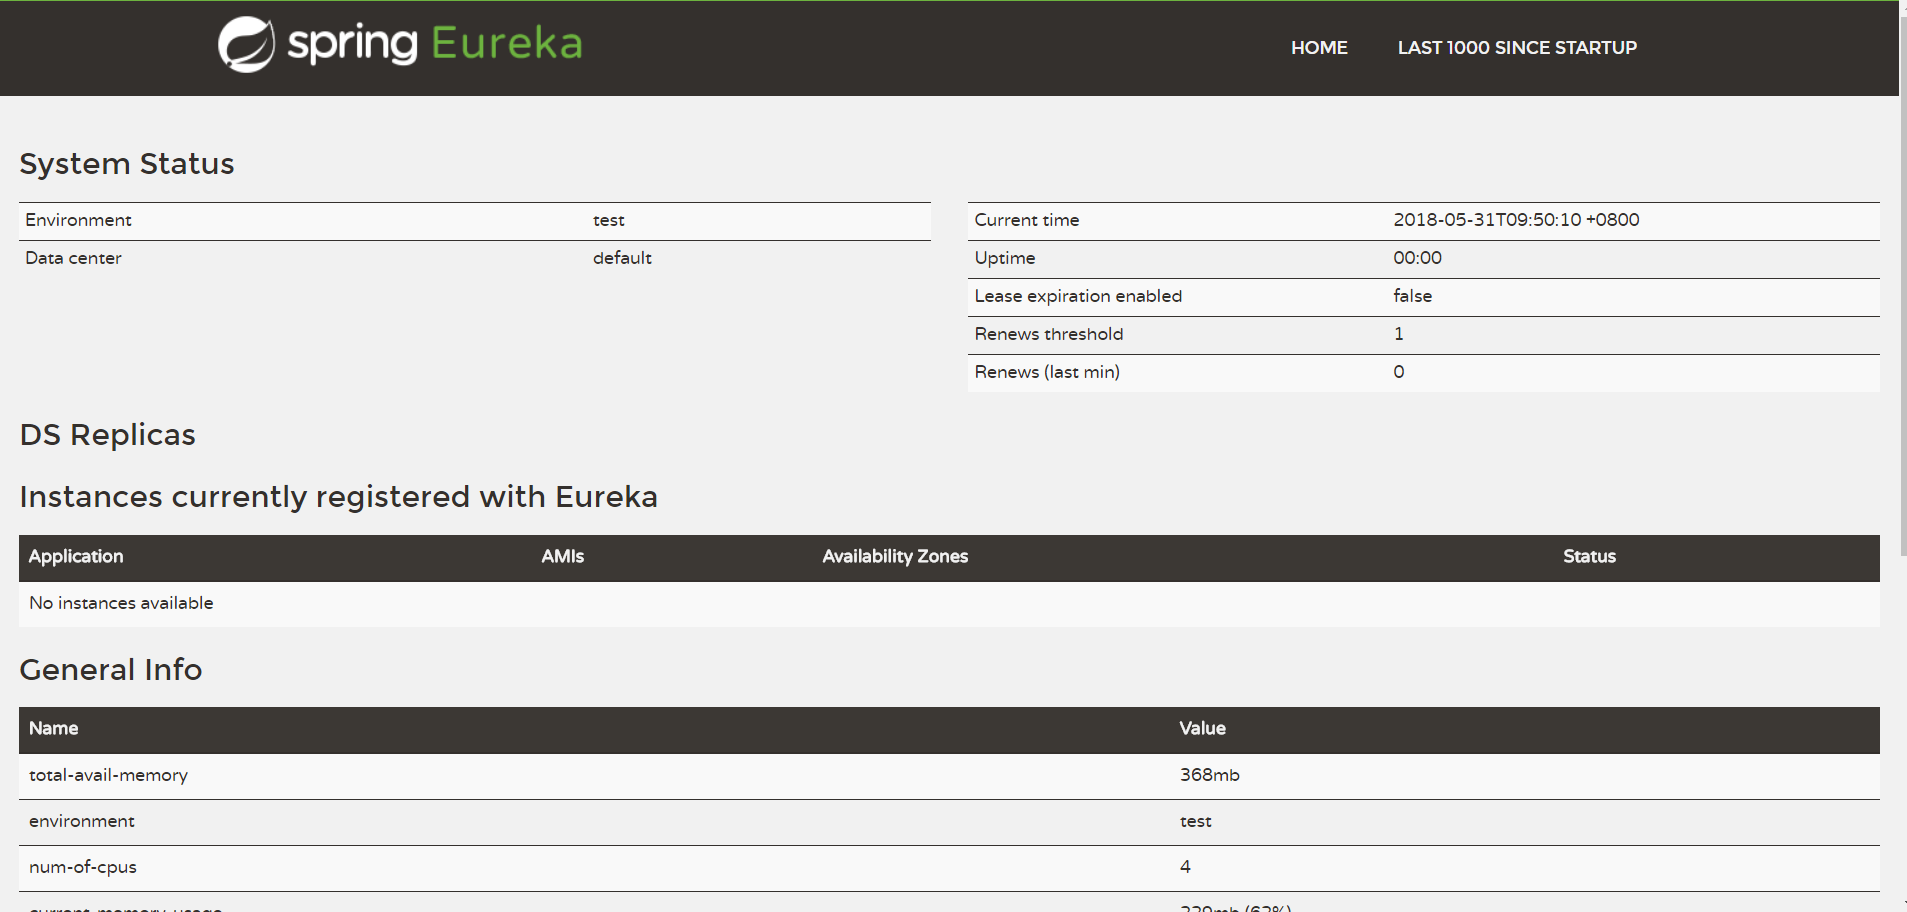
4、访问http://localhost:8000/,效果图

至此服务注册中心 启动成功!