页面框架的搭建主要有三大类:
Fragment+RadioGroup
Fragment+LinearLayout
Fragment + ViewPager。
这次我们说说使用最多,也最方便、简单的Fragment+RadioGroup 。
话不多说,直接上代码!
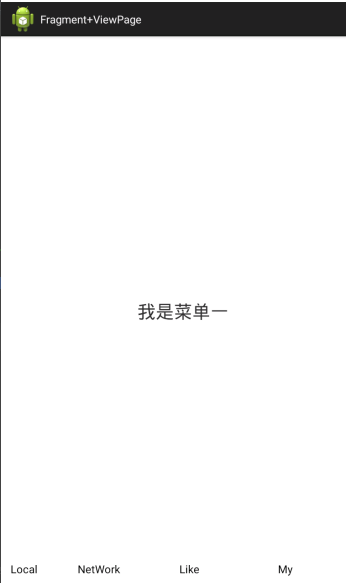
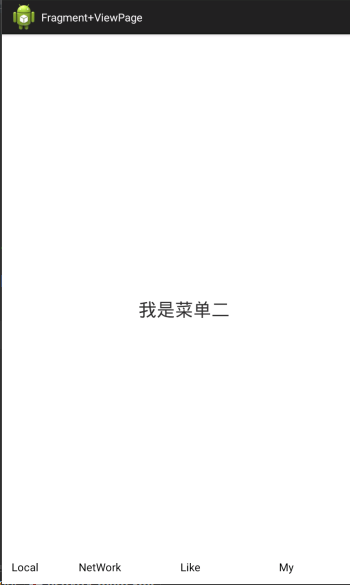
这是效果图
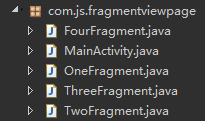
Activity文件
Xml文件

activity_main.xml
<RelativeLayout xmlns:android="http://schemas.android.com/apk/res/android"
    xmlns:tools="http://schemas.android.com/tools"
    android:layout_width="match_parent"
    android:layout_height="wrap_content"
    android:paddingBottom="@dimen/activity_vertical_margin"
    android:paddingLeft="@dimen/activity_horizontal_margin"
    android:paddingRight="@dimen/activity_horizontal_margin"
    android:paddingTop="@dimen/activity_vertical_margin"
    tools:context="com.js.fragmentviewpage.MainActivity" >
<FrameLayout
        android:id="@+id/songContent"
        android:layout_width="match_parent"
        android:layout_height="match_parent"
        android:layout_alignParentLeft="false"
        android:layout_alignParentTop="false"
        android:layout_centerInParent="true"
        android:layout_centerVertical="false"
        android:layout_marginLeft="133dp"
        android:layout_marginTop="126dp" >
    </FrameLayout>

<RadioGroup
    android:id="@+id/songmain_tabs"
    android:layout_width="match_parent"
    android:layout_height="wrap_content"
    android:layout_alignParentBottom="true"
    android:layout_centerHorizontal="true"
    android:gravity="center"
    android:orientation="horizontal" >

    <RadioButton
        android:id="@+id/songmain_tab1"
        android:layout_width="wrap_content"
        android:layout_height="wrap_content"
        android:layout_gravity="center|fill_horizontal"
        android:layout_weight="1"
        android:button="@null"
        android:checked="true"
        android:text="Local"
        android:textSize="18dp" />

    <RadioButton
        android:id="@+id/songmain_tab2"
        android:layout_width="wrap_content"
        android:layout_height="wrap_content"
        android:layout_marginLeft="40dp"
        android:layout_weight="2"
        android:button="@null"
        android:text="NetWork"
        android:textSize="18dp" />

    <RadioButton
        android:id="@+id/songmain_tab3"
        android:layout_width="wrap_content"
        android:layout_height="wrap_content"
        android:layout_marginLeft="45dp"
        android:layout_weight="3"
        android:button="@null"
        android:text="Like"
        android:textSize="18dp" />

    <RadioButton
        android:id="@+id/songmain_tab4"
        android:layout_width="wrap_content"
        android:layout_height="wrap_content"
        android:layout_marginLeft="50dp"
        android:layout_weight="4"
        android:button="@null"
        android:text="My"
        android:textSize="18dp" />

</RadioGroup>


</RelativeLayout>
fragment_one.xml
<RelativeLayout xmlns:android="http://schemas.android.com/apk/res/android"
    xmlns:tools="http://schemas.android.com/tools"
    android:layout_width="match_parent"
    android:layout_height="match_parent"
    android:paddingBottom="@dimen/activity_vertical_margin"
    android:paddingLeft="@dimen/activity_horizontal_margin"
    android:paddingRight="@dimen/activity_horizontal_margin"
    android:paddingTop="@dimen/activity_vertical_margin"
    tools:context="com.js.fragmentviewpage.OneFragment" >

    <TextView
        android:layout_width="match_parent"
        android:layout_height="match_parent"
        android:gravity="center"
        android:text="我是菜单一"
        android:textSize="30sp" />

</RelativeLayout>
OneFragment.java
package com.js.fragmentviewpage;import android.app.Fragment;
import android.os.Bundle;
import android.view.LayoutInflater;
import android.view.View;
import android.view.ViewGroup;

public class OneFragment extends Fragment {
    @Override
    public View onCreateView(LayoutInflater inflater, ViewGroup container, Bundle savedInstanceState) {
            View view = inflater.inflate(R.layout.fragment_one, null);
            return view;
    }
    }
TowFragment ,ThreeFragment 和 FourFragment 写法都和OneFragment 基本一样,就不重复写啦~
最主要的就是MainActivity了
package com.js.fragmentviewpage;

import android.app.Activity;
import android.app.FragmentManager;
import android.app.FragmentTransaction;
import android.os.Bundle;
import android.widget.RadioGroup;

public class MainActivity extends Activity{

    public FragmentManager fragmentManager;
    public FragmentTransaction beginTransaction;
    private OneFragment oneFragment;
    private TwoFragment twoFragment;
    private ThreeFragment threeFragment;
    private FourFragment fourFragment;

    @Override
    protected void onCreate(Bundle savedInstanceState) {
        super.onCreate(savedInstanceState);
        setContentView(R.layout.activity_main);
        RadioGroup songMainTabs = (RadioGroup)findViewById(R.id.songmain_tabs);
        //获取FragmentManager-->activity用于管理Fragment的对象
        fragmentManager = getFragmentManager();
     //开启事务
     beginTransaction =
              fragmentManager.beginTransaction();
            //动态操作Fragment
            //将OneFragment这个Fragment装配的View添加到R.id.songContent这个组件里面去
     beginTransaction.add(R.id.songContent,new OneFragment());
     //提交事务
     beginTransaction.commit();
     //给RadioGroup的按钮添加监听
     songMainTabs.setOnCheckedChangeListener(new RadioGroup.OnCheckedChangeListener() {

        @Override
        public void onCheckedChanged(RadioGroup group, int checkedId) {
             //再次开启事务
             beginTransaction =
                    fragmentManager.beginTransaction();

            //判断选择的选项为哪一个,动态的添加响应的Fragment
            switch(checkedId) {
        case R.id.songmain_tab1:
            if(oneFragment==null) {
                oneFragment=new OneFragment();
            }
            beginTransaction.replace(R.id.songContent,oneFragment);
            break;
        case R.id.songmain_tab2:
            if(twoFragment==null) {
                twoFragment=new TwoFragment();
            }
            beginTransaction.replace(R.id.songContent,twoFragment);
            break;
        case R.id.songmain_tab3:
            if(threeFragment==null) {
                threeFragment=new ThreeFragment();
            }
            beginTransaction.replace(R.id.songContent, threeFragment);
            break;
        case R.id.songmain_tab4:
            if(fourFragment==null) {
                fourFragment=new FourFragment();
            }
            beginTransaction.replace(R.id.songContent, fourFragment);
            break;
        }

            beginTransaction.commit();
        }
     });
    }
}
这样简单的页面框架就搭好了!是不是so easy~