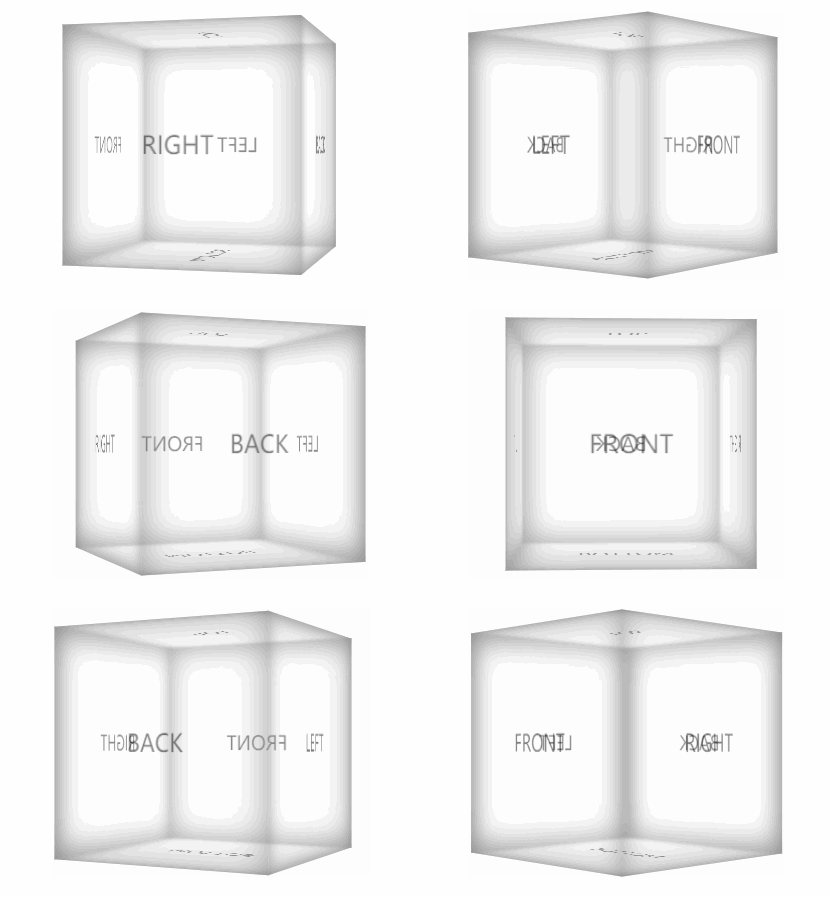
效果
效果图如下

实现思路
- 定义一个最外层的容器,用来控制显示的位置
- 定义一个父容器,用来设置元素被查看位置的视图,这里使用到CSS3的perspective 属性
- 定义子容器,设置为相对定位,利用transform-style属性,使被转换的子元素保留其 3D 转换
- 定义6个div,构成正方体的6个面
dom结构
按照实现思路,我们需要如下的dom结构
<div class="container">
    <div class="cube-wrap">
        <div class="cube">
            <div class="front">front</div>
            <div class="back">back</div>
            <div class="top">top</div>
            <div class="bottom">bottom</div>
            <div class="left">left</div>
            <div class="right">right</div>
        </div>
    </div>
</div>
css样式
1、最外层容器样式
.container{
    width: 250px;
    height: 250px;
    margin: 250px auto;
}
2、父容器设置perspective 属性
.cube-wrap{
    perspective: 800px;
    perspective-origin: 50% 100px;
}
3、子容器设置transform-style属性,同时子容器有控制着正方体旋转的动画
.cube{
    position: relative;
    width: 200px;
    margin: 0 auto;
    transform-style: preserve-3d;
    animation: cube-spin 5s infinite linear;
}

@keyframes cube-spin{
    from{
        transform: rotateY(0);
    }
    to{
        transform: rotateY(360deg);
    }
}
4、正方体6个面的样式
.cube div{
    position: absolute;
    width: 200px;
    height: 200px;
    background: rgba(255,255,255,0.1);
    box-shadow: inset 0 0 30px rgba(125,125,125,0.8);
    font-size: 20px;
    text-align: center;
    line-height: 200px;
    color: rgba(0,0,0,0.5);
    text-transform: uppercase;
}
5、将6个面分别进行位置的变换转移,构成一个正方体
.front{
    transform: translateZ(100px);
}

.back{
    transform: rotateY(180deg) translateZ(100px);
}

.top{
    transform: rotateX(-90deg) translateY(-100px);
    transform-origin: top center;
}

.bottom{
    transform: rotateX(90deg) translateY(100px);
    transform-origin: bottom center;
}

.left{
    transform: rotateY(270deg) translateX(-100px);
    transform-origin: center left;
}

.right{
    transform: rotateY(-270deg) translateX(100px);
    transform-origin: top right;
}
搞定,逻辑很清晰有没有,跟着实现一遍,你也可以画出超酷炫的透明正方体咯~