Android开发 ---从互联网上下载文件,回调函数,图片压缩、倒转
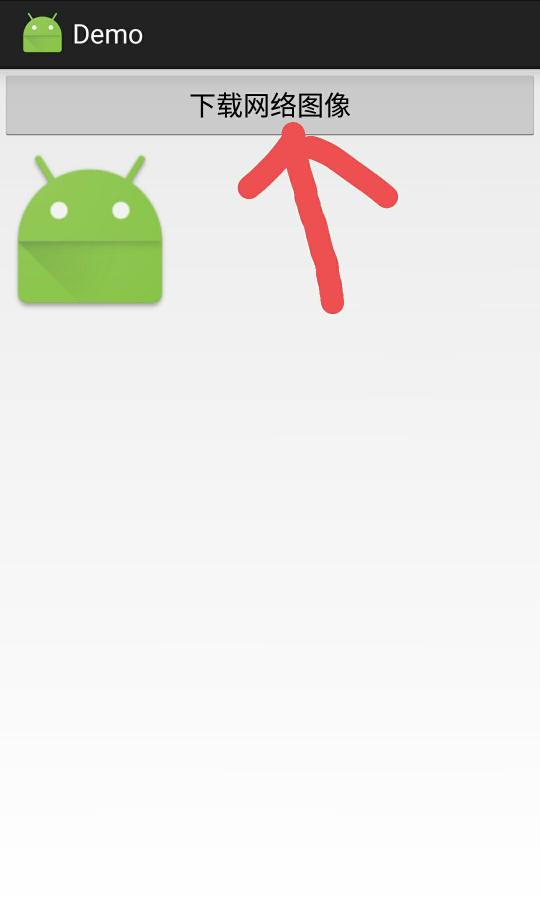
效果图:
描述:
当点击“下载网络图像”按钮时,系统会将图二中的照片在互联网上找到,并显示在图像框中
注意:这个例子并没有将图片文件下载到本地
1、activity_main.xml
描述:
在主页上画一个“下载网络图像”按钮,和一个图像显示框
<?xml version="1.0" encoding="utf-8"?>
<LinearLayout xmlns:android="http://schemas.android.com/apk/res/android"
    android:layout_width="match_parent"
    android:layout_height="match_parent"
    android:id="@+id/activity_main"
    android:orientation="vertical"
    >
    <Button
        android:layout_width="match_parent"
        android:layout_height="wrap_content"
        android:text="下载网络图像"
        android:onClick="downLoadImage"
        />
    <ImageView
        android:layout_width="120dp"
        android:layout_height="120dp"
        android:id="@+id/showImage"
        android:src="@mipmap/ic_launcher"
        android:scaleType="fitXY"
        />
</LinearLayout>
2、MainActivity.java
package example.com.demo;

import android.app.Activity;
import android.graphics.Bitmap;
import android.graphics.BitmapFactory;
import android.os.Bundle;
import android.view.View;
import android.widget.ImageView;

import java.io.InputStream;
import java.net.HttpURLConnection;
import java.net.URL;

public class MainActivity extends Activity {
  //获取图像框,但是还不知道是哪个id的图像框,所以在onCreate()方法中获取图像框id
    private ImageView imageView;
    @Override
    protected void onCreate(Bundle savedInstanceState) {
        super.onCreate(savedInstanceState);
        setContentView(R.layout.activity_main);
     //取得图像框id
        imageView = (ImageView)findViewById(R.id.showImage);
    }
    //下载图像(注意:android4.0之后,所有的Web操作必须置于多线程之中)
    public void downLoadImage(View view){
     //创建线程
        new Thread(new Runnable() {
            @Override
            public void run() {
                try {
            //构建一个URL,这个URL可以是互联网上的网址,如果要本地的网址,必须要知道本地计算机的IP地址
                    URL url=new URL("http://pic23.nipic.com/20120918/10910345_133800468000_2.jpg");  //构建一个URL(java.net)
            //HttpURLConnection是java的标准类,继承自URLConnection类,它们都是抽象类无法实例化对象。
            //通过URL的openConnection方法获得并创建连接
                    HttpURLConnection conn= (HttpURLConnection)url.openConnection();
                    conn.setConnectTimeout(10*1000);//设置连接超时时间
                    conn.setDoInput(true);//默认true,服务器响应到客户端的都是数据流
                    /*
              conn.setReadTimeout(15*1000);//设置读取超时时间
              conn.setDoOutput(true);//设置是否允许构建一个输出流向服务器传递数据,默认为false
              conn.useCache(false);//设置是否使用缓存,POST不能使用缓存,即不支持POST方式
            */
            //建立连接
            conn.connect();

                    //获取服务器响应的数据流
                    InputStream input=conn.getInputStream();
                    //将数据流转换为一张图像,BitmapFactory位图工厂
                    final Bitmap bitmap= BitmapFactory.decodeStream(input);
                    //关闭流
                    input.close();
                    //将图像设置到ImageView中
                    runOnUiThread(new Runnable() {
                        @Override
                        public void run() {
                            imageView.setImageBitmap(bitmap);
                        }
                    });
                } catch (Exception e) {
                    e.printStackTrace();
                }
            }
        }).start();
    }

}
3、AndroidManifest.xml
设置网络权限
要从互联网上通过数据流的方式下载数据需要设置权限
<?xml version="1.0" encoding="utf-8"?>
<manifest xmlns:android="http://schemas.android.com/apk/res/android"
    package="example.com.demo">

    <application
        android:allowBackup="true"
        android:icon="@mipmap/ic_launcher"
        android:label="@string/app_name"
        android:roundIcon="@mipmap/ic_launcher_round"
        android:supportsRtl="true"
        android:theme="@style/AppTheme">
        <activity android:name=".MainActivity">
            <intent-filter>
                <action android:name="android.intent.action.MAIN" />

                <category android:name="android.intent.category.LAUNCHER" />
            </intent-filter>
        </activity>
    </application>
    <!--开启网络权限-->
    <uses-permission android:name="android.permission.INTERNET"/>
    <uses-permission android:name="android.permission.MOUNT_UNMOUNT_FILESYSTEMS"/>
    <uses-permission android:name="android.permission.WRITE_EXTERNAL_STORAGE"/>

</manifest>
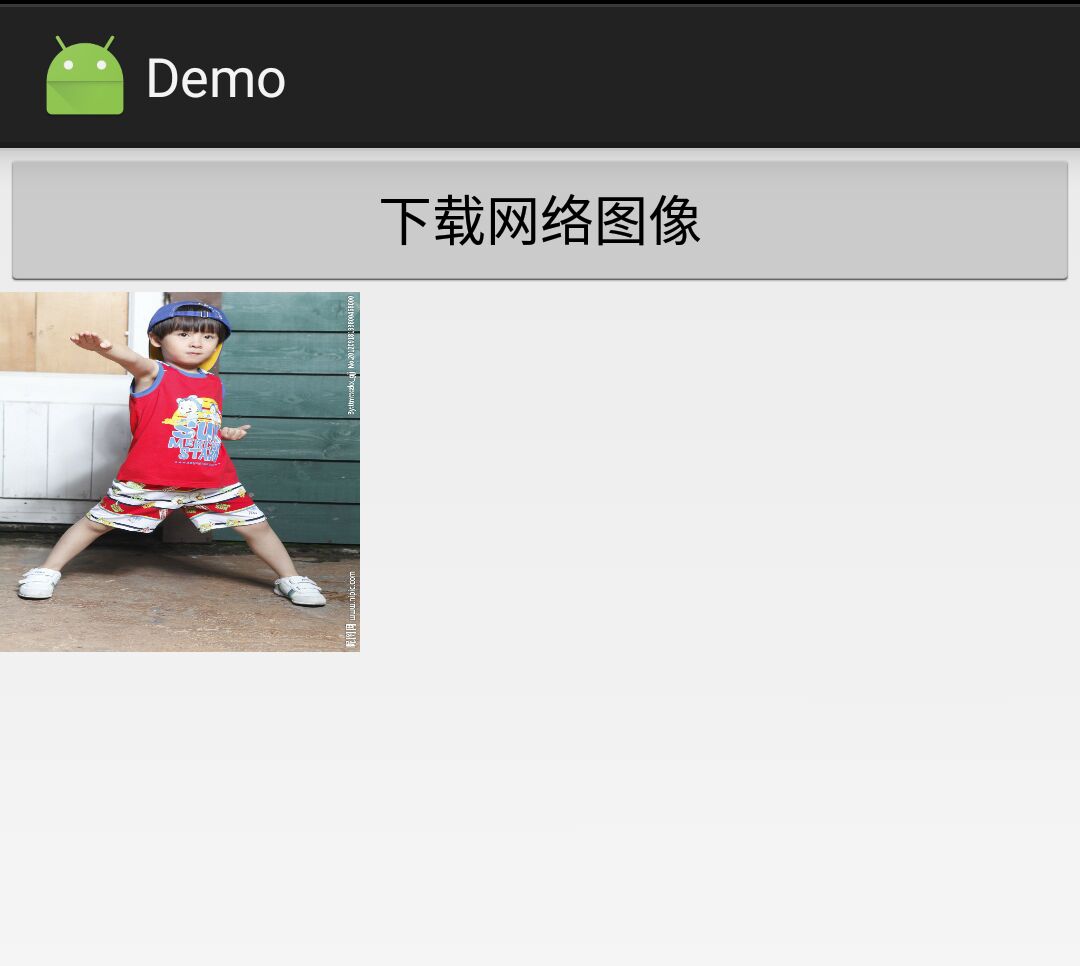
效果图:
描述:
当点击“下载网络图像并保存到SD卡”按钮时,系统会将URL指定路径上的文件下载到本地SD卡上,
上面的示例中,只是从互联网上获取一张图片,并没有下载到本地,
而这个例子,则将图片文件下载到了本地SD卡上

1、activity_main.xml
<?xml version="1.0" encoding="utf-8"?>
<LinearLayout xmlns:android="http://schemas.android.com/apk/res/android"
    android:id="@+id/activity_main"
    android:layout_width="match_parent"
    android:layout_height="match_parent"
    android:orientation="vertical">

    <Button
        android:text="下载网络图像并保存到SD卡"
        android:onClick="downLoadImage2"
        android:layout_width="match_parent"
        android:layout_height="wrap_content" />
    <ImageView
        android:id="@+id/showImage"
        android:src="@mipmap/ic_launcher"
        android:scaleType="fitXY"
        android:layout_width="120dp"
        android:layout_height="120dp" />
</LinearLayout>
2、MainActivity.java
package example.com.demo2;

import android.app.Activity;
import android.graphics.Bitmap;
import android.graphics.BitmapFactory;
import android.os.Bundle;
import android.os.Environment;
import android.view.View;
import android.widget.ImageView;

import java.io.File;
import java.io.FileOutputStream;
import java.io.InputStream;
import java.io.OutputStream;
import java.net.HttpURLConnection;
import java.net.URL;

public class MainActivity extends Activity {
    private ImageView imageView;
    @Override
    protected void onCreate(Bundle savedInstanceState) {
        super.onCreate(savedInstanceState);
        setContentView(R.layout.activity_main);
        imageView=(ImageView)findViewById(R.id.showImage);
    }
    //下载图像并保存到SD卡指定目录
    public void downLoadImage2(View view){
        new Thread(new Runnable() {
            @Override
            public void run() {
                try {
                    URL url=new URL("http://pic23.nipic.com/20120918/10910345_133800468000_2.jpg");  //构建一个URL(java.net)
                    HttpURLConnection conn= (HttpURLConnection) url.openConnection();
                    conn.setConnectTimeout(10*1000);//设置连接超时时间
                    conn.setDoInput(true);//默认true,服务器响应到客户端的都是数据流
                    conn.connect();

                    //获取服务器响应的数据流
                    InputStream input=conn.getInputStream();
                    //构建一个输出流,将下载的文件保存到SD卡指定位置
                    //构建要保存文件的位置
            //指定SD卡上的绝对路径,然后将图片保存到这个绝对路径中
                    String path= Environment.getExternalStorageDirectory().getAbsolutePath()+"/gdnf_image/image_1.jpg";
            //构建文件,将上面的绝对路径放进来创建文件
                    File file=new File(path);
            //判断文件的状态,如果文件不存在,则创建这个文件
                    if(!file.getParentFile().exists())
              //创建父级文件
                        file.getParentFile().mkdirs();
            //否则,将这个文件放入输出流中读取该文件
                    OutputStream out=new FileOutputStream(file);
                    byte[] bytes=new byte[1024];
                    for(int len=0;(len= input.read(bytes))!=-1;){
                        out.write(bytes,0,len);
                    }
            //刷新
                    out.flush();
            //关闭输出流
                    out.close();
                    input.close();
                    //将下载到的图像显示出来
                    final Bitmap bitmap= BitmapFactory.decodeFile(path);
                    //将图像设置到ImageView中
                    runOnUiThread(new Runnable() {
                        @Override
                        public void run() {
                            imageView.setImageBitmap(bitmap);
                        }
                    });
                } catch (Exception e) {
                    e.printStackTrace();
                }
            }
        }).start();
    }
}
3、AndroidManifest.xml
<?xml version="1.0" encoding="utf-8"?>
<manifest xmlns:android="http://schemas.android.com/apk/res/android"
    package="example.com.demo2">

    <application
        android:allowBackup="true"
        android:icon="@mipmap/ic_launcher"
        android:label="@string/app_name"
        android:roundIcon="@mipmap/ic_launcher_round"
        android:supportsRtl="true"
        android:theme="@style/AppTheme">
        <activity android:name=".MainActivity">
            <intent-filter>
                <action android:name="android.intent.action.MAIN" />

                <category android:name="android.intent.category.LAUNCHER" />
            </intent-filter>
        </activity>
    </application>
    <!--开启网络权限-->
    <uses-permission android:name="android.permission.INTERNET"/>
    <uses-permission android:name="android.permission.MOUNT_UNMOUNT_FILESYSTEMS"/>
    <uses-permission android:name="android.permission.WRITE_EXTERNAL_STORAGE"/>
</manifest>
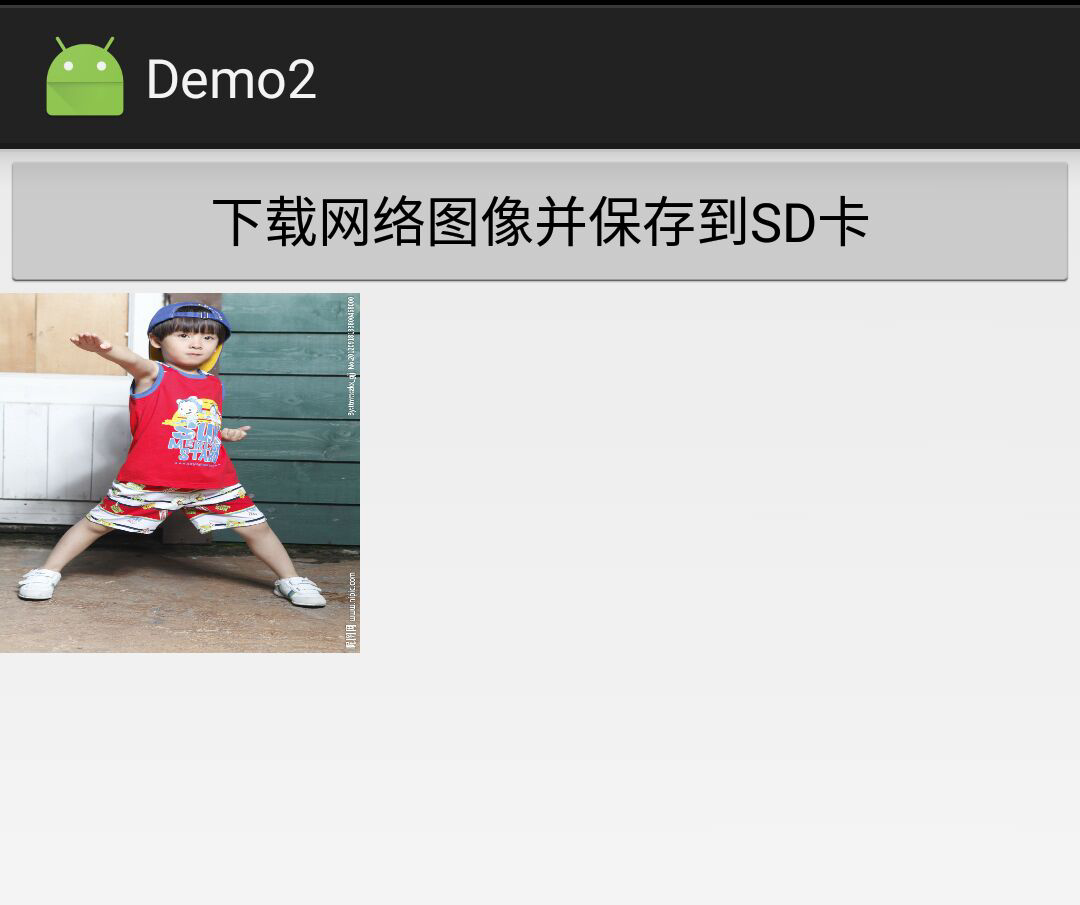
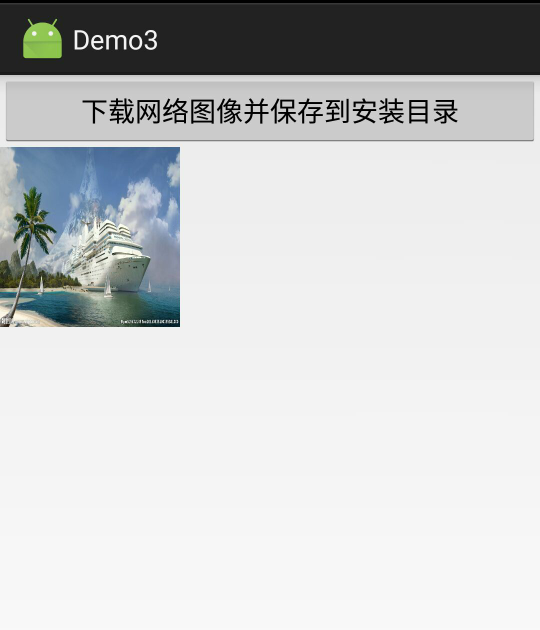
效果图:
描述:
1、上面的例子是将图片文件保存到SD卡上的绝对路径上,现在我们想将下载下来的文件放在安装目录下面,
这样做的好处就是,当用户卸载demo3项目的同时,这张图片也从Android中卸载掉
2、我们从互联网上下载下来的图片文件可能比较大,所以我们创建了一个工具类BitmapUtils.java 将下载下来的图片进行按比例压缩,减少空间的占用
1、activity_main.xml
<?xml version="1.0" encoding="utf-8"?>
<LinearLayout xmlns:android="http://schemas.android.com/apk/res/android"
    android:id="@+id/activity_main"
    android:layout_width="match_parent"
    android:layout_height="match_parent"
    android:orientation="vertical">
    <Button
        android:text="下载网络图像并保存到安装目录"
        android:onClick="downLoadImage3"
        android:layout_width="match_parent"
        android:layout_height="wrap_content" />
    <ImageView
        android:id="@+id/showImage"
        android:src="@mipmap/ic_launcher"
        android:scaleType="fitXY"
        android:layout_width="120dp"
        android:layout_height="120dp" />
</LinearLayout>
2、MainActivity.java
package example.com.demo3;

import android.app.Activity;
import android.graphics.Bitmap;
import android.graphics.BitmapFactory;
import android.os.Bundle;
import android.view.View;
import android.widget.ImageView;
import android.widget.Toast;

import java.io.File;
import java.io.FileOutputStream;
import java.io.InputStream;
import java.io.OutputStream;
import java.net.HttpURLConnection;
import java.net.URL;

import example.com.utils.BitMapUtils;

public class MainActivity extends Activity {
    private ImageView imageView;
    @Override
    protected void onCreate(Bundle savedInstanceState) {
        super.onCreate(savedInstanceState);
        setContentView(R.layout.activity_main);
        imageView=(ImageView)findViewById(R.id.showImage);
    }
    //下载图像并保存到安装目录下
    Bitmap bitmap=null;
    public void downLoadImage3(View view){
        //构建文件的位置
     //这回就不再是SD卡上的绝对路径了,而是项目的安装路径
        final String path= getApplicationContext().getFilesDir().getAbsolutePath()+"/user_images/user_2.jpg";
        final File file=new File(path);
     //如果文件存在时
        if(file.exists()){
            //调用BitMapUtils工具类进行压缩,读取一张小图
            bitmap= BitMapUtils.getSmallBitmap(path);
       //将图片旋转180度
            //bitmap=BitMapUtils.rotateBitmap(bitmap,180);
       //将图片在图像框中显示
            imageView.setImageBitmap(bitmap);
        }else{
       //否则,如果文件不存在,则创建文件的父级目录
            if(!file.getParentFile().exists())
                file.getParentFile().mkdirs();
            //开启线程执行文件下载
            new Thread(new Runnable() {
                @Override
                public void run() {
                    try {
                        URL url=new URL("http://pic66.nipic.com/file/20150513/20186525_100135381000_2.jpg");  //构建一个URL(java.net)
                        HttpURLConnection conn= (HttpURLConnection) url.openConnection();
                        conn.setConnectTimeout(10*1000);//设置连接超时时间
                        conn.setDoInput(true);//默认true,服务器响应到客户端的都是数据流
                        conn.connect();
                        //获取服务器响应的数据流
                        InputStream input=conn.getInputStream();
                        OutputStream out=new FileOutputStream(file);
                        byte[] bytes=new byte[1024];
                        for(int len=0;(len= input.read(bytes))!=-1;){
                            out.write(bytes,0,len);
                        }
                        out.flush();
                        out.close();
                        input.close();
              //位图工厂
                        bitmap= BitmapFactory.decodeFile(path);
                        //将图像设置到ImageView中
                        runOnUiThread(new Runnable() {
                            @Override
                            public void run() {
                                Toast.makeText(MainActivity.this, "下载图像完成", Toast.LENGTH_SHORT).show();
                   //如果文件不存在,我们就先下载文件,在让文件在图像框中显示出来
                                imageView.setImageBitmap(bitmap);
                            }
                        });
                    } catch (Exception e) {
                        e.printStackTrace();
                    }
                }
            }).start();
        }
    }

}
3、utils/BitMapUtils.java
package example.com.utils;

import android.graphics.Bitmap;
import android.graphics.BitmapFactory;
import android.graphics.Matrix;
import android.media.ExifInterface;
import android.util.Base64;

import java.io.ByteArrayOutputStream;

/**
 * Created by Admin on 2017/12/25.
 */

public class BitMapUtils {
    //计算图片的缩放值
    public static int calculateInSampleSize(BitmapFactory.Options options, int reqWidth, int reqHeight) {
        final int height = options.outHeight;
        final int width = options.outWidth;
        int inSampleSize = 1;
        if (height > reqHeight || width > reqWidth) {
            final int heightRatio = Math.round((float) height/ (float) reqHeight);
            final int widthRatio = Math.round((float) width / (float) reqWidth);
            inSampleSize = heightRatio < widthRatio ? heightRatio : widthRatio;
        }
        return inSampleSize;
    }

    // 根据路径获得图片并压缩,返回bitmap用于显示
    public static Bitmap getSmallBitmap(String filePath) {
        final BitmapFactory.Options options = new BitmapFactory.Options();
        options.inJustDecodeBounds = true;//只加载图像框架
        BitmapFactory.decodeFile(filePath, options);

        // 计算该图像压缩比例
        options.inSampleSize = calculateInSampleSize(options, 480, 800);

        //设置加载全部图像内容
        options.inJustDecodeBounds = false;
        return BitmapFactory.decodeFile(filePath, options);
    }

    //把bitmap转换成String
    public static String bitmapToString(String filePath) {
        Bitmap bm = getSmallBitmap(filePath);
        ByteArrayOutputStream baos = new ByteArrayOutputStream();
        bm.compress(Bitmap.CompressFormat.JPEG, 40, baos);
        byte[] b = baos.toByteArray();
        return Base64.encodeToString(b, Base64.DEFAULT);
    }

    //旋转照片
    public static Bitmap rotateBitmap(Bitmap bitmap,int degress) {
        if (bitmap != null) {
            Matrix m = new Matrix();
            m.postRotate(degress);
            bitmap = Bitmap.createBitmap(bitmap, 0, 0, bitmap.getWidth(),
                    bitmap.getHeight(), m, true);
            return bitmap;
        }
        return bitmap;
    }

    //判断照片角度
    public static int readPictureDegree(String path) {
        int degree = 0;
        try {
            ExifInterface exifInterface = new ExifInterface(path);
            int orientation = exifInterface.getAttributeInt(
                    ExifInterface.TAG_ORIENTATION,
                    ExifInterface.ORIENTATION_NORMAL);
            switch (orientation) {
                case ExifInterface.ORIENTATION_ROTATE_90:
                    degree = 90;
                    break;
                case ExifInterface.ORIENTATION_ROTATE_180:
                    degree = 180;
                    break;
                case ExifInterface.ORIENTATION_ROTATE_270:
                    degree = 270;
                    break;
            }
        } catch (Exception e) {
            e.printStackTrace();
        }
        return degree;
    }
}
4、AndroidManifest.xml
<?xml version="1.0" encoding="utf-8"?>
<manifest xmlns:android="http://schemas.android.com/apk/res/android"
    package="example.com.demo3">

    <application
        android:allowBackup="true"
        android:icon="@mipmap/ic_launcher"
        android:label="@string/app_name"
        android:roundIcon="@mipmap/ic_launcher_round"
        android:supportsRtl="true"
        android:theme="@style/AppTheme">
        <activity android:name=".MainActivity">
            <intent-filter>
                <action android:name="android.intent.action.MAIN" />

                <category android:name="android.intent.category.LAUNCHER" />
            </intent-filter>
        </activity>
    </application>
    <!--开启网络权限-->
    <uses-permission android:name="android.permission.INTERNET"/>
    <uses-permission android:name="android.permission.MOUNT_UNMOUNT_FILESYSTEMS"/>
    <uses-permission android:name="android.permission.WRITE_EXTERNAL_STORAGE"/>

</manifest>
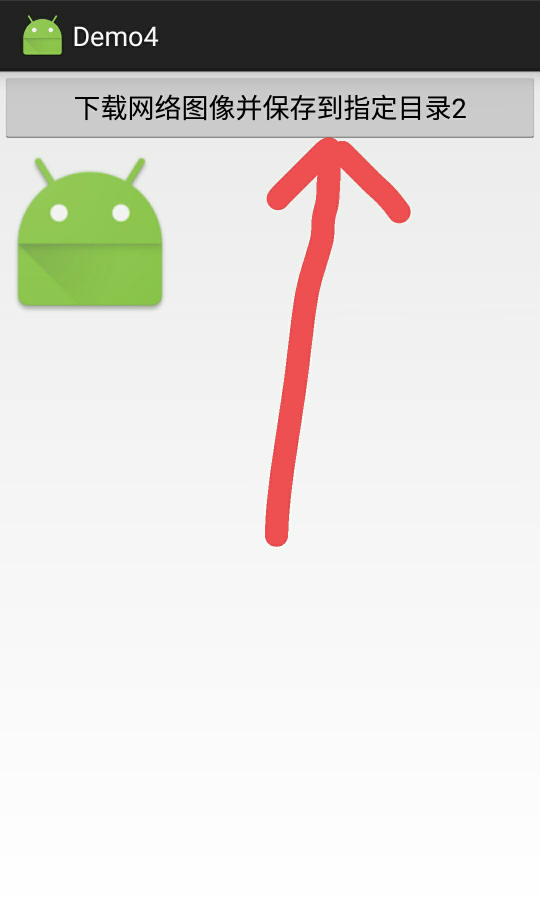
效果图:

1、activity_main.xml
<?xml version="1.0" encoding="utf-8"?>
<LinearLayout xmlns:android="http://schemas.android.com/apk/res/android"
    android:id="@+id/activity_main"
    android:layout_width="match_parent"
    android:layout_height="match_parent"
    android:orientation="vertical">
    <Button
        android:text="下载网络图像并保存到指定目录2"
        android:onClick="downLoadImage4"
        android:layout_width="match_parent"
        android:layout_height="wrap_content" />
    <ImageView
        android:id="@+id/showImage"
        android:src="@mipmap/ic_launcher"
        android:scaleType="fitXY"
        android:layout_width="120dp"
        android:layout_height="120dp" />
</LinearLayout>
2、MainActivity.java
package example.com.demo4;

import android.app.Activity;
import android.graphics.Bitmap;
import android.os.Bundle;
import android.os.Environment;
import android.view.View;
import android.widget.ImageView;
import android.widget.Toast;

import example.com.Utils.BitMapUtils;
import example.com.Utils.CallBack;
import example.com.Utils.FileUtils;

public class MainActivity extends Activity {
    private ImageView imageView;
    @Override
    protected void onCreate(Bundle savedInstanceState) {
        super.onCreate(savedInstanceState);
        setContentView(R.layout.activity_main);
        imageView=(ImageView)findViewById(R.id.showImage);
    }
    public void downLoadImage4(View view){
        String from="http://pic24.photophoto.cn/20120919/0036036482476741_b.jpg";
        final String save= Environment.getExternalStorageDirectory().getAbsolutePath()+"/gdnf_image/body3.jpg";
        if(!FileUtils.existsFile(save)) {//文件如果不存在,就下载
       //调用FileUtils类中的downLoadFile方法,将from路径和save路径传进去,并创建一个回调函数
            FileUtils.downLoadFile(from, save, new CallBack() {
          //在回调函数中实现CallBack抽象类的两个方法
                @Override
                public void success() {//下载成功
                    runOnUiThread(new Runnable() {
                        @Override
                        public void run() {
                //弹框提示
                            Toast.makeText(getApplicationContext(),"文件下载完毕",Toast.LENGTH_SHORT).show();
                //视图显示
                            Bitmap bm= BitMapUtils.getSmallBitmap(save);
                            imageView.setImageBitmap(bm);
                        }
                    });
                }
                @Override
                public void failed() {//下载失败
                    runOnUiThread(new Runnable() {
                        @Override
                        public void run() {
                            Toast.makeText(getApplicationContext(), "文件下载失败", Toast.LENGTH_SHORT).show();
                        }
                    });
                }
            });
        }else{
            Bitmap bm=BitMapUtils.getSmallBitmap(save);
            imageView.setImageBitmap(bm);
        }

    }
}
3、utils/BitMapUtils.java
package example.com.Utils;

import android.graphics.Bitmap;
import android.graphics.BitmapFactory;
import android.graphics.Matrix;
import android.media.ExifInterface;
import android.util.Base64;

import java.io.ByteArrayOutputStream;

/**
 * Created by Admin on 2017/12/25.
 */

public class BitMapUtils {
    //计算图片的缩放值
    public static int calculateInSampleSize(BitmapFactory.Options options, int reqWidth, int reqHeight) {
        final int height = options.outHeight;
        final int width = options.outWidth;
        int inSampleSize = 1;
        if (height > reqHeight || width > reqWidth) {
            final int heightRatio = Math.round((float) height/ (float) reqHeight);
            final int widthRatio = Math.round((float) width / (float) reqWidth);
            inSampleSize = heightRatio < widthRatio ? heightRatio : widthRatio;
        }
        return inSampleSize;
    }

    // 根据路径获得图片并压缩,返回bitmap用于显示
    public static Bitmap getSmallBitmap(String filePath) {
        final BitmapFactory.Options options = new BitmapFactory.Options();
        options.inJustDecodeBounds = true;//只加载图像框架
        BitmapFactory.decodeFile(filePath, options);

        // 计算该图像压缩比例
        options.inSampleSize = calculateInSampleSize(options, 480, 800);

        //设置加载全部图像内容
        options.inJustDecodeBounds = false;
        return BitmapFactory.decodeFile(filePath, options);
    }

    //把bitmap转换成String
    public static String bitmapToString(String filePath) {
        Bitmap bm = getSmallBitmap(filePath);
        ByteArrayOutputStream baos = new ByteArrayOutputStream();
        bm.compress(Bitmap.CompressFormat.JPEG, 40, baos);
        byte[] b = baos.toByteArray();
        return Base64.encodeToString(b, Base64.DEFAULT);
    }

    //旋转照片
    public static Bitmap rotateBitmap(Bitmap bitmap,int degress) {
        if (bitmap != null) {
            Matrix m = new Matrix();
            m.postRotate(degress);
            bitmap = Bitmap.createBitmap(bitmap, 0, 0, bitmap.getWidth(),
                    bitmap.getHeight(), m, true);
            return bitmap;
        }
        return bitmap;
    }

    //判断照片角度
    public static int readPictureDegree(String path) {
        int degree = 0;
        try {
            ExifInterface exifInterface = new ExifInterface(path);
            int orientation = exifInterface.getAttributeInt(
                    ExifInterface.TAG_ORIENTATION,
                    ExifInterface.ORIENTATION_NORMAL);
            switch (orientation) {
                case ExifInterface.ORIENTATION_ROTATE_90:
                    degree = 90;
                    break;
                case ExifInterface.ORIENTATION_ROTATE_180:
                    degree = 180;
                    break;
                case ExifInterface.ORIENTATION_ROTATE_270:
                    degree = 270;
                    break;
            }
        } catch (Exception e) {
            e.printStackTrace();
        }
        return degree;
    }
}
4、utils/CallBack.java
package example.com.Utils;

/**
 * 自定义一个回调函数类
 */

public interface CallBack {
  //两个方法都是抽象方法,需要其他的类实现这两个方法
    public void success();
    public void failed();
}
5、utils/FileUtils.java
package example.com.Utils;

import java.io.ByteArrayOutputStream;
import java.io.File;
import java.io.FileOutputStream;
import java.io.InputStream;
import java.io.OutputStream;
import java.net.HttpURLConnection;
import java.net.URL;

/**
 * Created by Admin on 2017/12/25.
 */

public class FileUtils {
    //将一个输入流转换为一个字符串
    public static String formatStreamToString(InputStream stream){
        if(stream!=null){
            ByteArrayOutputStream out=new ByteArrayOutputStream();
            byte[] bytes=new byte[1024];
            int len=0;
            try {
                while((len=stream.read(bytes))!=-1){
                    out.write(bytes,0,len);
                }
                String str=out.toString();
                out.flush();
                out.close();
                stream.close();
                return str;
            } catch (Exception e) {
                e.printStackTrace();
            }
        }
        return null;
    }

    //执行下载文件到指定位置
  //fromPath是文件原本的路径,savePath是你要将文件保存到哪里的路径,callBack是回调
  //在MainActivity中调用这个方法,传入fromPath和savePath两个路径,那么这个方法就会将fromPath路径中的文件下载到savePath路径中
    public static void downLoadFile(final String fromPath, final String savePath, final CallBack callBack){
     //如果两个路径都不存在
        if(fromPath!=null&&savePath!=null){
            new Thread(new Runnable() {
                @Override
                public void run() {
                    try {
                        URL url=new URL(fromPath);
                        HttpURLConnection conn=(HttpURLConnection) url.openConnection();
                        conn.setConnectTimeout(20*1000);
                        conn.connect();
                        InputStream input=conn.getInputStream();
                        File file=new File(savePath);
                        if(!file.getParentFile().exists())
                            file.getParentFile().mkdirs();
                        OutputStream out=new FileOutputStream(file);
                        byte[] bytes=new byte[1024];
                        for(int len=0;(len=input.read(bytes))!=-1;){
                            out.write(bytes,0,len);
                        }
                        out.flush();
                        out.close();
                        input.close();
                        callBack.success();//下载成功
                    } catch (Exception e) {
                        e.printStackTrace();
                        callBack.failed();//下载失败
                    }
                }
            }).start();
        }
    }

    public static boolean existsFile(String path){
        if(path!=null&&path.length()>0) {
            File file = new File(path);
            if(file.exists())
                return true;
        }
        return false;
    }
}
6、AndroidManifest.xml
<?xml version="1.0" encoding="utf-8"?>
<manifest xmlns:android="http://schemas.android.com/apk/res/android"
    package="example.com.demo4">

    <application
        android:allowBackup="true"
        android:icon="@mipmap/ic_launcher"
        android:label="@string/app_name"
        android:roundIcon="@mipmap/ic_launcher_round"
        android:supportsRtl="true"
        android:theme="@style/AppTheme">
        <activity android:name=".MainActivity">
            <intent-filter>
                <action android:name="android.intent.action.MAIN" />

                <category android:name="android.intent.category.LAUNCHER" />
            </intent-filter>
        </activity>
    </application>
    <!--开启网络权限-->
    <uses-permission android:name="android.permission.INTERNET"/>
    <uses-permission android:name="android.permission.MOUNT_UNMOUNT_FILESYSTEMS"/>
    <uses-permission android:name="android.permission.WRITE_EXTERNAL_STORAGE"/>

</manifest>