注意: 不能使用主账号(root账号运行,必须使用子账号登录)
第一步安装:: wget https://artifacts.elastic.co/downloads/elasticsearch/elasticsearch-6.3.0.tar.gz
第二步安装: tar -zxvf elasticsearch-6.3.0.tar.gz -C /root/local
第三步安装: 进入到/root/local/elasticsearch-6.3.0.tar.gz
第四步安装: mv elasticsearch-6.3.0.tar.gz elasticsearch6.3
第五步安装: vim elasticsearch6.3/config/elasticsearch.yml
第六步安装: 
discovery.zen.ping.unicast.hosts: ["192.168.91.135:9305"] 搭建集群使用 保存
第七步安装: 启动bin的./elasticsearch遇到的坑
(1) ERROR: bootstrap checks failed
max number of threads [4096] for user [lish] likely too low, increase to at least [65536]
max number of threads [3895] for user [elk] is too low, increase to at least [4096]
解决方法:
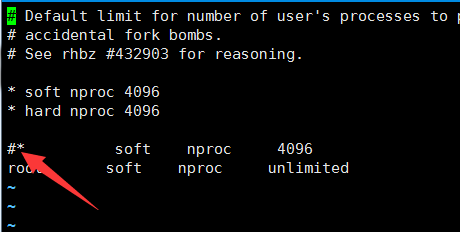
(1) 修改 : vi /etc/security/limits.conf
 user是创建用户


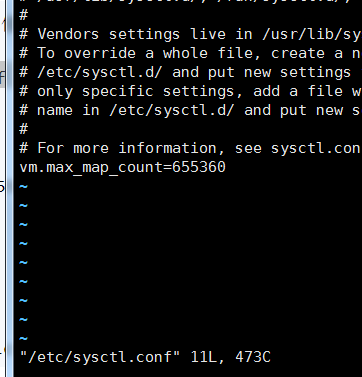
(4) 需要修改 vi /etc/sysctl.conf

vm.max_map_count=655360
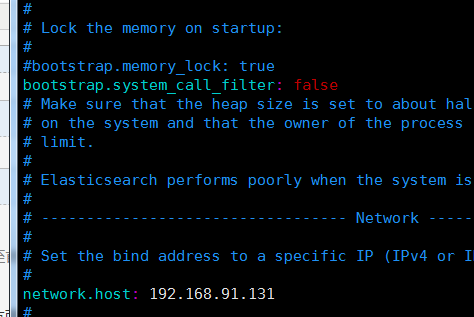
(5)错误5 system call filters failed to install; check the logs and fix your configuration or disable system c

在yml的配置文件里加
bootstrap.system_call_filter: false
然后切换成你的子账号启动就可以了