一 、elasticsearch 和elasticsearch-head
1、下载 elasticsearch-6.3.1 ,下载地址 :https://pan.baidu.com/s/1ymxyUMe5Bxv1dYlCNW5HKA
來源:http://t.zoukankan.com/feng-jjy-p-11905467.html
2、解压,修改config/elasticsearch.yml ,
设置 cluster.name: esapp ,注意:这里跟后面的skywalking中的 storage.elasticsearch.namespace 一致 , 以及设置允许跨域
# ======================== Elasticsearch Configuration =========================
#
# NOTE: Elasticsearch comes with reasonable defaults for most settings.
#       Before you set out to tweak and tune the configuration, make sure you
#       understand what are you trying to accomplish and the consequences.
#
# The primary way of configuring a node is via this file. This template lists
# the most important settings you may want to configure for a production cluster.
#
# Please consult the documentation for further information on configuration options:
# https://www.elastic.co/guide/en/elasticsearch/reference/index.html
#
# ---------------------------------- Cluster -----------------------------------
#
# Use a descriptive name for your cluster:
#
cluster.name: esapp
#
# ------------------------------------ Node ------------------------------------
#
# Use a descriptive name for the node:
#
node.name: node-1
#
# Add custom attributes to the node:
#
#node.attr.rack: r1
#
# ----------------------------------- Paths ------------------------------------
#
# Path to directory where to store the data (separate multiple locations by comma):
#
#path.data: /path/to/data
#
# Path to log files:
#
#path.logs: /path/to/logs
#
# ----------------------------------- Memory -----------------------------------
#
# Lock the memory on startup:
#
#bootstrap.memory_lock: true
#
# Make sure that the heap size is set to about half the memory available
# on the system and that the owner of the process is allowed to use this
# limit.
#
# Elasticsearch performs poorly when the system is swapping the memory.
#
# ---------------------------------- Network -----------------------------------
#
# Set the bind address to a specific IP (IPv4 or IPv6):
#
network.host: 0.0.0.0
#
# Set a custom port for HTTP:
#
http.port: 9200
#
# For more information, consult the network module documentation.
#
# --------------------------------- Discovery ----------------------------------
#
# Pass an initial list of hosts to perform discovery when new node is started:
# The default list of hosts is ["127.0.0.1", "[::1]"]
#
#discovery.zen.ping.unicast.hosts: ["host1", "host2"]
#
# Prevent the "split brain" by configuring the majority of nodes (total number of master-eligible nodes / 2 + 1):
#
#discovery.zen.minimum_master_nodes:
#
# For more information, consult the zen discovery module documentation.
#
# ---------------------------------- Gateway -----------------------------------
#
# Block initial recovery after a full cluster restart until N nodes are started:
#
#gateway.recover_after_nodes: 3
#
# For more information, consult the gateway module documentation.
#
# ---------------------------------- Various -----------------------------------
#
# Require explicit names when deleting indices:
#
#action.destructive_requires_name: true

# 是否支持跨域
http.cors.enabled: true

# *表示支持所有域名
http.cors.allow-origin: "*"
http.cors.allow-headers: Authorization,X-Requested-With,Content-Length,Content-Type
3、 启动elasticsearch,若windows 的话,可以用bin/elasticsearch.bat 启动,可以看cmd的执行记录,可到logs 目录下查看启动的日志
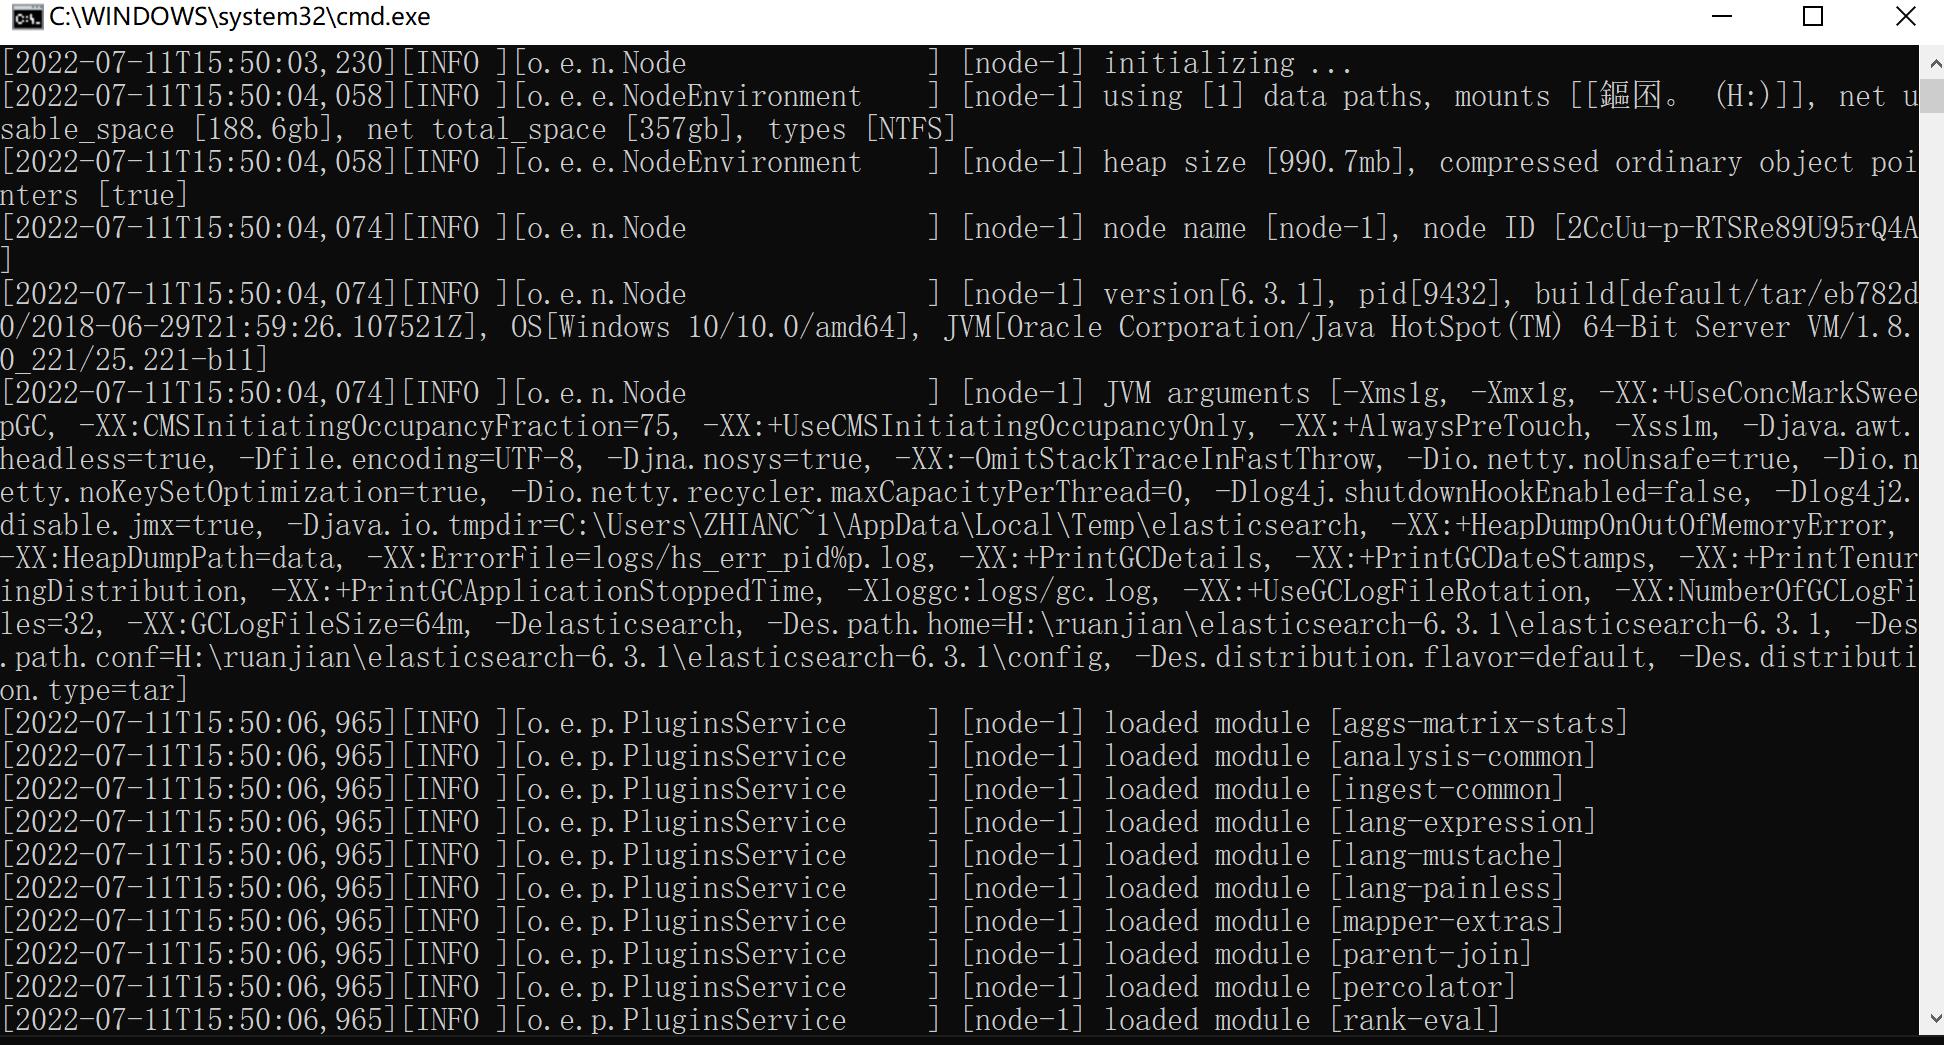

若修改配置skywalking和elasticsearch 相互关联的配置的话,或者需要删除记录的话,删除data目录下的目录文件和数据,注意data目录要保留
4、下载 elasticsearch-head , https://codeload.github.com/mobz/elasticsearch-head/zip/master
解压,放到chromer中(此步骤百度)
打开chrome浏览器

二、 zookeeper
若你skywalking的集群存储不是在zookeeper上,可以略过这步
1、下载 https://downloads.apache.org/zookeeper/zookeeper-3.6.3/apache-zookeeper-3.6.3-bin.tar.gz
2、解压,修改conf/zoo.cfg ,若单机版 无需修改

4、若要新增zookeeper 集群或者删除skywalking的集群记录的话,可以zoo.cfg 配置的dataDir的目录中的数据,比如配置的/tmp/zookeeper ,那就删除这个目录下面的目录和数据

三、apache-skywalking-apm ,这个是服务器端的工具,以及UI
1、下载apache-skywalking-apm
在 https://skywalking.apache.org/downloads/ 中选择版本,我下载的是apache-skywalking-apm-8.8.1 版本,下载地址是 https://archive.apache.org/dist/skywalking/8.8.1/apache-skywalking-apm-8.8.1.tar.gz ,注意:不是下载source的源码,是Distribution哦
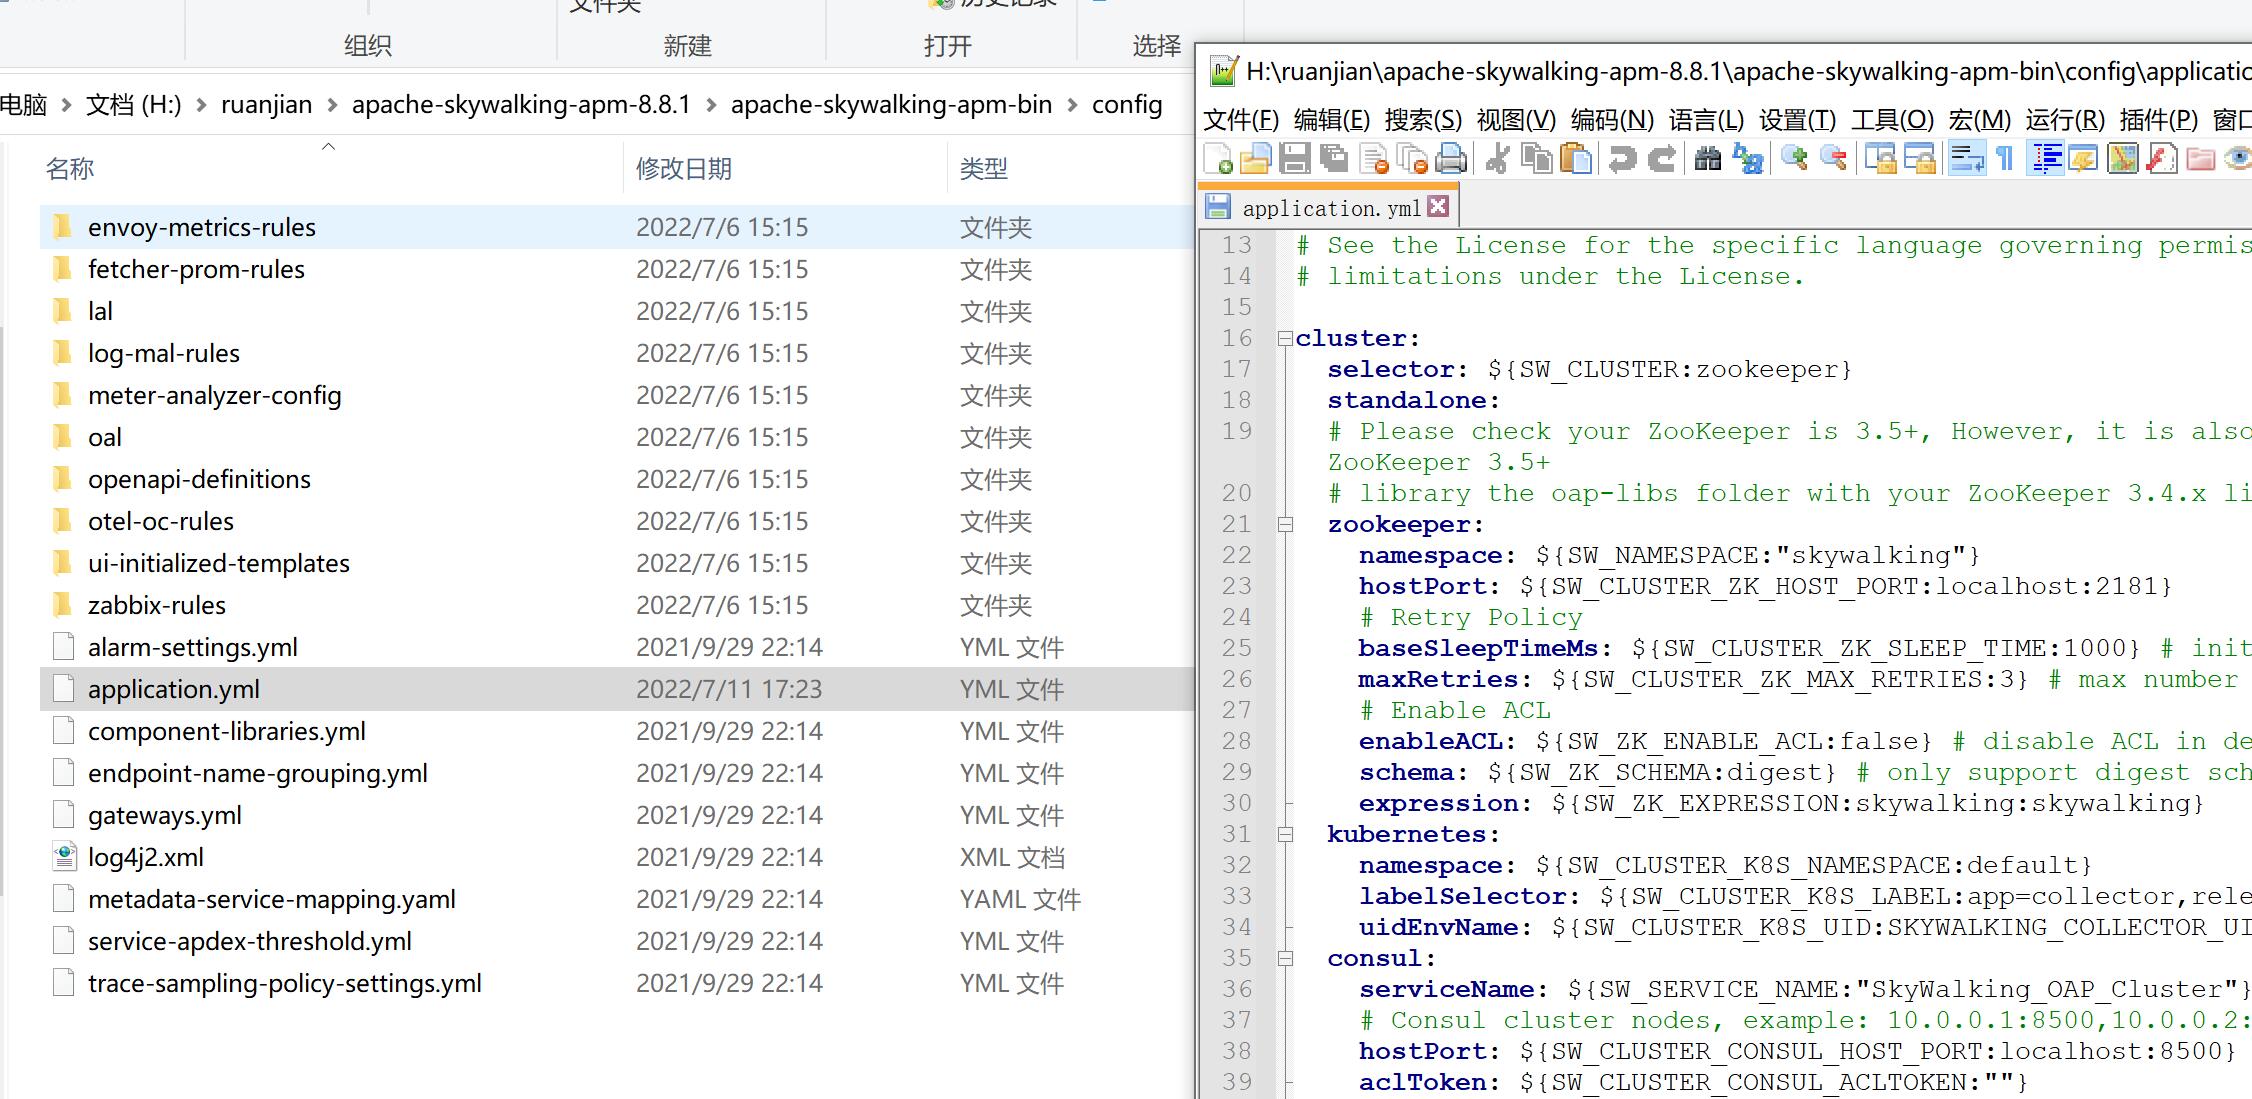
2、解压打开config/application.yml ,
2.1、修改cluster.selector 的配置, 因为要是用的是zookeeper,所以设置为zookeeper,也可以使用 kubernetes 、consul、etcd、nacos,注意:这里请使用ZooKeeper 3.5+ 的版本
2.2、设置 zookeeper的配置,因为要跟其他程序的namespace 区分开,所以设置成skywalking, 另外也可以hostPort 的值,因为我的本机模拟所以没做修改,如果是集群的话可以设置类似hostPort: ${SW_CLUSTER_ZK_HOST_PORT:192.168.1.2:2181,192.168.1.3:2181,192.168.1.4:2181}
cluster:
  selector: ${SW_CLUSTER:zookeeper}
  standalone:
  # Please check your ZooKeeper is 3.5+, However, it is also compatible with ZooKeeper 3.4.x. Replace the ZooKeeper 3.5+
  # library the oap-libs folder with your ZooKeeper 3.4.x library.
  zookeeper:
    namespace: ${SW_NAMESPACE:"skywalking"}
    hostPort: ${SW_CLUSTER_ZK_HOST_PORT:localhost:2181}
    # Retry Policy
    baseSleepTimeMs: ${SW_CLUSTER_ZK_SLEEP_TIME:1000} # initial amount of time to wait between retries
    maxRetries: ${SW_CLUSTER_ZK_MAX_RETRIES:3} # max number of times to retry
    # Enable ACL
    enableACL: ${SW_ZK_ENABLE_ACL:false} # disable ACL in default
    schema: ${SW_ZK_SCHEMA:digest} # only support digest schema
    expression: ${SW_ZK_EXPRESSION:skywalking:skywalking}
2.3、设置storage.selector 为elasticsearch ,若之前设置是elasticsearch 7的版本的话,这设置也要设置elasticsearch7才行
2.4、 设置 storage.elasticsearch.namespace (注意:这里跟后面的zookeeper的config目录下的elasticsearch.yml中cluster.name的配置节点 一致) ,以及设置 storage.elasticsearch.clusterNodes
storage:
  selector: ${SW_STORAGE:elasticsearch}
  elasticsearch:
    namespace: ${SW_NAMESPACE:"esapp"}
    clusterNodes: ${SW_STORAGE_ES_CLUSTER_NODES:localhost:9200}
    protocol: ${SW_STORAGE_ES_HTTP_PROTOCOL:"http"}
    connectTimeout: ${SW_STORAGE_ES_CONNECT_TIMEOUT:500}
    socketTimeout: ${SW_STORAGE_ES_SOCKET_TIMEOUT:30000}
    numHttpClientThread: ${SW_STORAGE_ES_NUM_HTTP_CLIENT_THREAD:0}
    user: ${SW_ES_USER:""}
    password: ${SW_ES_PASSWORD:""}
    trustStorePath: ${SW_STORAGE_ES_SSL_JKS_PATH:""}
    trustStorePass: ${SW_STORAGE_ES_SSL_JKS_PASS:""}
    secretsManagementFile: ${SW_ES_SECRETS_MANAGEMENT_FILE:""} # Secrets management file in the properties format includes the username, password, which are managed by 3rd party tool.
    dayStep: ${SW_STORAGE_DAY_STEP:1} # Represent the number of days in the one minute/hour/day index.
    indexShardsNumber: ${SW_STORAGE_ES_INDEX_SHARDS_NUMBER:1} # Shard number of new indexes
    indexReplicasNumber: ${SW_STORAGE_ES_INDEX_REPLICAS_NUMBER:1} # Replicas number of new indexes
    # Super data set has been defined in the codes, such as trace segments.The following 3 config would be improve es performance when storage super size data in es.
    superDatasetDayStep: ${SW_SUPERDATASET_STORAGE_DAY_STEP:-1} # Represent the number of days in the super size dataset record index, the default value is the same as dayStep when the value is less than 0
    superDatasetIndexShardsFactor: ${SW_STORAGE_ES_SUPER_DATASET_INDEX_SHARDS_FACTOR:5} #  This factor provides more shards for the super data set, shards number = indexShardsNumber * superDatasetIndexShardsFactor. Also, this factor effects Zipkin and Jaeger traces.
    superDatasetIndexReplicasNumber: ${SW_STORAGE_ES_SUPER_DATASET_INDEX_REPLICAS_NUMBER:0} # Represent the replicas number in the super size dataset record index, the default value is 0.
    indexTemplateOrder: ${SW_STORAGE_ES_INDEX_TEMPLATE_ORDER:0} # the order of index template
    bulkActions: ${SW_STORAGE_ES_BULK_ACTIONS:5000} # Execute the async bulk record data every ${SW_STORAGE_ES_BULK_ACTIONS} requests
    # flush the bulk every 10 seconds whatever the number of requests
    # INT(flushInterval * 2/3) would be used for index refresh period.
    flushInterval: ${SW_STORAGE_ES_FLUSH_INTERVAL:15}
    concurrentRequests: ${SW_STORAGE_ES_CONCURRENT_REQUESTS:2} # the number of concurrent requests
    resultWindowMaxSize: ${SW_STORAGE_ES_QUERY_MAX_WINDOW_SIZE:10000}
    metadataQueryMaxSize: ${SW_STORAGE_ES_QUERY_MAX_SIZE:5000}
    segmentQueryMaxSize: ${SW_STORAGE_ES_QUERY_SEGMENT_SIZE:200}
    profileTaskQueryMaxSize: ${SW_STORAGE_ES_QUERY_PROFILE_TASK_SIZE:200}
    oapAnalyzer: ${SW_STORAGE_ES_OAP_ANALYZER:"{\"analyzer\":{\"oap_analyzer\":{\"type\":\"stop\"}}}"} # the oap analyzer.
    oapLogAnalyzer: ${SW_STORAGE_ES_OAP_LOG_ANALYZER:"{\"analyzer\":{\"oap_log_analyzer\":{\"type\":\"standard\"}}}"} # the oap log analyzer. It could be customized by the ES analyzer configuration to support more language log formats, such as Chinese log, Japanese log and etc.
    advanced: ${SW_STORAGE_ES_ADVANCED:""}

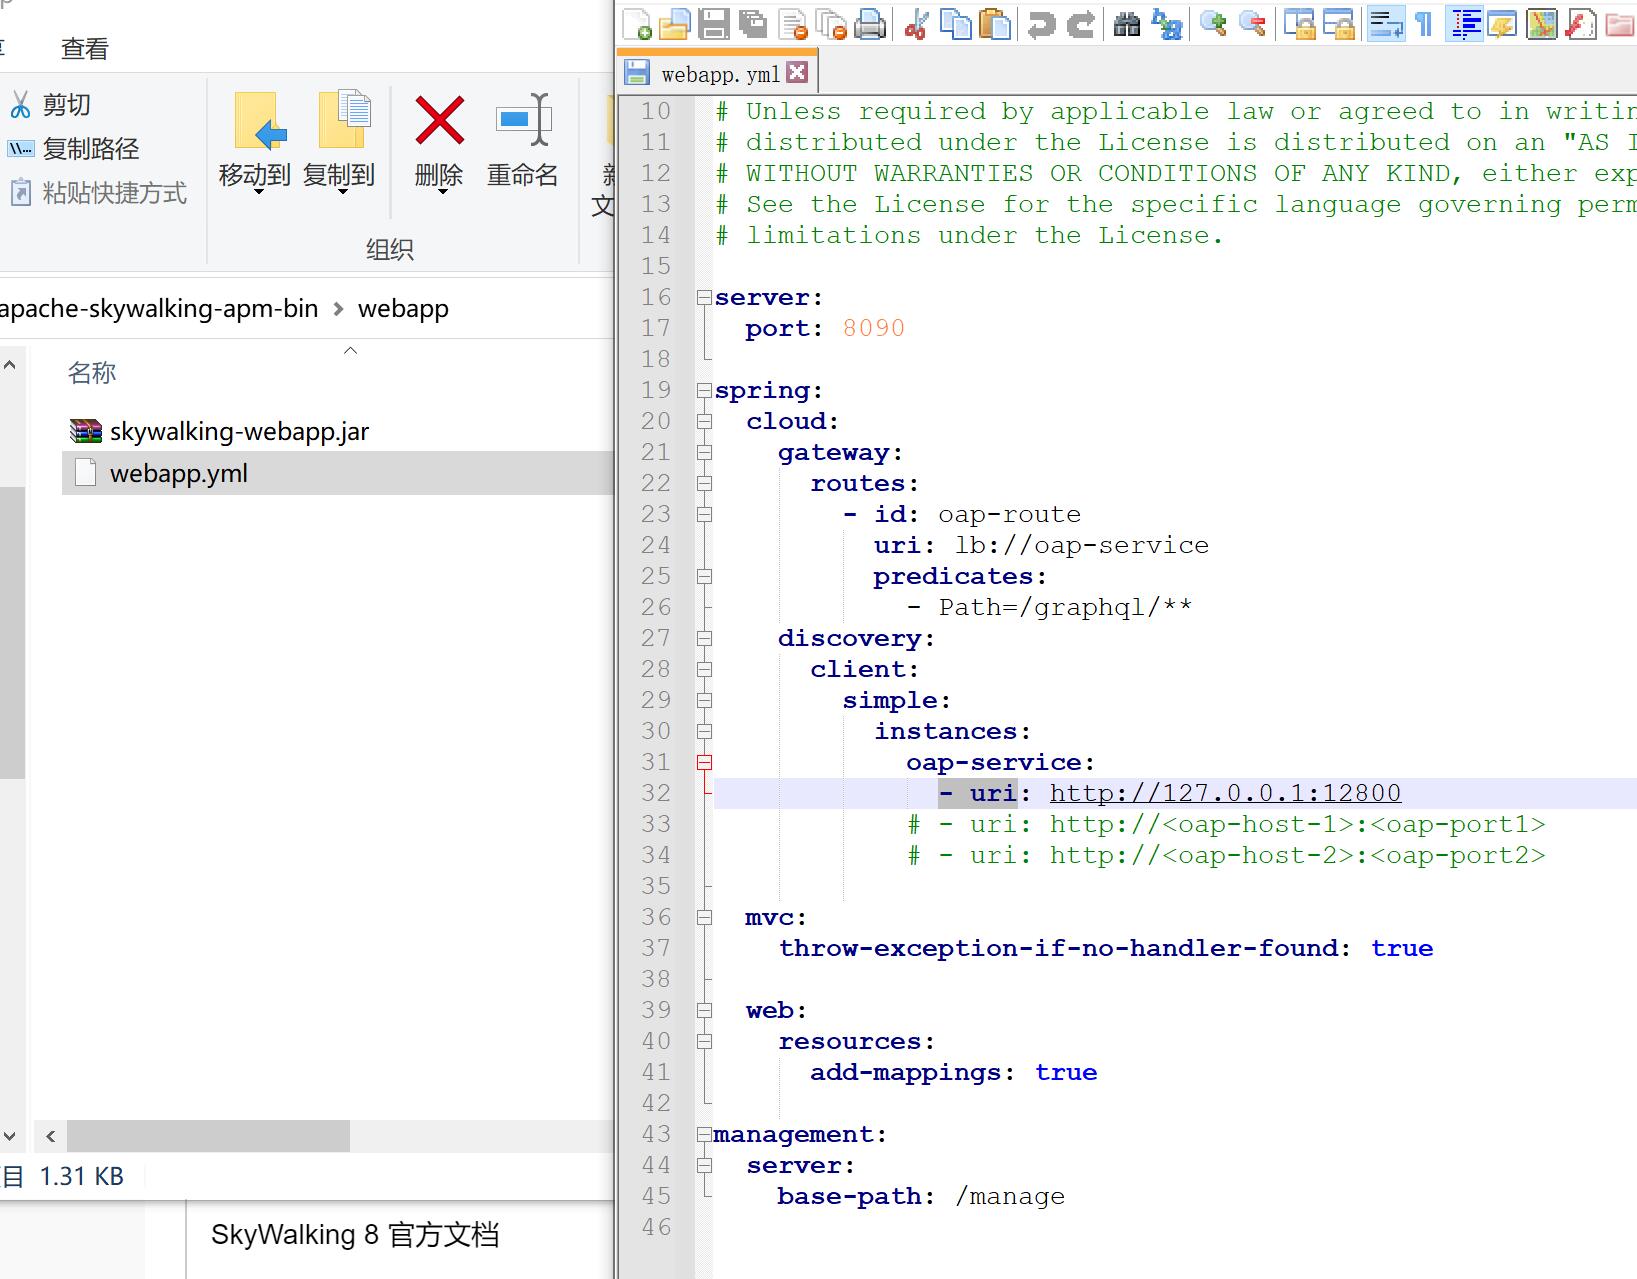
3、修改webapp/webapp.yml
因为的8080端口被占用了,所以 修改server.port 的端口 ,这个是UI前端展示,若电脑有多个ip的话也可以修改
spring.cloud.discovery.client.simple.instances.oap-service 的uri 配置
4、启动服务,在bin/startup 可以启动 ,启动完成后可以到logs/skywalking-oap-server.log 查看日志,有可能启动失败 或者连接不是zookeeper 等原因,下面截图这个是之前没启动zookeeper造成的失败问题
2022-07-11 15:55:43,239 - org.apache.zookeeper.ClientCnxn - 1244 [main-SendThread(localhost:2181)] INFO  [] - Socket error occurred: localhost/0:0:0:0:0:0:0:1:2181: Connection refused: no further information
2022-07-11 15:55:44,360 - org.apache.zookeeper.ClientCnxn - 1112 [main-SendThread(localhost:2181)] INFO  [] - Opening socket connection to server localhost/127.0.0.1:2181. Will not attempt to authenticate using SASL (unknown error)

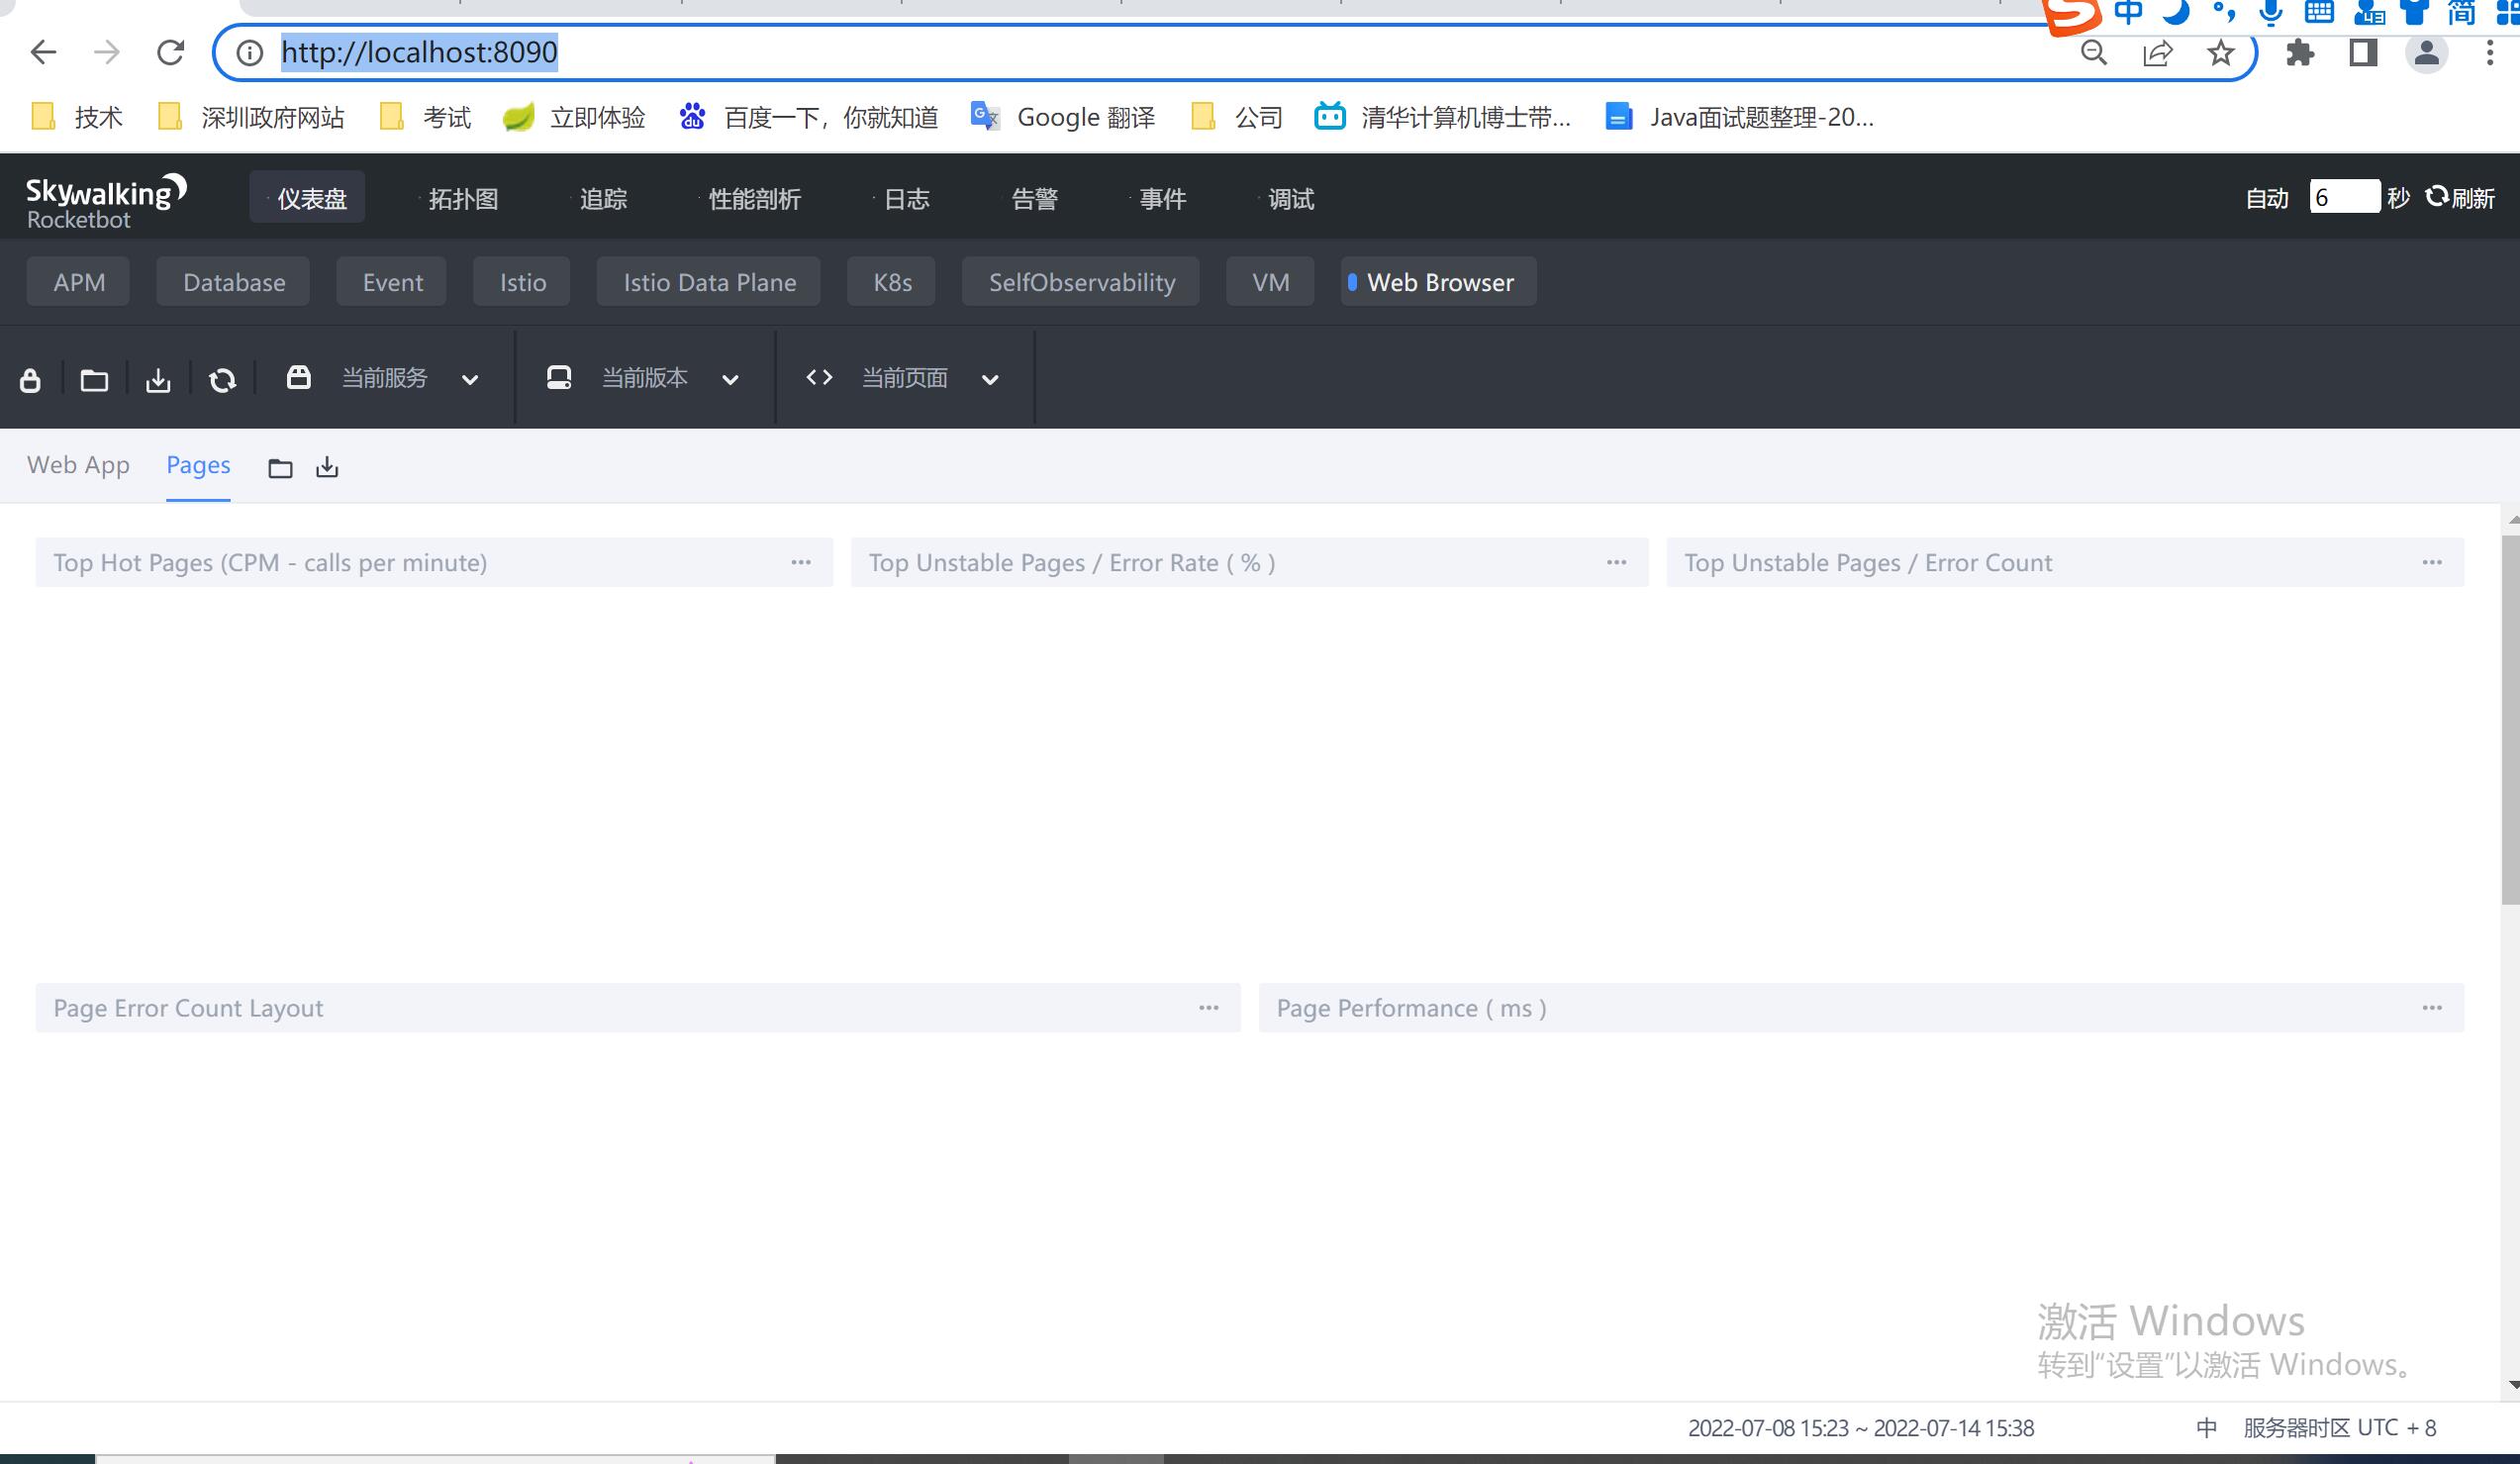
56、打开浏览器进行查看,因为上面设置的端口是8090,则输入 http://localhost:8090/
五、apache-skywalking-java-agent
这个可以放到idea中到agent代理用
1、下载的是apache-skywalking-java-agent-8.8.0 ,下载地址 :https://archive.apache.org/dist/skywalking/java-agent/8.8.0/apache-skywalking-java-agent-8.8.0.tgz ,其它版本 https://archive.apache.org/dist/skywalking/java-agent/8.9.0/apache-skywalking-java-agent-8.9.0.tgz
2、解压
六 、新增一个测试maven项目
1、 新建项目、
<dependencies>
<!--        <dependency>-->
<!--            <groupId>org.apache.skywalking</groupId>-->
<!--            <artifactId>apm-toolkit-logback-1.x</artifactId>-->
<!--            <version>8.4.0</version>-->
<!--        </dependency>-->
        <dependency>
            <groupId>org.projectlombok</groupId>
            <artifactId>lombok</artifactId>
            <version>${lombok.version}</version>
        </dependency>
        <!--fastjson-->
        <dependency>
            <groupId>com.alibaba</groupId>
            <artifactId>fastjson</artifactId>
            <version>${fastjson.version}</version>
        </dependency>
        <dependency>
            <groupId>org.mybatis.spring.boot</groupId>
            <artifactId>mybatis-spring-boot-starter</artifactId>
            <version>${mybatis.version}</version>
        </dependency>
        <dependency>
        <groupId>org.springframework.boot</groupId>
        <artifactId>spring-boot-starter-web</artifactId>
    </dependency>
    <dependency>
        <groupId>org.springframework.boot</groupId>
        <artifactId>spring-boot-starter-test</artifactId>
        <scope>test</scope>
    </dependency>
    <dependency>
        <groupId>org.springframework.boot</groupId>
        <artifactId>spring-boot-starter-aop</artifactId>
    </dependency>
    </dependencies>
    <build>
        <finalName>${project.artifactId}</finalName>
        <plugins>
            <plugin>
                <groupId>org.springframework.boot</groupId>
                <artifactId>spring-boot-maven-plugin</artifactId>
                <version>1.5.11.RELEASE</version>
                <executions>
                    <execution>
                        <goals>
                            <goal>repackage</goal>
                        </goals>
                    </execution>
                </executions>
            </plugin>

        </plugins>
    </build>
package com.zhianchen.skywalking;

import javafx.application.Application;
import lombok.extern.slf4j.Slf4j;
import org.springframework.boot.SpringApplication;
import org.springframework.boot.autoconfigure.SpringBootApplication;
import org.springframework.boot.autoconfigure.jdbc.DataSourceAutoConfiguration;

/*
 *
 *@Description TODO
 *@Author chenzhian
 *@Date 2022/7/8 16:41
 */
@SpringBootApplication(scanBasePackages = {"com.zhianchen.skywalking"},exclude = DataSourceAutoConfiguration.class)  //
@Slf4j
public class SkyWalkingApplication {
    public static void main(String[] args) {
        SpringApplication.run(SkyWalkingApplication.class);
    }

}
package com.zhianchen.skywalking.controller;

import org.springframework.stereotype.Controller;
import org.springframework.web.bind.annotation.RequestMapping;
import org.springframework.web.bind.annotation.RequestMethod;
import org.springframework.web.bind.annotation.RestController;

import java.util.Date;

/*
 *
 *@Description TODO
 *@Author chenzhian
 *@Date 2022/7/8 17:06
 */
@RestController

public class TestController {

    @RequestMapping(value = "/index",method = RequestMethod.GET)
    public String index(Object obj) {
        return new Date().toString();
    }
}
2、 配置VM options启动参数
-javaagent:目录\apache-skywalking-java-agent-8.8.0\skywalking-agent\skywalking-agent.jar
-Dskywalking.agent.service_name=Your_ApplicationName
-Dskywalking.collector.backend_service=127.0.0.1:11800

3、允许application

打开浏览器进行浏览(我配置的端口是9012)
http://localhost:9012/index

打开skywalking的UI前端进行查看是否有访问日志,有的话则算成功了

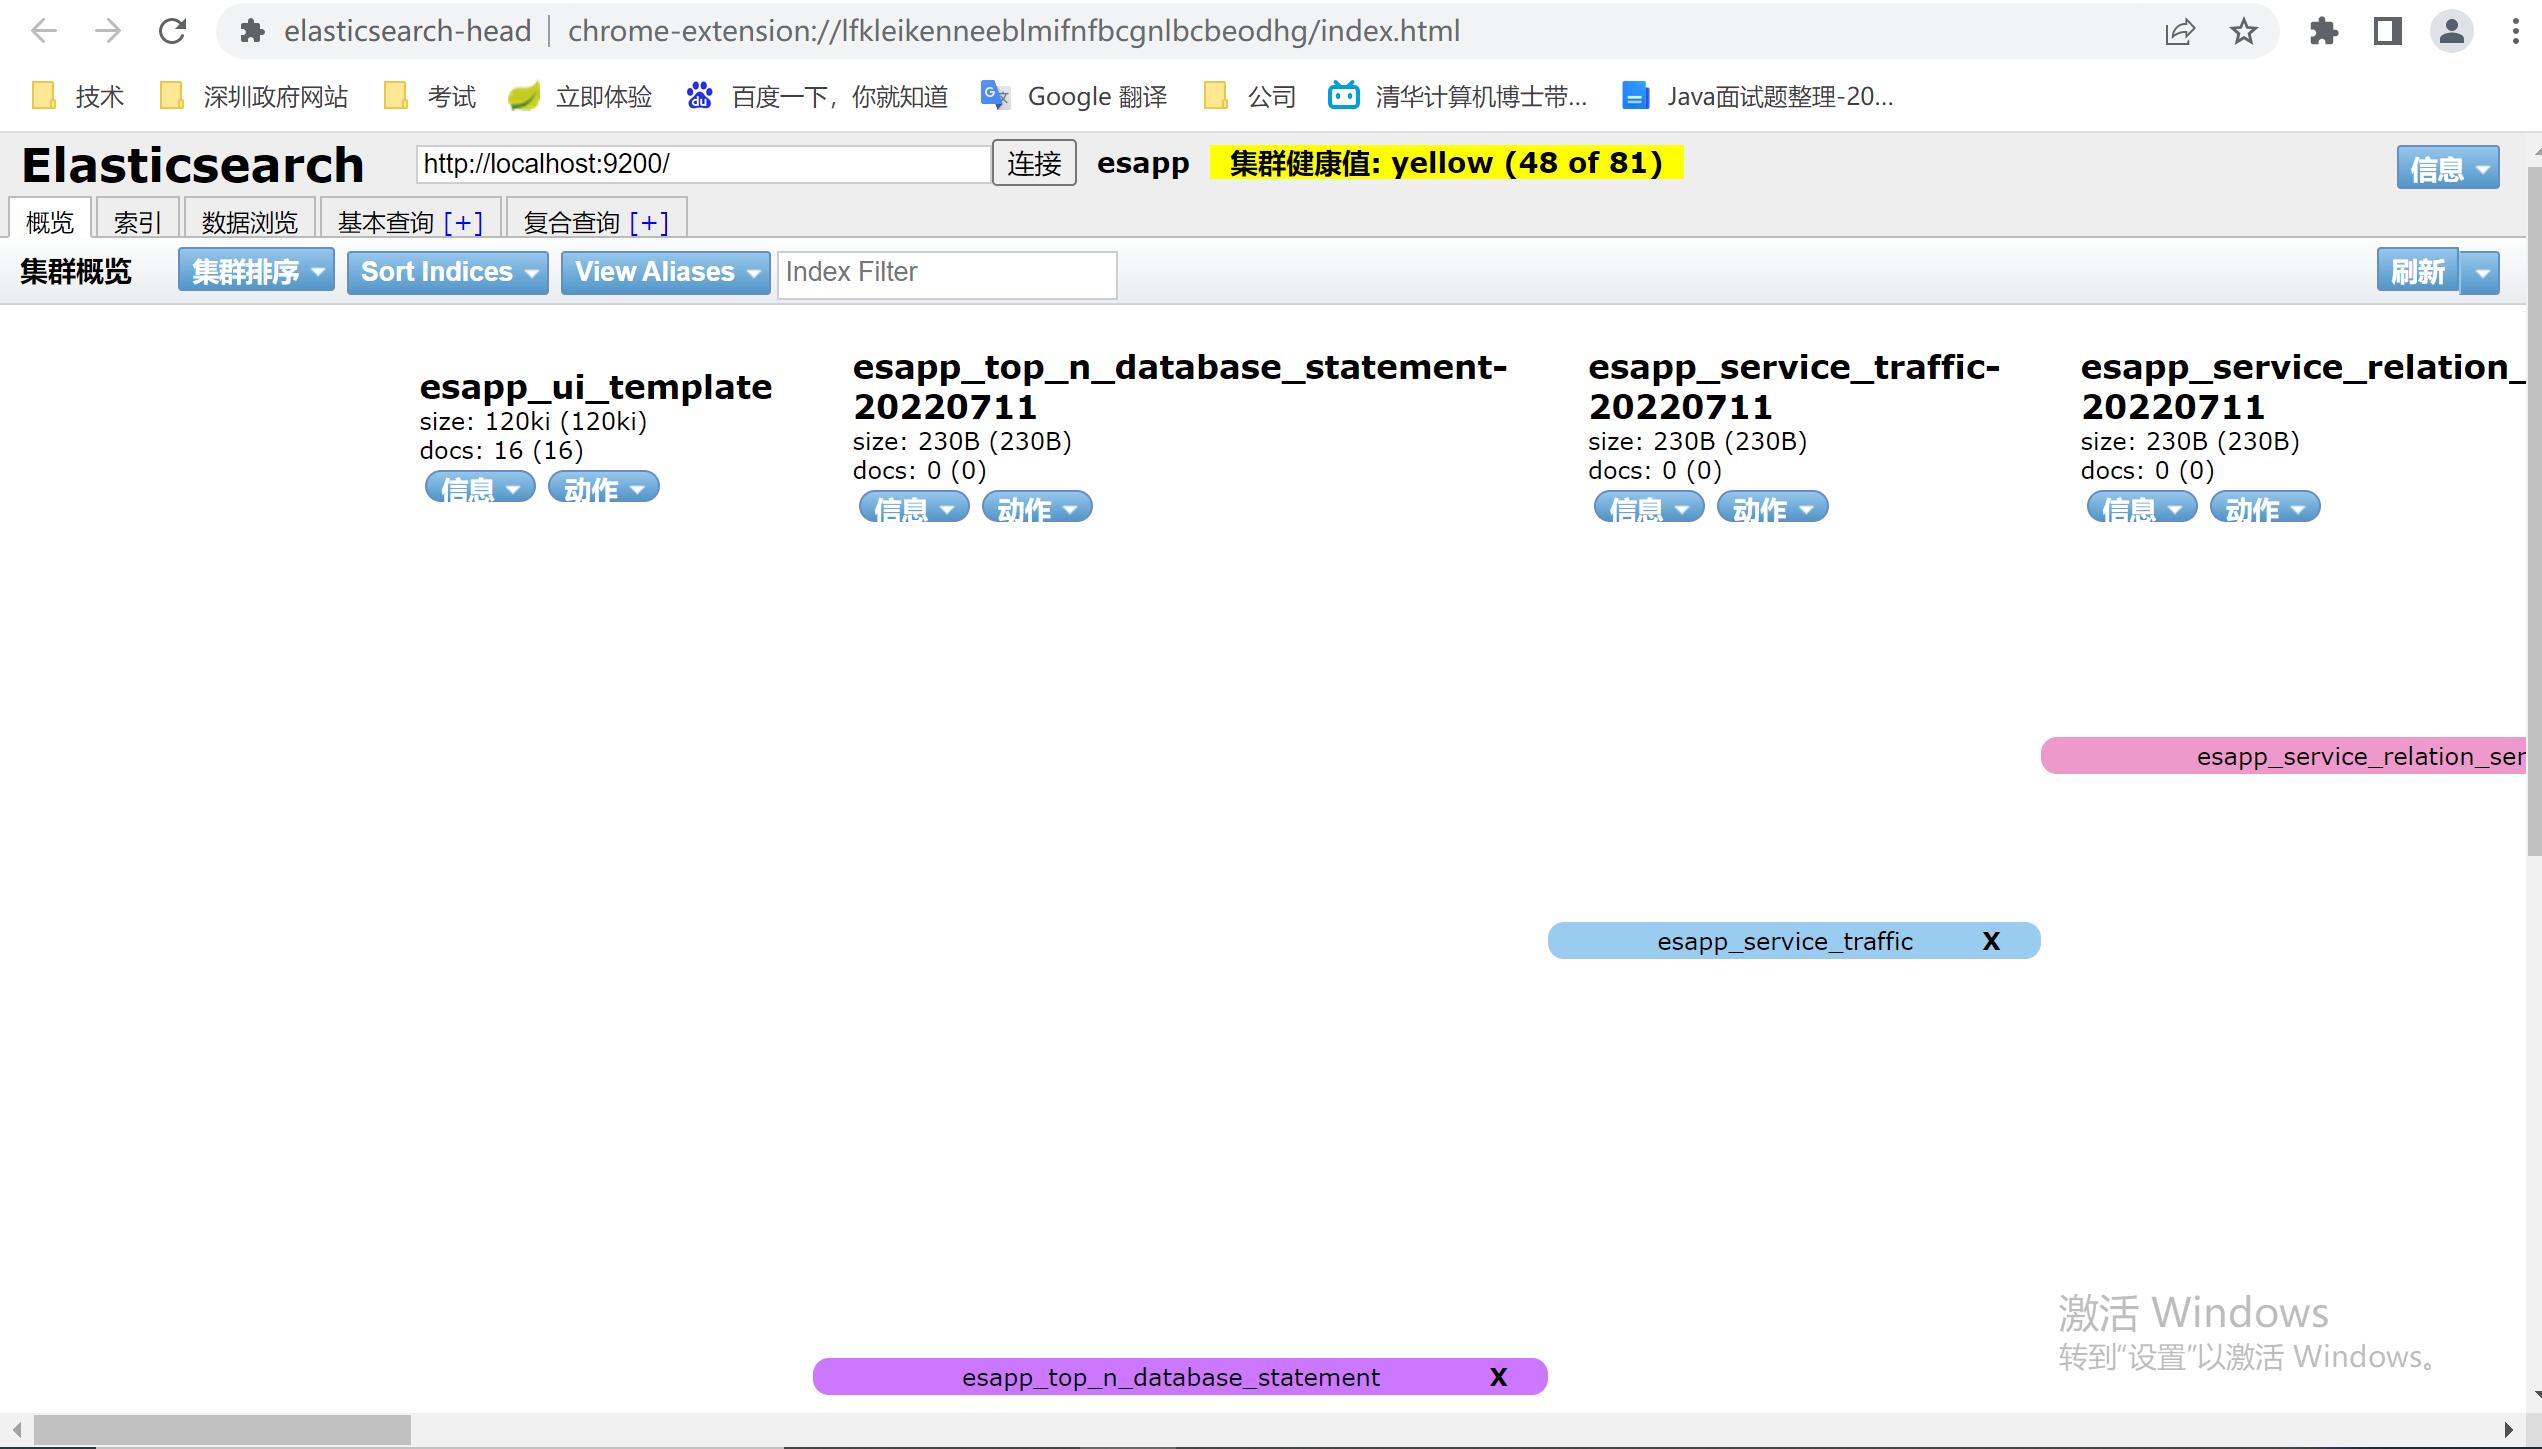
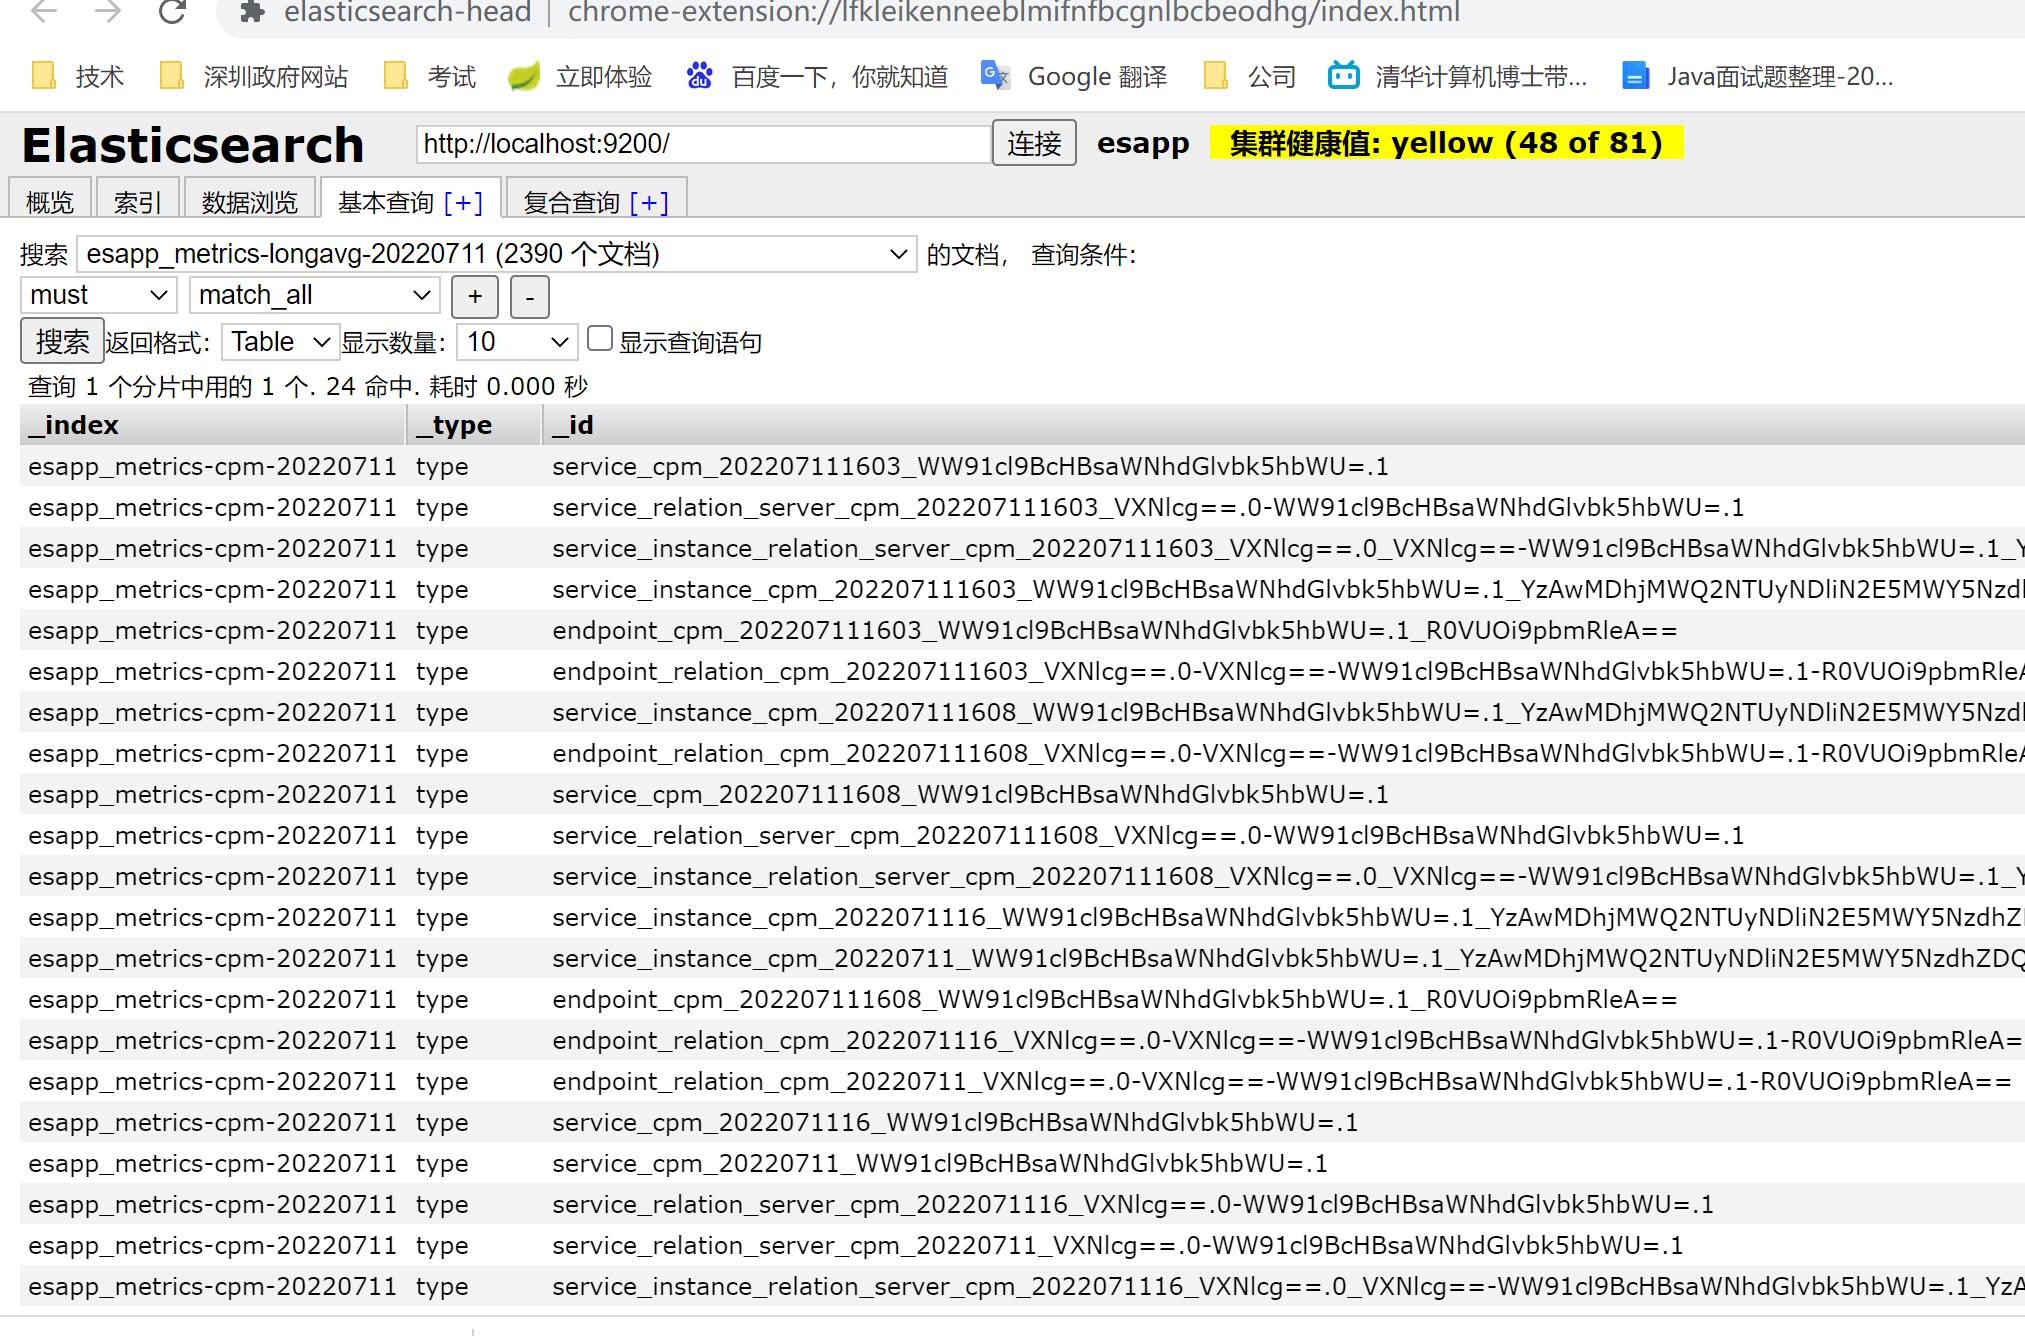
最终也可以到elasticsearch-head 查看存储记录

也可以查看之前的访问记录
SkyWalking 8 官方文档
https://skyapm.github.io/document-cn-translation-of-skywalking/zh/8.0.0/