源码地址
https://github.com/Pi4J/pi4j
使用jar包
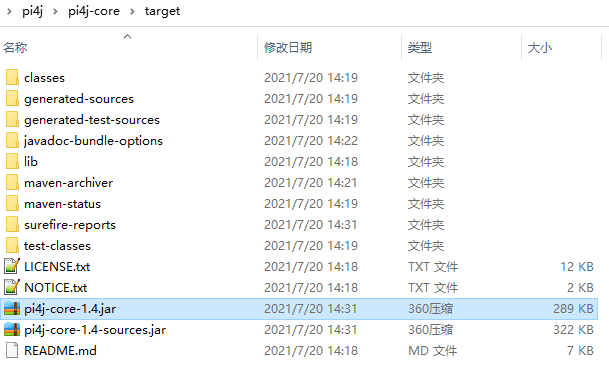
编译完成,会生成jar包,后面直接使用这个jar包

maven编译配置
配置jar包依赖(使用刚才编译好的)
以scope为system的方式
systemPath是jar包真实路径,其他随意设置
		<dependency>
			<groupId>local.pi4j</groupId>
			<artifactId>pi4j-core</artifactId>
			<version>1.4</version>
			<scope>system</scope>
			<systemPath>${project.basedir}/pi4j-core-1.4.jar</systemPath>
		</dependency>
	</dependencies>
maven打包配置
	<build>
		<plugins>
			<plugin>
				<groupId>org.springframework.boot</groupId>
				<artifactId>spring-boot-maven-plugin</artifactId>
				<executions>
					<execution>
						<goals>
							<goal>repackage</goal>
						</goals>
					</execution>
				</executions>
				<configuration>
					<includeSystemScope>true</includeSystemScope>
				</configuration>
			</plugin>
		</plugins>
	</build>
GPIO控制
在Spring Boot demo的基础上修改
import com.pi4j.io.gpio.GpioController;
import com.pi4j.io.gpio.GpioFactory;
import com.pi4j.io.gpio.GpioPinDigitalOutput;
import com.pi4j.io.gpio.PinState;
import com.pi4j.io.gpio.RaspiPin;

@RestController
public class HelloSpringBoot {
    /**
     * url传参,访问的路径类似这样:localhost:8080/getParamDemo1/1
     * 方法体中的参数要在前面加注释,@PathVariable,代表url中的参数
     */
    @RequestMapping(path = {"/getParamDemo1/{id}"})
    public String getParamDemo1(@PathVariable("id") int userId, @PathVariable String id) throws InterruptedException {
        System.out.println("get param " + userId);

        System.out.println("<--Pi4J--> GPIO Control Example ... started.");

        // create gpio controller
        final GpioController gpio = GpioFactory.getInstance();

        // provision gpio pin #01 as an output pin and turn on
        final GpioPinDigitalOutput pin = gpio.provisionDigitalOutputPin(RaspiPin.GPIO_01, "MyLED", PinState.HIGH);

        // set shutdown state for this pin
        pin.setShutdownOptions(true, PinState.LOW);

        System.out.println("--> GPIO state should be: ON");

        Thread.sleep(5000);

        // turn off gpio pin #01
        pin.low();
        System.out.println("--> GPIO state should be: OFF");

        Thread.sleep(5000);

        // toggle the current state of gpio pin #01 (should turn on)
        pin.toggle();
        System.out.println("--> GPIO state should be: ON");

        Thread.sleep(5000);

        // toggle the current state of gpio pin #01  (should turn off)
        pin.toggle();
        System.out.println("--> GPIO state should be: OFF");

        Thread.sleep(5000);

        // turn on gpio pin #01 for 1 second and then off
        System.out.println("--> GPIO state should be: ON for only 1 second");
        pin.pulseSync(1000);

        // stop all GPIO activity/threads by shutting down the GPIO controller
        // (this method will forcefully shutdown all GPIO monitoring threads and scheduled tasks)
        gpio.shutdown();

        System.out.println("Exiting ControlGpioExample");

        return "success get param";
    }
}
maven打包

部署Spring Boot项目
将打包好的jar文件,拷贝到服务器
java -jar xxx.jar