服务器版本: 腾讯云 Cent OS 7.6
项目运行环境: Net Core 3.1
工具: Xshell , Xftp
第一步 更新并安装 Net core 运行环境

#注册 Microsoft 密钥。注册产品存储库。安装必需的依赖项。

sudo rpm -Uvh https://packages.microsoft.com/config/centos/7/packages-microsoft-prod.rpm

search dotnet

#安装 .NET Core 运行时
sudo yum install aspnetcore-runtime-3.1

然后一路y
# 查看版本信息
dotnet --info

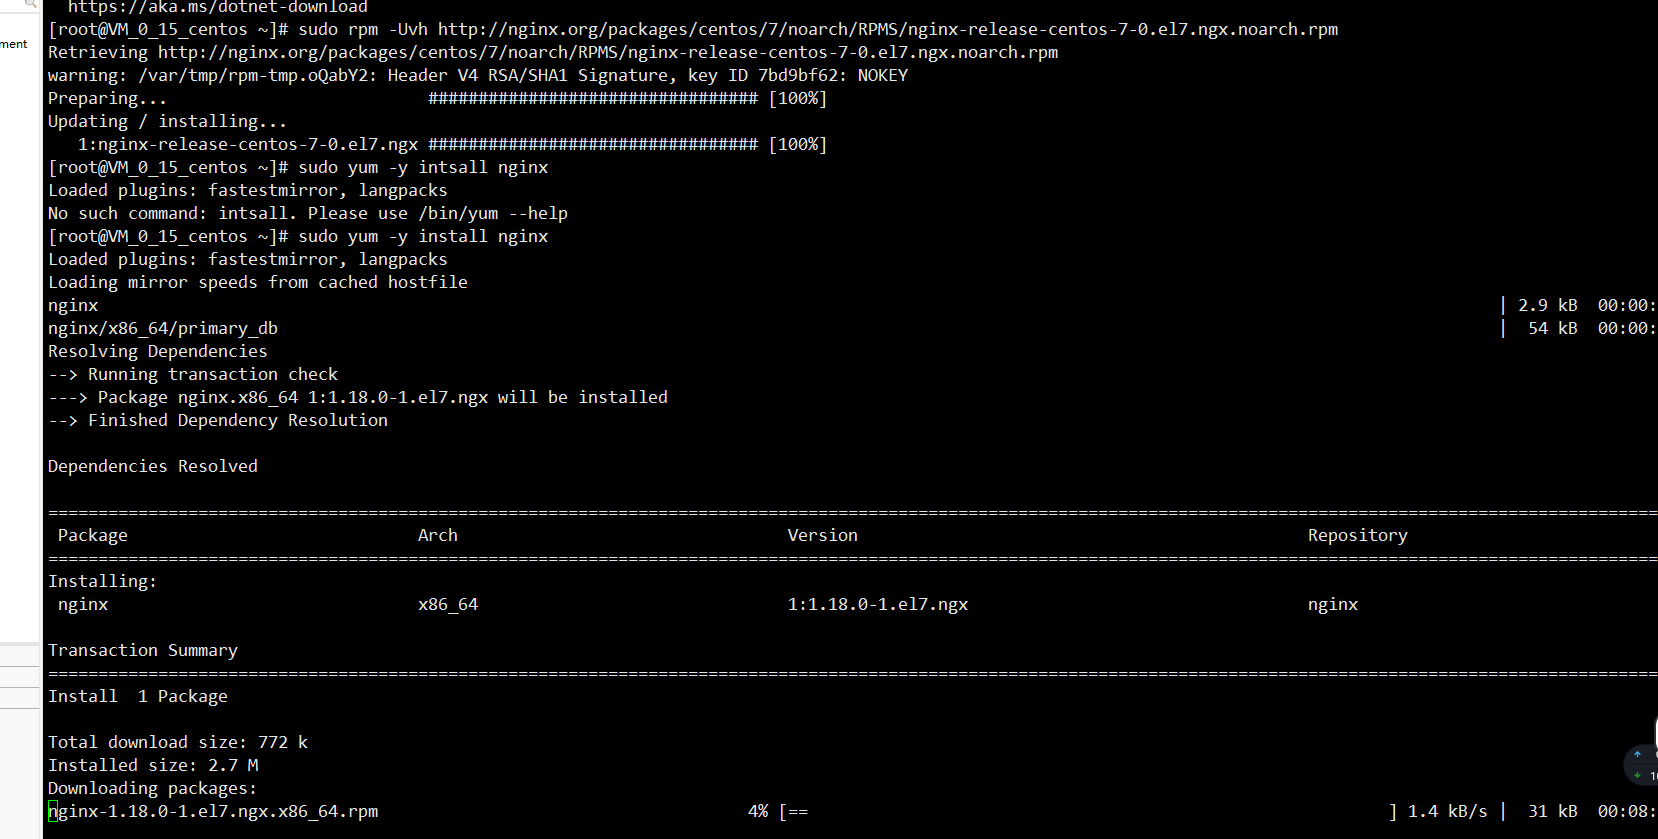
第二步 安装nginx
添加源:
sudo rpm -Uvh http://nginx.org/packages/centos/7/noarch/RPMS/nginx-release-centos-7-0.el7.ngx.noarch.rpm安装 nginx
$ sudo yum -y install nginx
Nginx常用命令
# 卸载 nginx
$ sudo yum remove nginx

# 设置开机启动
$ sudo systemctl enable nginx

# 启动 nginx 服务
$ sudo service nginx start

# 停止 nginx 服务
$ sudo service nginx stop

# 重启 nginx 服务
$ sudo service nginx restart

# 重新加载配置,一般是在修改过 nginx 配置文件时使用。
$ sudo service nginx reload

#查看nginx版本
$ nginx -v
找到 /etc/nginx 文件夹
nginx 默认配置文件是 /etc/nginx/nginx.conf, 里面默认包含了conf.d 下面的所有配置文件。(include /etc/nginx/conf.d/*.conf;)
修改 conf.d 目录下默认的 default.conf 文件替换为下面的反向代理配置
server {
    listen       80;
    server_name  rms.api.zhangxiaoxia.top;

    location / {
        proxy_pass          http://zxx.rms_server;
        proxy_http_version 1.1;
        proxy_set_header  Upgrade $http_upgrade;
        proxy_set_header  Connection Keep-alive;
        proxy_set_header  Host $host;
        proxy_cache_bypass  $http_upgrade;
        proxy_set_header  X-Real-IP    $remote_addr;
        proxy_set_header  X-Forwarded-For $proxy_add_x_forwarded_for;
    }
}
之后运行 systemctl reload nginx
执行时报了一个
nginx: [error] invalid PID number "" in "/var/run/nginx.pid"的错误,pkill -9 nginx杀死进程重启后重新执行 reload 就好了
命令行启动程序, 之后访问 80 端口,发现反向代理已经起作用了
systemd 做进程管理(也可以用 supervisor)
在 /etc/systemd/system 下面新建一个 kestrel-/yourApp/.service 文件,把下面的配置拷贝进去
[Unit]
Description=AspnetCore running on centos

[Service]
WorkingDirectory=/usr/wwwroot
ExecStart=/usr/wwwroot/Ctrl.Net.dll
Restart=always
# Restart service after 10 seconds if the dotnet service crashes:
RestartSec=10
KillSignal=SIGINT
SyslogIdentifier=AspnetCore
User=root
Environment=ASPNETCORE_ENVIRONMENT=Production
Environment=DOTNET_PRINT_TELEMETRY_MESSAGE=false

[Install]
WantedBy=multi-user.target
注意 此处有坑ExecStart=/usr/wwwroot/Ctrl.Net.dll 修改为 ExecStart=/usr/bin/dotnet /usr/wwwroot/Ctrl.Net.dll
需要通过 dotnet 运行环境启动项目 直接启动会报错

systemctl daemon-reload
systemctl start zxx_cms
systemctl status zxx_cms
systemctl restart zxx_cms
启动服务
systemctl start file.service
这里的fileservice为文件名
将会调用配置中的脚本
ExecStart:启动脚本
ExecReload:重启脚本
ExecStop:停止脚本
开机自启配置
systemctl enable file.service
nginx 利用反向代理 配置多个域名指向一个ip 绑定不同端口
nginx.conf中http节点添加以下代码
upstream blog{
      server 127.0.0.1:4000;
}
upstream zxx_cms_api{
      server 127.0.0.1:5000;
}

网站端口配置


server {
    listen       80;
    server_name  rms.api.zhangxiaoxia.top;

    location / {
        proxy_pass          http://zxx.rms_server;
        proxy_http_version 1.1;
        proxy_set_header  Upgrade $http_upgrade;
        proxy_set_header  Connection Keep-alive;
        proxy_set_header  Host $host;
        proxy_cache_bypass  $http_upgrade;
        proxy_set_header  X-Real-IP    $remote_addr;
        proxy_set_header  X-Forwarded-For $proxy_add_x_forwarded_for;
    }
}
第三步 安装Mysql
执行 下载命令
wget https://dev.mysql.com/get/mysql80-community-release-el7-1.noarch.rpm
下载完成后使用下面命令安装源:
yum localinstall mysql80-community-release-el7-1.noarch.rpm
检查是否安装成功
yum repolist enabled | grep "mysql.*-community.*"安装
直接使用命令:yum install mysql-community-server即可。
启动systemctl start mysqld
systemctl start mysqld
或者
service mysqld start
查看启动状态
systemctl status mysqld
或者
service mysqld status
设置开机启动
systemctl enable mysqld
systemctl daemon-reload
mysql安装完成之后,在/var/log/mysqld.log文件中给root生成了一个默认密码。通过下面的方式找到root默认密码,然后登录mysql进行修改:
grep 'temporary password' /var/log/mysqld.log
本地MySQL客户端登录
mysql -uroot -p然后修改密码:
alter user 'root'@'localhost' identified by 'newpass';
如果提示 Your password does not satisfy the current policy requirements 修改一下密码强度
然后执行
flush privileges;
退出重新登录就可以了


默认只允许root帐户在本地登录,如果要在其它机器上连接mysql,必须修改root允许远程连接,或者添加一个允许远程连接的帐户。
选择 mysql 数据库:use mysql;
在 mysql 数据库的 user 表中查看当前 root 用户的相关信息:
select host, user from user;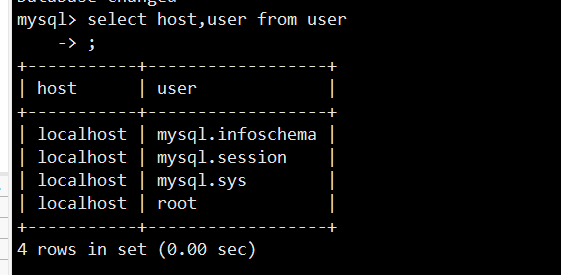
查看表格中 root 用户的 host,默认应该显示的 localhost,只支持本地访问,不允许远程访问。
授权 root 用户的所有权限并设置远程访问
GRANT ALL ON *.* TO 'root'@'%';
如果报错:ERROR 1410 (42000): You are not allowed to create a user with GRANT
则使用:
update user set host='%' where user ='root';
然后使用下面命令使修改生效:
flush privileges;