参考资料: [JavaEE] 五分钟搭建SpringCloud环境, 进入微服务时代
感谢上篇博文大佬带领走进springcloud世界, 本博文主要目的为记录自己学习springcloud的点点滴滴, 给自己的知识进行整理, 如果能帮助更多的小伙帮那就更好了.
ps: 本文主要作为备忘及快速搭建springcloud之用, 只记录主要步骤. 原文讲述更加细致, 想深入学习的同学推荐点击上方连接学习.
操作系统: Windows 10
IDE: IntelliJ IDEA 2018.3.6
JAVA: JDK 1.8.X
Meave: 3.6.0
SpringBoot: 2.1.7
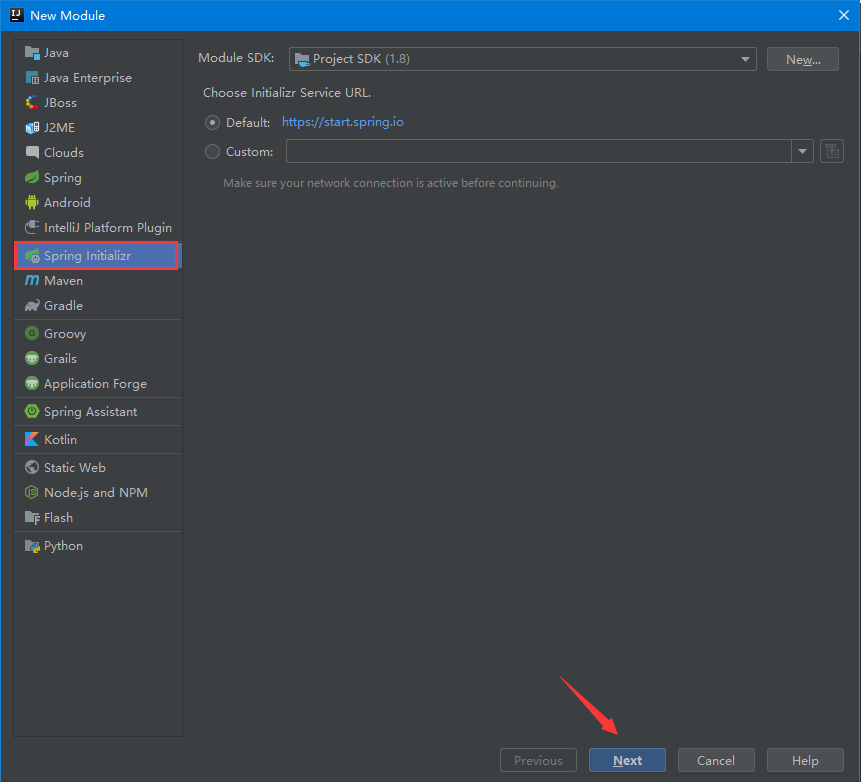
1. 创建一个工程
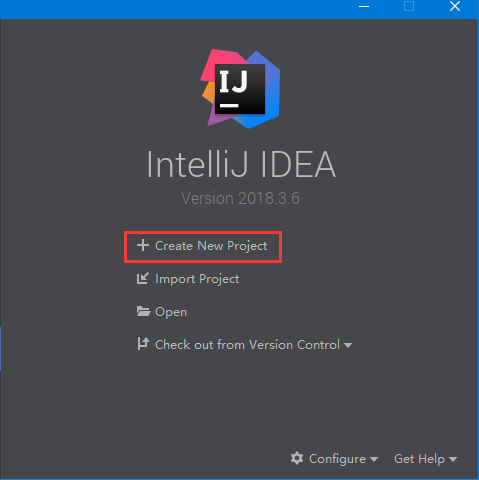
创建springboot工程

2. 创建Eureka注册中心
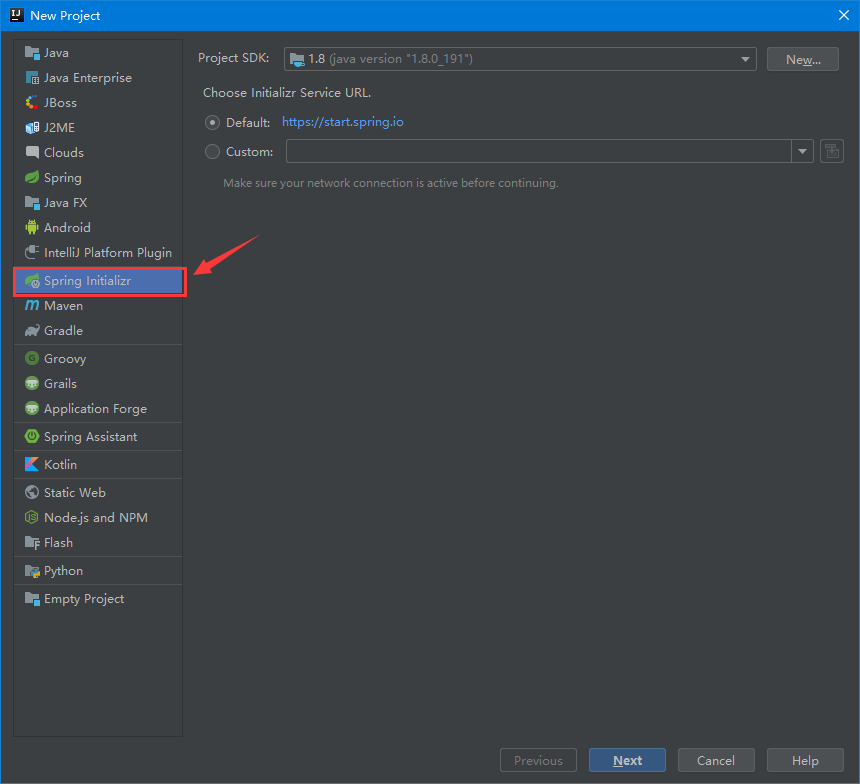
依然选择springboot工程

选择eureka服务器

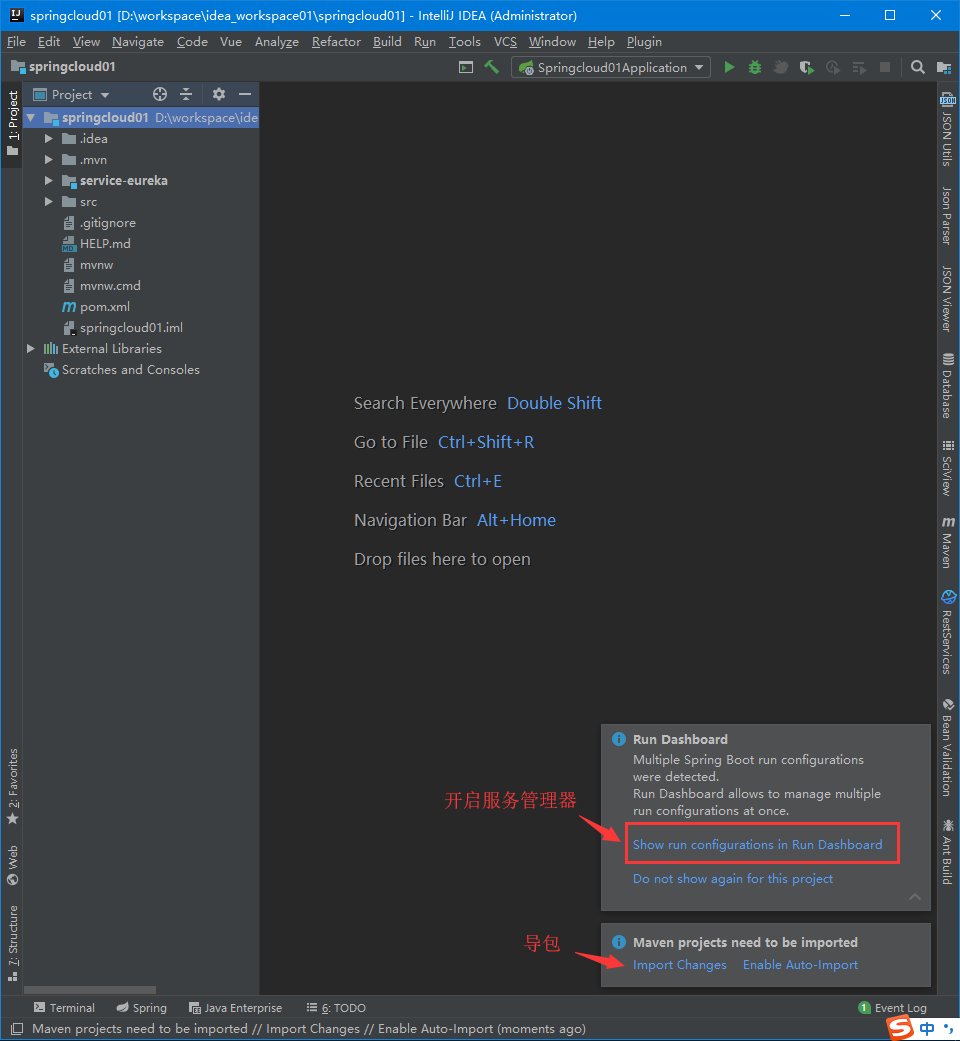
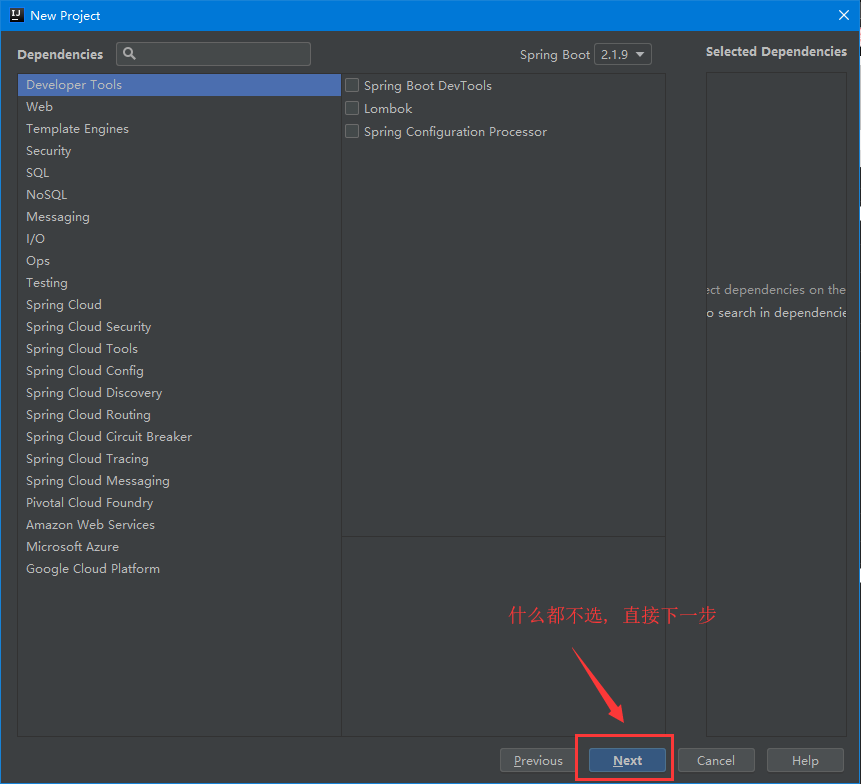
导包, 开启服务管理器
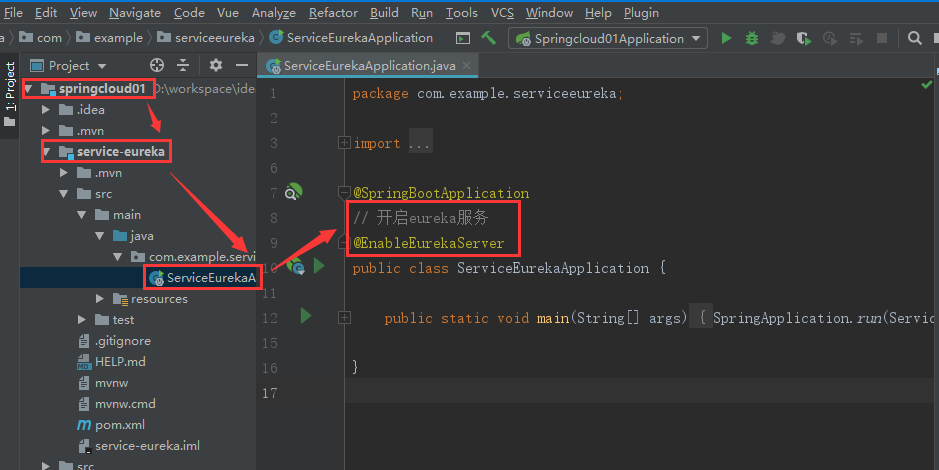
为eureka注册中心添加注解开启服务
配置eureka注册中心配置文件
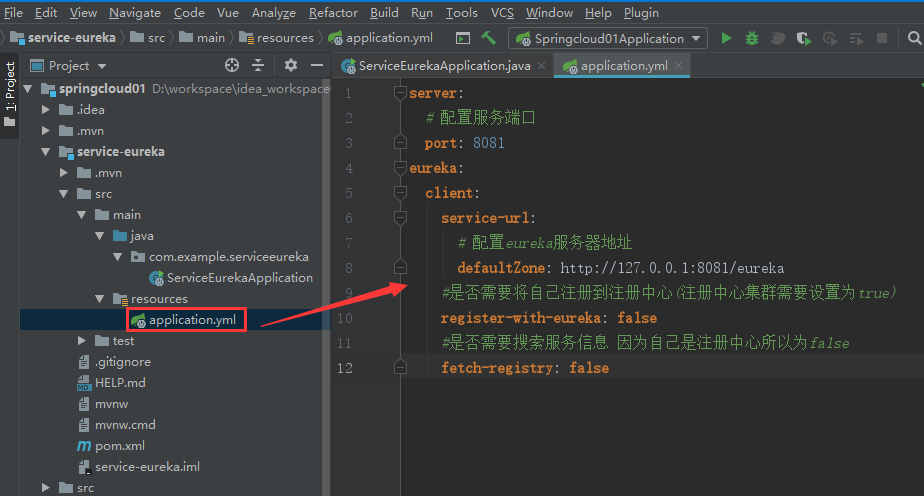
server:
  # 配置服务端口
  port: 8081
eureka:
  client:
    service-url:
      # 配置eureka服务器地址
      defaultZone: http://127.0.0.1:8081/eureka
    #是否需要将自己注册到注册中心(注册中心集群需要设置为true)
    register-with-eureka: false
    #是否需要搜索服务信息 因为自己是注册中心所以为false
    fetch-registry: false
注意缩进, 因为yml使用缩进来区分不同字段的.
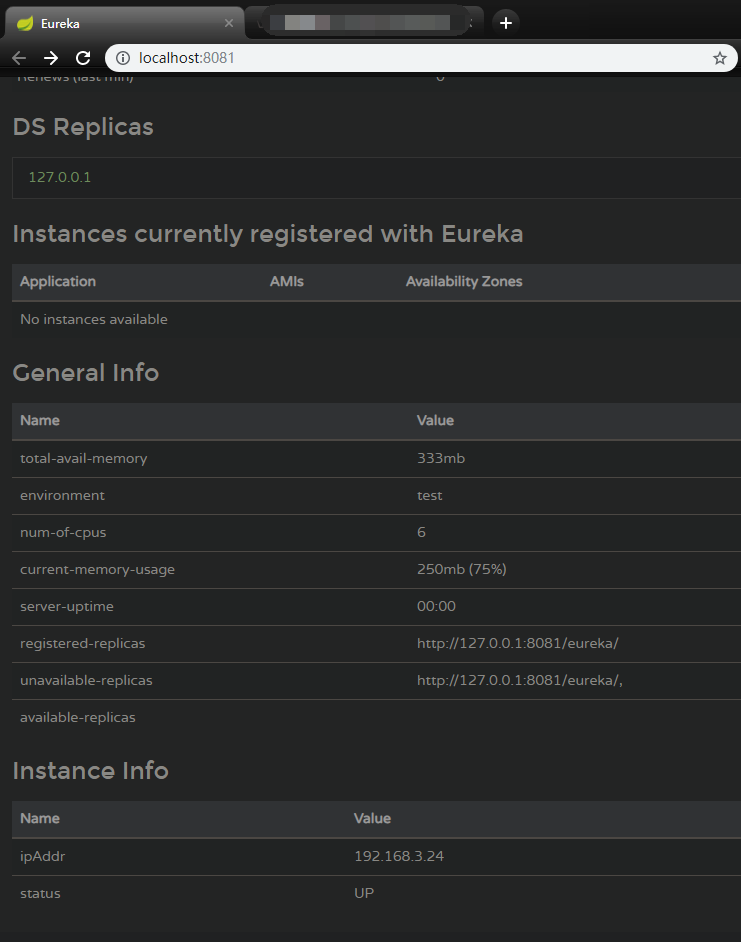
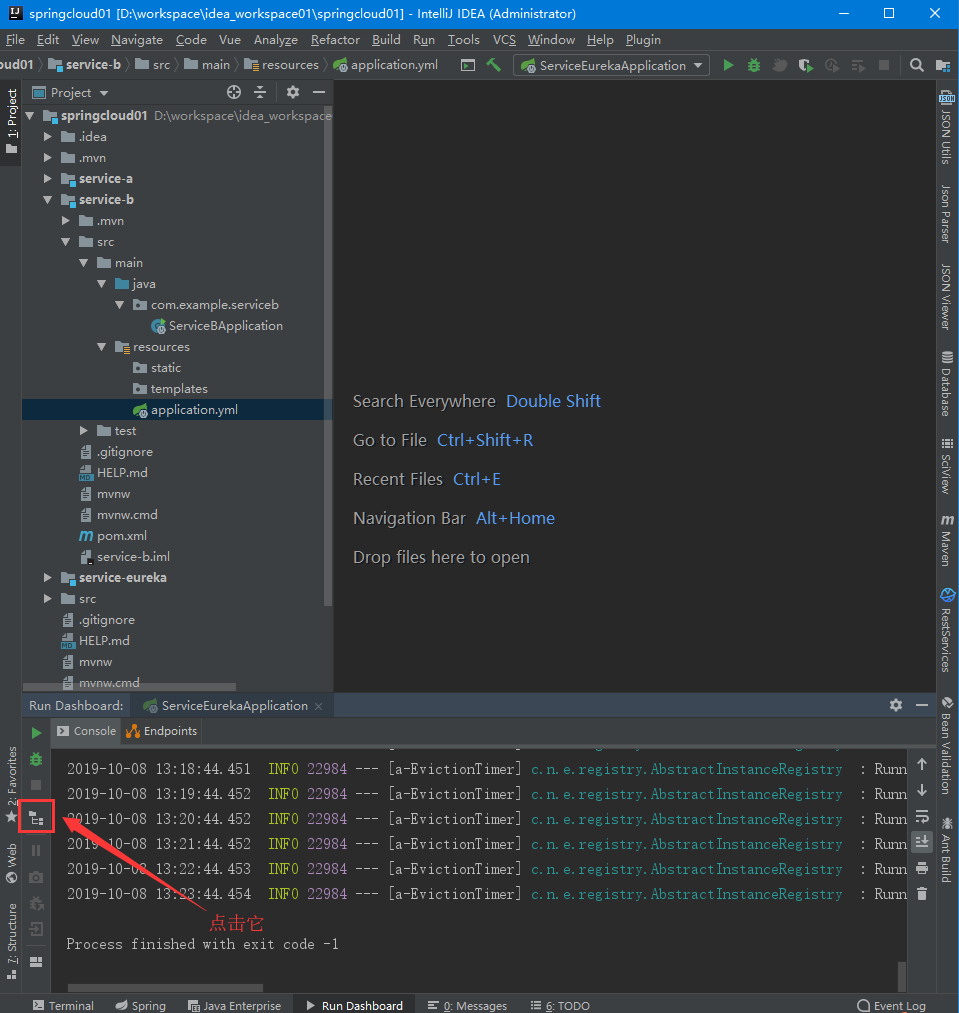
运行ServiceEurekaApplication文件启动项目, 访问注册中心
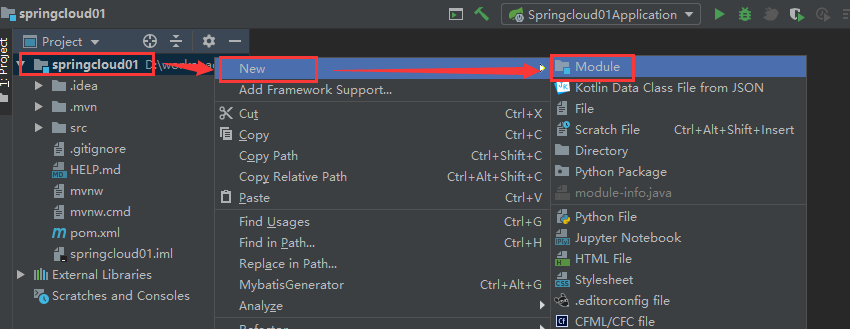
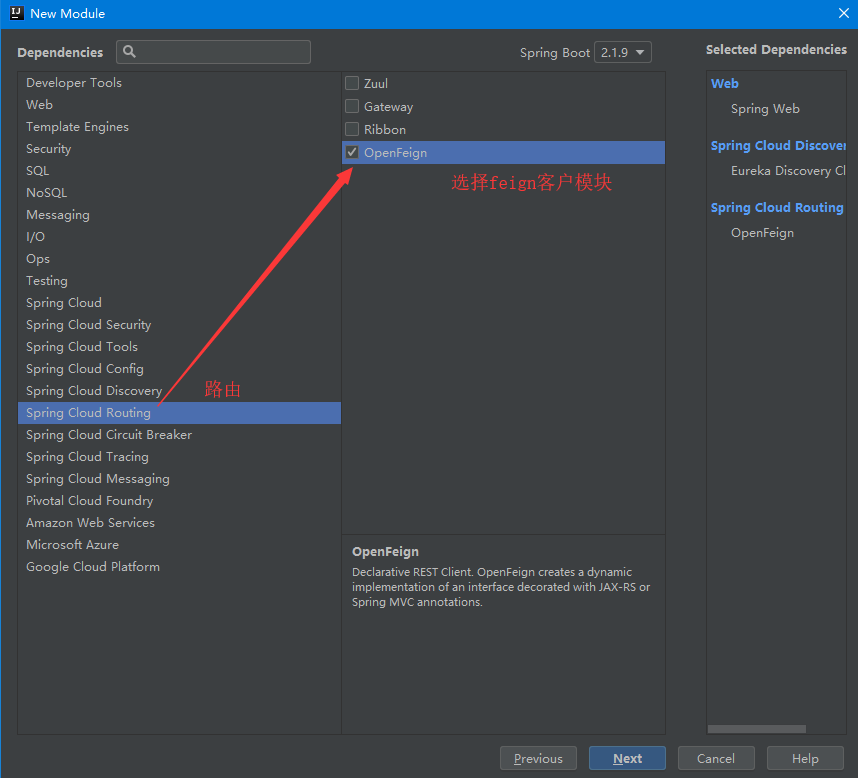
3. 创建两个微服务service-a,service-b
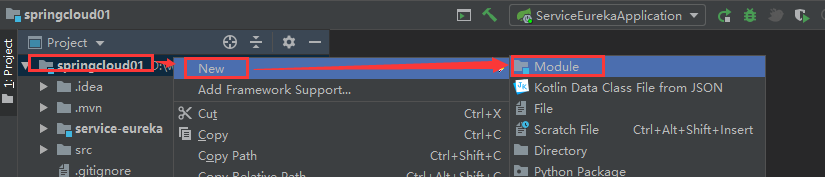
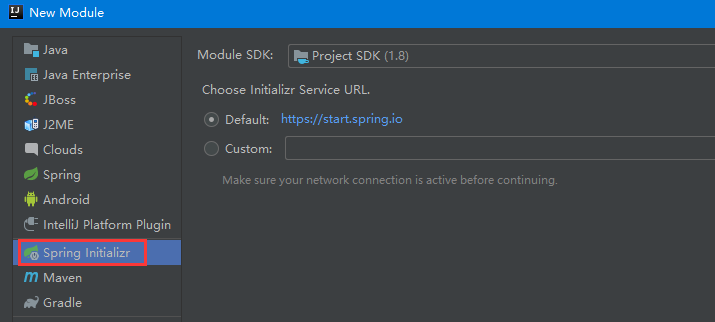
创建一个springboot模块
起个名字


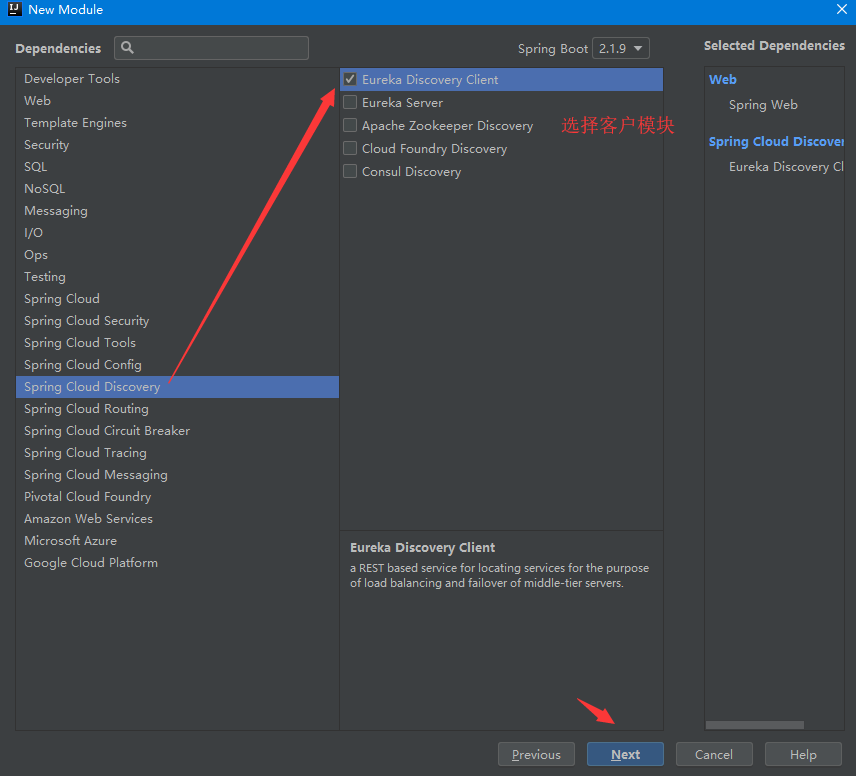
选择web
选择客户模块
路由设置
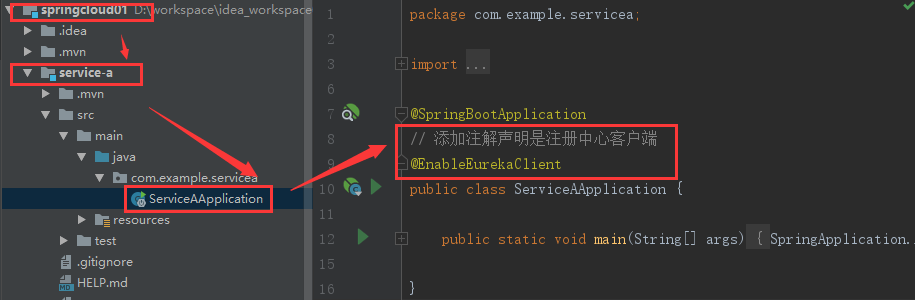
配置微服务的入口文件 @EnableEurekaClient
配置application.yml
service-a
server:
  # 服务端口号
  port: 8082
spring:
  application:
    # 服务名称 - 服务之间使用名称进行通讯
    name: service-objcat-a
eureka:
  client:
    service-url:
      # 填写注册中心服务器地址
      defaultZone: http://localhost:8081/eureka
    # 是否需要将自己注册到注册中心
    register-with-eureka: true
    # 是否需要搜索服务信息
    fetch-registry: true
  instance:
    # 使用ip地址注册到注册中心
    prefer-ip-address: true
    # 注册中心列表中显示的状态参数
    instance-id: ${spring.cloud.client.ip-address}:${server.port}
service-b
server:
  # 服务端口号
  port: 8083
spring:
  application:
    # 服务名称 - 服务之间使用名称进行通讯
    name: service-objcat-b
eureka:
  client:
    service-url:
      # 填写注册中心服务器地址
      defaultZone: http://localhost:8081/eureka
    # 是否需要将自己注册到注册中心
    register-with-eureka: true
    # 是否需要搜索服务信息
    fetch-registry: true
  instance:
    # 使用ip地址注册到注册中心
    prefer-ip-address: true
    # 注册中心列表中显示的状态参数
    instance-id: ${spring.cloud.client.ip-address}:${server.port}
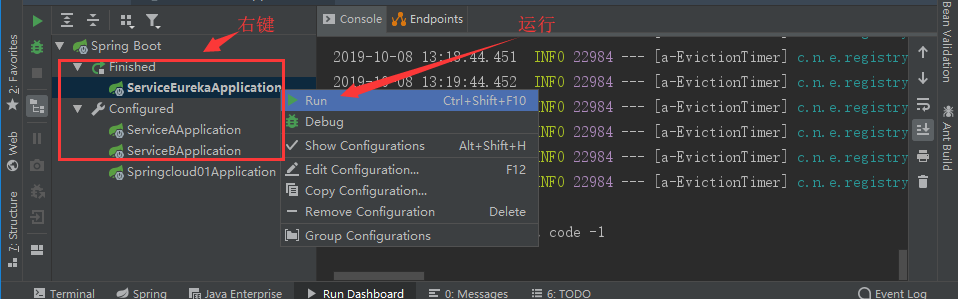
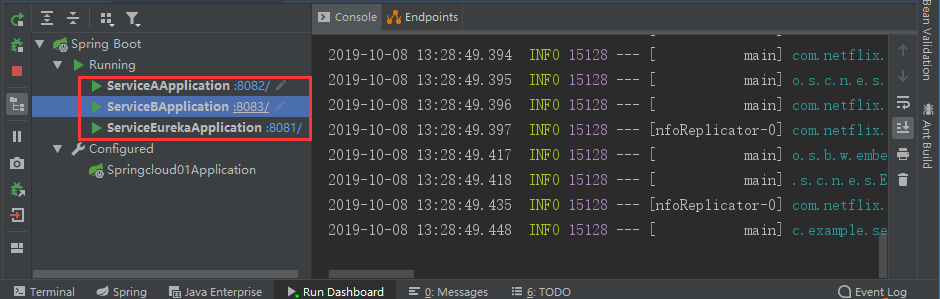
运行微服务
分别运行注册中心及微服务模块
出现端口号表示启动成功
编写测试接口
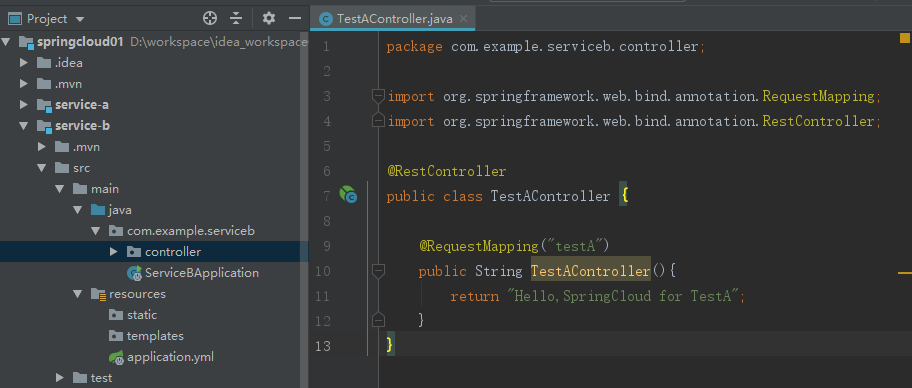
import org.springframework.web.bind.annotation.RequestMapping;
import org.springframework.web.bind.annotation.RestController;

@RestController
public class TestAController {

    @RequestMapping("testA")
    public String TestAController(){
        return "Hello,SpringCloud for TestA";
    }
}
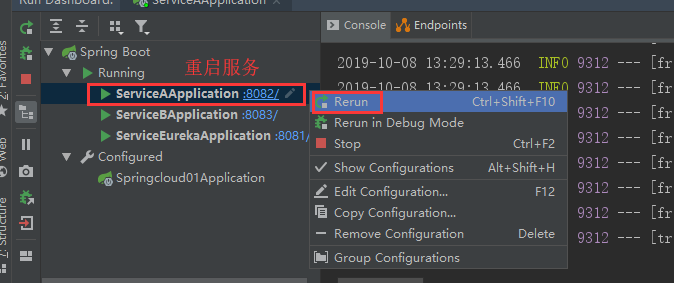
重启服务
访问下面地址
访问成功

使用服务b调用服务a的接口
这时我们就需要用到eurka(注册中心)和feign客户端了
首先我们在service-b中创建interface
在微服务b中, 创建一个ServiceAFeignClient接口
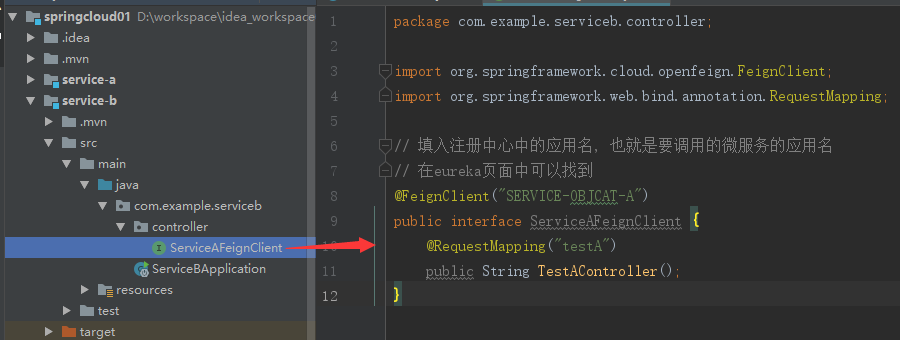
import org.springframework.cloud.openfeign.FeignClient;
import org.springframework.web.bind.annotation.RequestMapping;

// 填入注册中心中的应用名, 也就是要调用的微服务的应用名
// 在eureka页面中可以找到
@FeignClient("SERVICE-OBJCAT-A")
public interface ServiceAFeignClient {
    @RequestMapping("testA")
    public String TestAController();
}
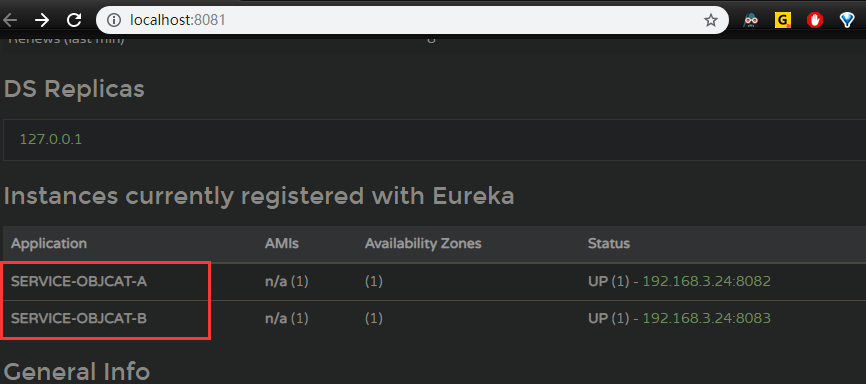
应用名可以在eureka中找到
http://localhost:8081
在服务b中添加个控制器

import org.springframework.beans.factory.annotation.Autowired;
import org.springframework.cloud.netflix.eureka.EnableEurekaClient;
import org.springframework.cloud.openfeign.EnableFeignClients;
import org.springframework.web.bind.annotation.RequestMapping;
import org.springframework.web.bind.annotation.RestController;

@RestController
// 添加注解声明是注册中心客户端
@EnableEurekaClient
// 实现不同子服务调用
@EnableFeignClients
public class TestBController {

    @Autowired
    private ServiceAFeignClient serviceAFeignClient;

    @RequestMapping("call")
    public String call(){
        String result = serviceAFeignClient.TestAController();
        return "b to a 访问结果 ---" + result;
    }
}
解决@Autowired实例报错
重新运行服务b 在网站上访问试试吧
PS: 在springcloud中一个子服务调用另一个子服务默认超时时间是1s, 也就是说要是被调用的子服务返回超过一秒就会出现错误, 针对此问题需要修改调用服务的yml文件.
举例: 在本案例中, service-a是被调用者, service-b是调用者, 则在service-b的yml文件中加入
ribbon:
  #建立连接超时时间
  ReadTimeout: 5000
  #读取资源超时间
  ConnectTimeout: 5000
注意首行缩进, service-b完整配置如下
server:
  # 服务端口号
  port: 8083
spring:
  application:
    # 服务名称 - 服务之间使用名称进行通讯
    name: service-objcat-b
eureka:
  client:
    service-url:
      # 填写注册中心服务器地址
      defaultZone: http://localhost:8081/eureka
    # 是否需要将自己注册到注册中心
    register-with-eureka: true
    # 是否需要搜索服务信息
    fetch-registry: true
  instance:
    # 使用ip地址注册到注册中心
    prefer-ip-address: true
    # 注册中心列表中显示的状态参数
    instance-id: ${spring.cloud.client.ip-address}:${server.port}
ribbon:
  #建立连接超时时间
  ReadTimeout: 5000
  #读取资源超时间
  ConnectTimeout: 5000