搭建一个可以直接通过IP登录的环境
1、创建一个ubuntu容器
#创建自定义网络
[root@docker ~]# docker network create --subnet=172.172.0.0/24 docker-br0
8164e9611f381418d62ec6f260ad1a533c26085ab69faee69a93def7f783be79

[root@docker ~]# docker network ls | grep docker-br0
8164e9611f38   docker-br0   bridge    local
备注:这里选取了172.172.0.0网段,也可以指定其他任意空闲的网段,docker-br0为自定义网桥的名字,可自己任意取名。
[root@docker ~]# ifconfig | grep br
br-8164e9611f38: flags=4099<UP,BROADCAST,MULTICAST>  mtu 1500
        inet 172.172.0.1  netmask 255.255.255.0  broadcast 172.172.0.255
        inet 172.17.0.1  netmask 255.255.0.0  broadcast 172.17.255.255
        inet 192.168.200.100  netmask 255.255.255.0  broadcast 192.168.200.255
#在你自定义的网段选取任意IP地址作为你要启动容器IP
[root@docker ~]# docker images
REPOSITORY   TAG       IMAGE ID       CREATED       SIZE
ubuntu       latest    ff0fea8310f3   11 days ago   72.8MB

[root@docker ~]# docker run -itd --network docker-br0 --ip 172.172.0.10 --name ubuntu -p 2200:22 ff0fea8310f3 /bin/bash
7709e71b60f523eeb7e383b9be014df7f4d5c03cee4e2da092c213a2e7bd33ba

[root@docker ~]# docker ps -a
CONTAINER ID   IMAGE          COMMAND       CREATED         STATUS         PORTS                                   NAMES
7709e71b60f5   ff0fea8310f3   "/bin/bash"   5 seconds ago   Up 3 seconds   0.0.0.0:2200->22/tcp, :::2200->22/tcp   ubuntu
备注:创建容器时,在第一步创建的网段中选取了172.172.0.10作为静态IP地址,并且以docker-br0网桥启动,最后指定将宿主机2200端口的访问映射到容器进程的22端口.
2、更换清华ubuntu源
如果更新失败,排查思路:https://www.jianshu.com/p/621165b985b9
其他源介绍:https://www.zybuluo.com/yangwenbo/note/2271749
#在物理机上面创建ubuntu的清华源,因为新建的ubuntu容器没有文件编辑器的命令
[root@docker ~]# vim sources.list
[root@docker ~]# cat sources.list
deb http://mirrors.tuna.tsinghua.edu.cn/ubuntu/ bionic main restricted universe multiverse
deb-src http://mirrors.tuna.tsinghua.edu.cn/ubuntu/ bionic main restricted universe multiverse
deb http://mirrors.tuna.tsinghua.edu.cn/ubuntu/ bionic-updates main restricted universe multiverse
deb-src http://mirrors.tuna.tsinghua.edu.cn/ubuntu/ bionic-updates main restricted universe multiverse
deb http://mirrors.tuna.tsinghua.edu.cn/ubuntu/ bionic-backports main restricted universe multiverse
deb-src http://mirrors.tuna.tsinghua.edu.cn/ubuntu/ bionic-backports main restricted universe multiverse
deb http://mirrors.tuna.tsinghua.edu.cn/ubuntu/ bionic-security main restricted universe multiverse
deb-src http://mirrors.tuna.tsinghua.edu.cn/ubuntu/ bionic-security main restricted universe multiverse
#把准备的源文件copy到ubuntu容器内
[root@docker ~]# docker cp sources.list ubuntu:/etc/apt/

#进入容器并更新软件列表
[root@docker ~]# docker exec -it ubuntu bash
root@7709e71b60f5:/# apt-get update

#安装常用性命令
root@7709e71b60f5:/# apt-get -y install net-tools tree curl telnet make cmake gcc vim wget lrzsz lsof tcpdump nano inetutils-ping usbutils pciutils
3、安装ssh
#安装ssh
root@7709e71b60f5:/# apt -y install openssh-server

#修改sshd配置,使用户可以远程登录
root@7709e71b60f5:/# vim /etc/ssh/sshd_config
root@7709e71b60f5:/# sed -n "32p;56p" /etc/ssh/sshd_config
PermitRootLogin yes
PasswordAuthentication yes

#启动ssh
root@7709e71b60f5:/# /etc/init.d/ssh start
 * Starting OpenBSD Secure Shell server sshd                                                                                    [ OK ]

root@7709e71b60f5:/# /etc/init.d/ssh status
 * sshd is running
4、 验证登录
需要提前更新用户密码
root@7709e71b60f5:/# passwd root
New password:
Retype new password:
passwd: password updated successfully
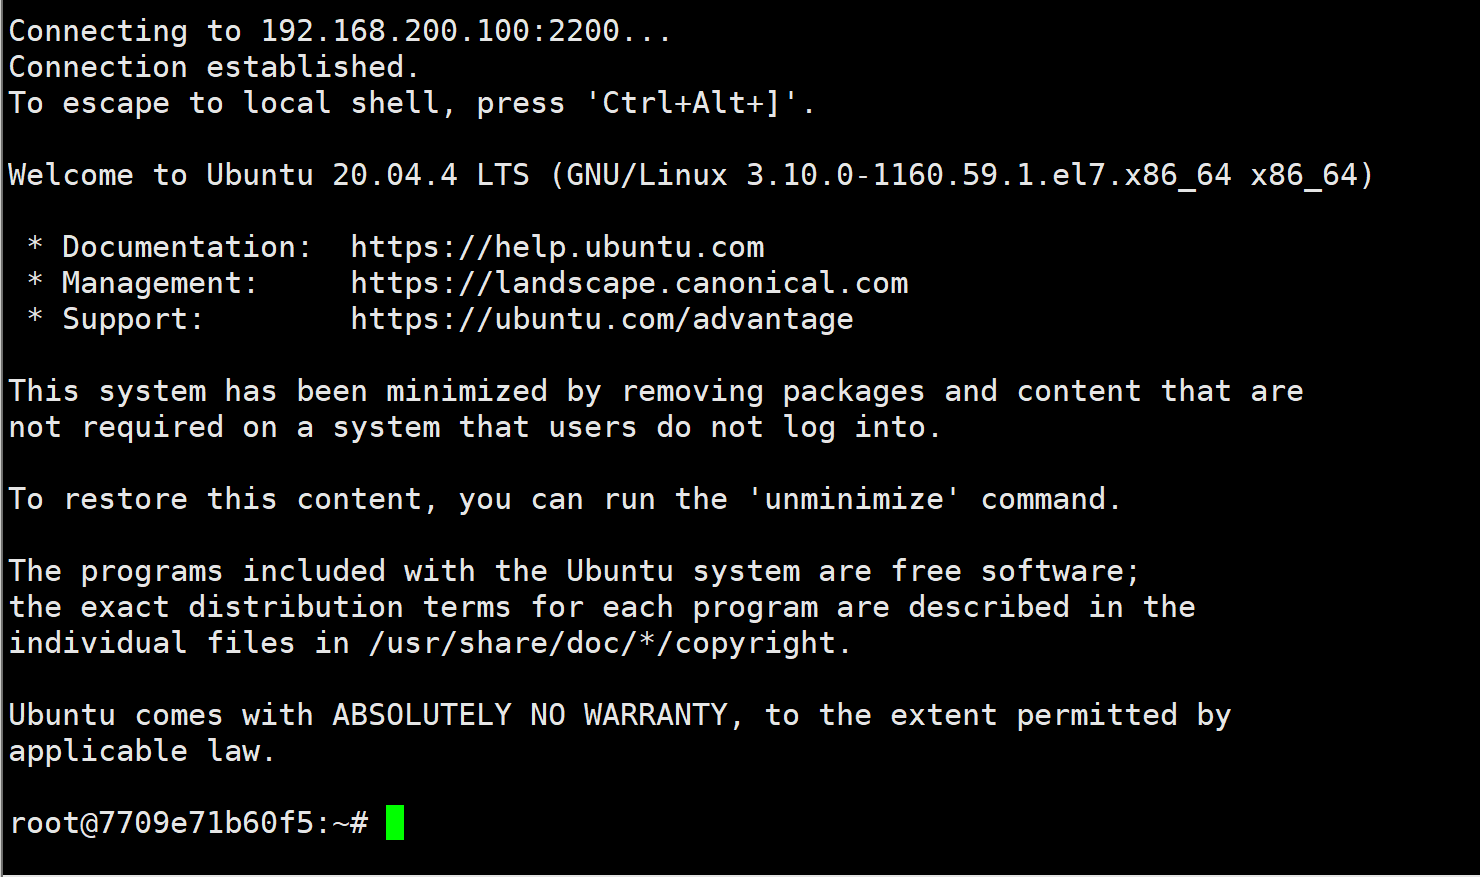
#交互登录
[root@docker ~]# ssh root@192.168.200.100 -p 2200
root@192.168.200.100's password:
Welcome to Ubuntu 20.04.4 LTS (GNU/Linux 3.10.0-1160.59.1.el7.x86_64 x86_64)

 * Documentation:  https://help.ubuntu.com
 * Management:     https://landscape.canonical.com
 * Support:        https://ubuntu.com/advantage

This system has been minimized by removing packages and content that are
not required on a system that users do not log into.

To restore this content, you can run the 'unminimize' command.
Last login: Thu Mar 31 07:55:19 2022 from 192.168.200.100
root@7709e71b60f5:/#
xshell登录
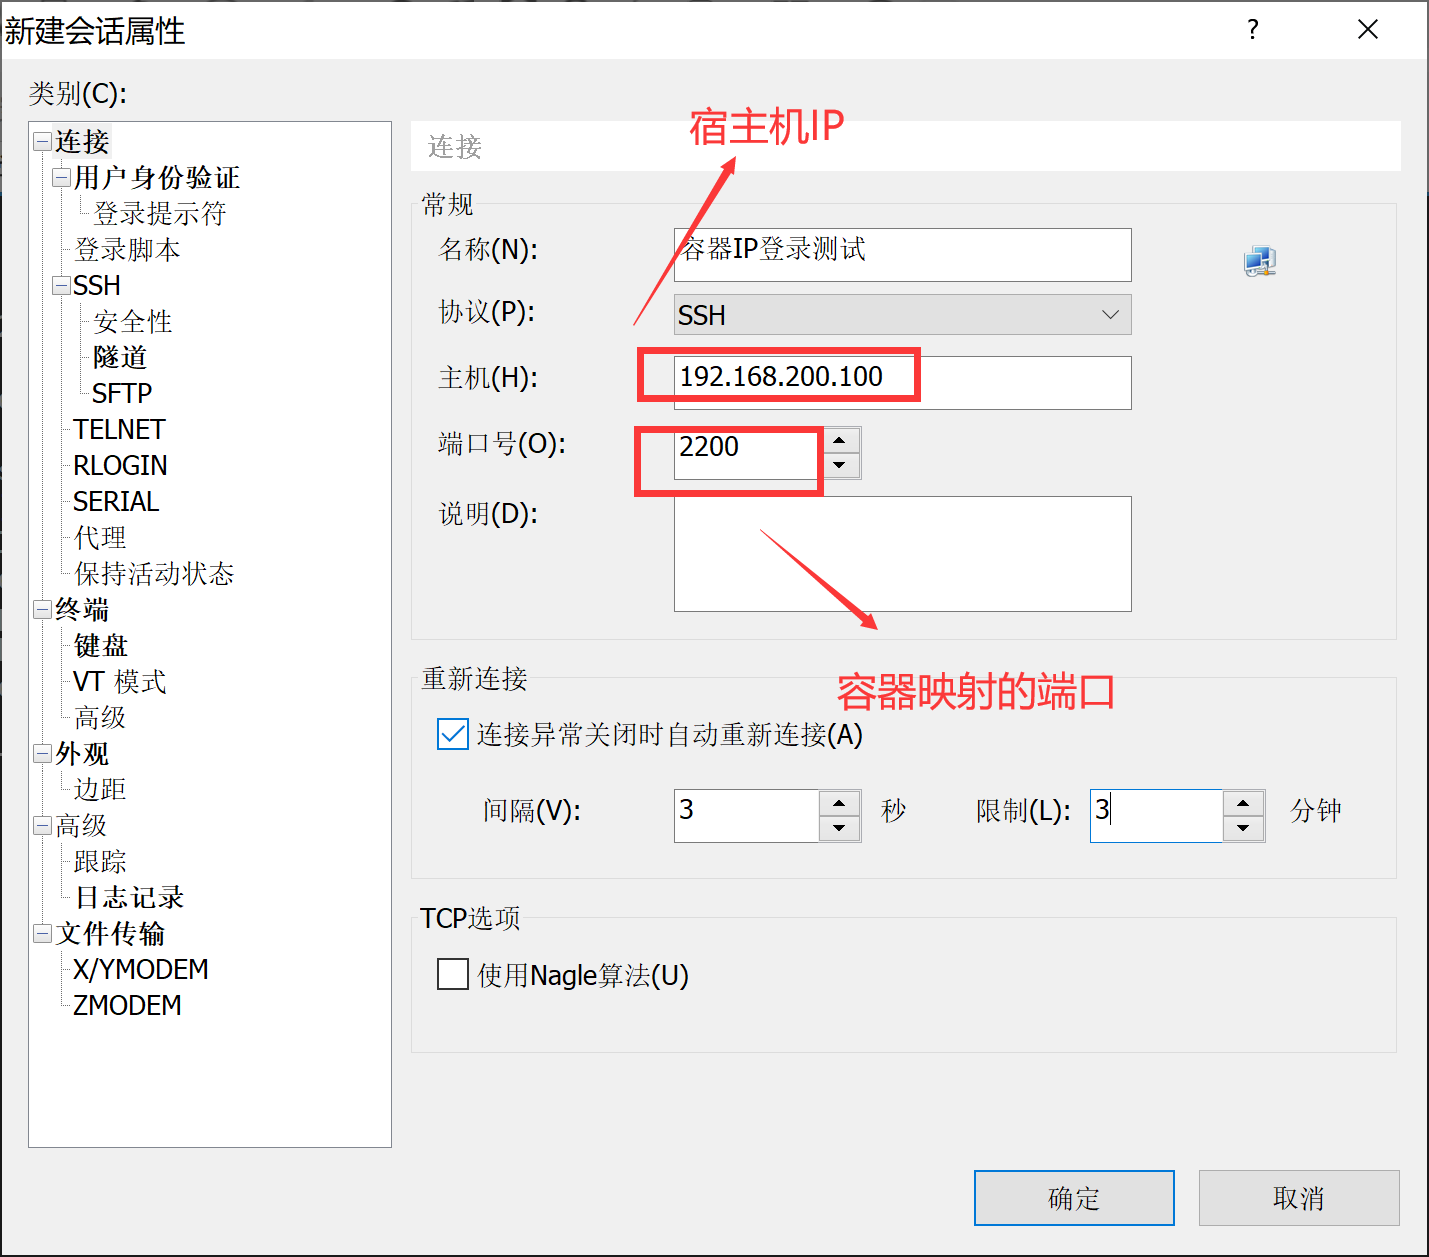
成功登录