今天来实现如何在页面弹出一些信息,比如注册成功后弹出注册成功的信息。这一点可以通过materialize里的Toasts来实现。
django自带的messages可以告诉我们是否注册成功,以及注册失败,或者提出警告。我们首先修改views.py,来引入messages:
from django.shortcuts import render, redirect
from django.http import HttpResponse
from .models import Tutorial
from django.contrib.auth.forms import UserCreationForm
from django.contrib.auth import login, logout, authenticate
from django.contrib import messages
# Create your views here.
def homepage(request):
    return render(request=request,
            template_name='main/home.html',
            context={'tutorials':Tutorial.objects.all})

def register(request):
    if request.method == 'POST':
        form = UserCreationForm(request.POST)
        if form.is_valid():
            user = form.save()
            username = form.cleaned_data.get('username')
            messages.success(request, f"New account created: {username}")
            login(request, user)
            return redirect('main:homepage')
        else:
            for msg in form.error_messages:
                messages.error(request, f"{msg}:{form.error_messages[msg]}")

            return render(request=request,
                template_name='main/register.html',
                context={'form':form})

    form = UserCreationForm
    return render(request=request,
            template_name='main/register.html',
            context={'form':form})
如果注册成功,我们使用了messages.success来给出信息,如果失败我们使用了messages.error来给出信息。
接下来我们需要在html文件中使得这些信息可以显示,因为messages不止出现在注册时,所以我们将这些信息写在header.html中,我们还希望在注册成功后,导航栏右上角的文字发生变化,loigin变为刚注册的用户名,register变为logout,修改后header.html的内容如下:
<head>
{% load static %}
<!-- Compiled and minified CSS -->
<link rel="stylesheet" href="https://cdnjs.cloudflare.com/ajax/libs/materialize/1.0.0/css/materialize.min.css">

<!-- Compiled and minified JavaScript -->
<script src="https://cdnjs.cloudflare.com/ajax/libs/materialize/1.0.0/js/materialize.min.js"></script>
<link href="{% static 'tinymce/css/prism.css' %}" rel="stylesheet">
</head>

<body>
    {% if messages %}
        {% for message in messages %}
            {% if message.tags == 'success'%}
                <script>M.toast({html: "{{message}}", classes: 'green rounded', displayLength:2000});</script>
            {% elif message.tags == 'info'%}
                <script>M.toast({html: "{{message}}", classes: 'blue rounded', displayLength:2000});</script>
            {% elif message.tags == 'warning'%}
                <script>M.toast({html: "{{message}}", classes: 'orange rounded', displayLength:10000});</script>
            {% elif message.tags == 'error'%}
                <script>M.toast({html: "{{message}}", classes: 'red rounded', displayLength:10000});</script>
            {% endif %}
        {% endfor %}
    {% endif %}
  <nav>
    <div class="nav-wrapper">
      <a href="#" class="brand-logo">Tutorials</a>
      <ul id="nav-mobile" class="right hide-on-med-and-down">
        <li><a href="/">Home</a></li>
        {% if user.is_authenticated %}
            <li><a href="/account">{{ user.username }}</a></li>
            <li><a href="/logout">Logout</a></li>
        {% else %}
            <li><a href="/login">Login</a></li>
            <li><a href="/register">Register</a></li>
        {% endif %}
      </ul>
    </div>
  </nav>

  <div class="container">
      {% block content %}
    {% endblock %}
  </div>

</body>

<script src="{% static 'tinymce/js/prism.js' %}"></script>
此时的header.html内容显得有些复杂和凌乱,我们可以使用include来将某些代码放入单独的html文件中来缩短header.html的内容,为此我们在templates/main文件夹下新建文件夹includes,然后新建两个文件messages.html和navbaritems.html,最终header.html、messages.html、navbaritems.html内容分别如下:
<head>
{% load static %}
<!-- Compiled and minified CSS -->
<link rel="stylesheet" href="https://cdnjs.cloudflare.com/ajax/libs/materialize/1.0.0/css/materialize.min.css">

<!-- Compiled and minified JavaScript -->
<script src="https://cdnjs.cloudflare.com/ajax/libs/materialize/1.0.0/js/materialize.min.js"></script>
<link href="{% static 'tinymce/css/prism.css' %}" rel="stylesheet">
</head>

<body>
  {% include 'main/includes/messages.html' %}
  <nav>
    <div class="nav-wrapper">
      <a href="#" class="brand-logo">Tutorials</a>
      <ul id="nav-mobile" class="right hide-on-med-and-down">
        <li><a href="/">Home</a></li>
        {% include 'main/includes/navbaritems.html' %}
      </ul>
    </div>
  </nav>

  <div class="container">
      {% block content %}
    {% endblock %}
  </div>

</body>

<script src="{% static 'tinymce/js/prism.js' %}"></script>
{% if messages %}
    {% for message in messages %}
        {% if message.tags == 'success'%}
            <script>M.toast({html: "{{message}}", classes: 'green rounded', displayLength:2000});</script>
        {% elif message.tags == 'info'%}
            <script>M.toast({html: "{{message}}", classes: 'blue rounded', displayLength:2000});</script>
        {% elif message.tags == 'warning'%}
            <script>M.toast({html: "{{message}}", classes: 'orange rounded', displayLength:10000});</script>
        {% elif message.tags == 'error'%}
            <script>M.toast({html: "{{message}}", classes: 'red rounded', displayLength:10000});</script>
        {% endif %}
    {% endfor %}
{% endif %}
{% if user.is_authenticated %}
    <li><a href="/account">{{ user.username }}</a></li>
    <li><a href="/logout">Logout</a></li>
{% else %}
    <li><a href="/login">Login</a></li>
    <li><a href="/register">Register</a></li>
{% endif %}
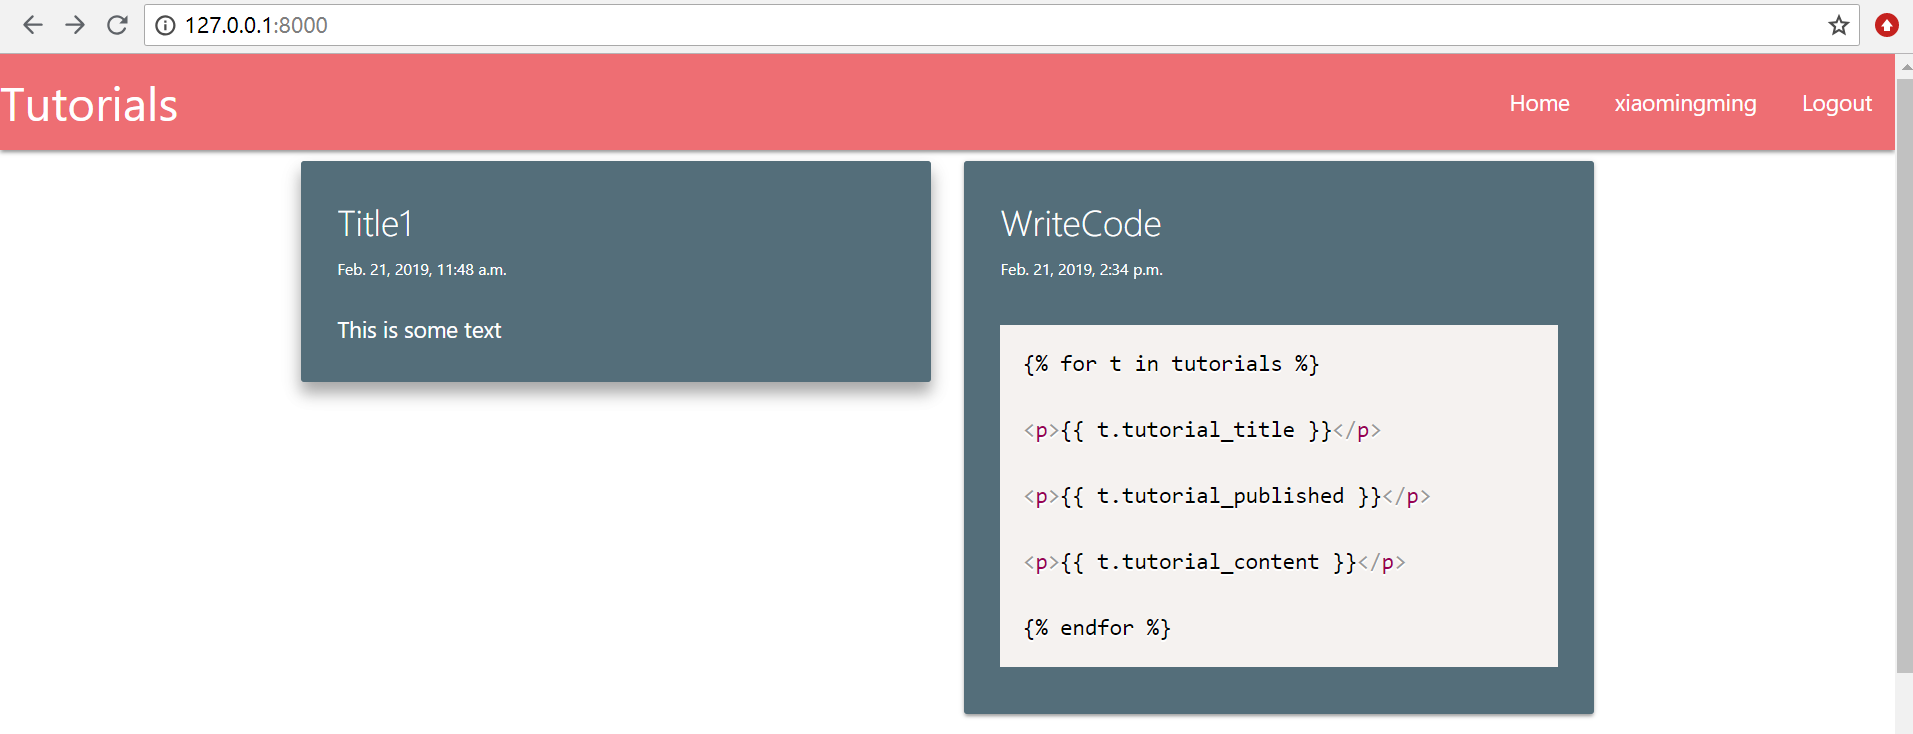
在浏览器中刷新页面,仍然正常显示。这种方法可以保证单个文件的内容不至于过长,便于后期管理。本文中刚开始提到的信息提示,没有相应的截图,这个可以在下一节添加login和logout时清楚的观察到。
参考链接:
[1] https://materializecss.com/toasts.html
[2] https://pythonprogramming.net/messages-django-tutorial/