https://blog.csdn.net/weixin_41229588/article/details/101159755
一、配置
1.安装依赖:
npm install svg-sprite-loader --save-dev
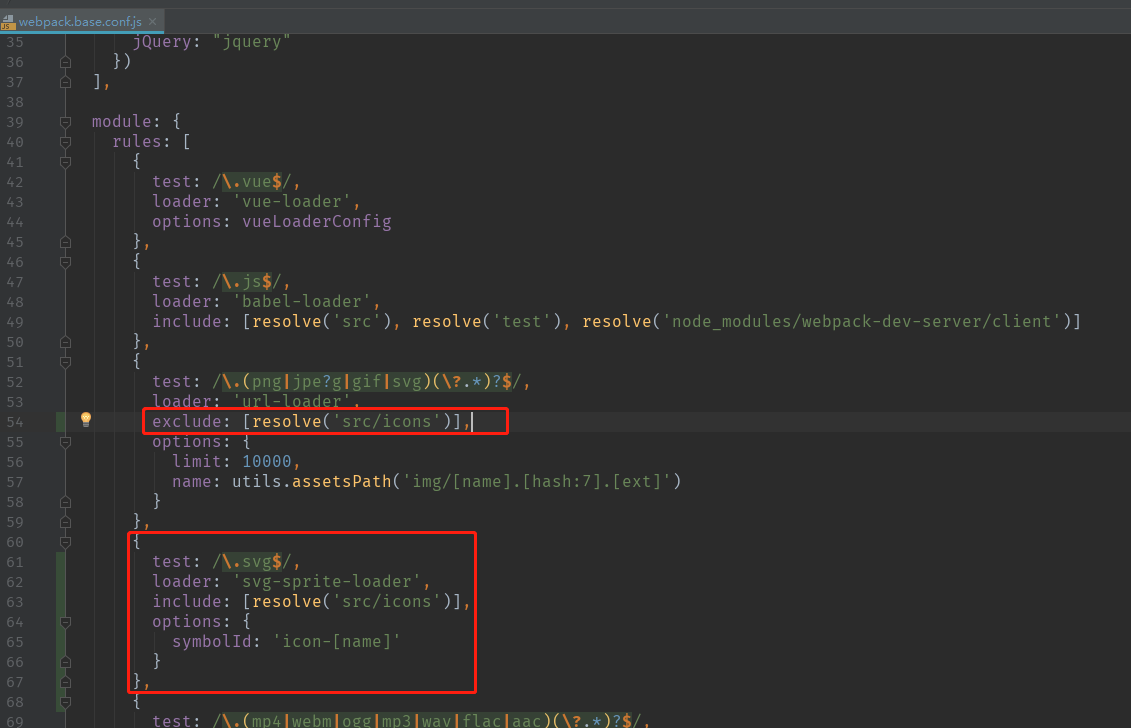
2.配置build文件夹中的webpack.base.conf.js,主要在两个地方添加代码,如下图所示
exclude: [resolve('src/icons')],
{
        test: /.svg$/,
        loader: 'svg-sprite-loader',
        include: [resolve('src/icons')],
        options: {
          symbolId: 'icon-[name]'
        }
      },
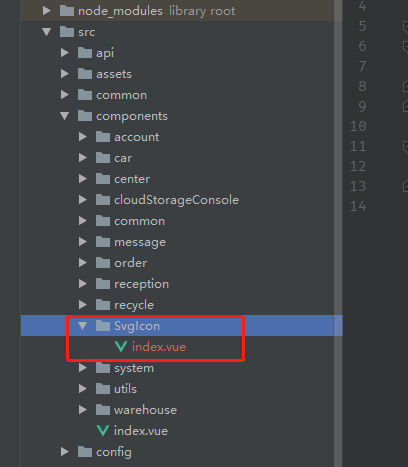
3.在src/components下新建文件夹及文件SvgIcon/index.vue,index.vue中内容如下
|
1
2
3
4
5
6
7
8
9
10
11
12
13
14
15
16
17
18
19
20
21
22
23
24
25
26
27
28
29
30
31
32
33
34
35
36
37
38
39
40
41
42
43
|
<template> <svg :class="svgClass" aria-hidden="true" v-on="$listeners"> <use :xlink:href="iconName"/> </svg></template><script> export default { name: 'SvgIcon', props: { iconClass: { type: String, required: true }, className: { type: String, default: '' } }, computed: { iconName() { return `#icon-${this.iconClass}` }, svgClass() { if (this.className) { return 'svg-icon ' + this.className } else { return 'svg-icon' } } } }</script><style scoped> .svg-icon { 1em; height: 1em; vertical-align: -0.15em; fill: currentColor; overflow: hidden; }</style> |
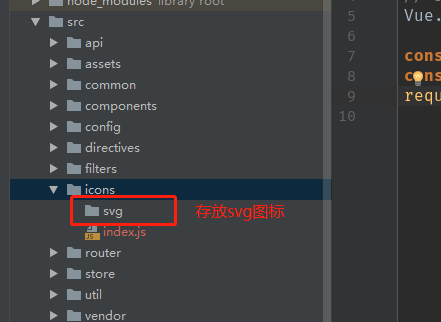
4.在src下新建icons文件夹,及icons文件夹下svg文件夹、index.js文件, index.js文件内容如下
|
1
2
3
4
5
6
7
8
9
|
import Vue from 'vue'import SvgIcon from '@/components/SvgIcon'// svg组件// register globallyVue.component('svg-icon', SvgIcon)const req = require.context('./svg', false, /.svg$/)const requireAll = requireContext => requireContext.keys().map(requireContext)requireAll(req) |
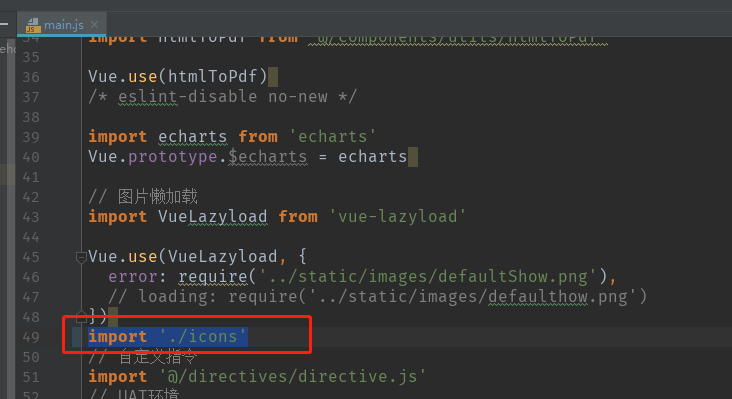
5.在main.js中引入svg
import './icons'
二、使用
1.下载svg图片,这里使用阿里云提供的iconfont:https://www.iconfont.cn/collections/index?spm=a313x.7781069.1998910419.4&type=1
2.点击图片,下载svg格式即可,将下载下来的图片放置到到项目中的svg文件夹下
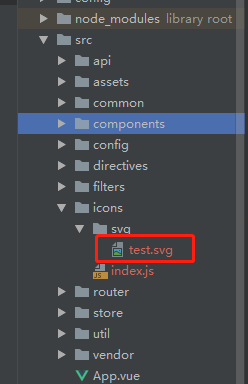
3.在页面中使用
<svg-icon icon-class="test"></svg-icon>

